Finishing up the Deck, Cabin, Cockpit
We, my wife Mary Ann Parr and I, sold our home in the country and moved into Charlottesville in December of 2013. So I had to get the boat building project a new home. In November of 2013 we moved Nichiko to my brother Piers’ place in Somerset, VA where she would be safe and remain until finished.
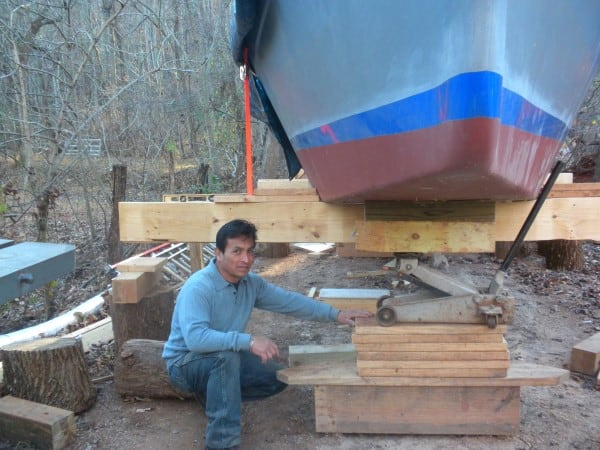
Lifting for trailer 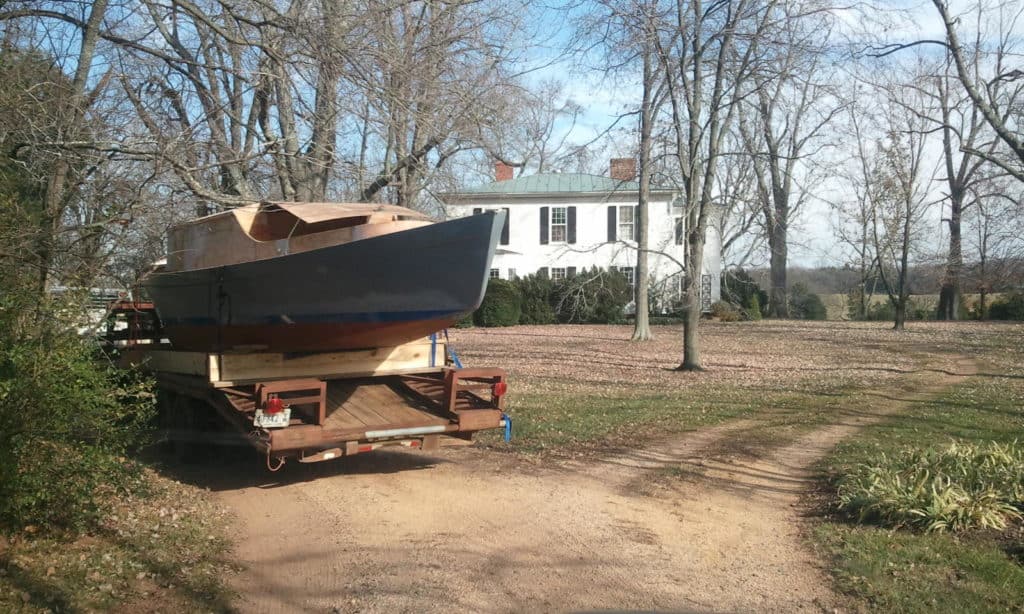
New home 
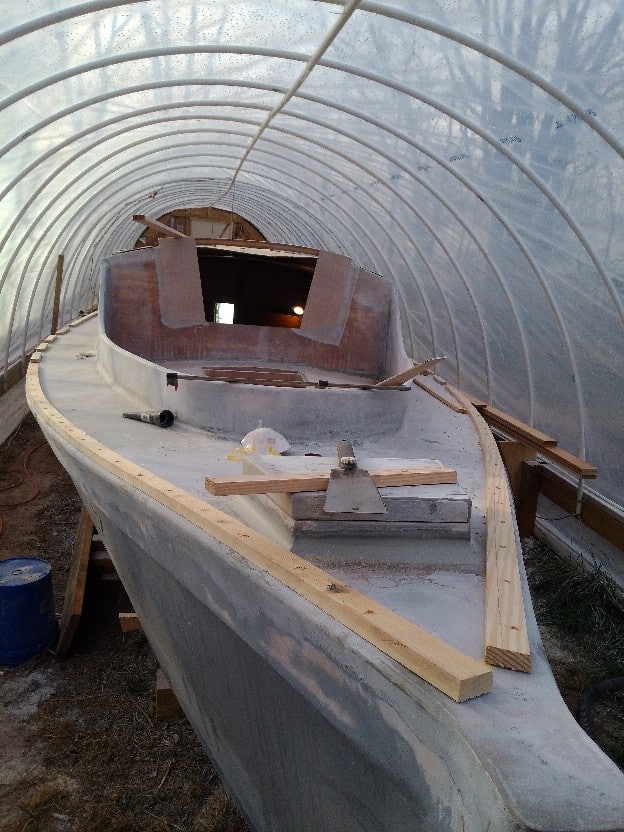
Hoop house – again 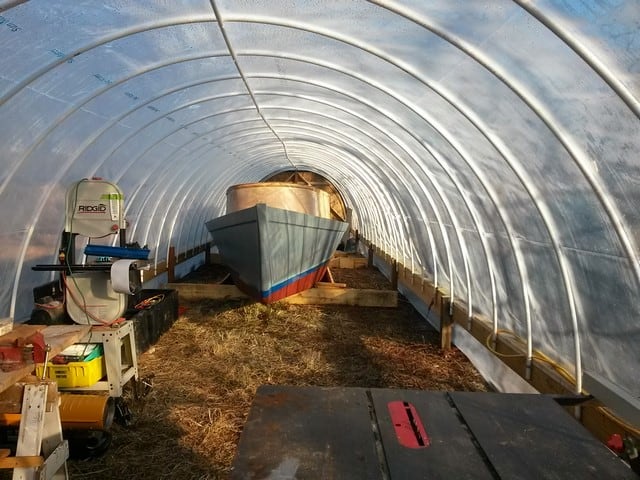
Warm & dry

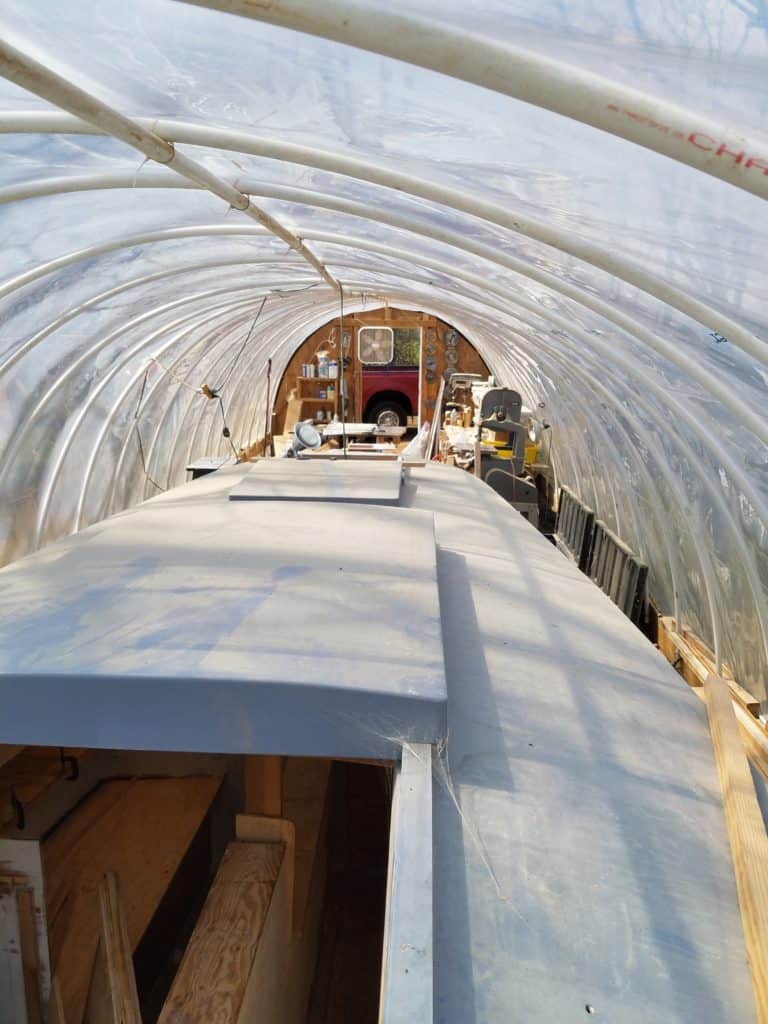
We set up the saws and tools and ended up with a nice work space. The frame is 60 x 12 feet, set two feet above the ground to give more clearance. We put a three-foot entry door at one end and two box fans at the other. When the temperature is 40 degrees F outdoors, if is is sunny, it will be almost 70 inside. Quite cosy. And, the light!! Lots of sunlight so one can see to work.
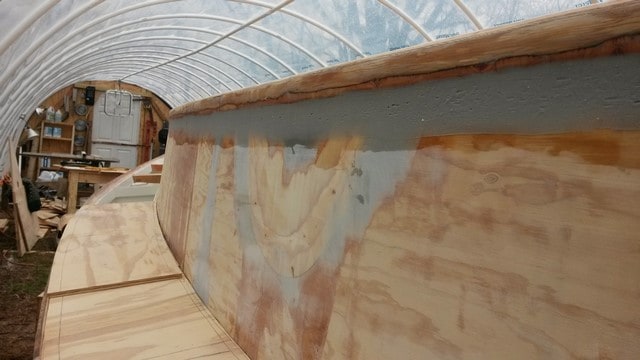
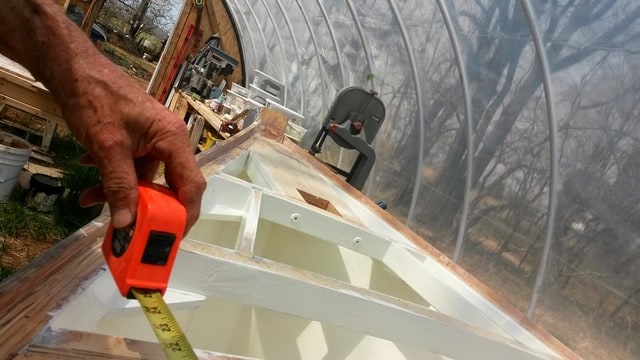
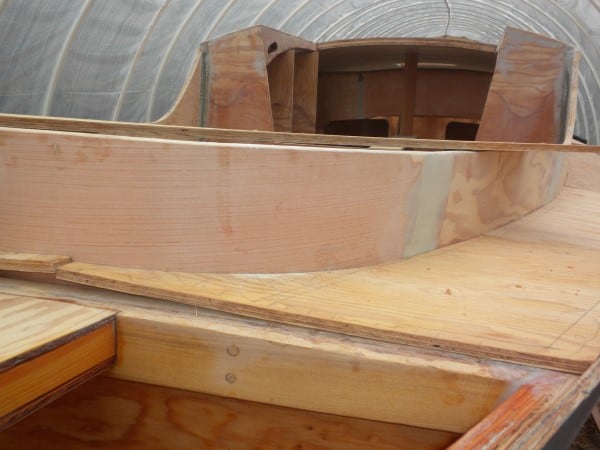
Port side deck beams painted; reinforcing rim of cabin top filleted so Xynole cloth will stick more easily. With a sharp edge, especially on the underside, is difficult to get the cloth to stick properly, so this is filleted in. It doesn’t look as nice as a straight line, but it won’t give trouble in the future by having voids under the cloth along the bottom edge of the rim of reinforcement along the top edge of the cabin. The band around the top edge of the cabin is 1 & 1/2 inches thick, half an inch on the exterior, half an inch of the cabin sides, and half an inch inside between each of the cross beams.
Filling in 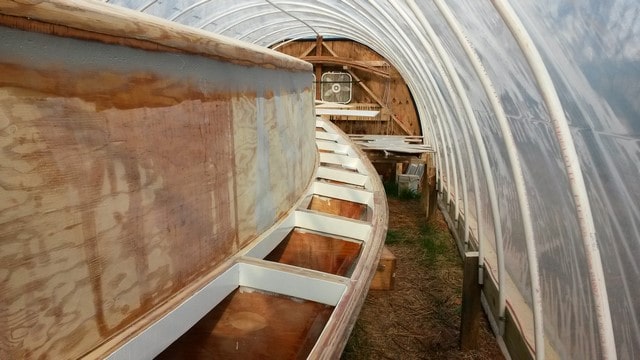
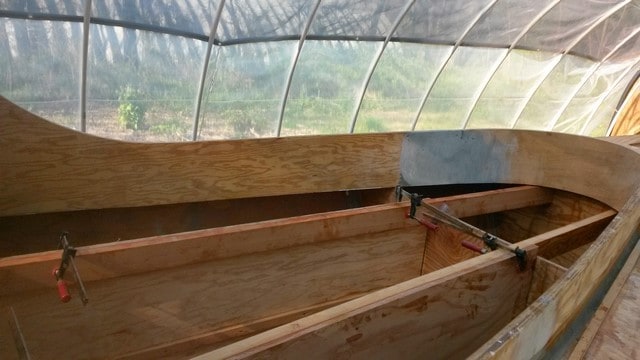
Half beams – port side 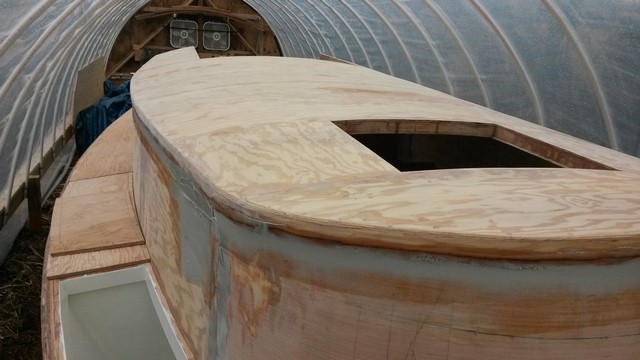
Filleting cabin rim 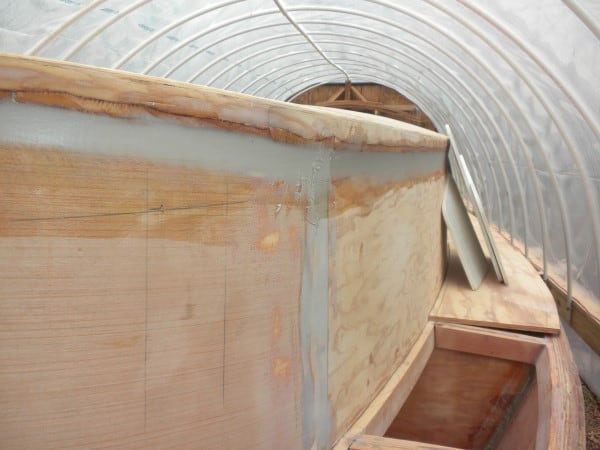
Deck pieces being fitted 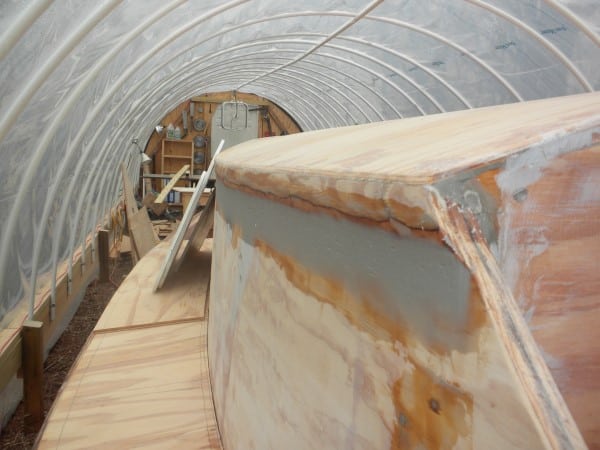
More cabin… 
Cabin roughed out
The next sequence of photos show the preparation for putting down the deck. I painted each deck piece on the underside while this was still easily done, leaving bare where the epoxy would bond to the deck beams. I used Sherwin Williams Tile Clad, 2-part epoxy and put on about four coats.
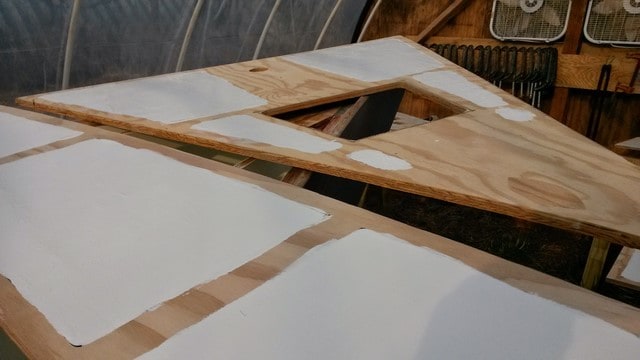
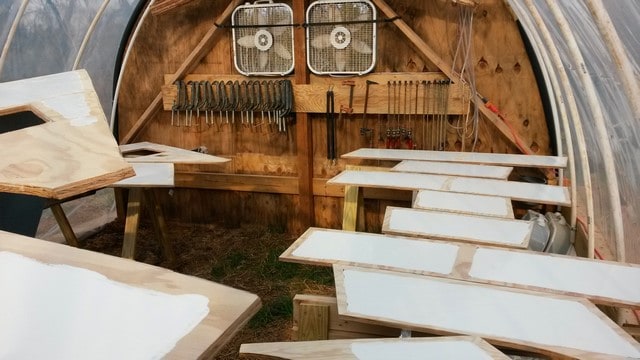

Here the deck pieces are all prepared for bonding to the framework and topsides
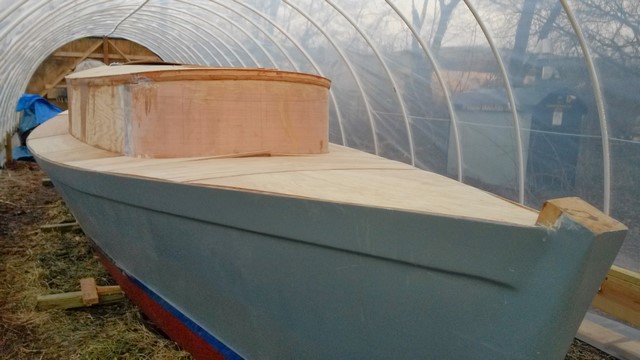
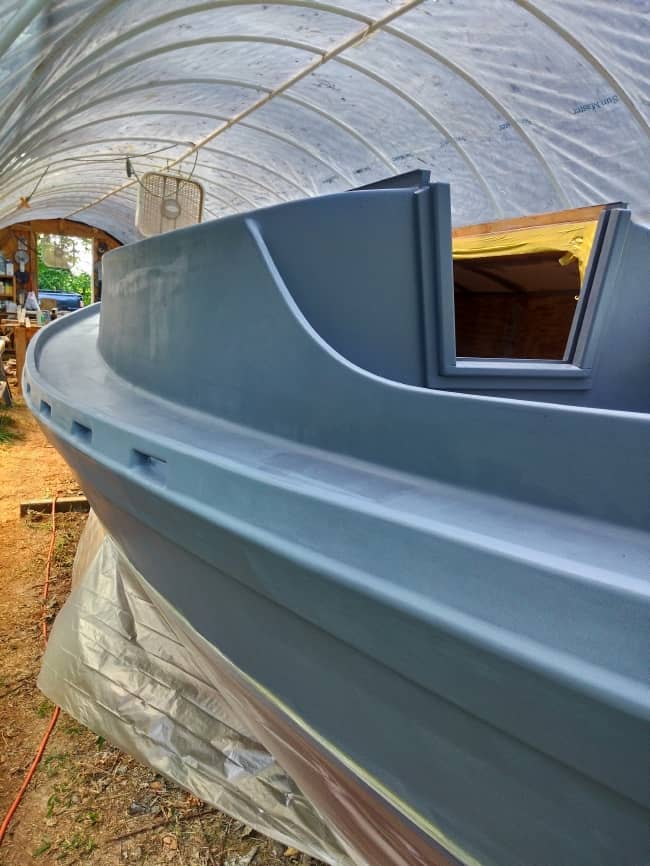
– It looks like the Monitor! The cabin is kind of ugly, not angled inward enough toward the top, this happened for a couple of reasons, but, there is is – too late to change.
Once prepared, the deck pieces were screwed and glued in place. I had some help, John Ahlgren, Penn 1967, from Portsmouth, NH. Terrific helper! He makes anything he is doing fascinating and fun.

The Cockpit
I had studied many cockpit articles with a multitude of opinions on what makes a good cockpit. Very helpful, thinking it through. Reuel simply says in his instructions “make the cockpit,” so you are on your own as to just how it will end up. The coaming is already there, made according to the plan, so the rest is completely up to the builder.
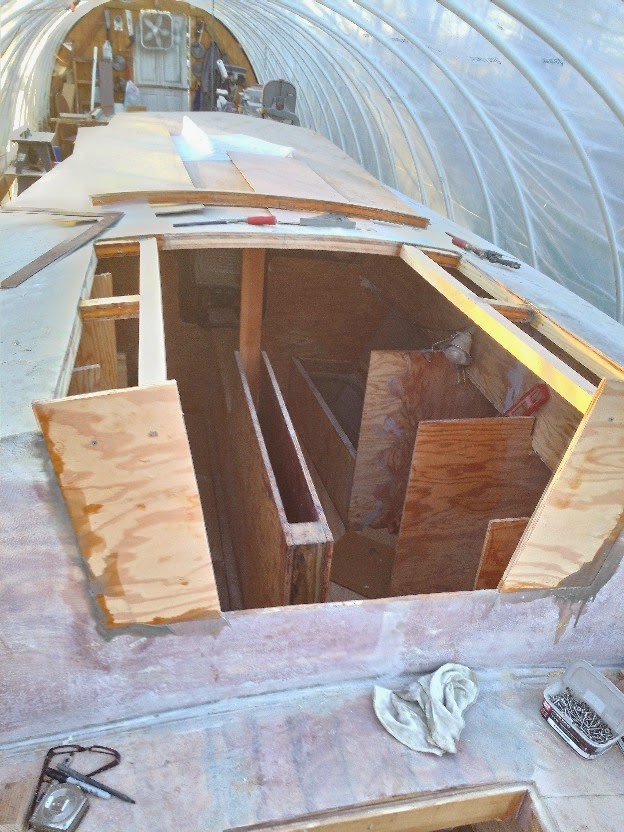
Building the cockpit required many decisions. How large, angle of seats above lazarettes, bridge deck or not, how deep, how to drain it, what to use storage area below it for… I opted for following the deck angle for the “seats” above the lazarettes. Yes for the bridge deck as it makes entry below easier, adds out of the way but easily accessed storage for little things under the bridge deck, provides another seat (facing aft) in the cockpit. There is no outboard well, so the area in the design for that is storage underneath and above is flat continuing the “seats” around the aft end. I wanted a small area for the feet and a larger area for lazarettes, storage and seating. The two fir 2×4’s going from front to back define how the cockpit is divided between footwell and lazarettes.
Frame for inner footwell and lazarettes 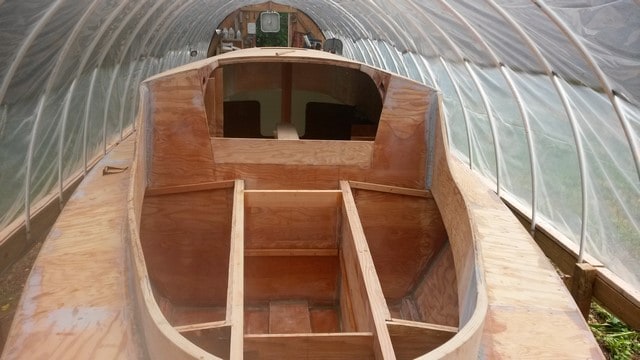
Cockpit & companionway
Entrance has been raised 4 inches
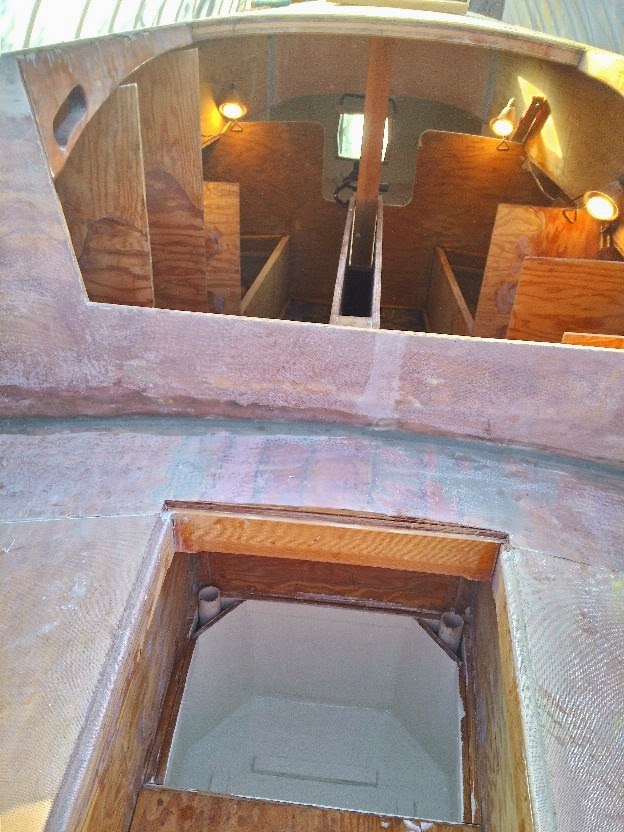
Flotation chamber under cockpit. battery box is forward 
Holes thru hull for cockpit drains 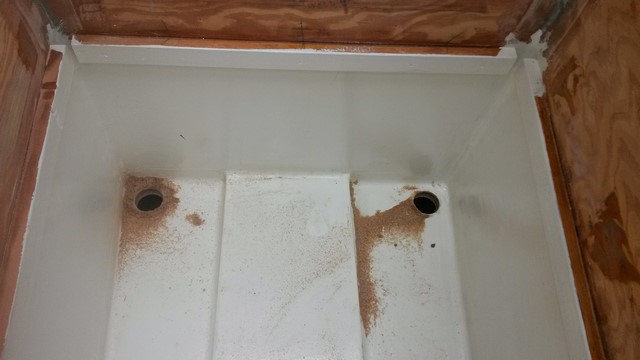
Other hole 
Battery box, cockpit drains, bridge deck 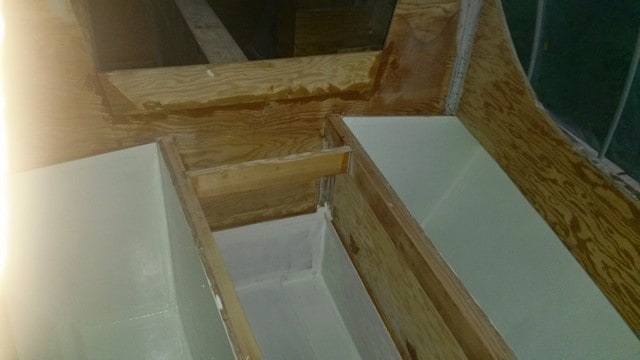
Progress 
Lazarette lids & bridge deck 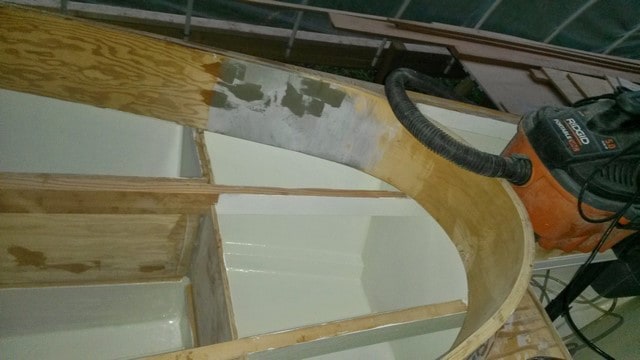
Storage aft of cockpit
The cockpit well ended up being 20 inches across at the aft end and 24 across the front, 63 inches long. I used 3/4 inch ply for the sides and bottom, as it could possibly completely fill with water. The No 5 bulkhead forms the rear of the cockpit and gives another watertight compartment between the cockpit and the aft-end compartment. Including these two lazarettes, there are seven isolated compartments in the boat. (not counting the two water tanks under the settees in the cabin) I added a bridge deck at the forward end of the cockpit which gave a lot of rigidity or strength to the entire boat. added a bridge deck for strength and convenience entering the companionway.
You can see I have been making the companionway entrance progressively smaller. The light-colored piece of plywood in the photo above, and below, raised the bottom of the companionway entrance about five inches. It was still too wide for my liking, so later I made the companionway much more narrow. I couldn’t get the memories of heavy seas out of my mind when I look at the cockpit companionway and the sliding hatch top in this photo, it looks like an invitation for a huge wave to pounce right in! Every joint is taped with 3 inch fiberglass tape along all of the seams, as are all of the bulkheads. Then the seams are filleted and sanded and all of the surface areas are painted first with a thinned epoxy primer and then with Tile Clad epoxy paint. This takes a lot of time, and work, sanding and sanding and … finally, painting.
This battery box, for two T-105’s, puts their weight as low as possible and close to the center of the boat being just behind the centerboard. Later, I’ll cut an access door from inside the cabin. The drain tubes are protected by half inch plywood gussets
The lazarette doors have to be framed along with the gutters to keep water from entering the lazarettes in the crack between the doors and the surface of the seating area. I got working on these with the help of my son, Hans who was visiting from Colorado.
Lazarette doors 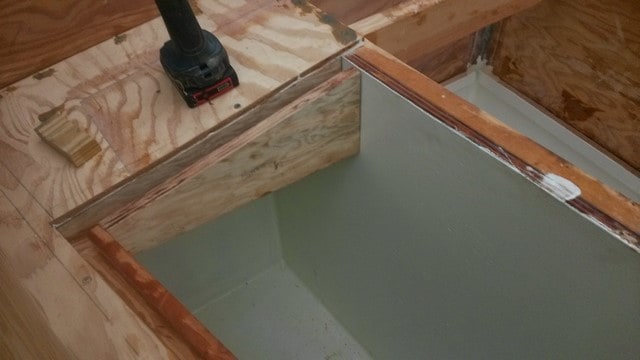
Installing drains 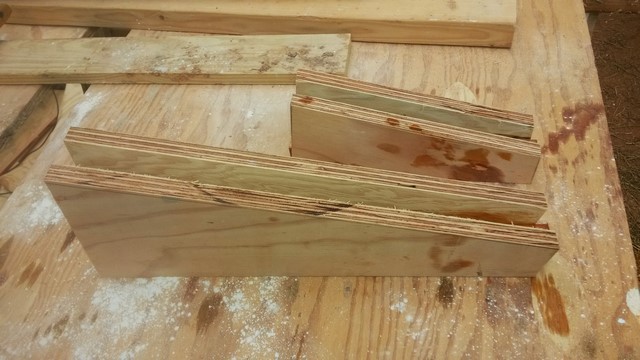
Drain framework 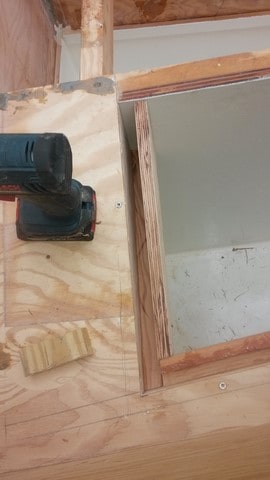
Drain 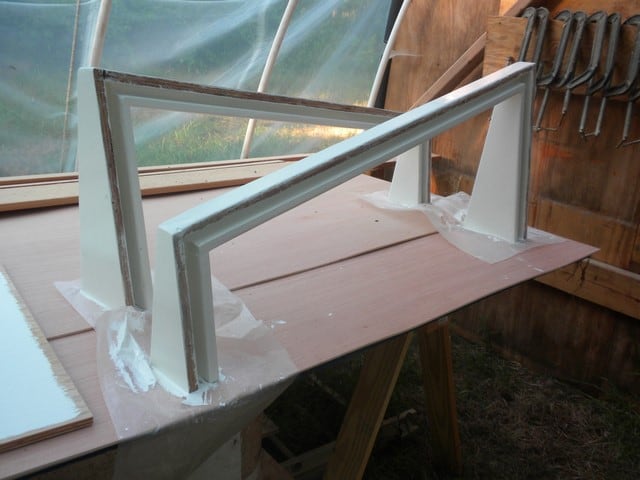
Drains painted 
Drain installed 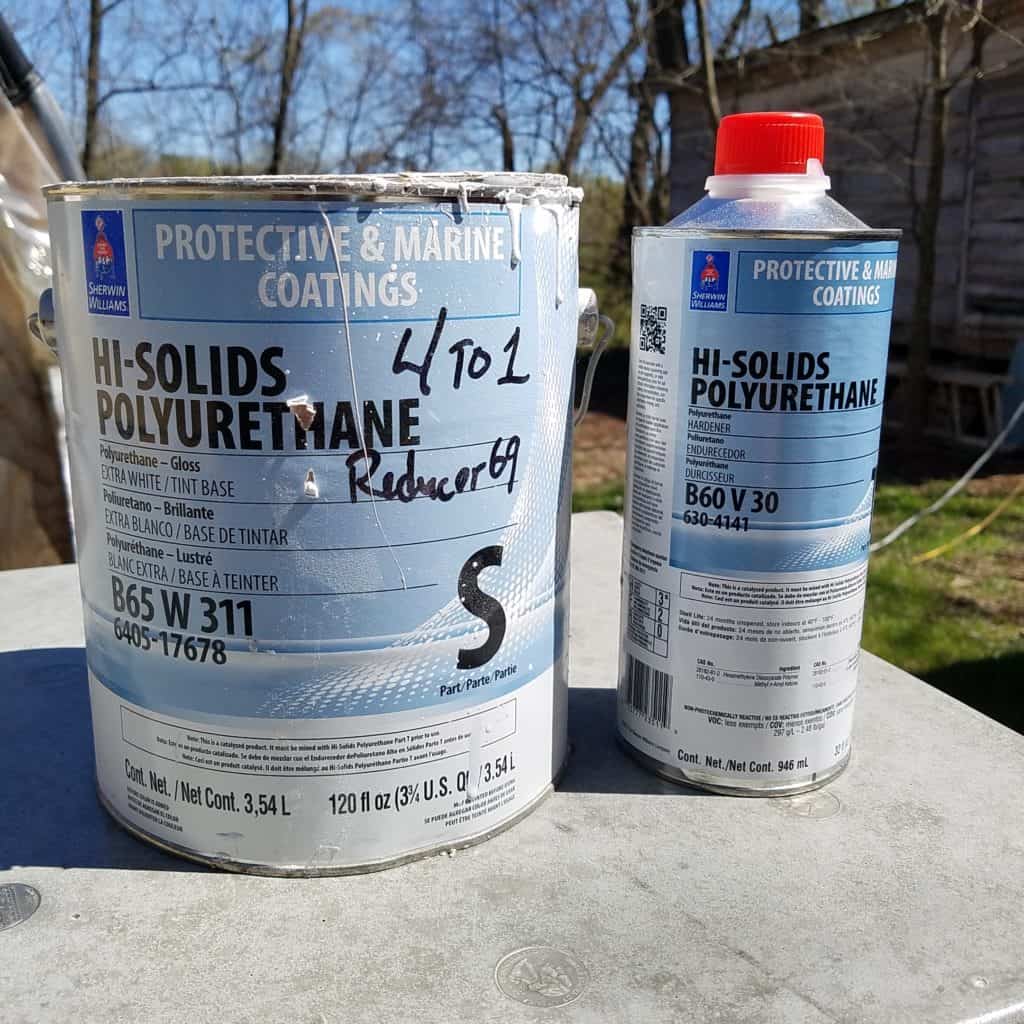
Two part Tile Clad 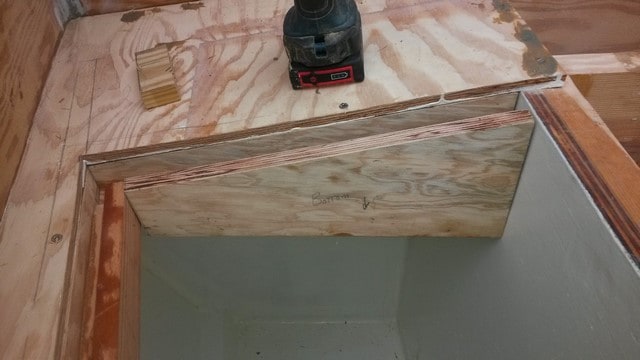
Drain 
Drains painted by Hans

This shows the fore end of storage or flotation chamber below the cockpit well having been taped, filleted and painted; and also the holes through the hull where the 1.5 in PVC drain pipes will go.
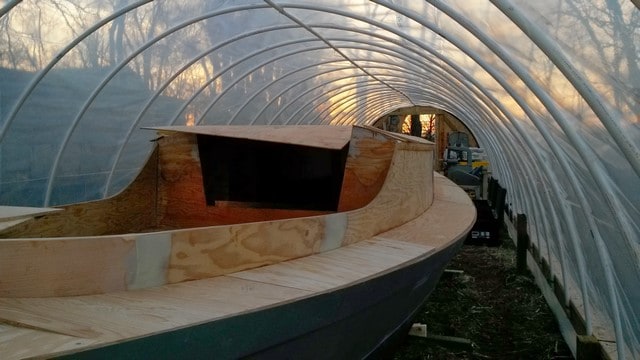
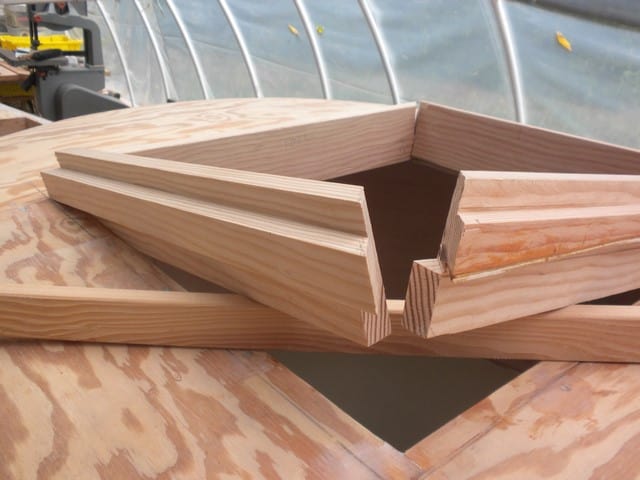
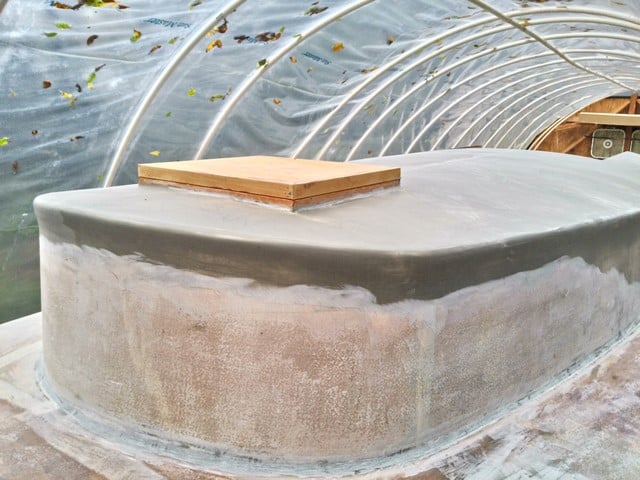
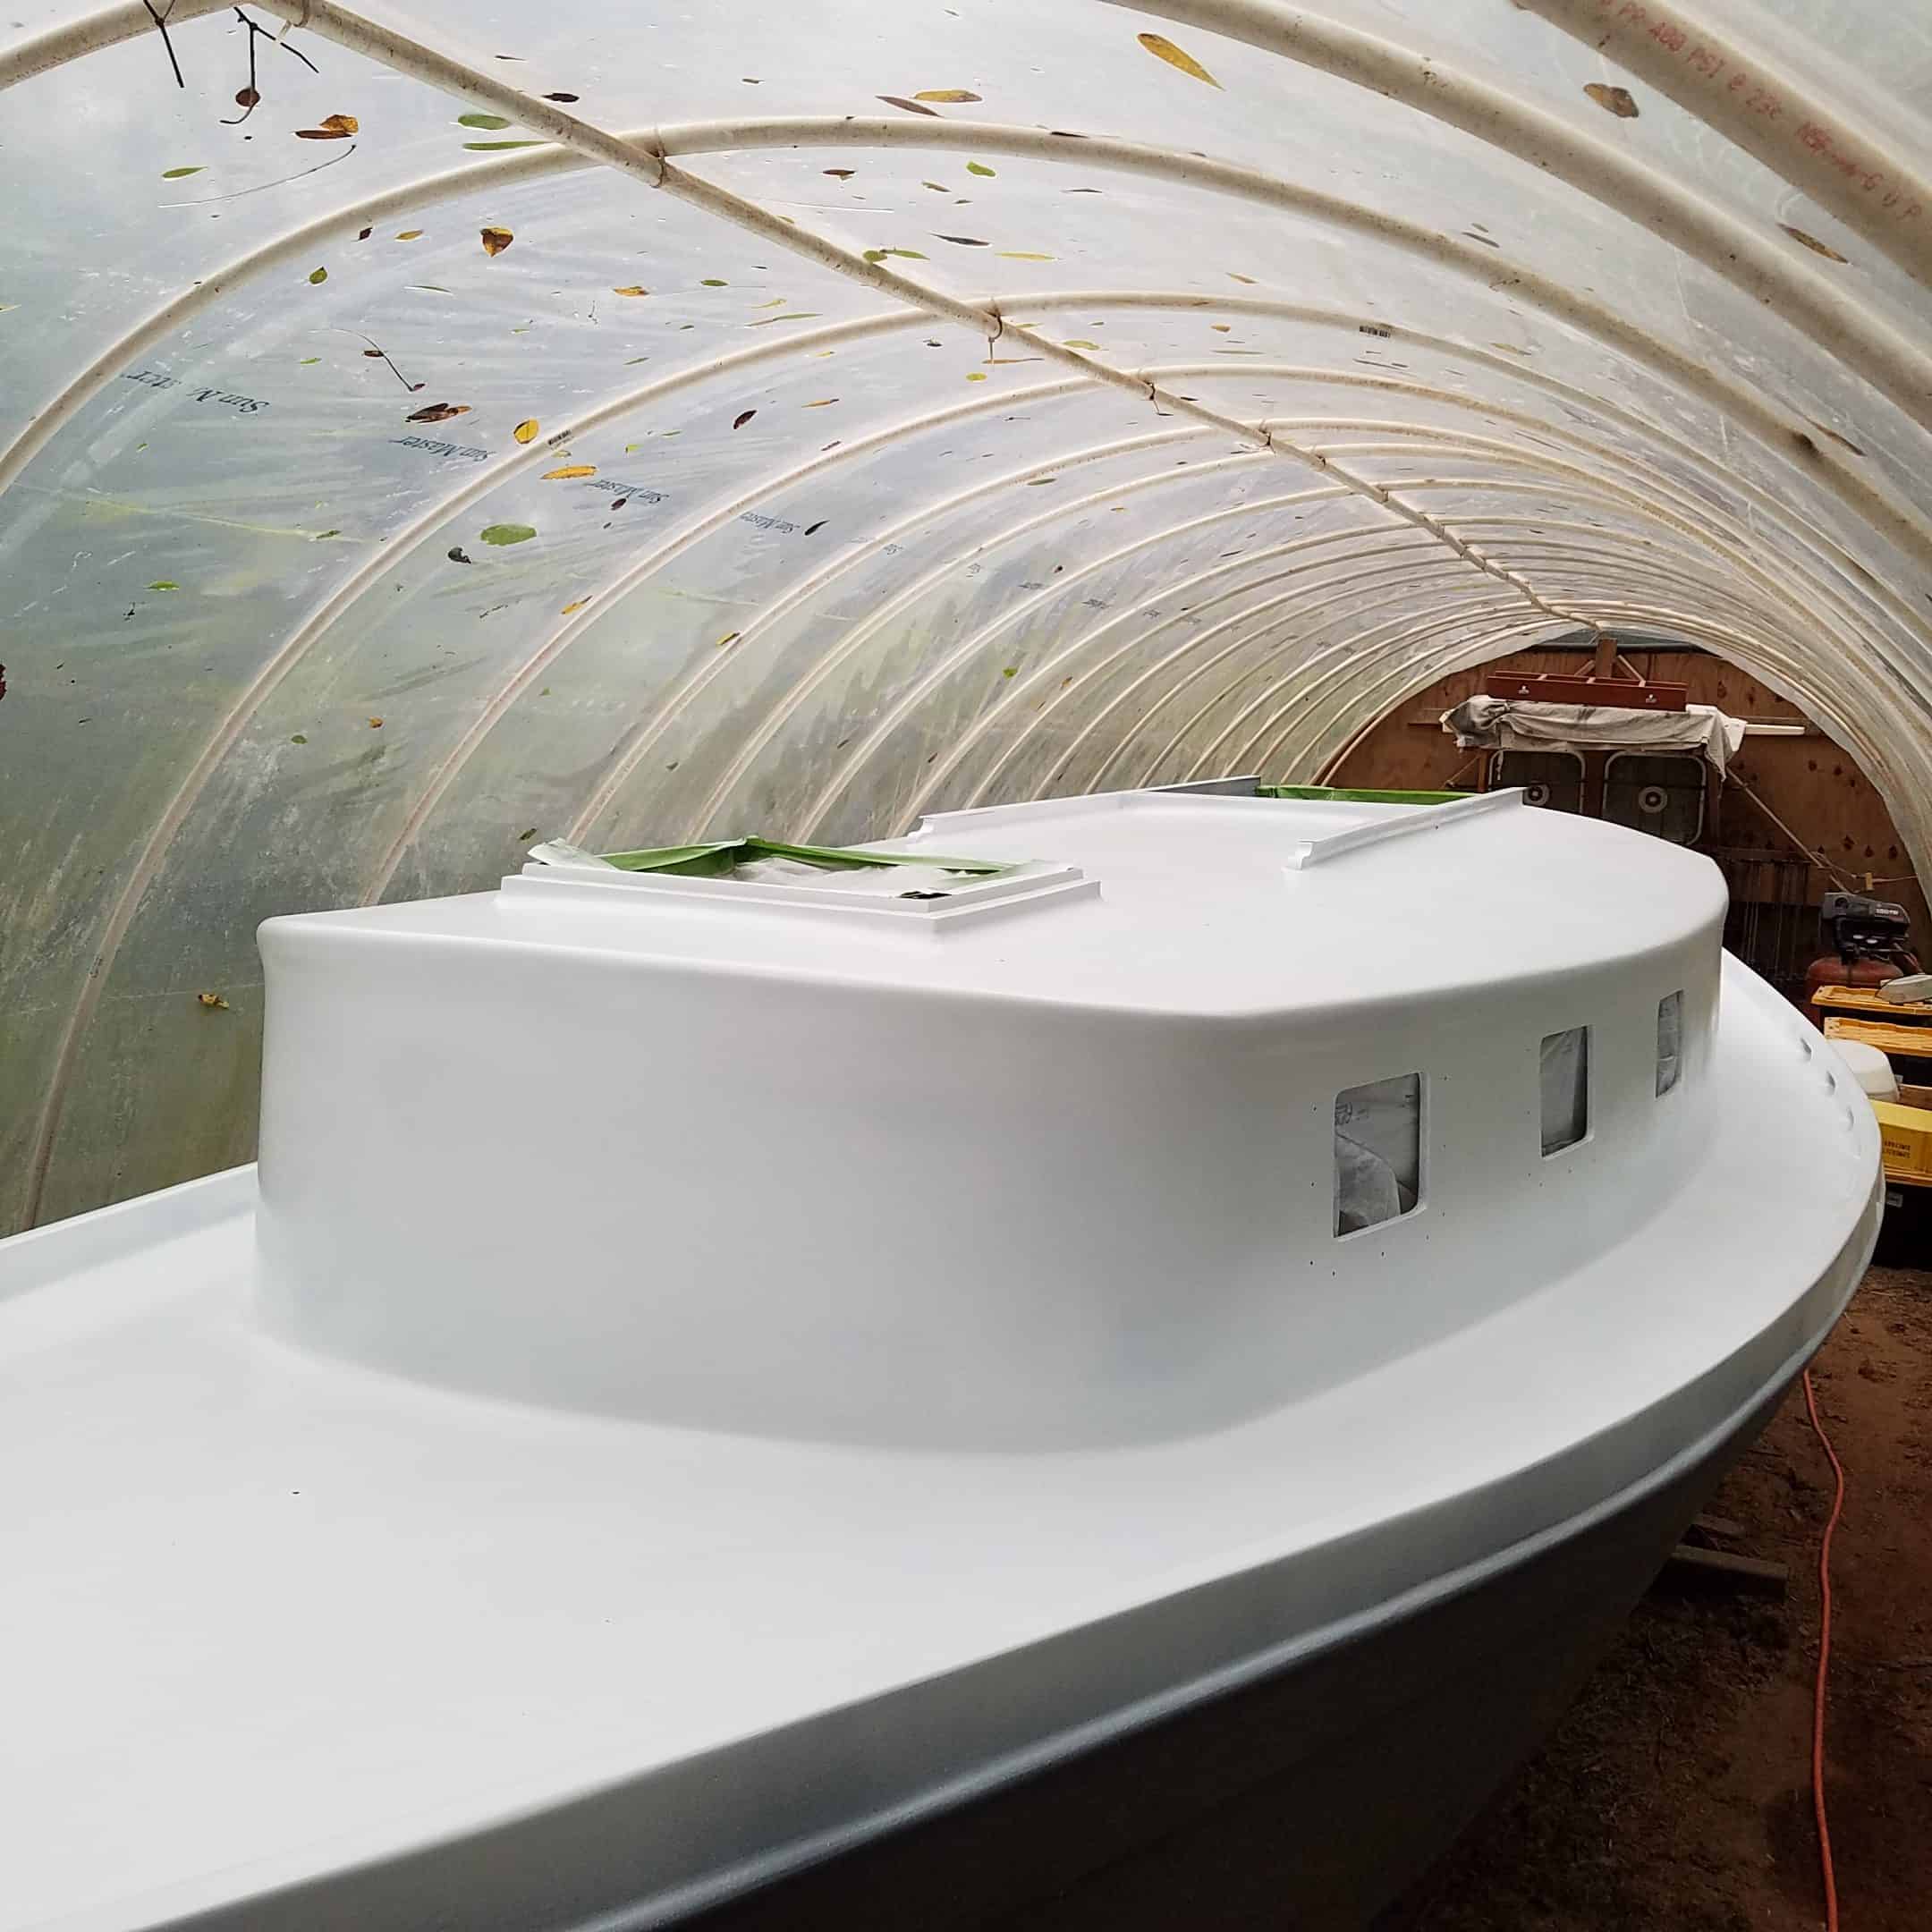
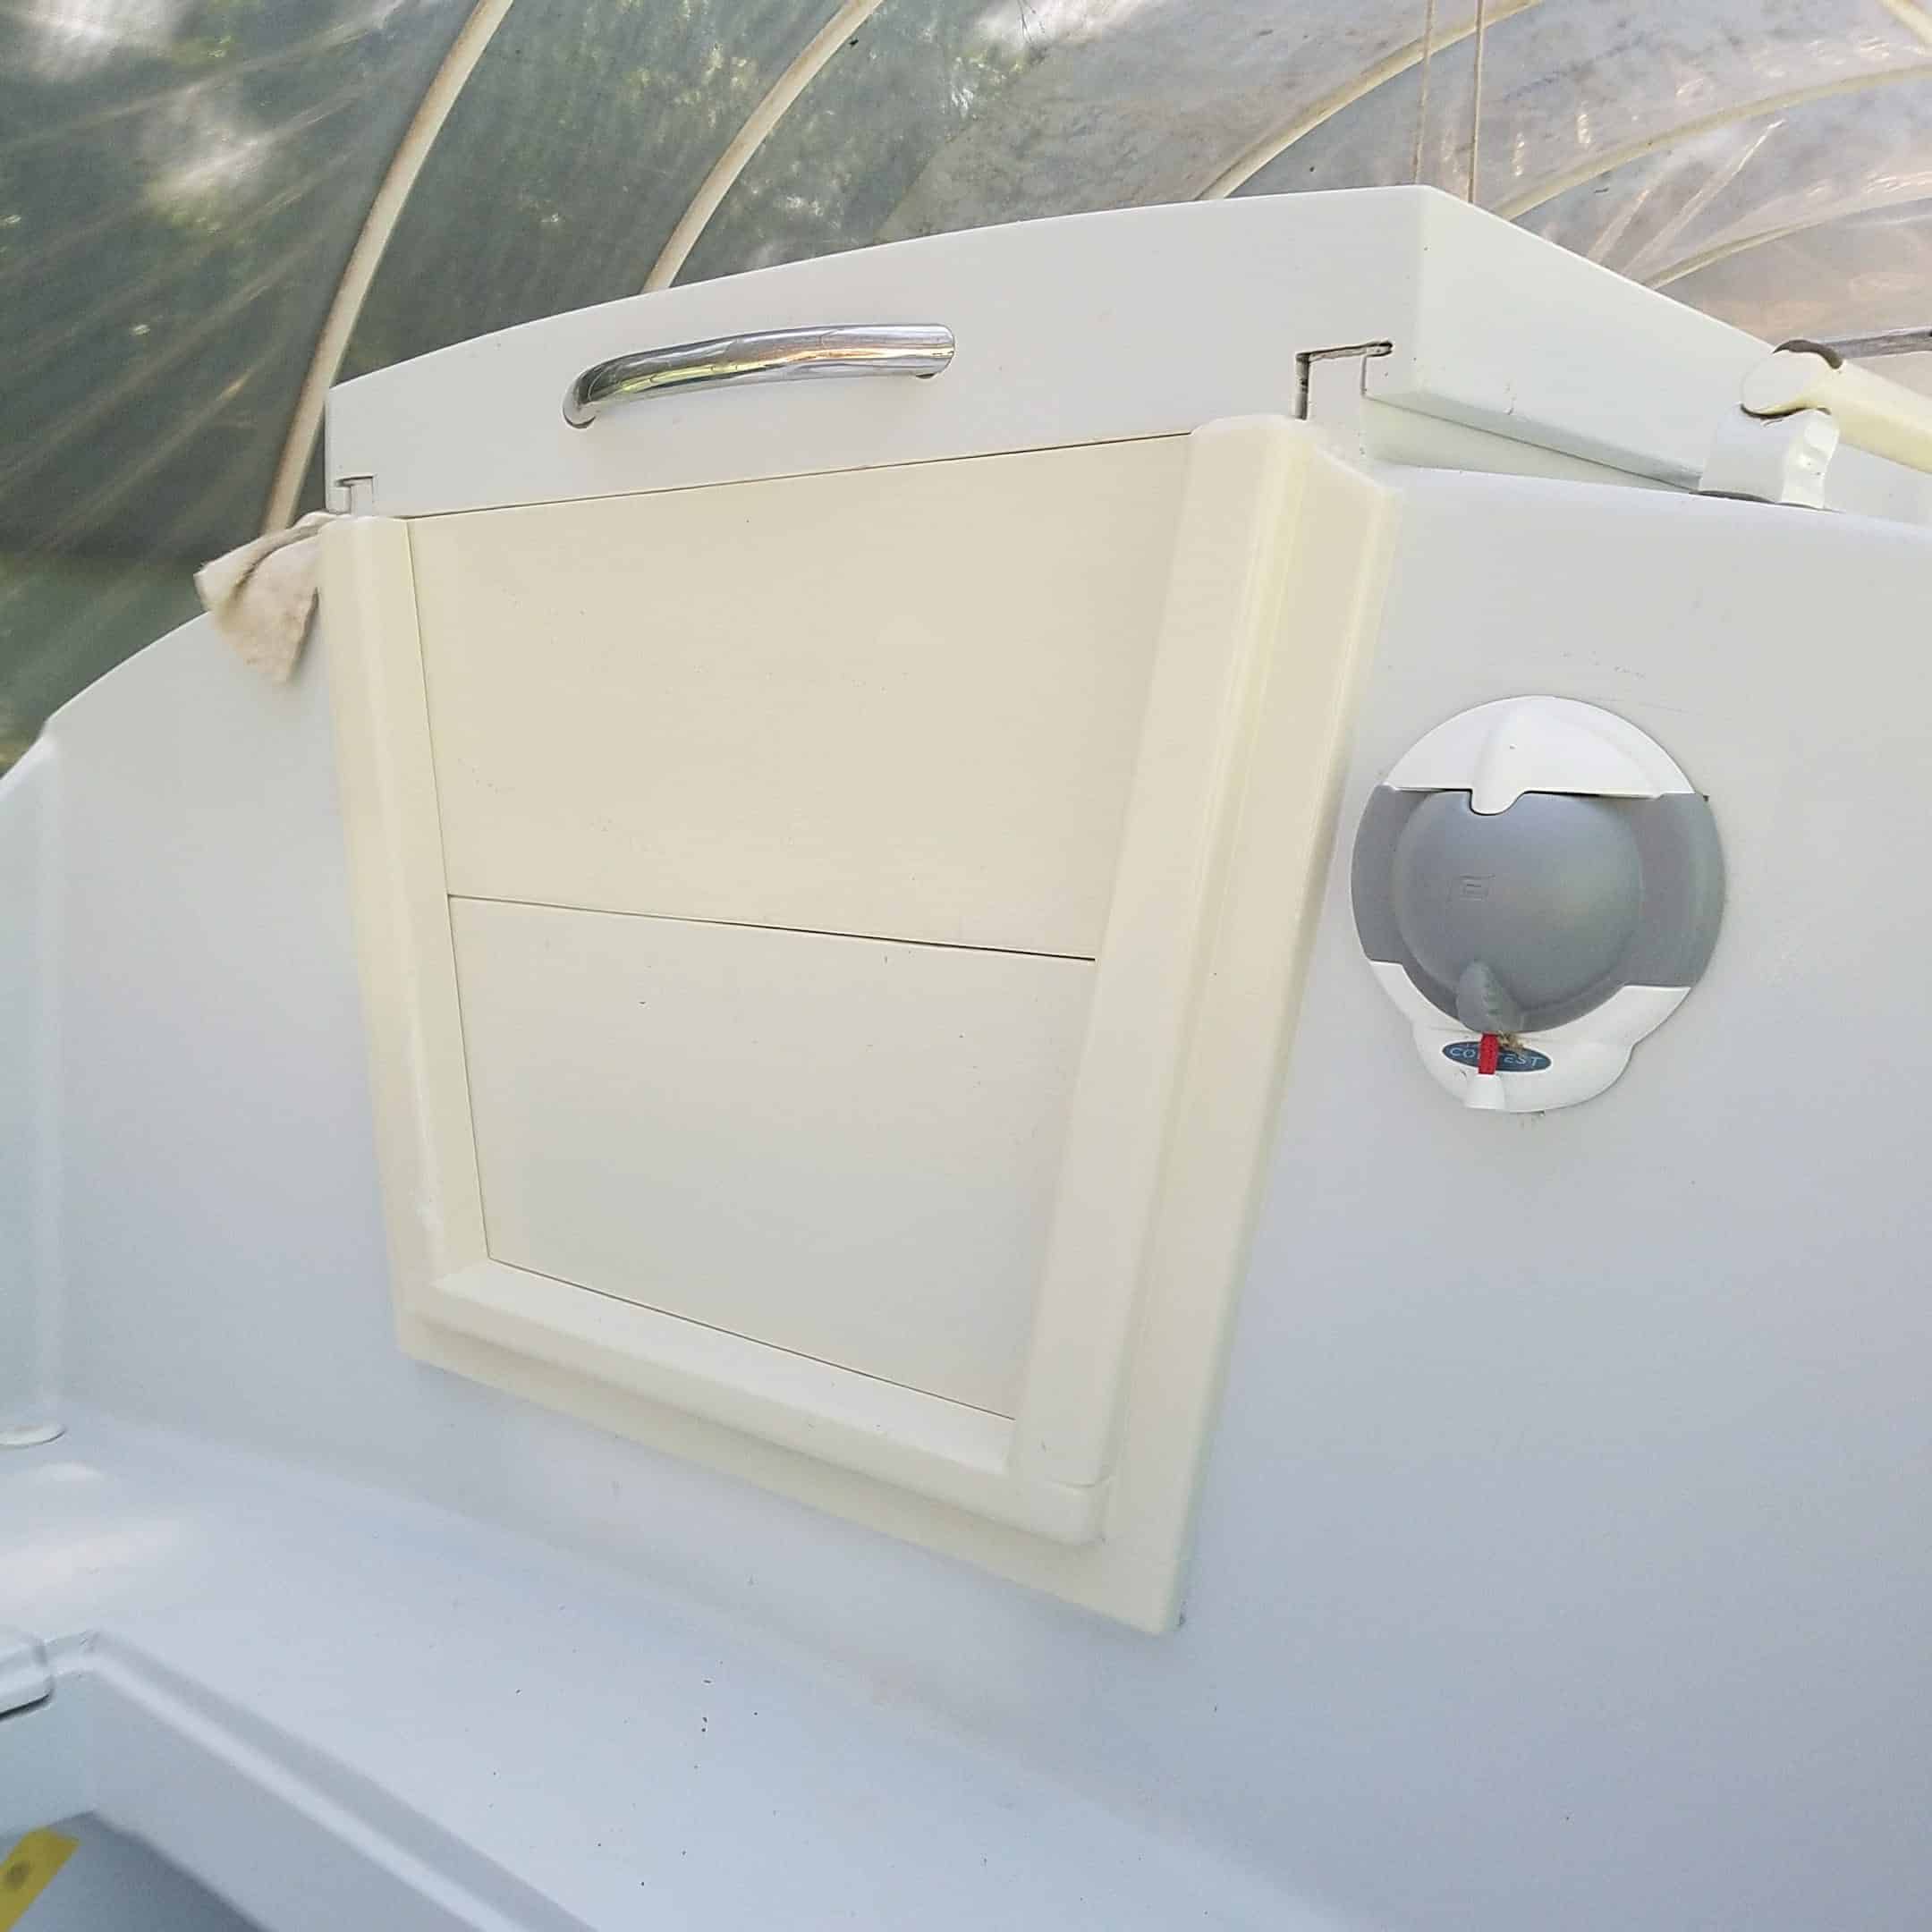
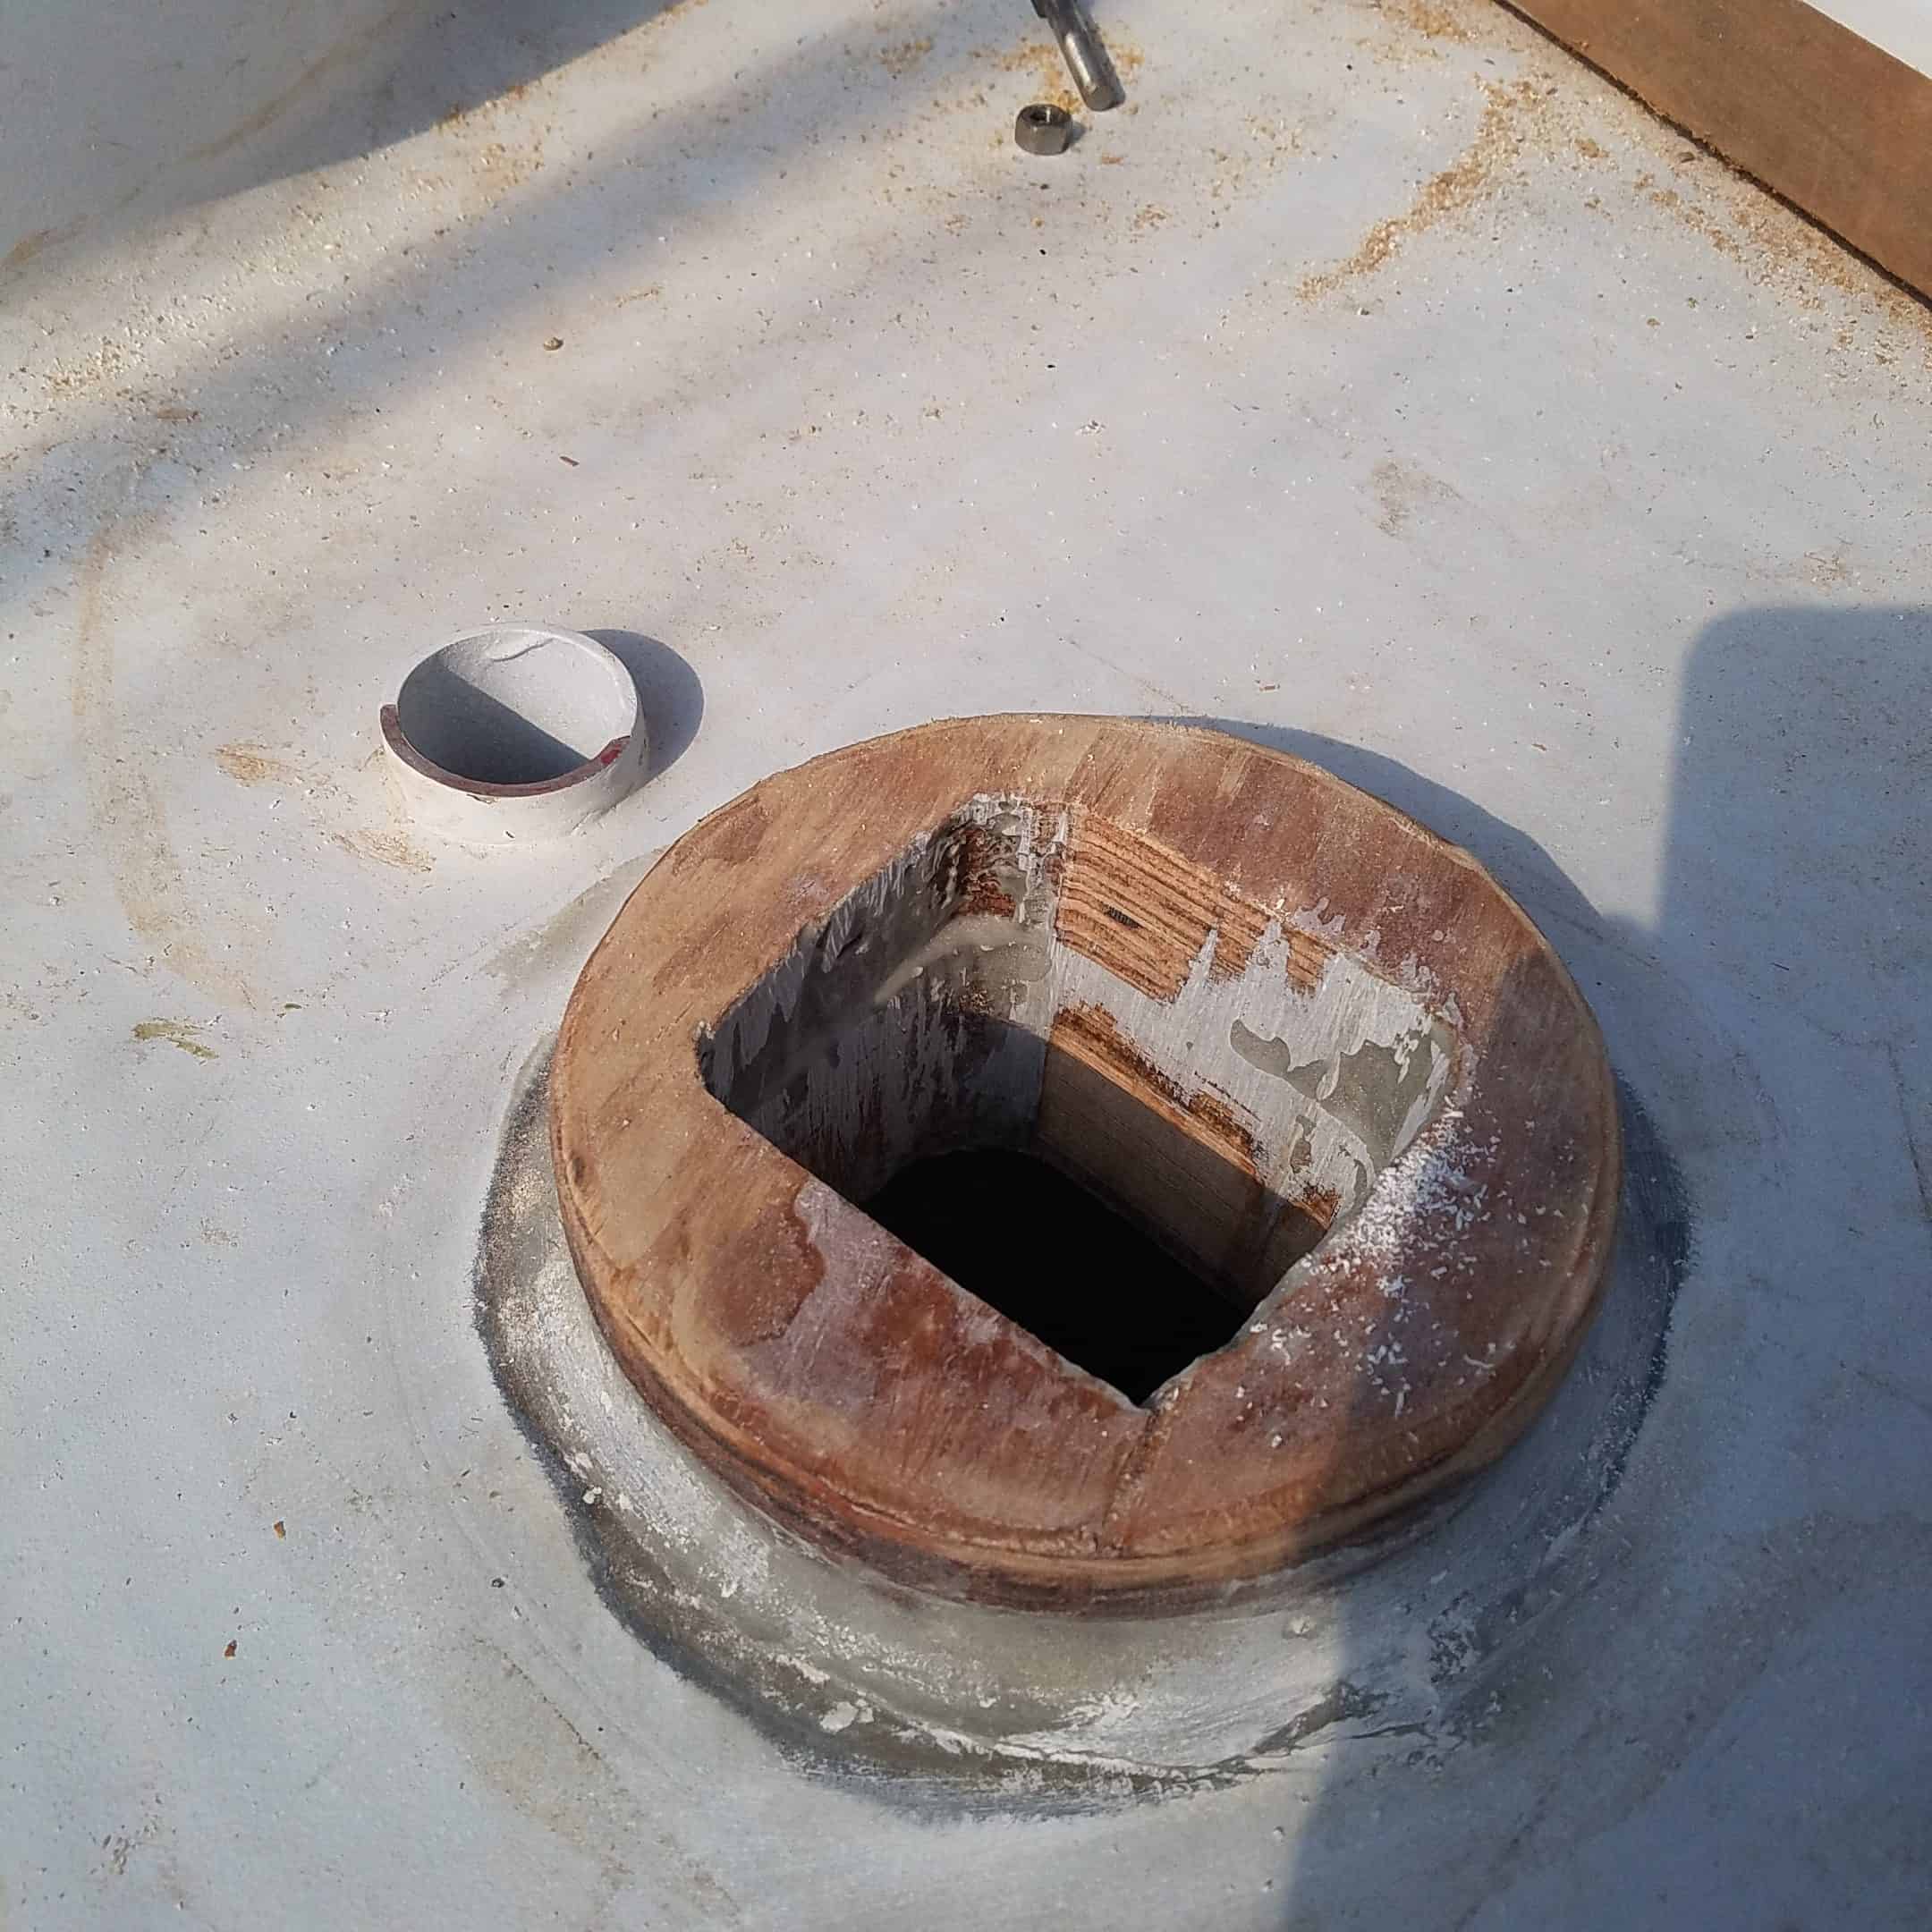
Now that the deck was in place, I was constantly filling in all of the screw holes and getting it quite smooth before putting the Xynole cloth to cover it. And, of course, I needed to install frames for the hatches and make the hatch covers. I used 2×6 Douglas fir for these and put simple miters in the corners. The front and rear hatches are not square, but trapezoidal, so a bit more complicated figuring the angles. Hatch frames were cut and fitted for the three access hatches, one forward just behind the bit as an anchor locker, one 20 x 20 inch main cabin hatch over the vee berth, and one aft just behind the mizzen mast.
I used clamps to hold the pieces together on the smallest one, and a Spanish windlass for the larger ones which worked well. Gently held the four pieces in place without distorting them while the epoxy set.
Around the cabin-deck joint, you can barely see above, there is a grey fillet in preparation for putting three-inch fiberglass tape joining the cabin and deck, all the way around the cabin. This is covered with another filet or two to smooth out this joint. We don’t want water coming in between the cabin and the deck.
Detail 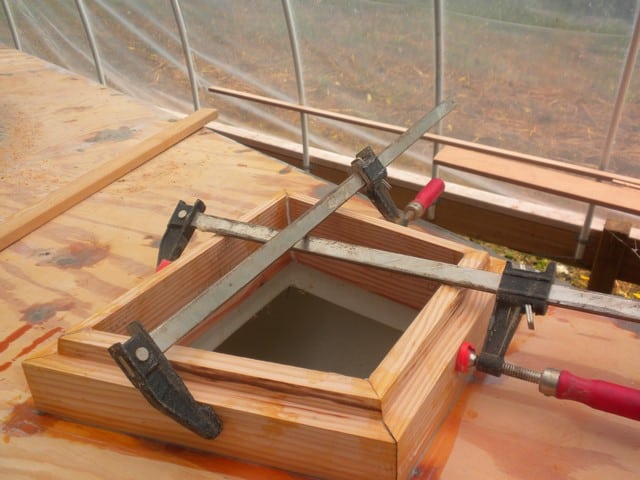
Gluing 
Rear hatch frame 
Rope “clamp” – trapezoidal 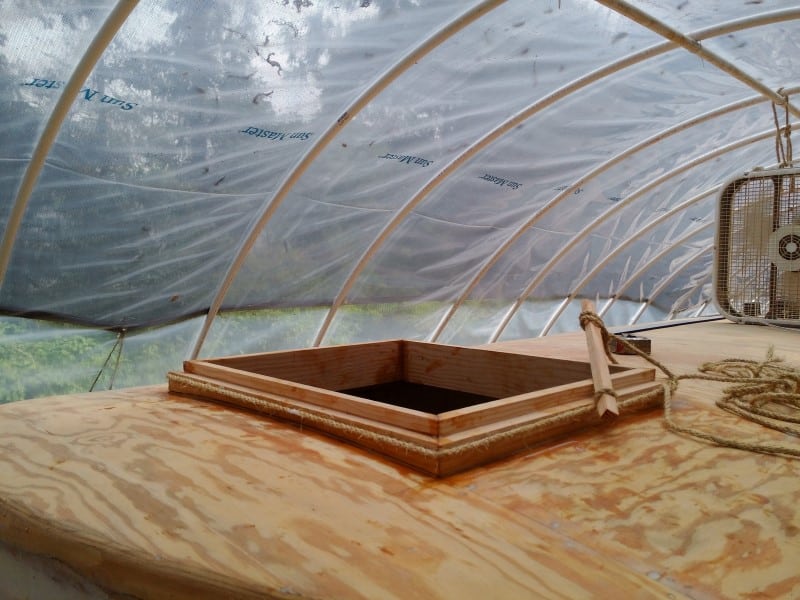
Rope “clamp” main hatch on cabin roof 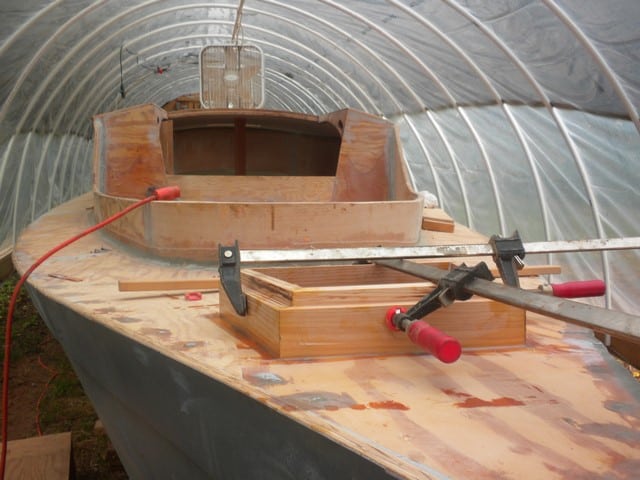
Gluing 
Anchor hatch 
Anchor hatch 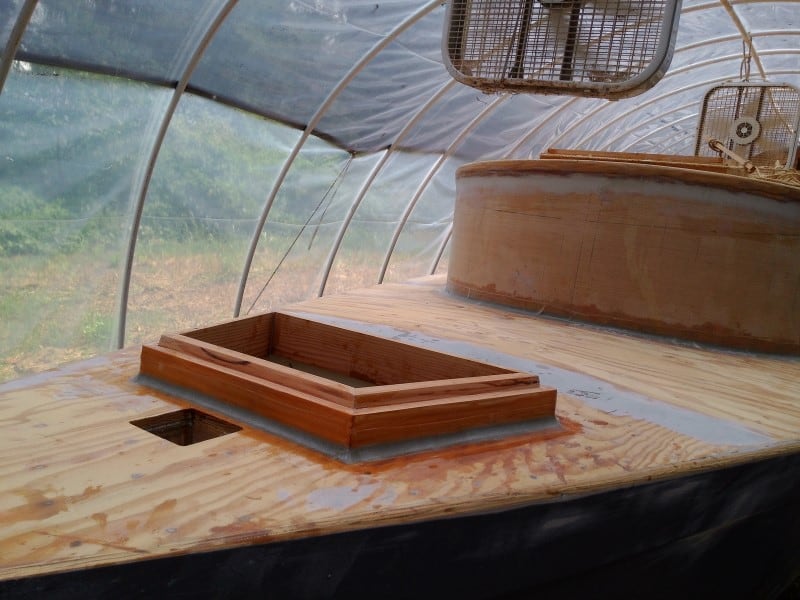
Anchor hatch 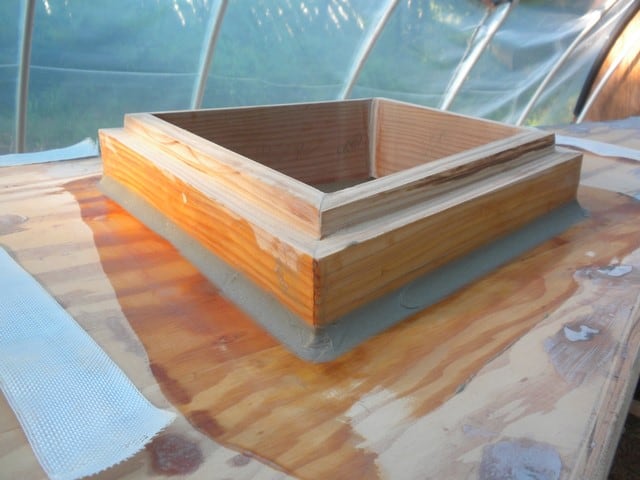
Adding fiberglass tape 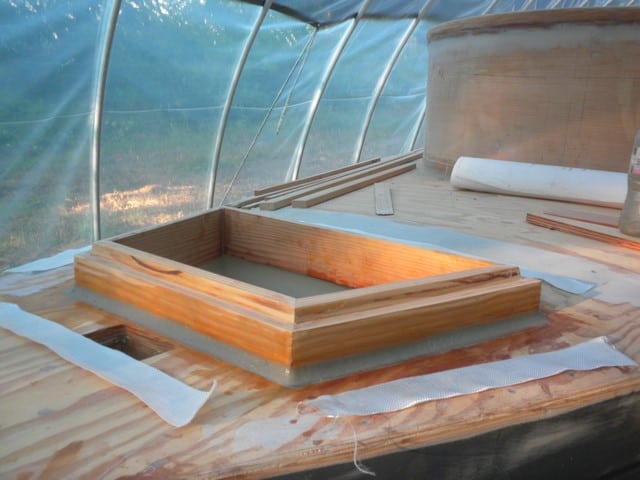
Filleting with fiberglass tape 
Cabin hatch
Epoxy & Dynel coating the Entire Deck, Cabin and Cockpit
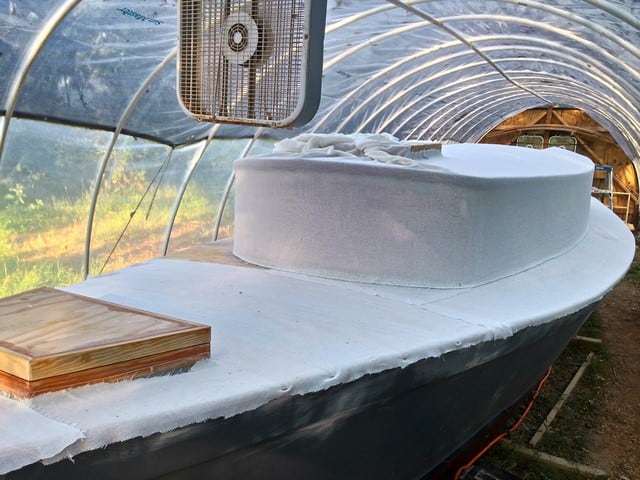
29 Sep 2013. Next item was to impregnate the Dynel cloth to the deck, cabin exterior and cockpit. First, I cut and laid out all of the pieces, using a few monel staples to hold them in place.
You can see that the cloth overlaps the edge of the deck onto the wale planks are. I’ll do the hatch frames and hatch covers later.
Cloth is laid 
Cloth is impregnated with epoxy 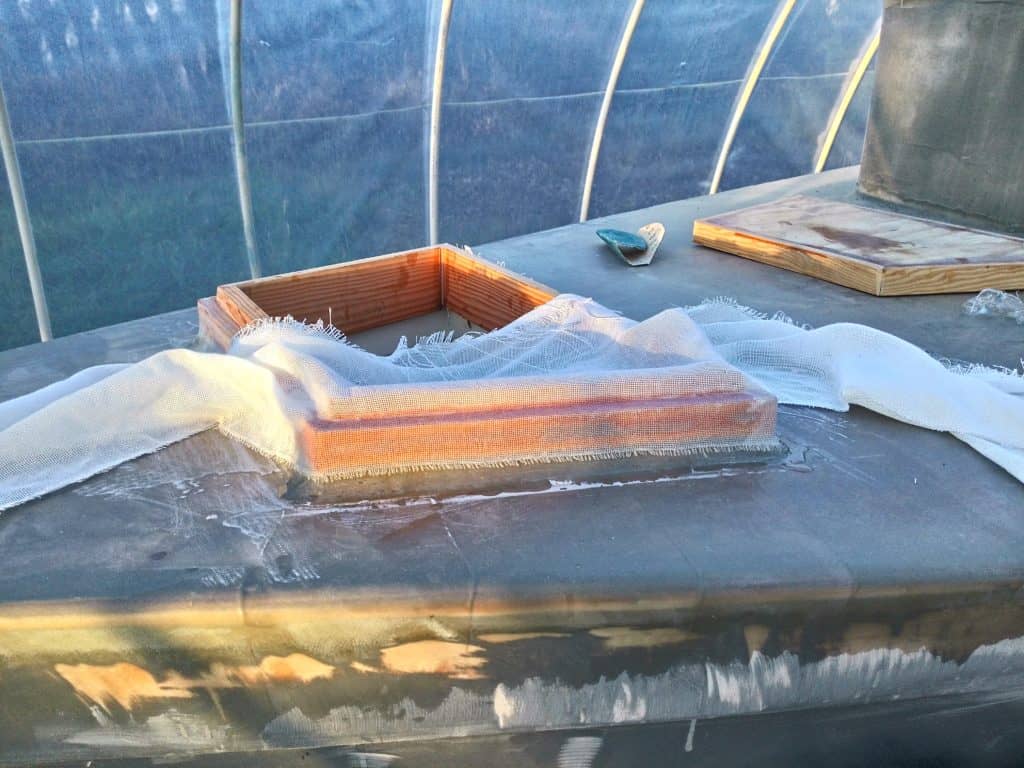
Hatch 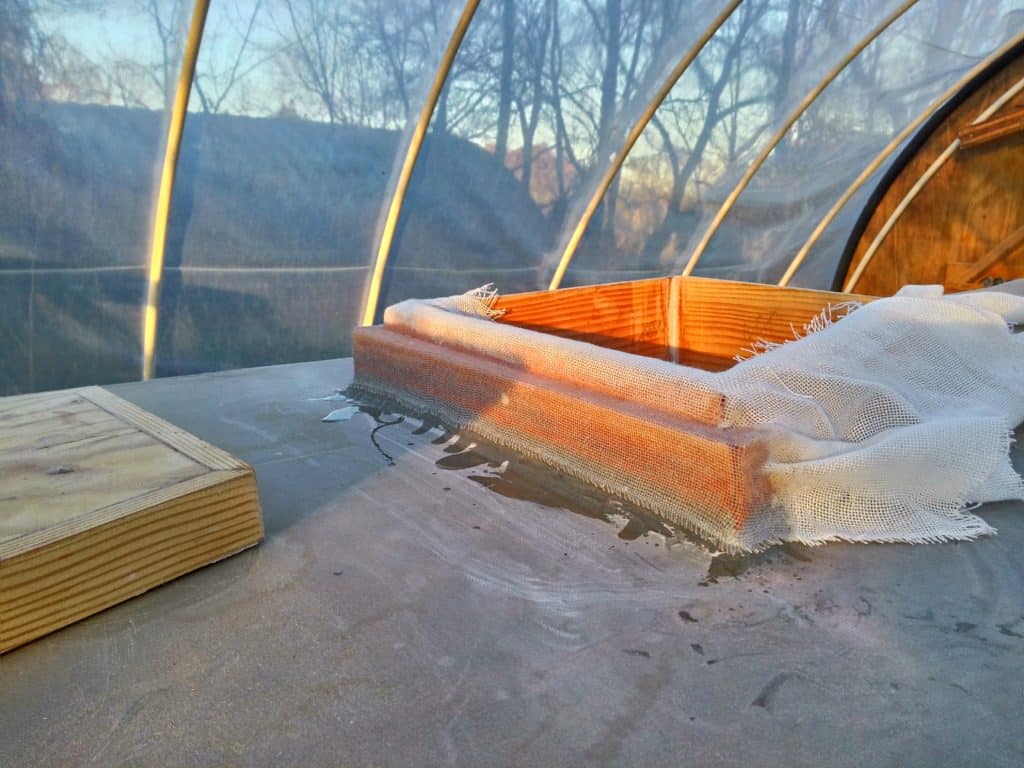
Hatches are protected also 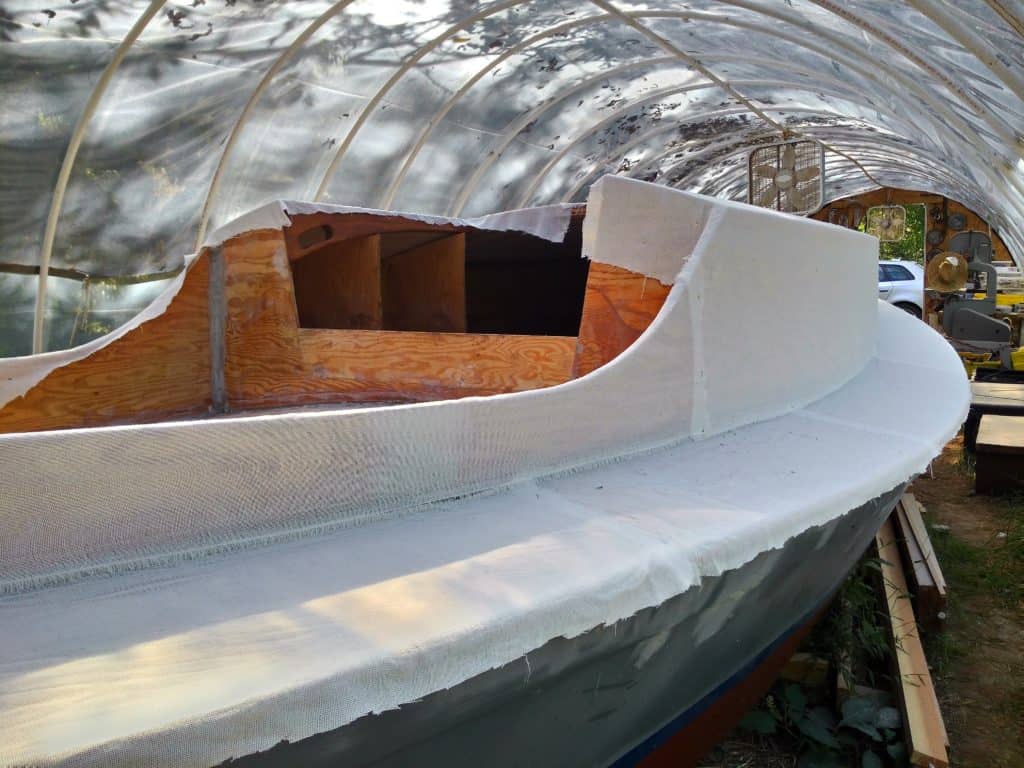
Cloth is laid (companionway is still wide) 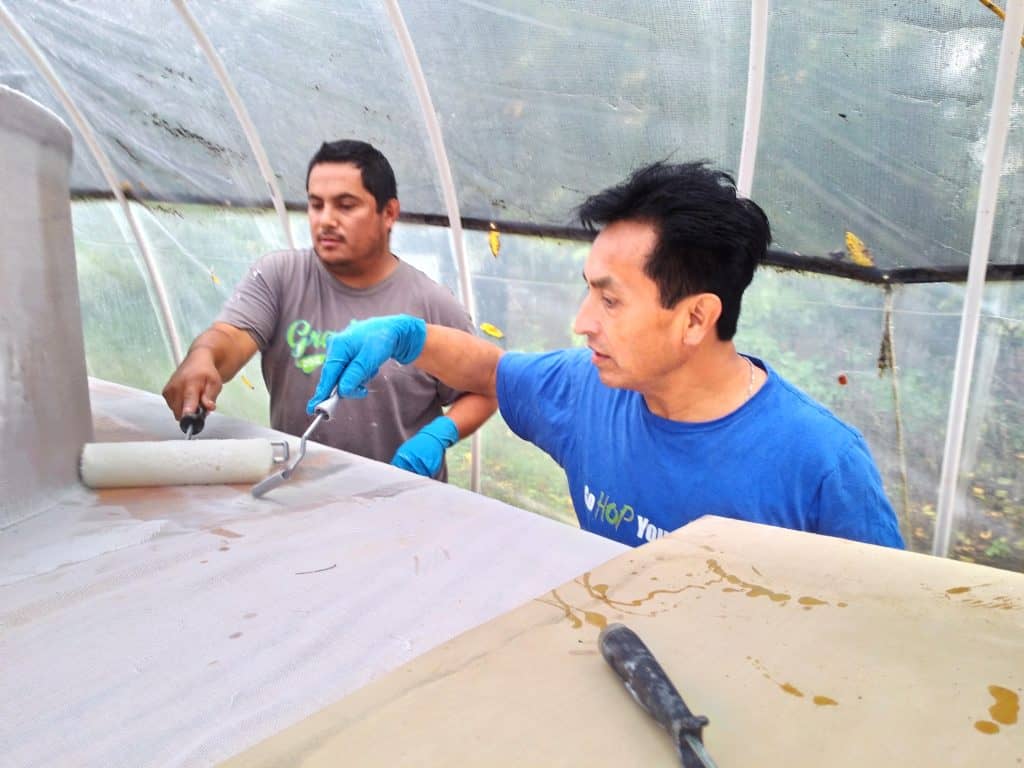
Oscar & Humberto Carlos


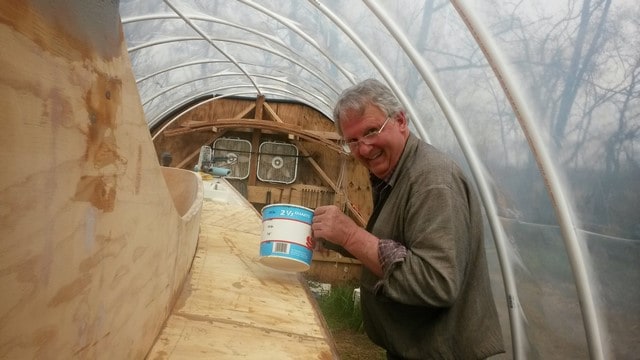
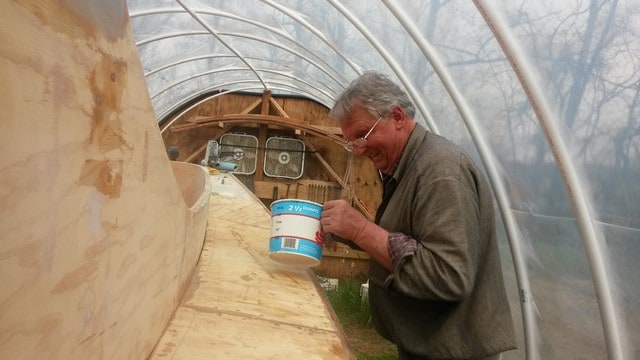
For this job, I got Carlos and Oscar to help, as I wouldn’t be able to do this by myself in one day. They had helped impregnate the cloth over the the hull, so understood the work to be done. Mostly, I mixed the epoxy while they impregnated it into the cloth adhering it to the plywood.
The Dynel or Xynole cloth was first impregnated to the plywood and now the skimming process begins. After the initial coat of epoxy on the exterior, I skimmed it with a couple of coats of thickened mix using talc as the thixogen. I will sand and paint this later, but want to get the cockpit and interior of the cabin caught up first. December 2014 was warm until Christmas, (CO2) so I was able to coat the entire exterior topsides and cabin with the epoxy thickened with talc. Then I finished the cockpit floor and covered the cockpit well with 3 inch fiberglass tape where the sides and bottom meet and then Dynel cloth on both the floor and the sides.
Back to the cockpit here for a moment, The front part of the cockpit well has the cockpit drains, inch and a half PVC, they are protected by 1/2 inch ply corners in this small compartment made for two T-105 6-volt golf cart batteries, accessed from inside the cabin. BTW, this battery space was just barely large enough and the access turned out to be tiresomely difficult. At some point, I may put a waterproof hatch in the main floor of the cockpit which is directly aft the battery compartment, but for now, it is flotation. ($600 for a decent hatch.)
I made the gigantic, huge companionway entrance smaller; it was way too large for me as described in the instructions as I cut it originally. I had been agonizing about the companionway hatch for months; actually since my trip in 2010 from Stuart, Florida to Cartagena, Colombia in my previous sailboat, a Ranger 33. My son, Chapman, and I got pretty well completely soaked quite often on that trip from water coming into the boat, sometimes gallons at a time, when seas, or at least what was left of them, swept over the deck and cabin while beating into the wind in the Old Bahama Channel for almost a week, day and night. Reuel sent me a nice drawing for the details for the sliding companionway hatch which is a great help. I will use his drawing combined with an idea for the front end of the hatch runners, coamings, and slides suggested by Fred P. Bingham in his book Boat Joinery & Cabinet Making Simplified. Here is an image below.
Sliding hatch
April and May 2015 – With the nice weather, I’m getting started on the new projects. Next is to build the sliding hatch, then the spars and on to the interior. I have just finished making the companionway entrance smaller, putting the cabin roof to fit up to the sides of the new companionway and so on. A good deal of work getting it all faired out and smooth, both the roof and the hatchway. Then I put the runners for the sliding hatch on and sanded and painted the entire boat with Awlgrip 545 primer. I don’t have any photos of the details, but it ended up looking like this, after spraying two coats of Awlgrip 545.
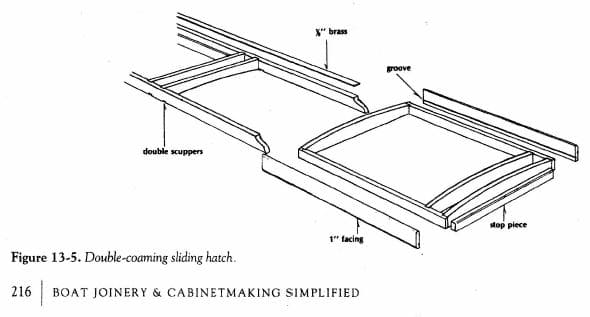
The theory is that the water entering at the front, below the stop piece, will be slowed by the second coaming and drain out the scupper between the two coamings.


Finished – open 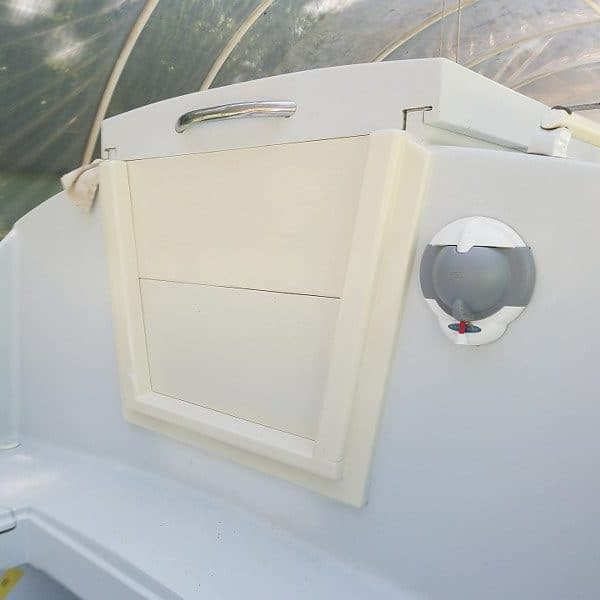
Closed

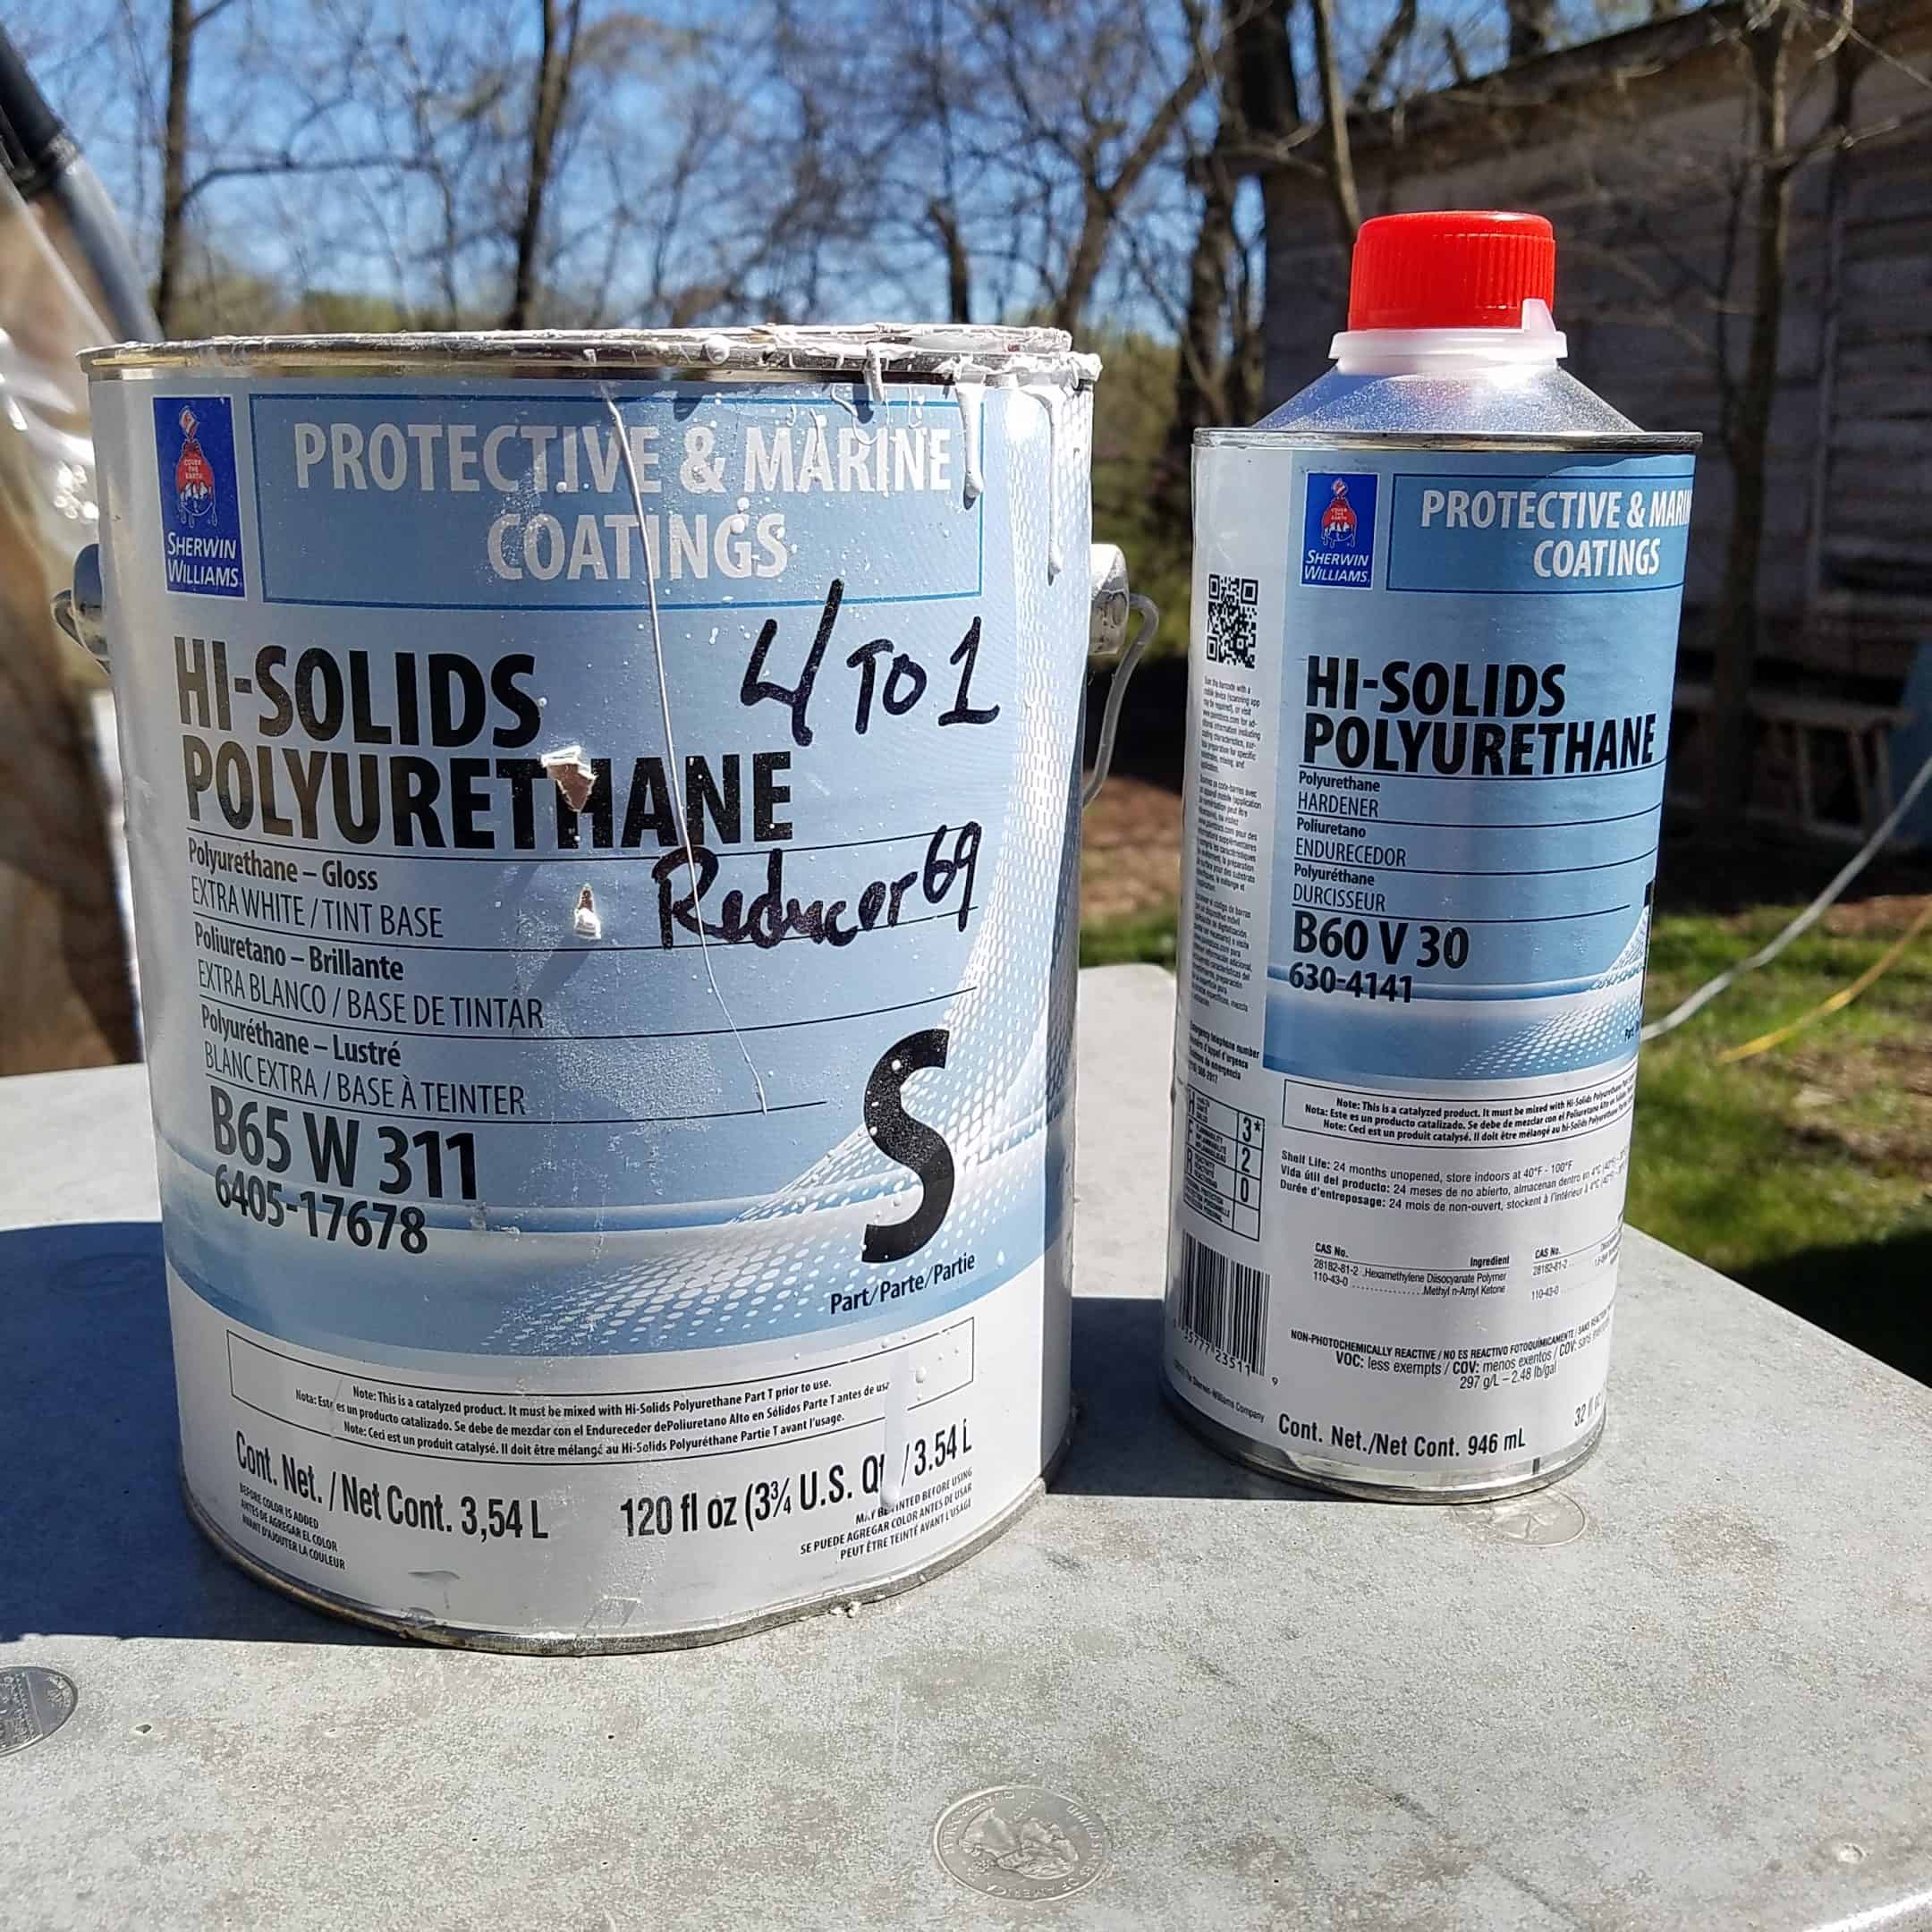
The sliding hatch is completely covered with Dynel on the outside, finished and painted with Awlgrip 545 and a Sherwin Williams 2-part polyurethane topcoat.
Handrails
Along the cabin top on both sides I installed handrails. I made two one inch diameter rods or dowels about fifteen feet long and mounted them on risers. I cut 1.25 inch squares of ash and smoothed them out somewhat, being a little fouigh made for better gripping. The risers were from white oak.


White oak riser 
Countersink for butyl and bolt seat 
Ready to install 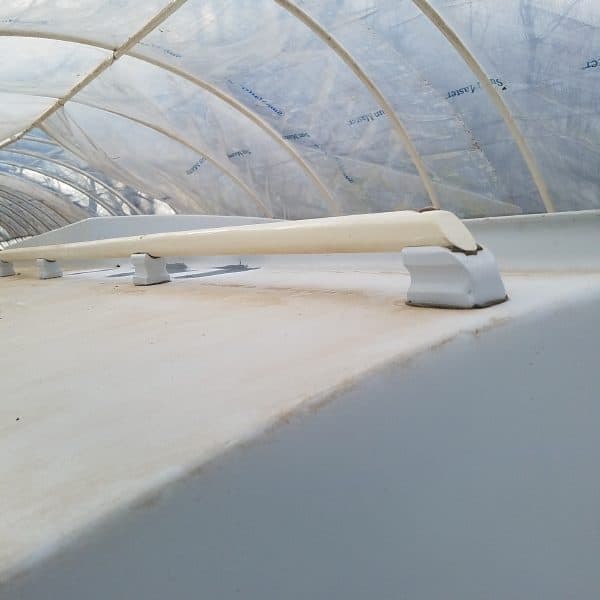
Finished

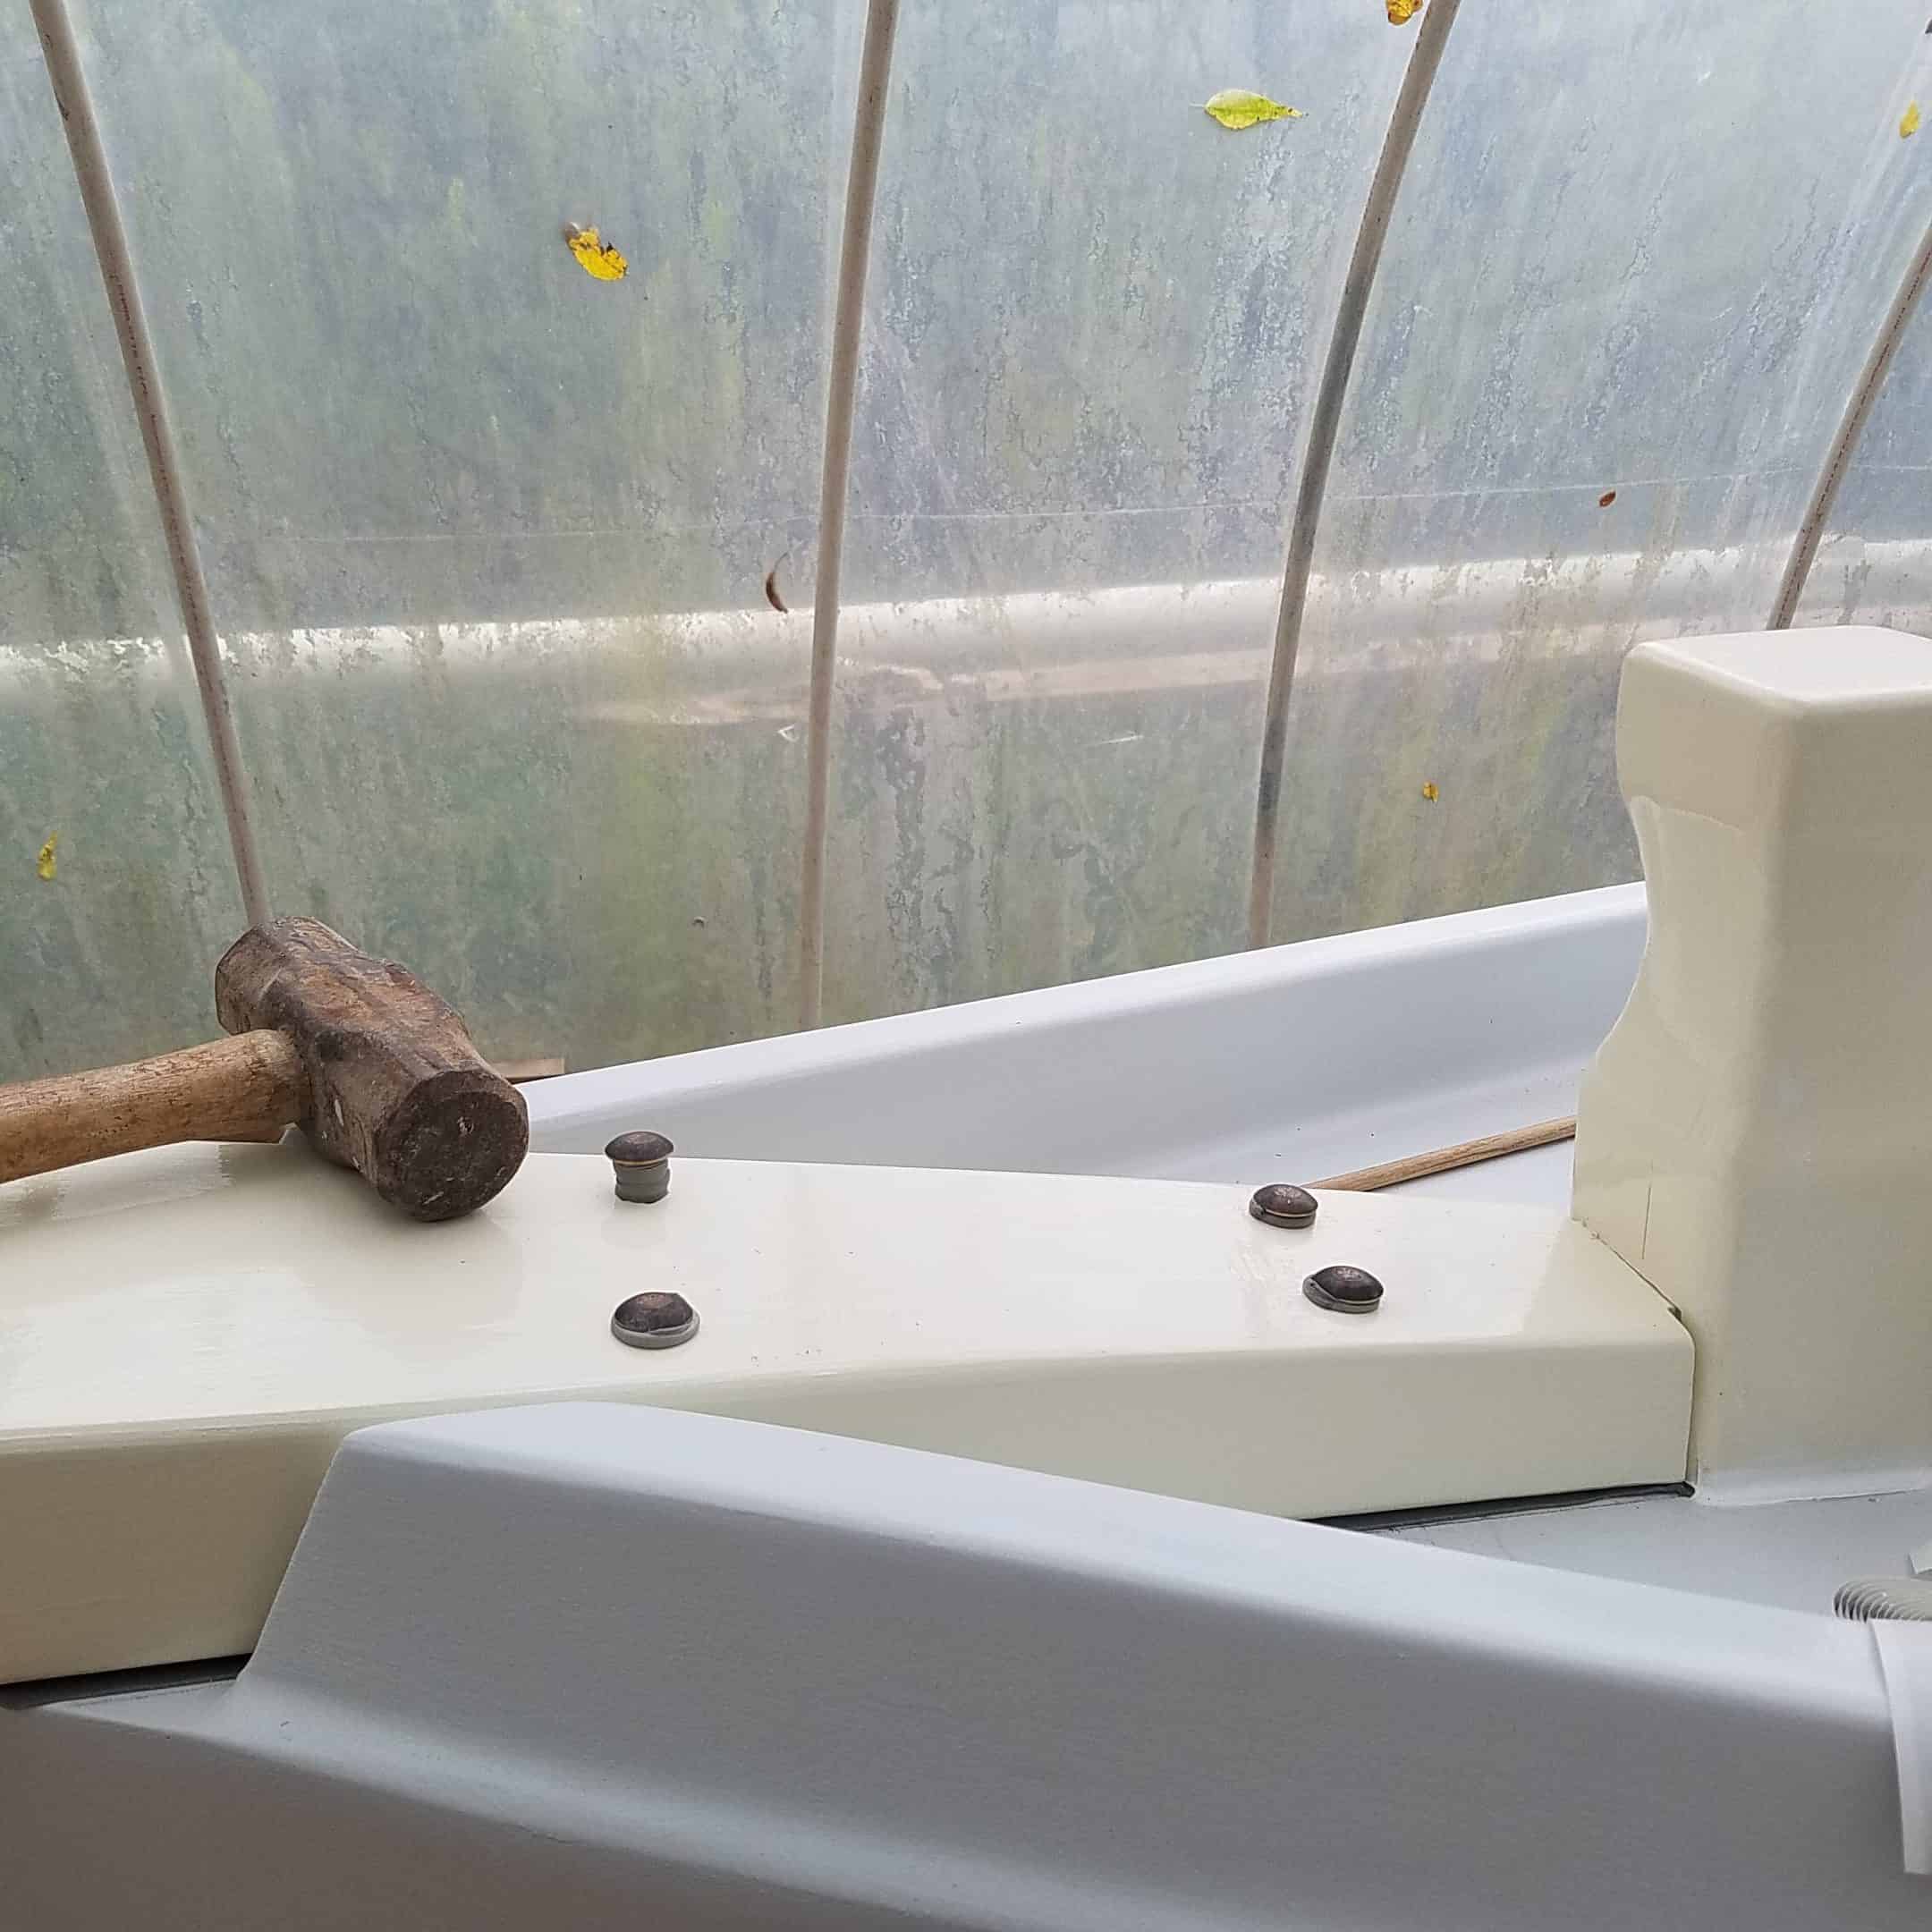
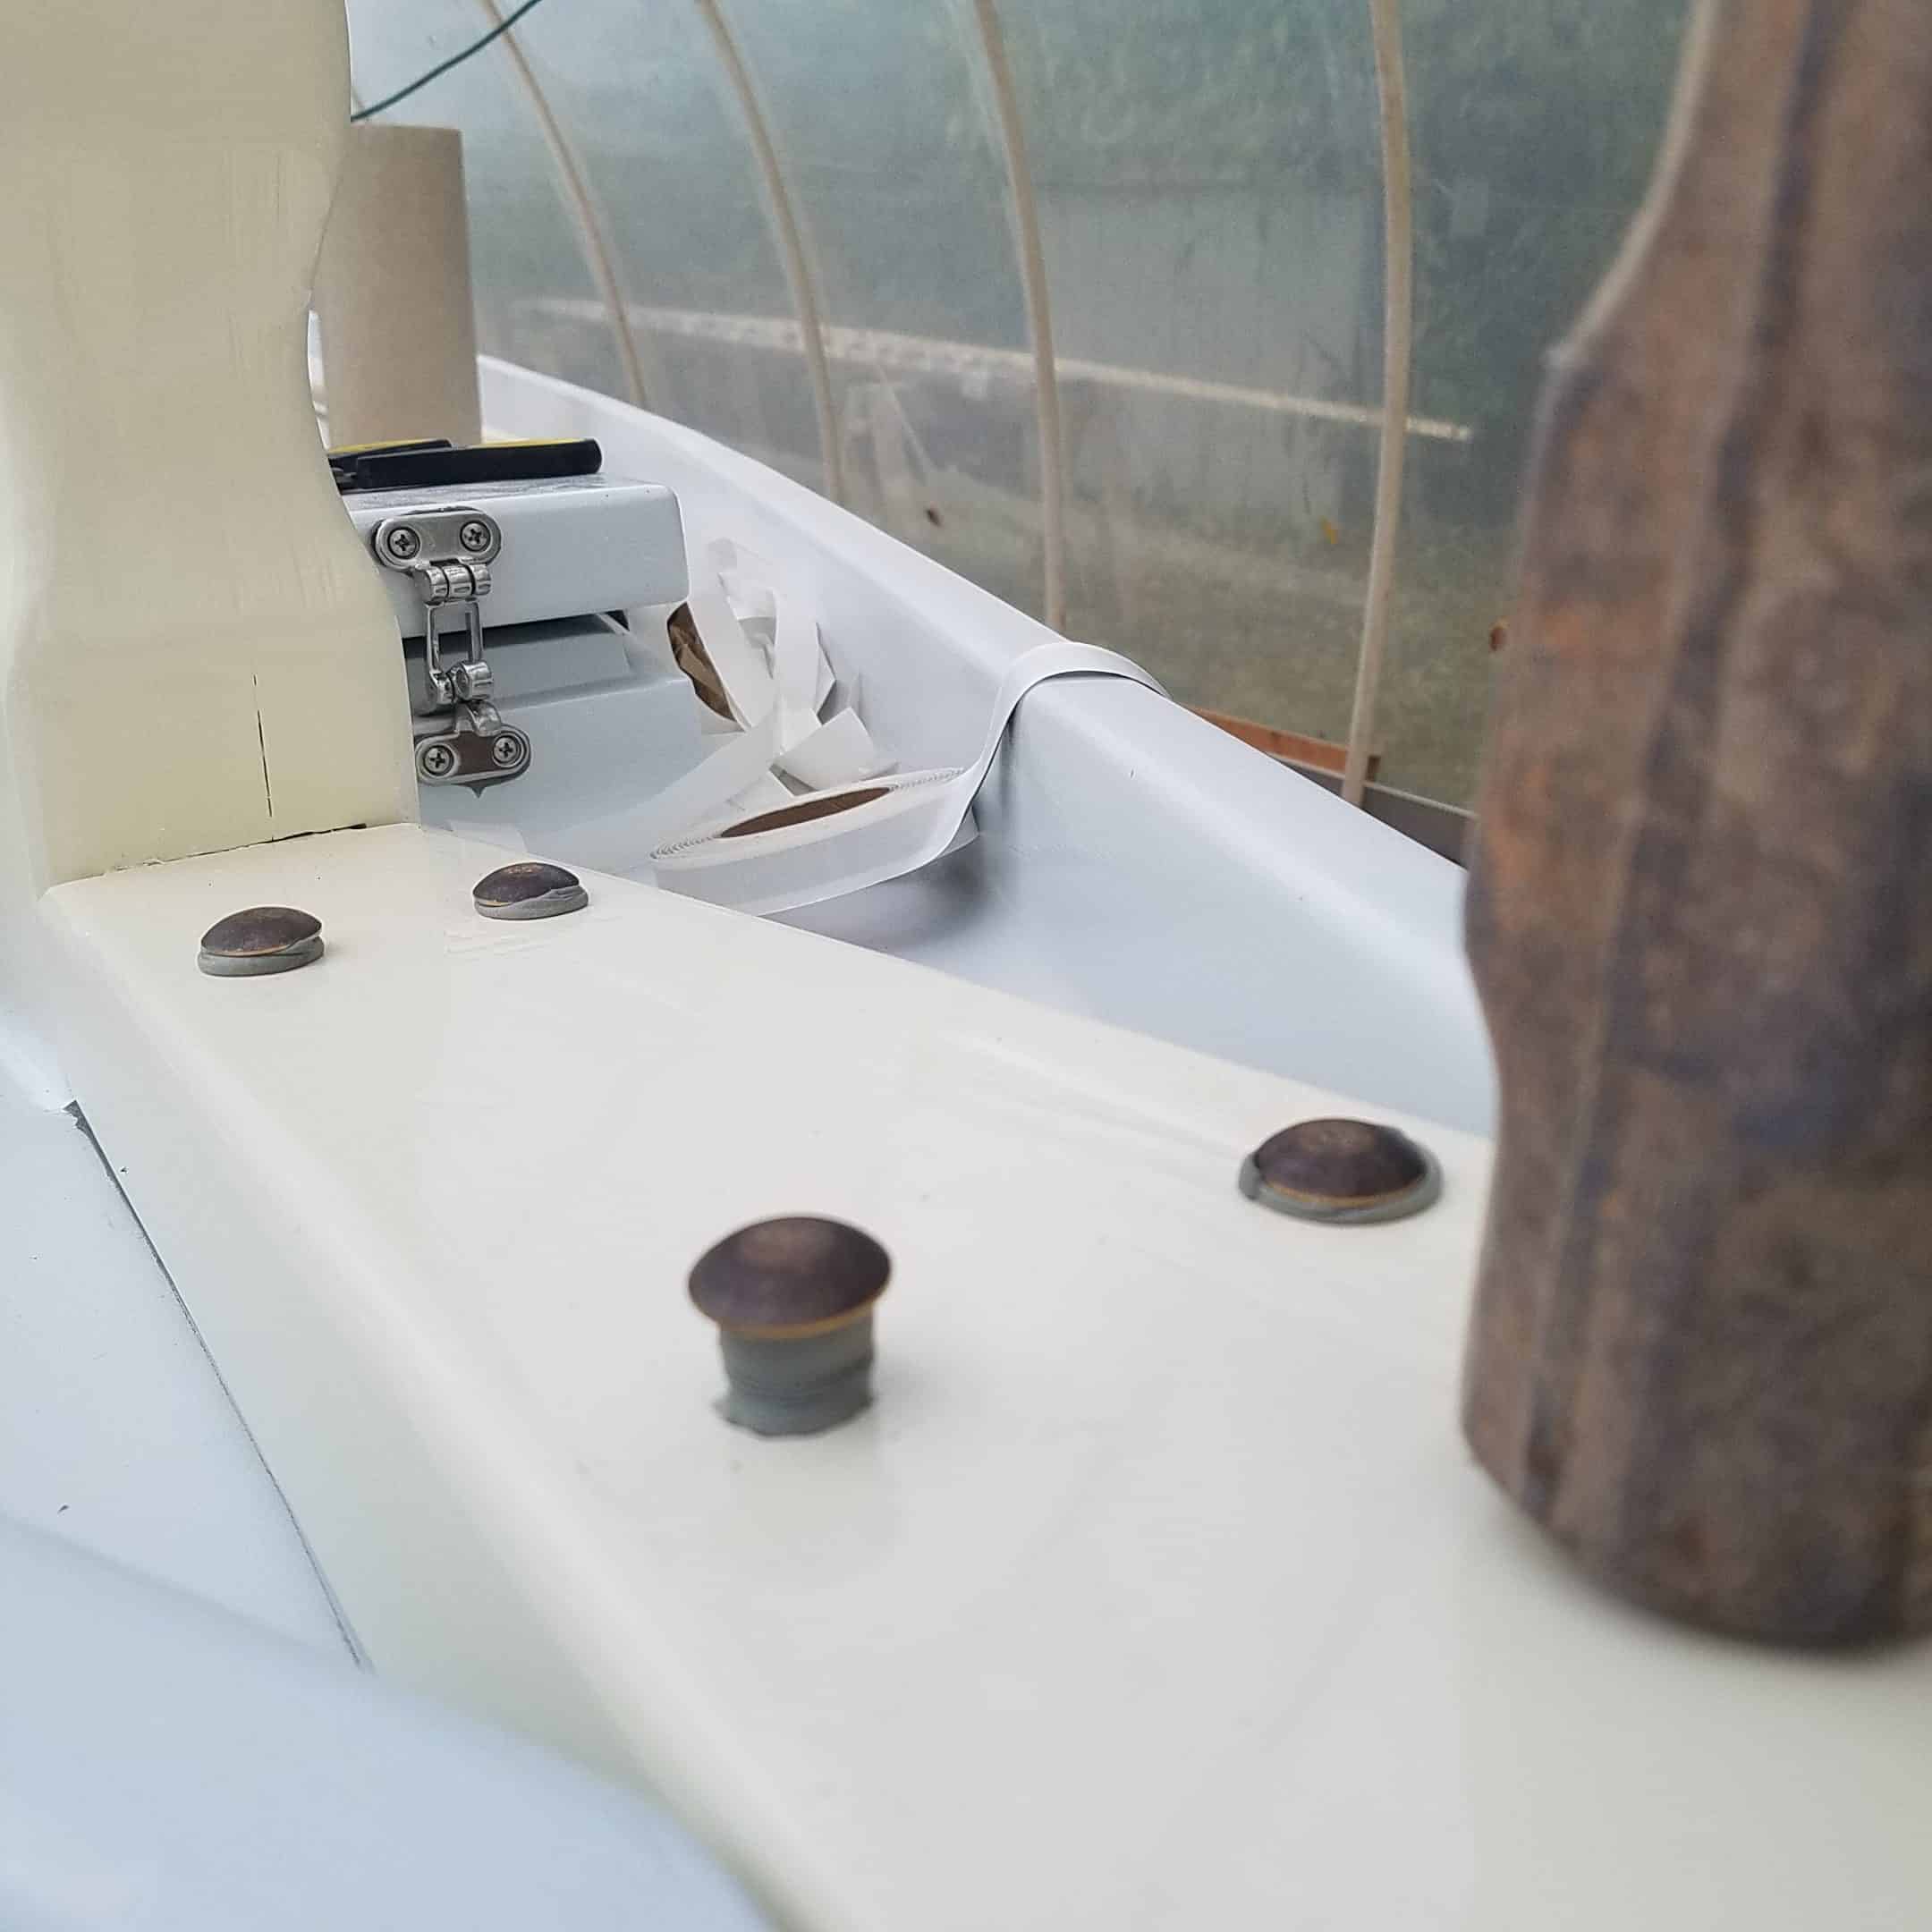
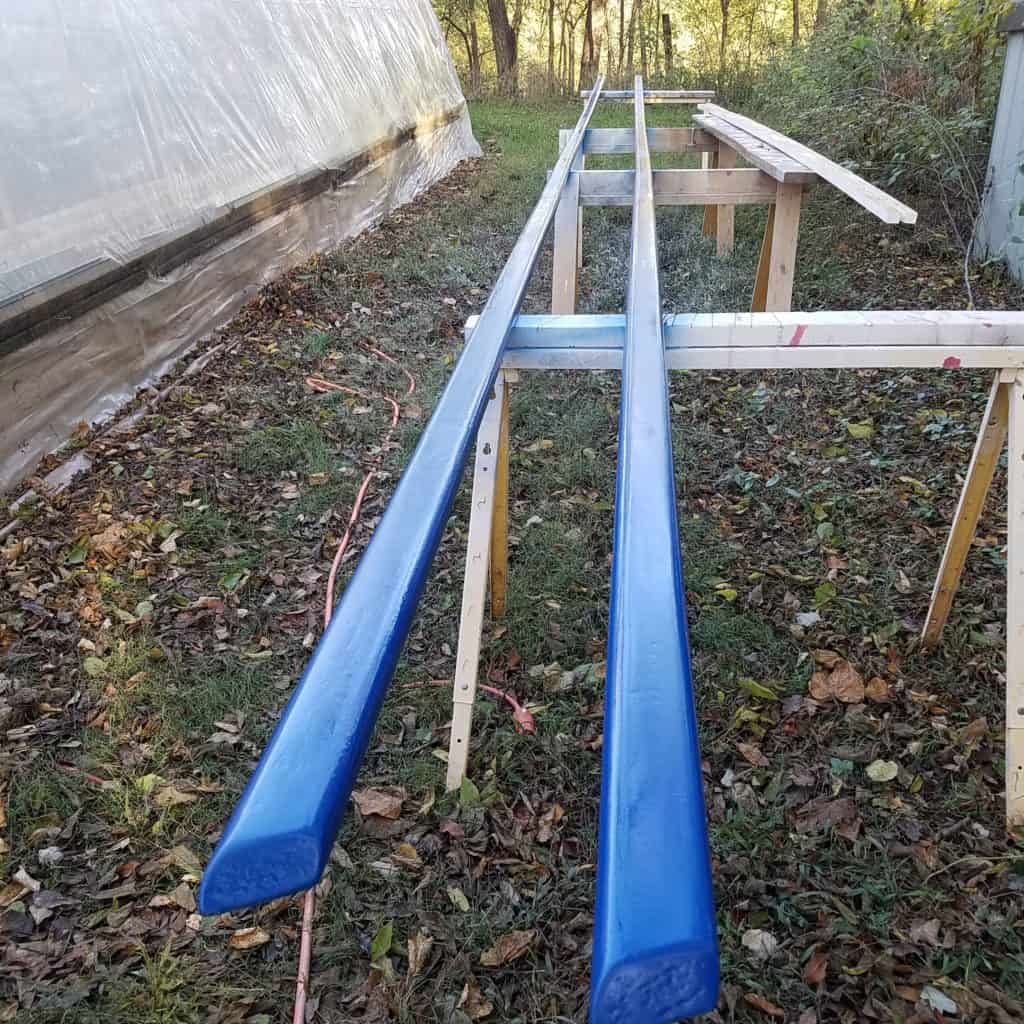
The Toe Rail
First layer of lamination for the toe rail. Here you see I am using a digging iron and loading strap to pull in the toe rail into place. It’s January 2015, it has turned cold, so I am focusing on sanding and carpentry items until it is warm enough to epoxy. If it is 50 degrees F outdoors, it is almost 70 inside, so the greenhouse effect is helpful, but nights can be very cold. I’ve started with the first layer of the toe rail, there will be four to make it 3 inches high. Also, am working on the bowsprit and boomkin as the toe rail has to fit next to them.
First layer of toe rail 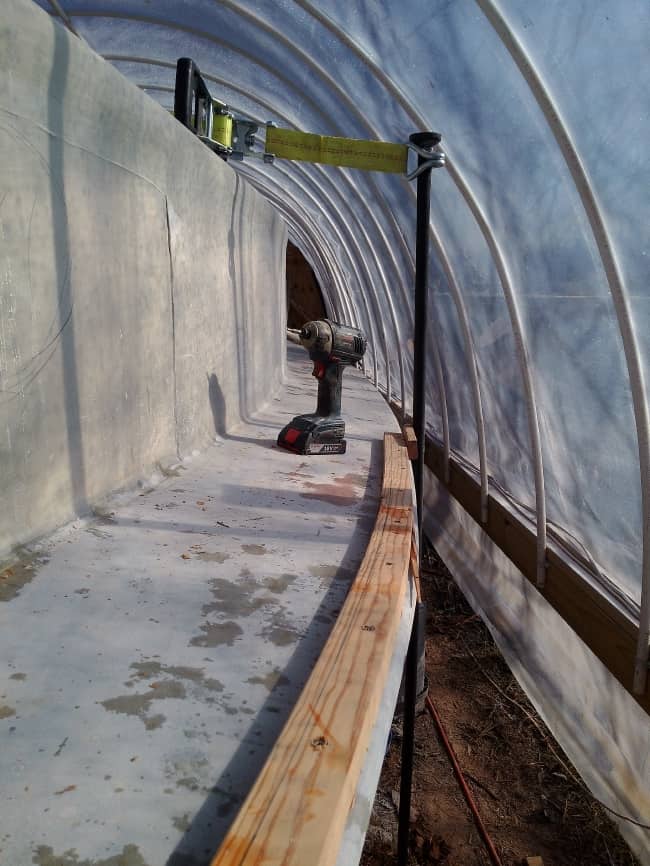
Bending into place 
Gauge 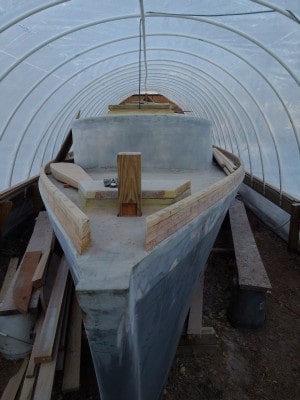
Four layers of toe rail installed 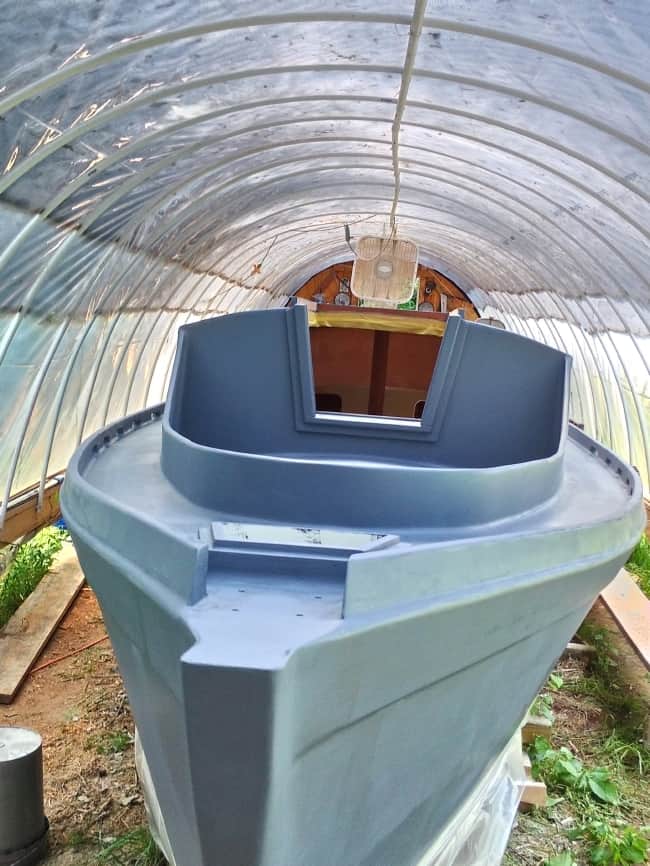
Primed 
Painted
Bowsprit & boomkin
The bowsprit is clamped on in place. Getting it centered took some doing, but with string and long pieces of fir I could see that it “looked” right, that is in a straight line from boomkin to bowsprit through the center of the cabin top. That’s the best I can do. The boomkin turned out better than the bowsprit. I used the table saw to make the initial rough cuts this time. The Milwaukee “Skilsaw” didn’t work to well making the initial cuts for the bowsprit and the tip ended up a bit too thin. It’s not the saw’s fault, of course. It works really well, considering I bought it in 1974. Once these are placed, I’ll drill holes to hold them down and for the bow anchor roller axle.
Prepping bronze bolts with butyl 
Pounding in bolts 
More ponding 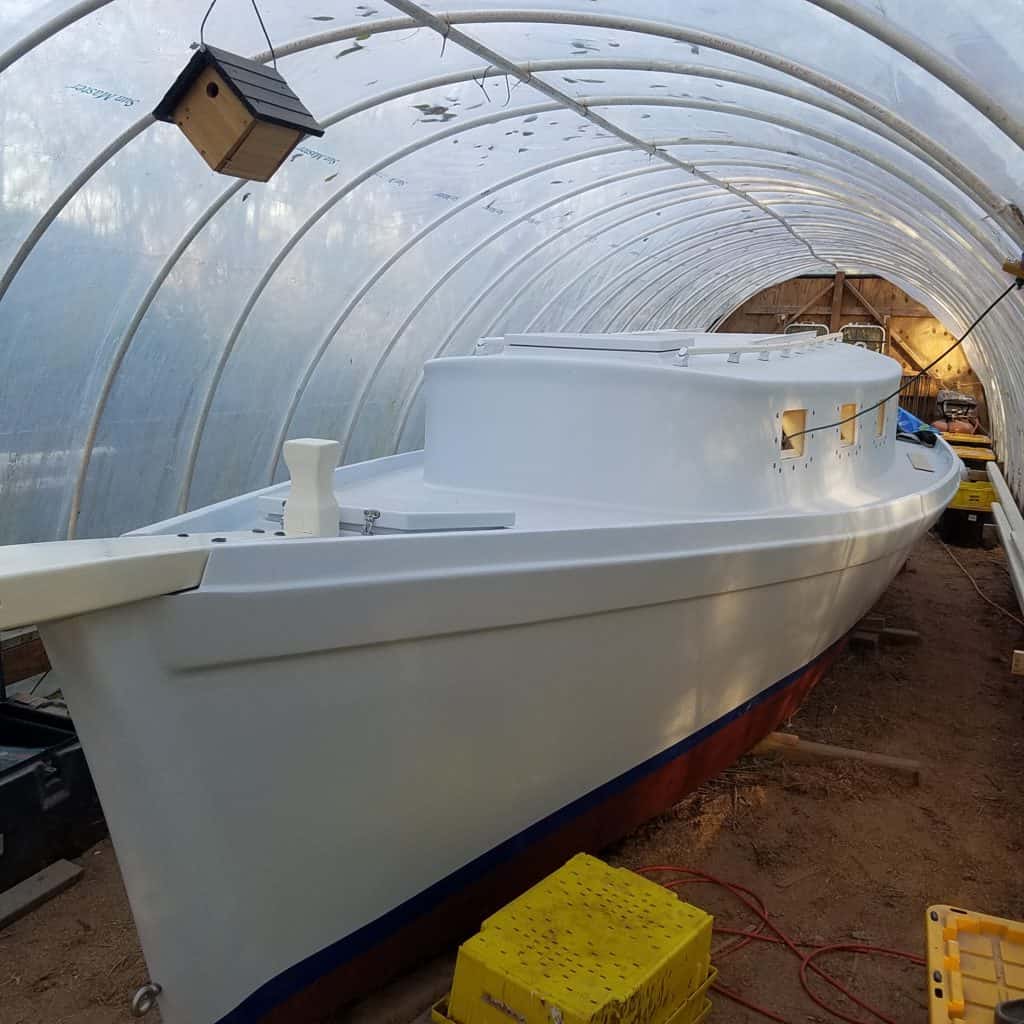
Wren house


The bowsprit and boomkin are Douglas fir. The bowsprit has two anchor rollers and the boomkin one. I put an eight inch stainless cleat on each, bolted through the bowsprit and boomkin and deck with a two inch wide stainless backing plates underneath.
Painting
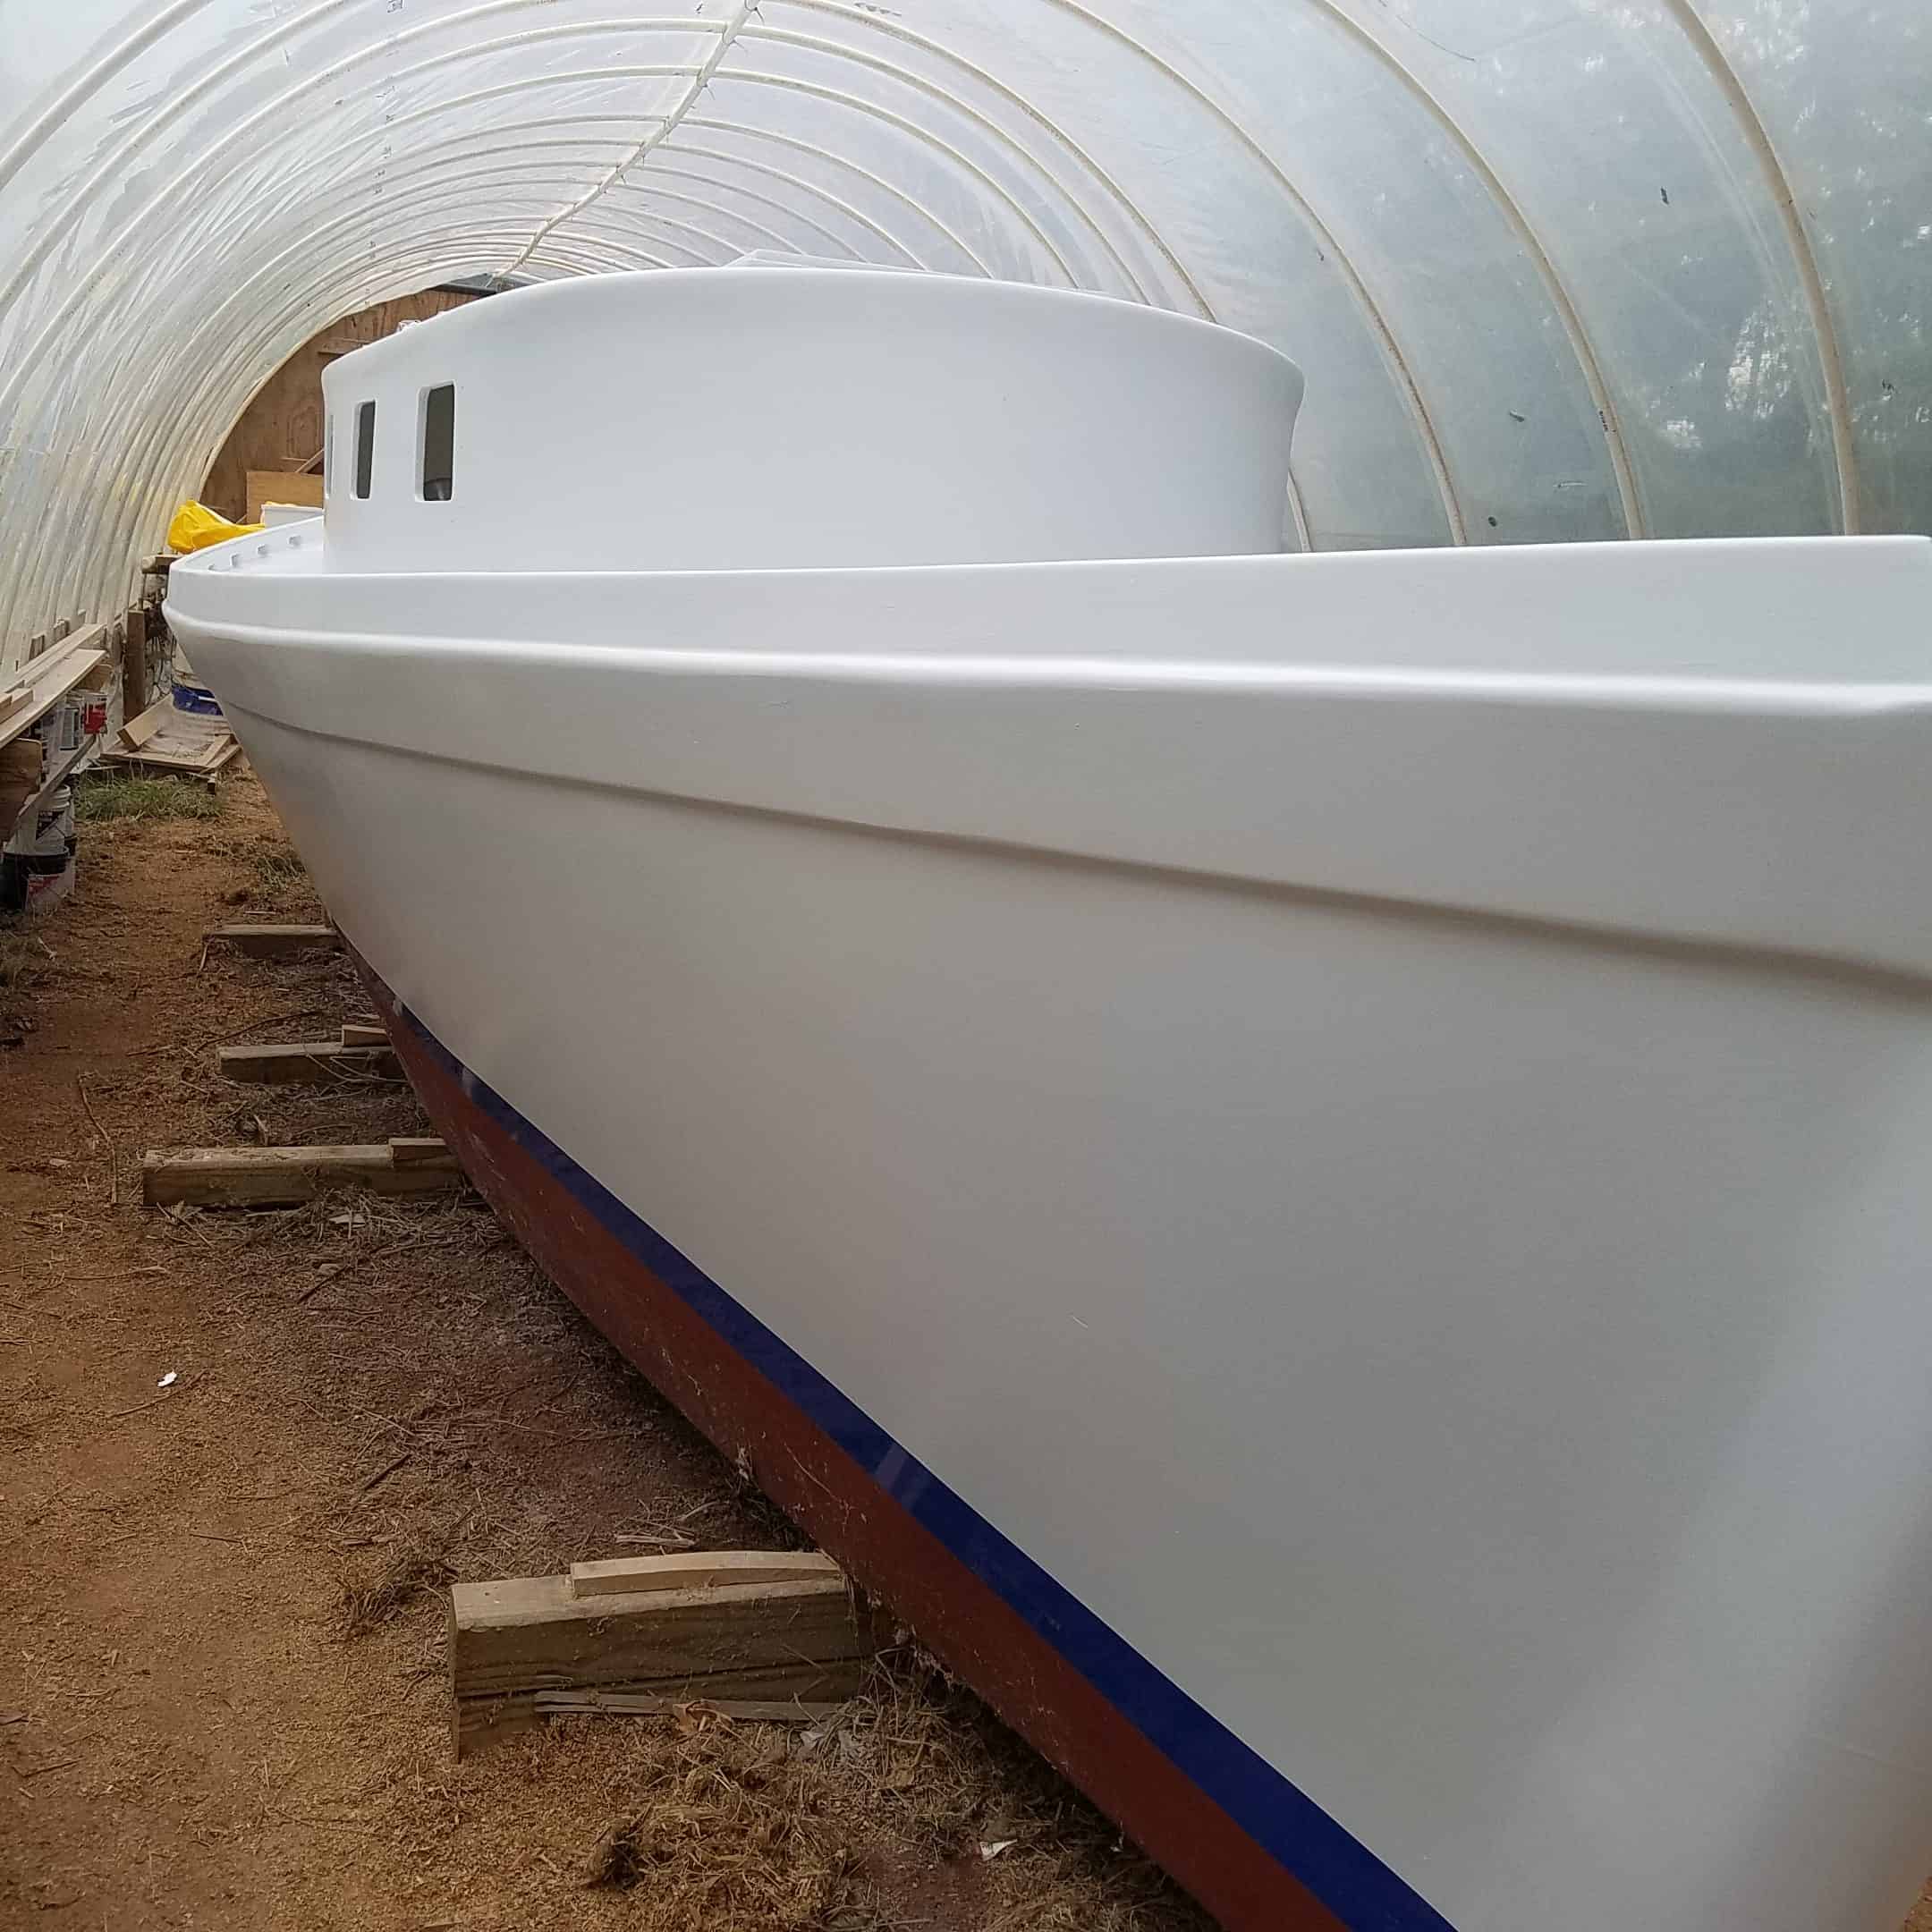
The entire topsides, cabin, and cockpit were primed with Awlgrip 545 then painted with Sherwin Williams High Solids two-part polyurethane. It came out quite nice and has held up well.
Three coats Awlgrip 545 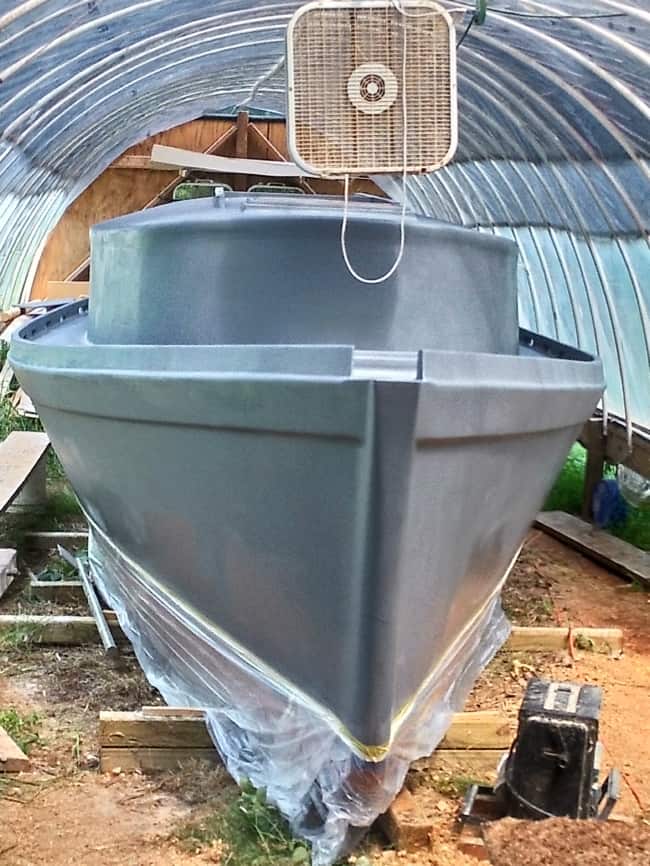
Ready for paint 
The Paint and the Hardner The Boat 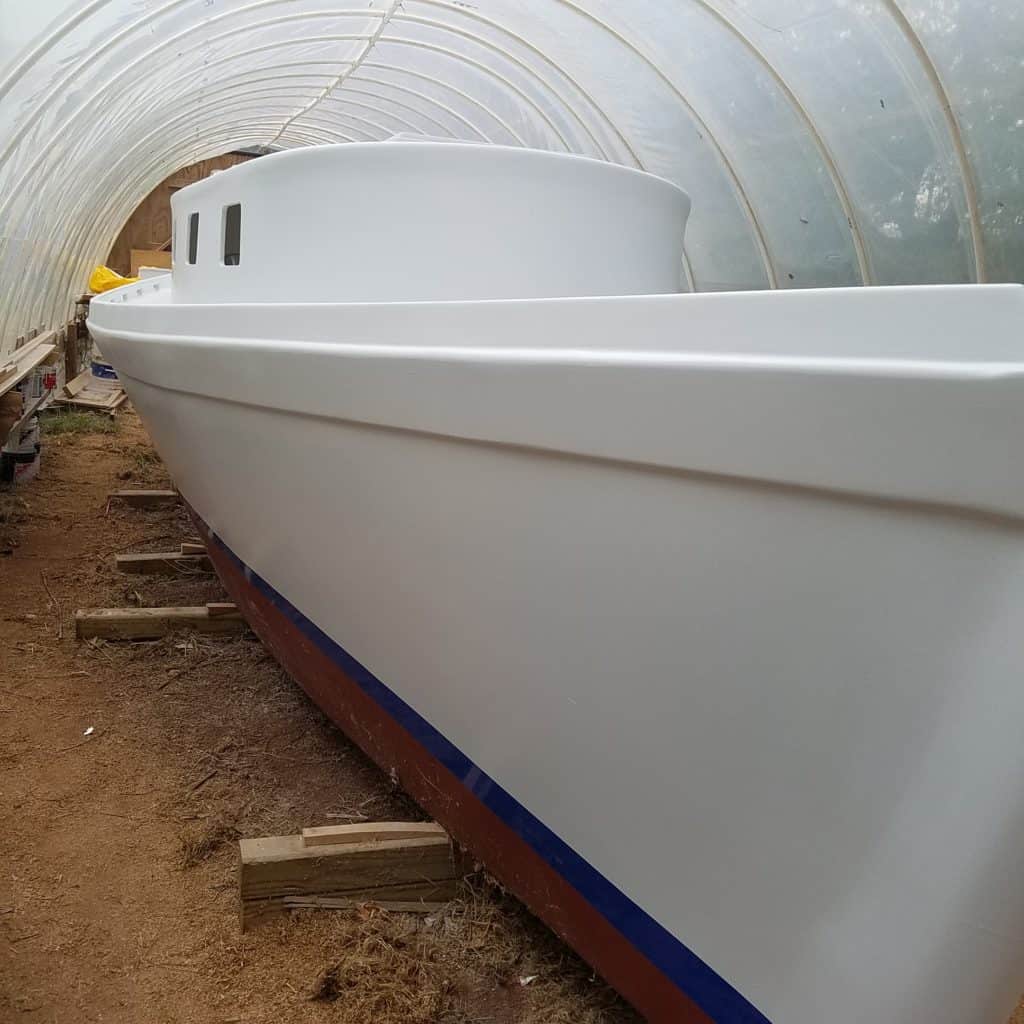
It’s looking like a semi-submersible 
After about 5 coats of SW poly
Solar Panels
Four solar panels were installed, two on each side of the cabin roof. I glued them down with Sikaflex 191, then installed the wiring from them into the inside of the cabin using the Scanstrut deck seal kits.

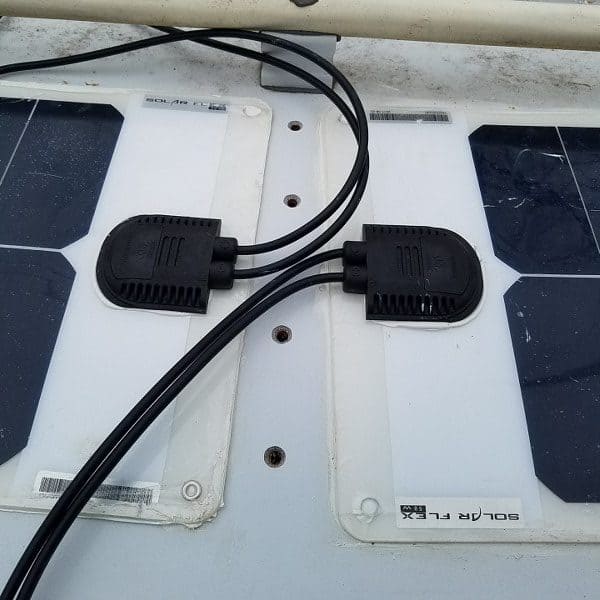

I’ll put an image of interior wiring as finished next time I take some photos.
Navigation Lights
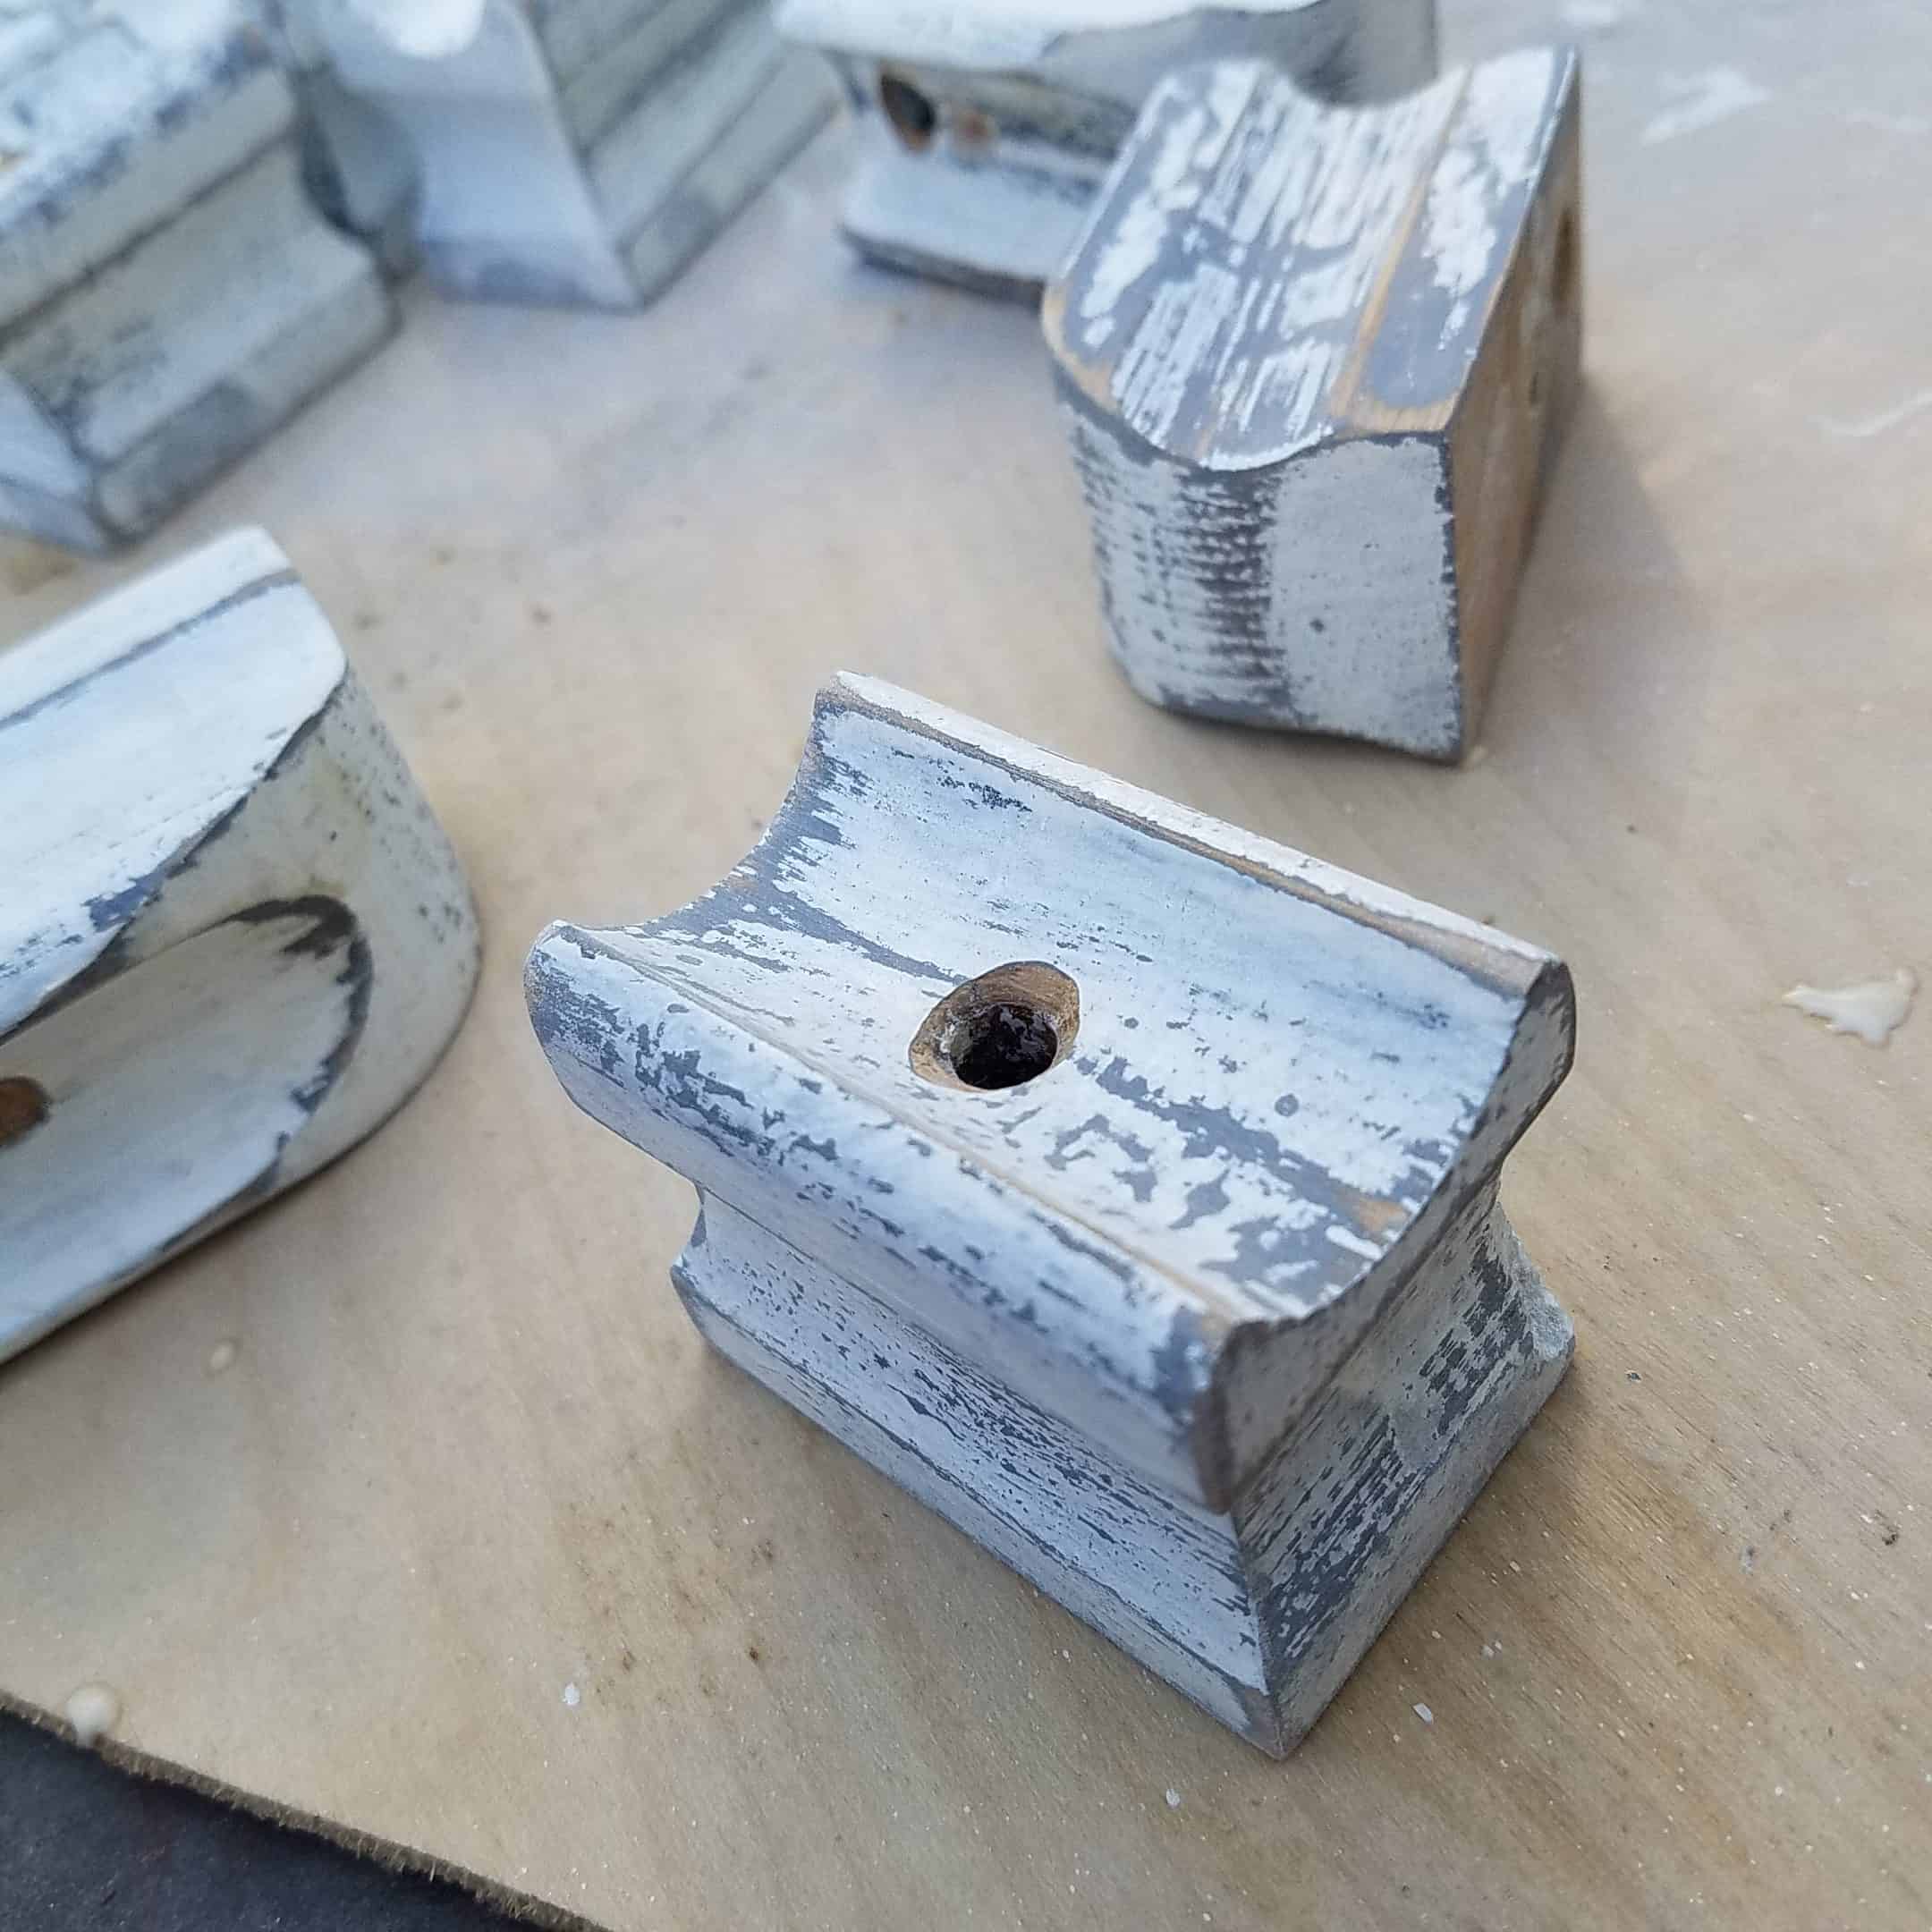
Port ans starboard nav lights were mounted on a painted white oak block tapered so they faced forward.
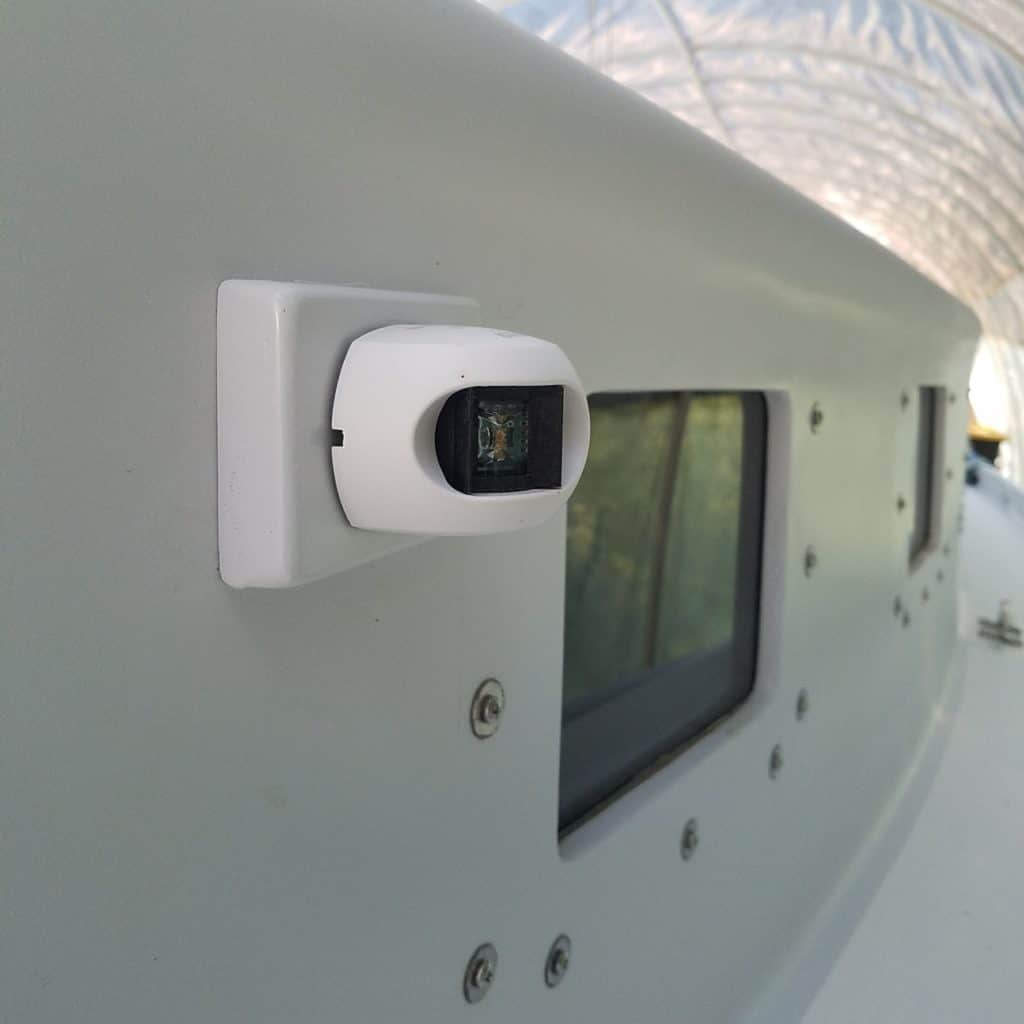
Port nav light 
Compass
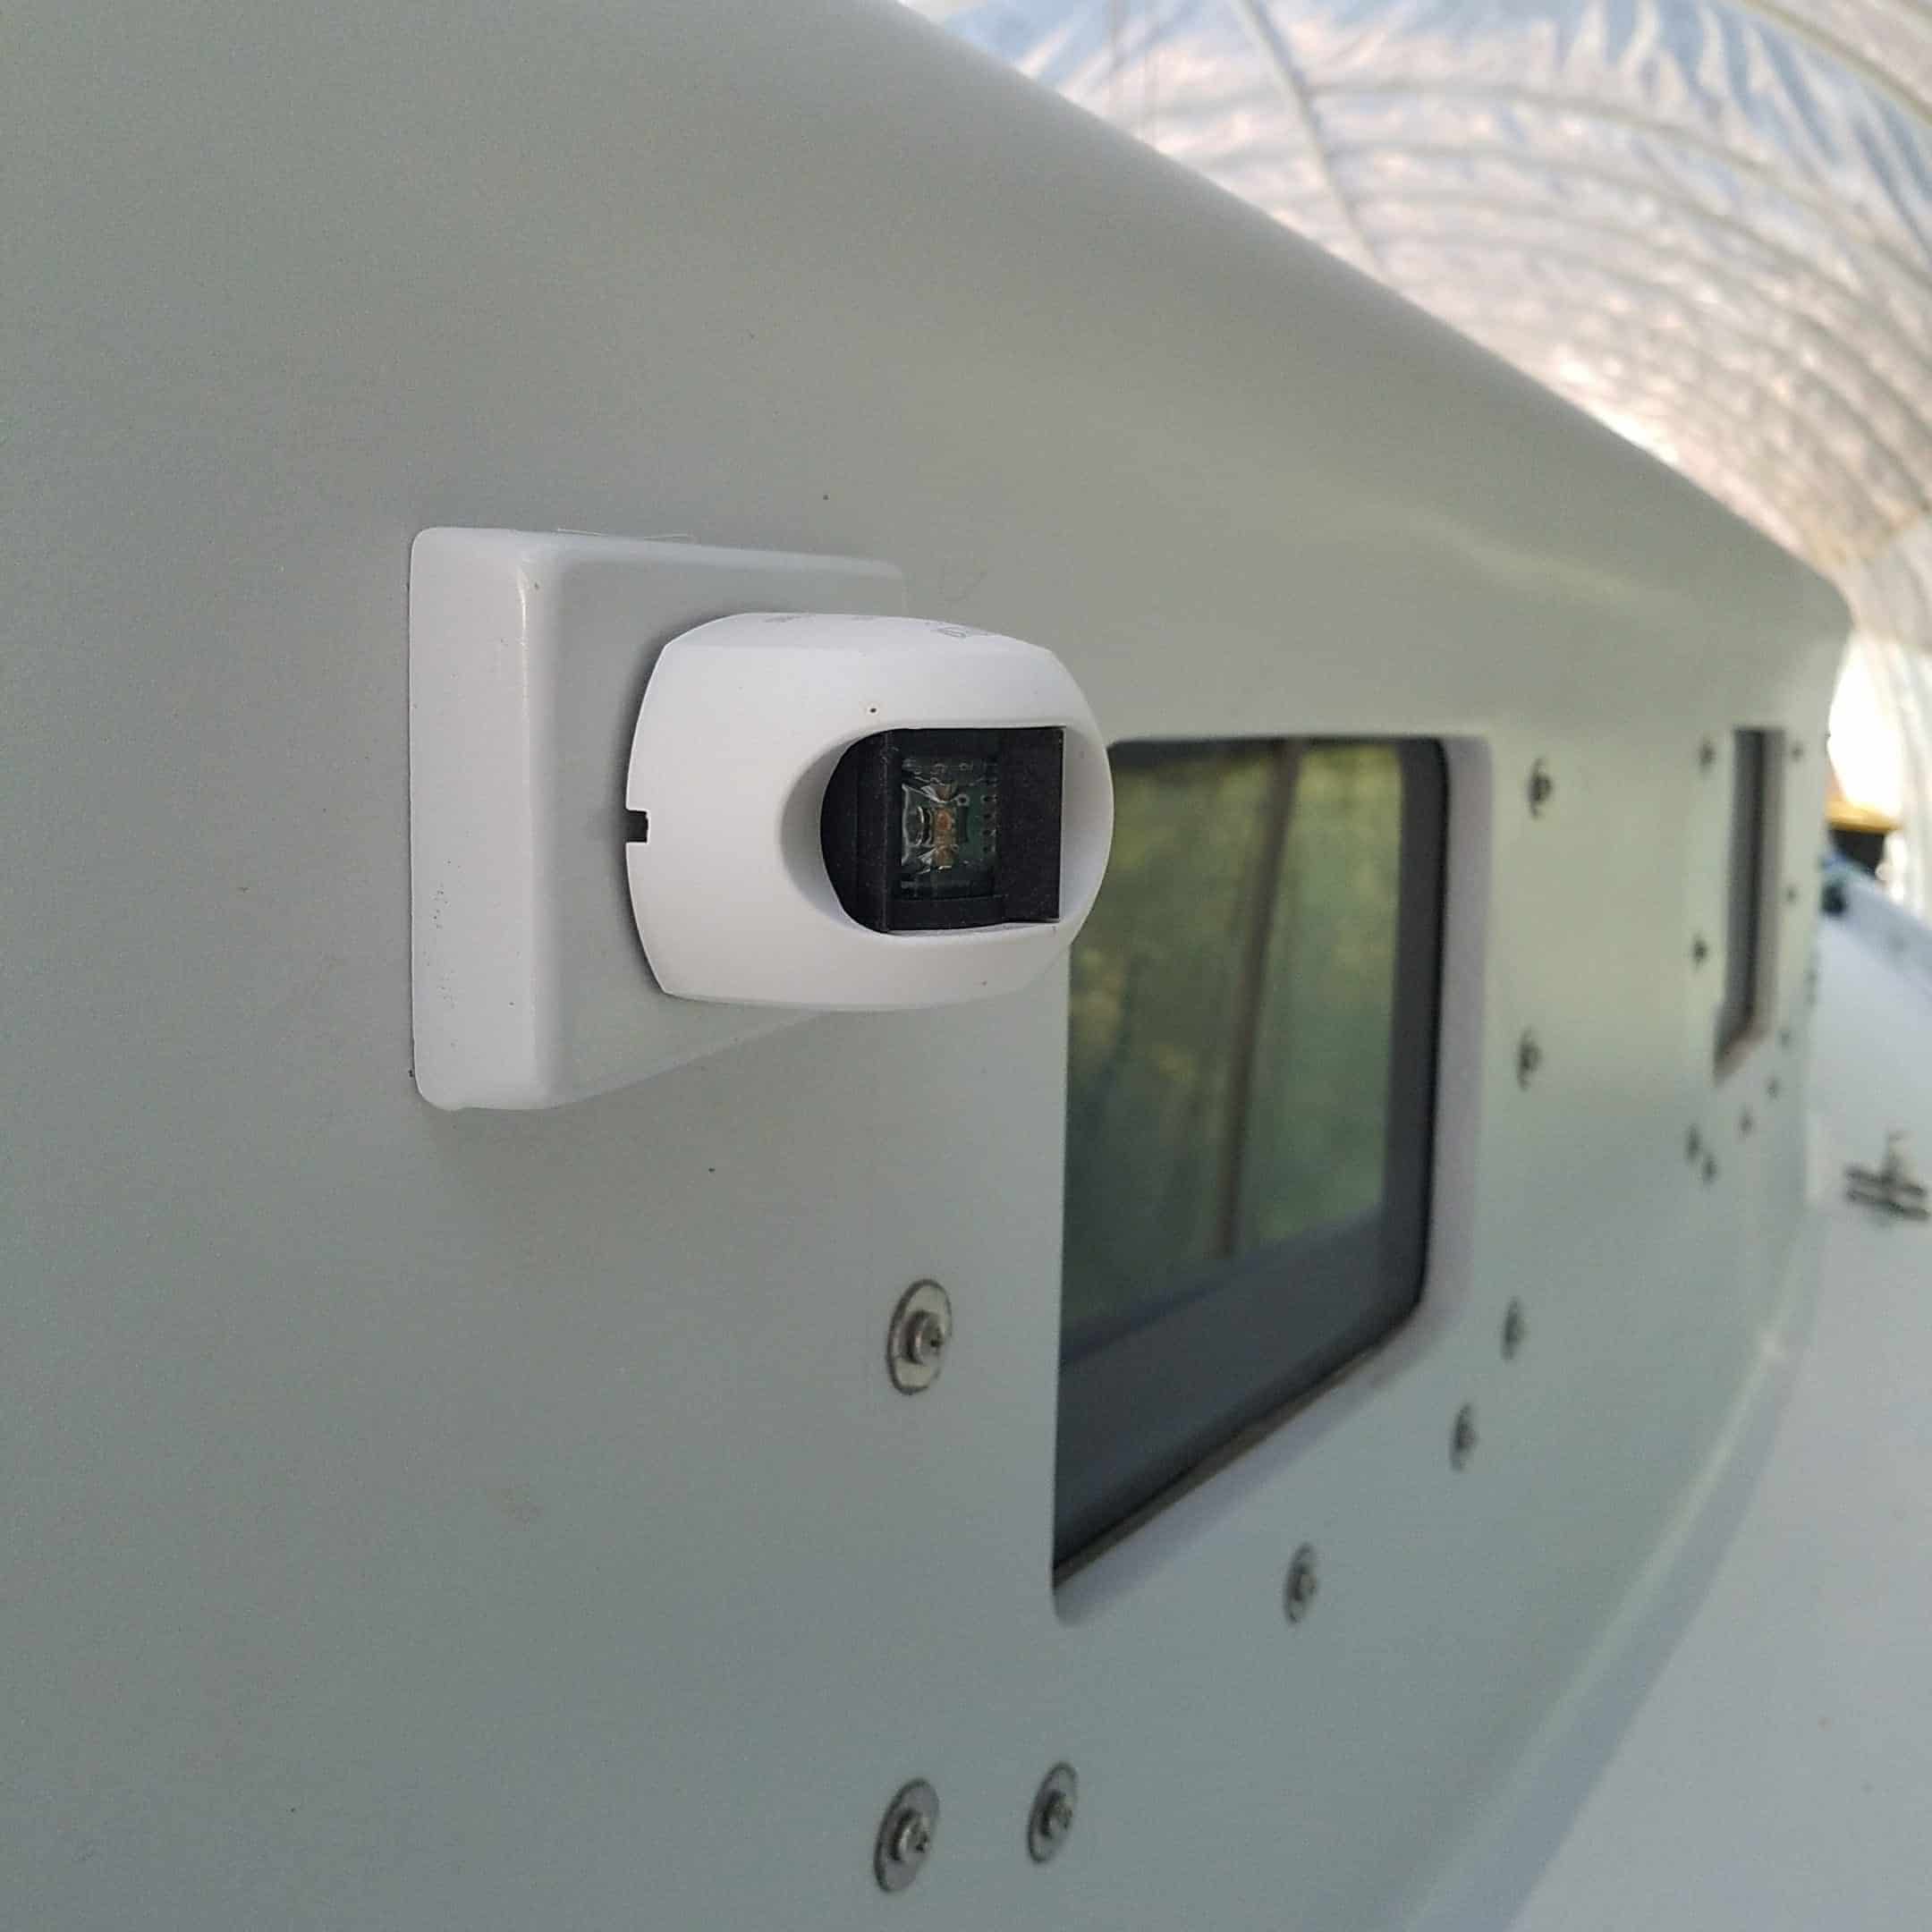
The compass light turns on when the nav lights are on. The stern light is at the very end of the boomkin.
Mast steps
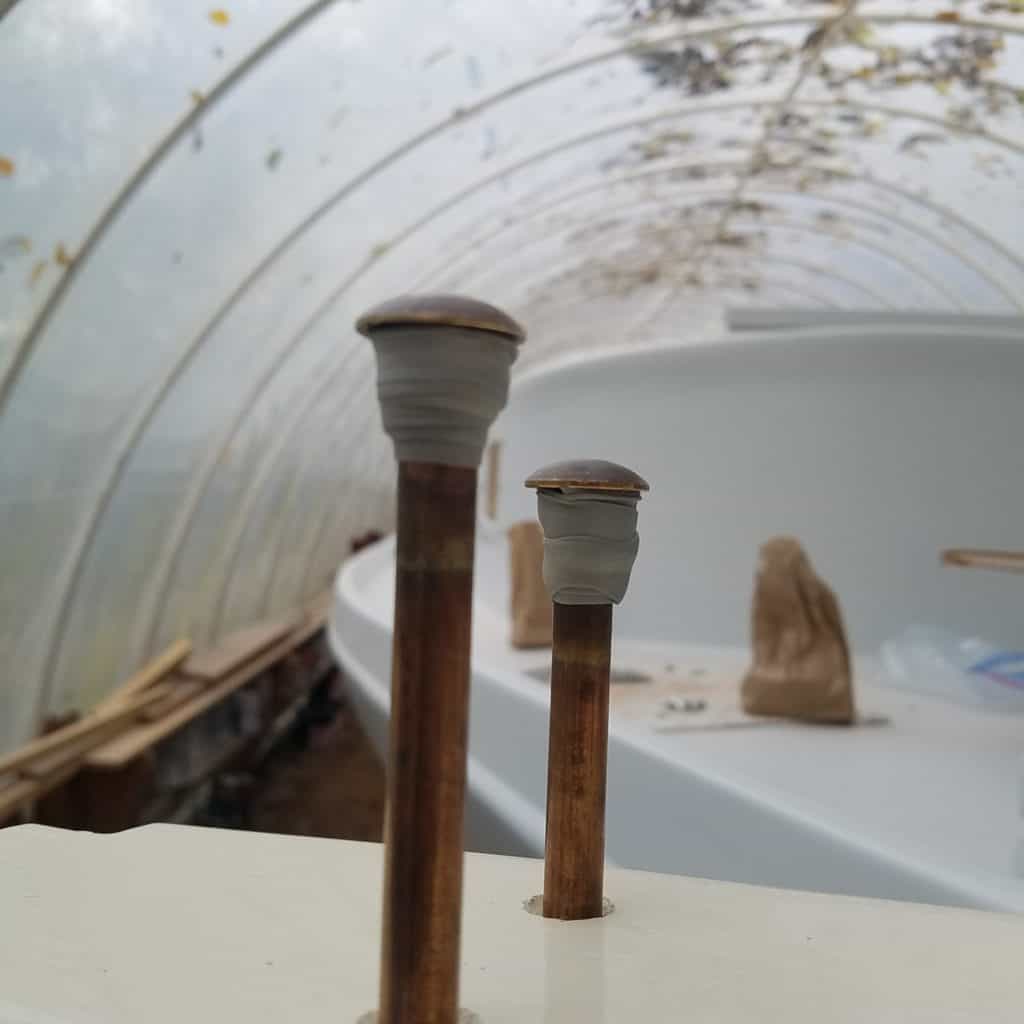
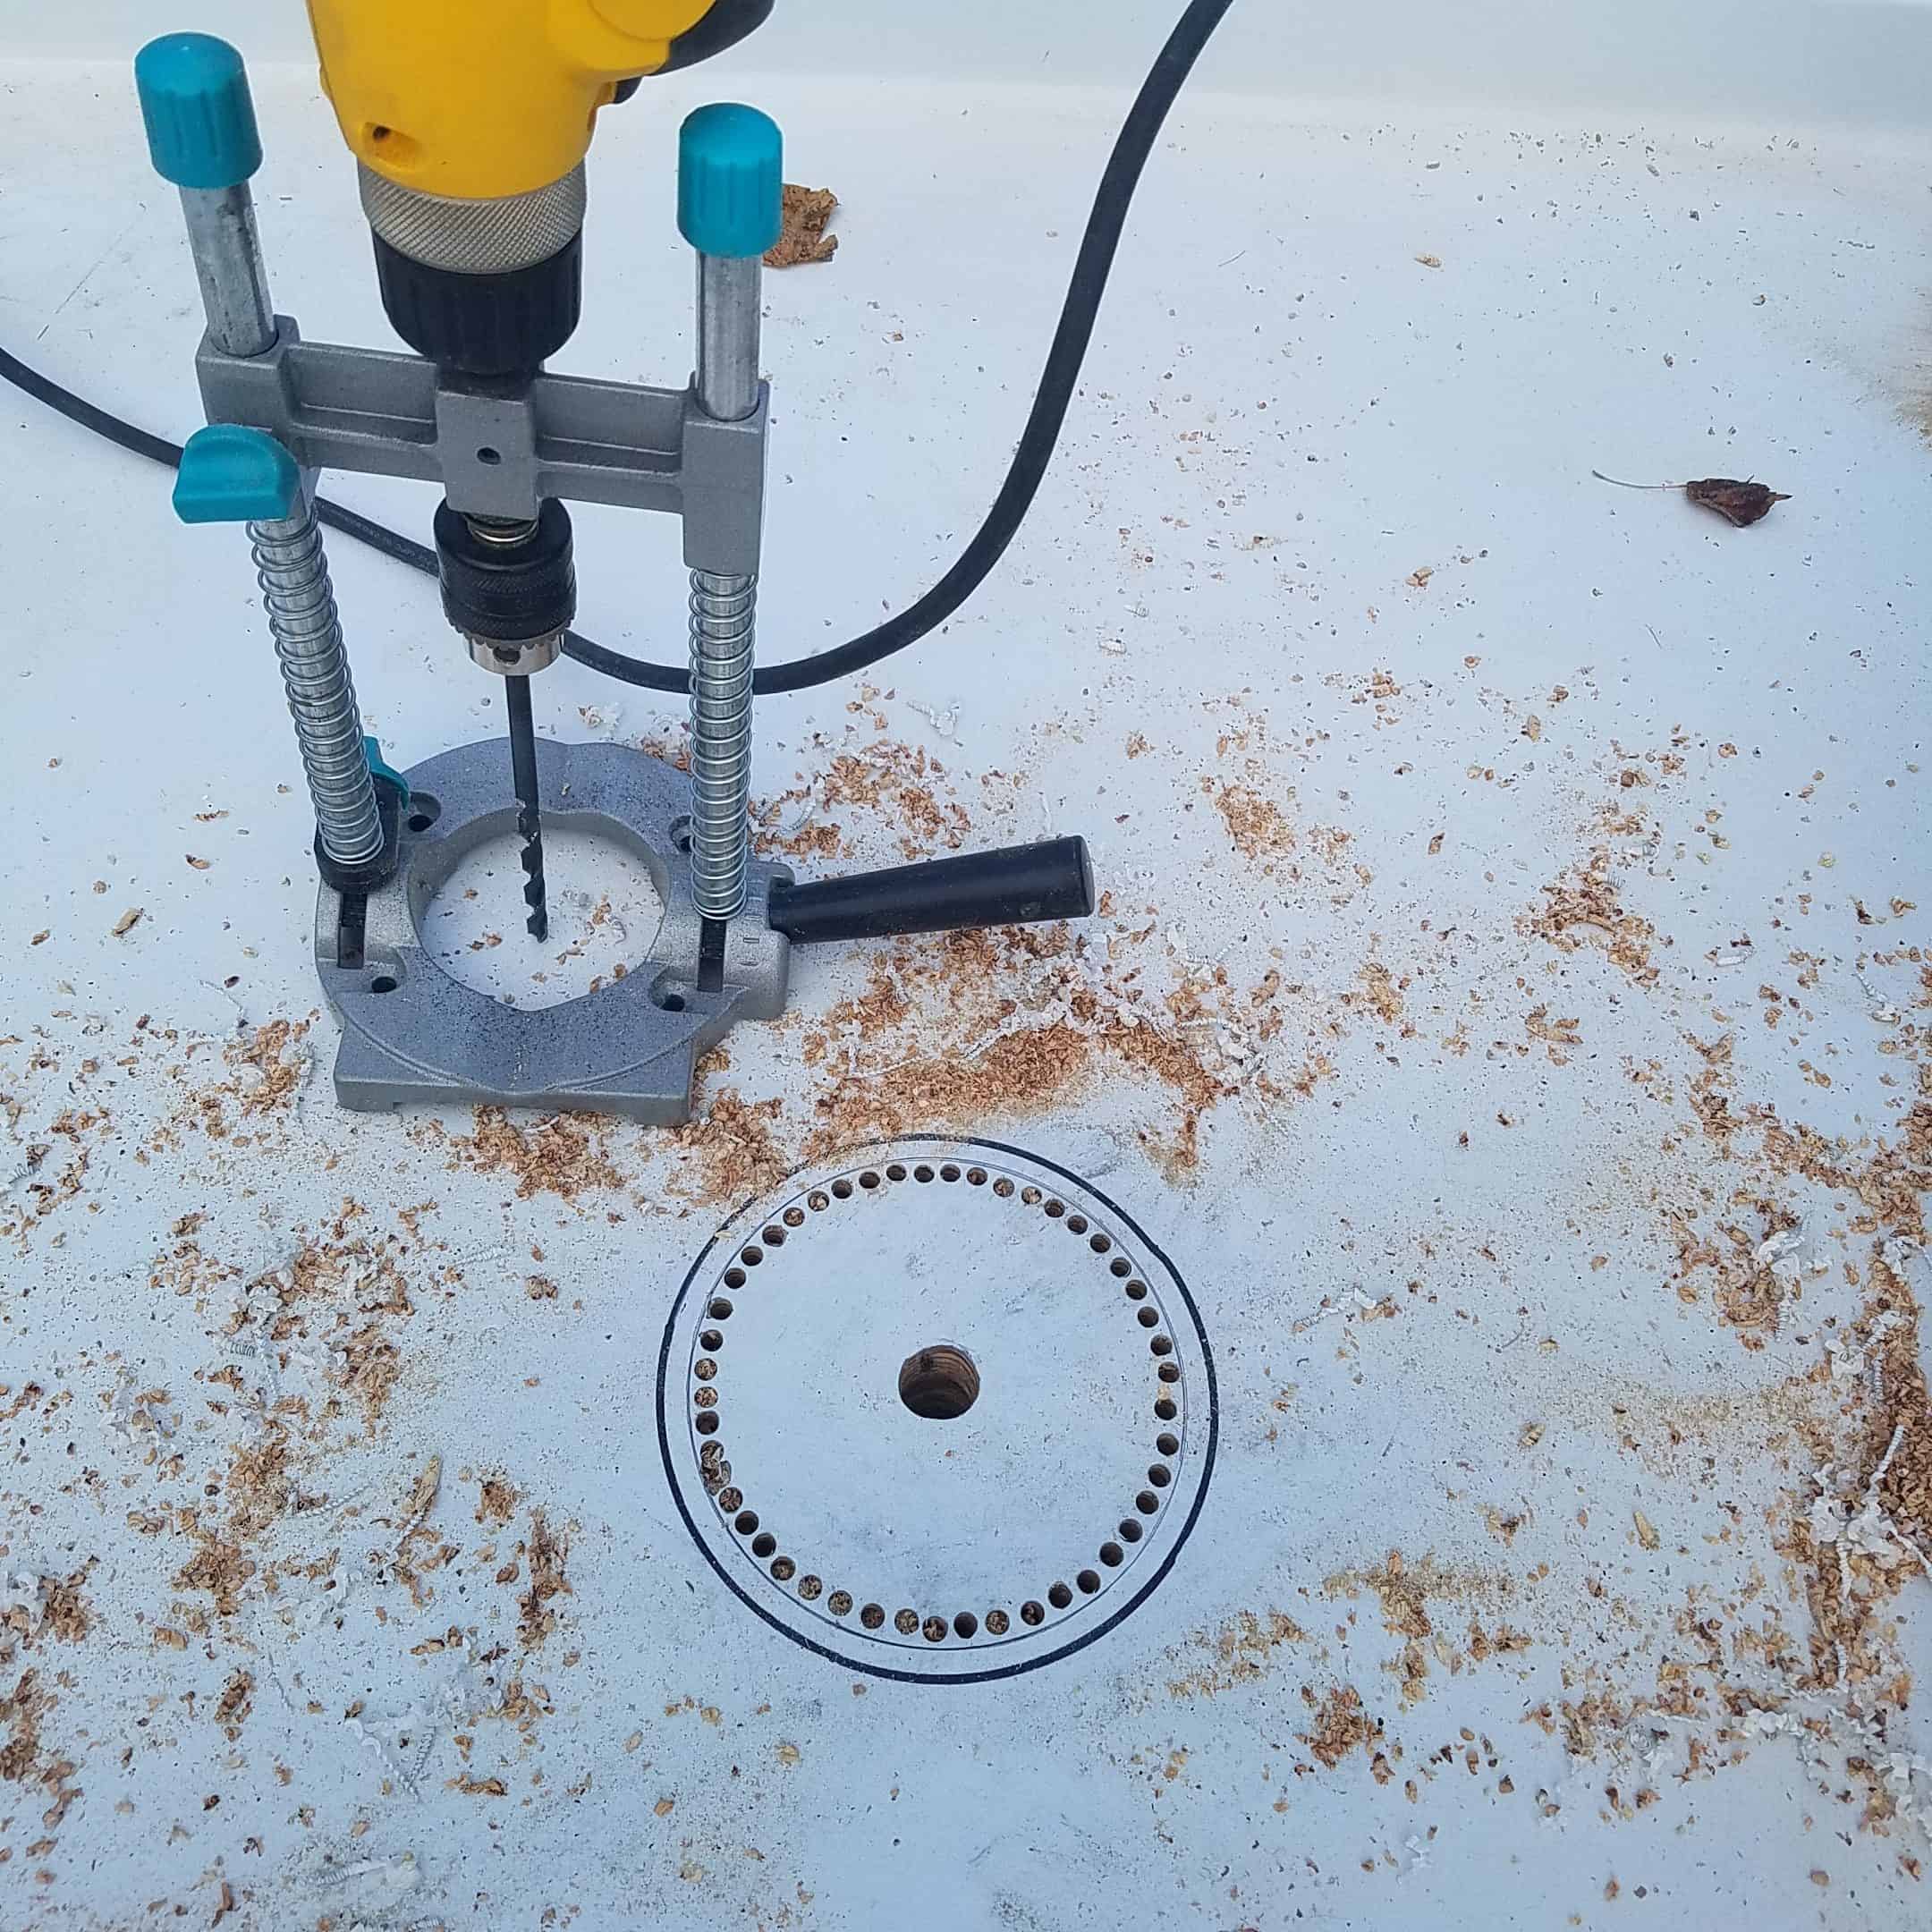
Holes were cut in the deck for the masts and rings put so as to have something to prevent water from entering easily and to attach the mast boots to. The main is round, the mizzen square.
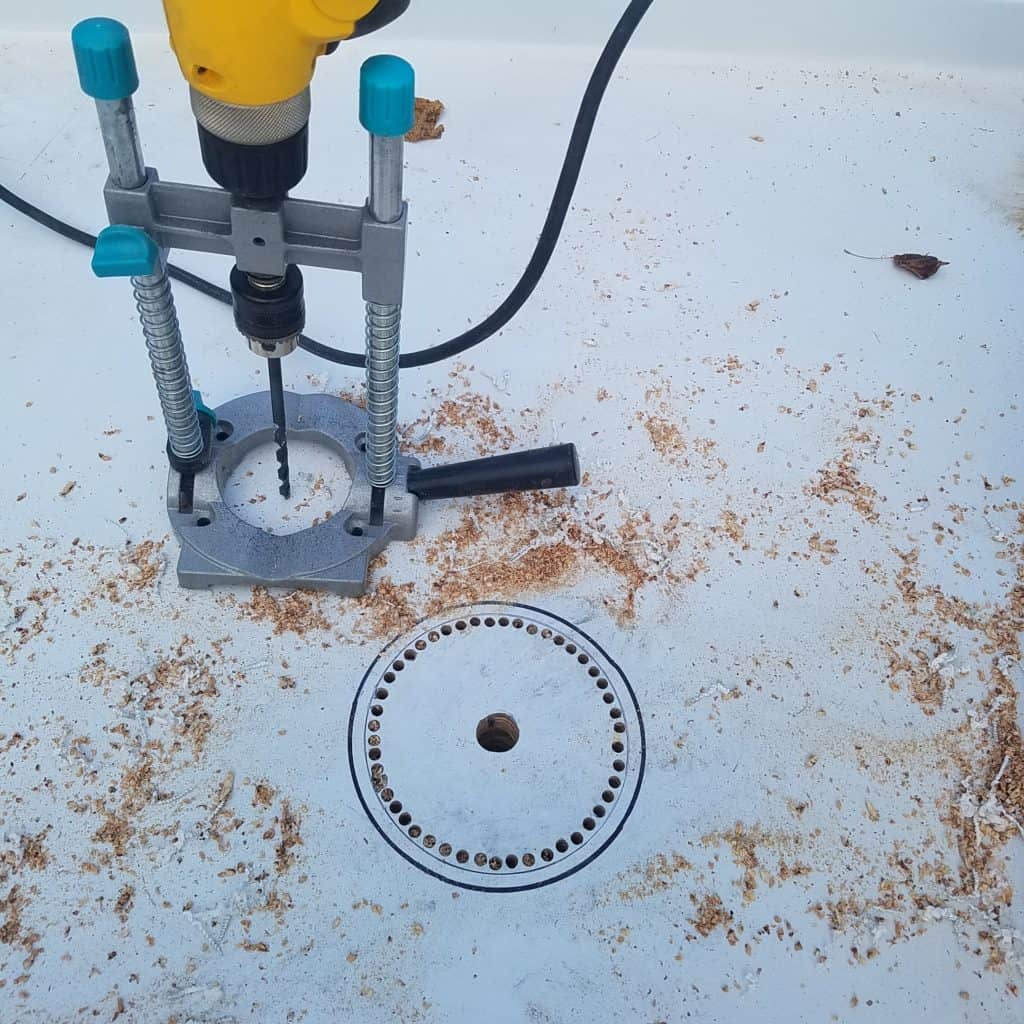
Drilling out main partner 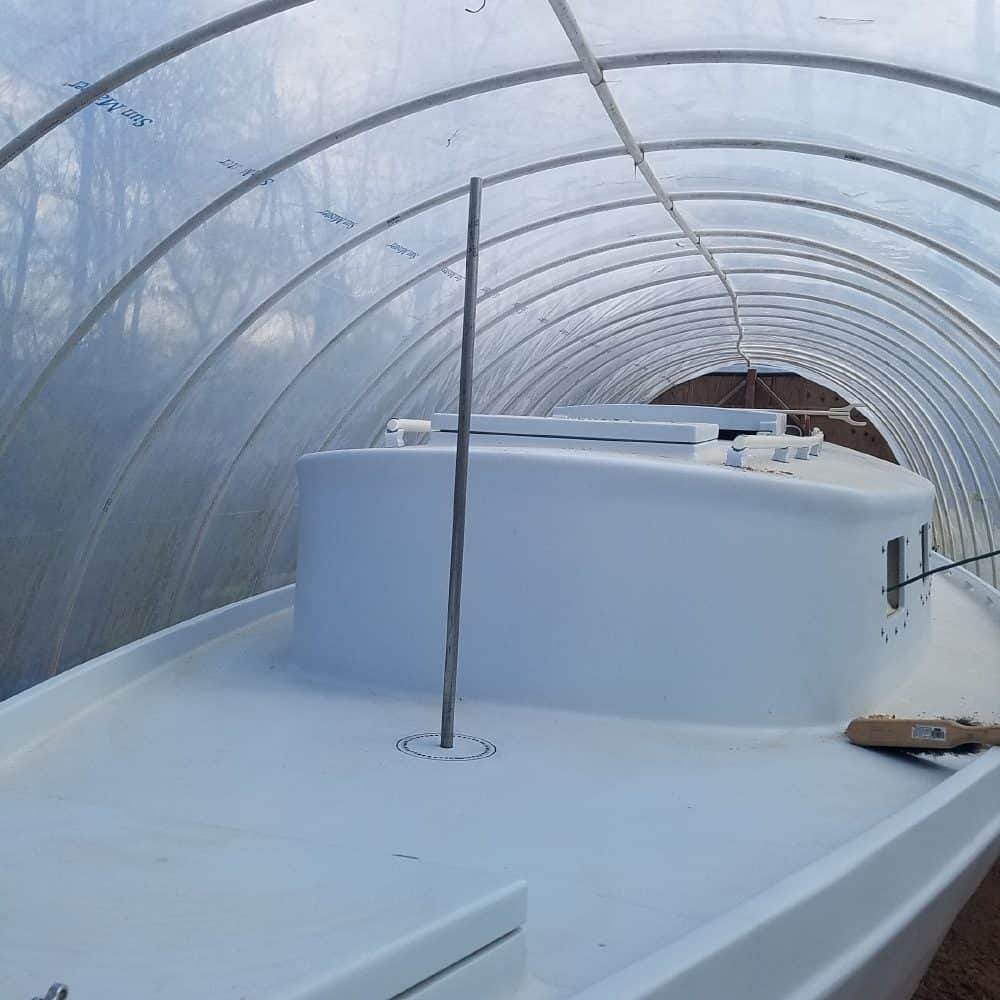
Re-checking vertical 
Main mast partner 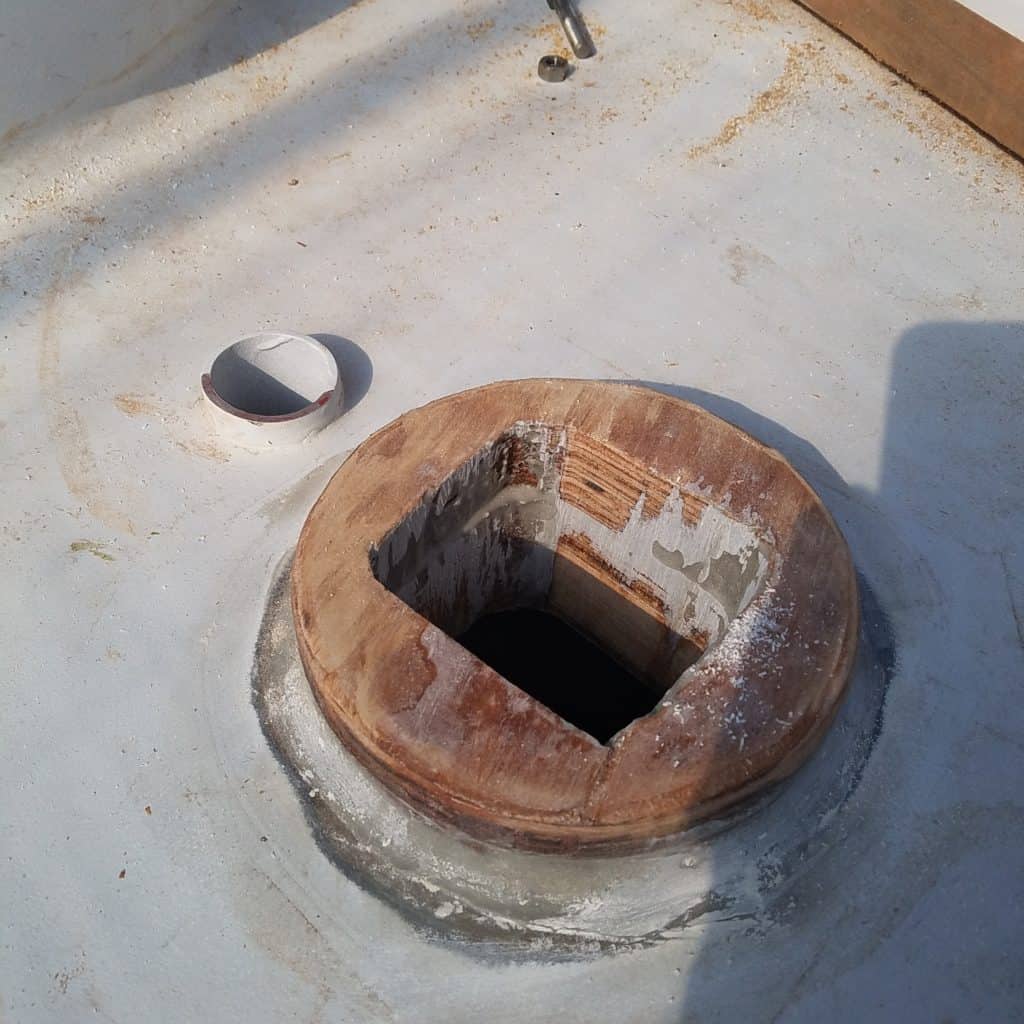
Building up mizzen partner 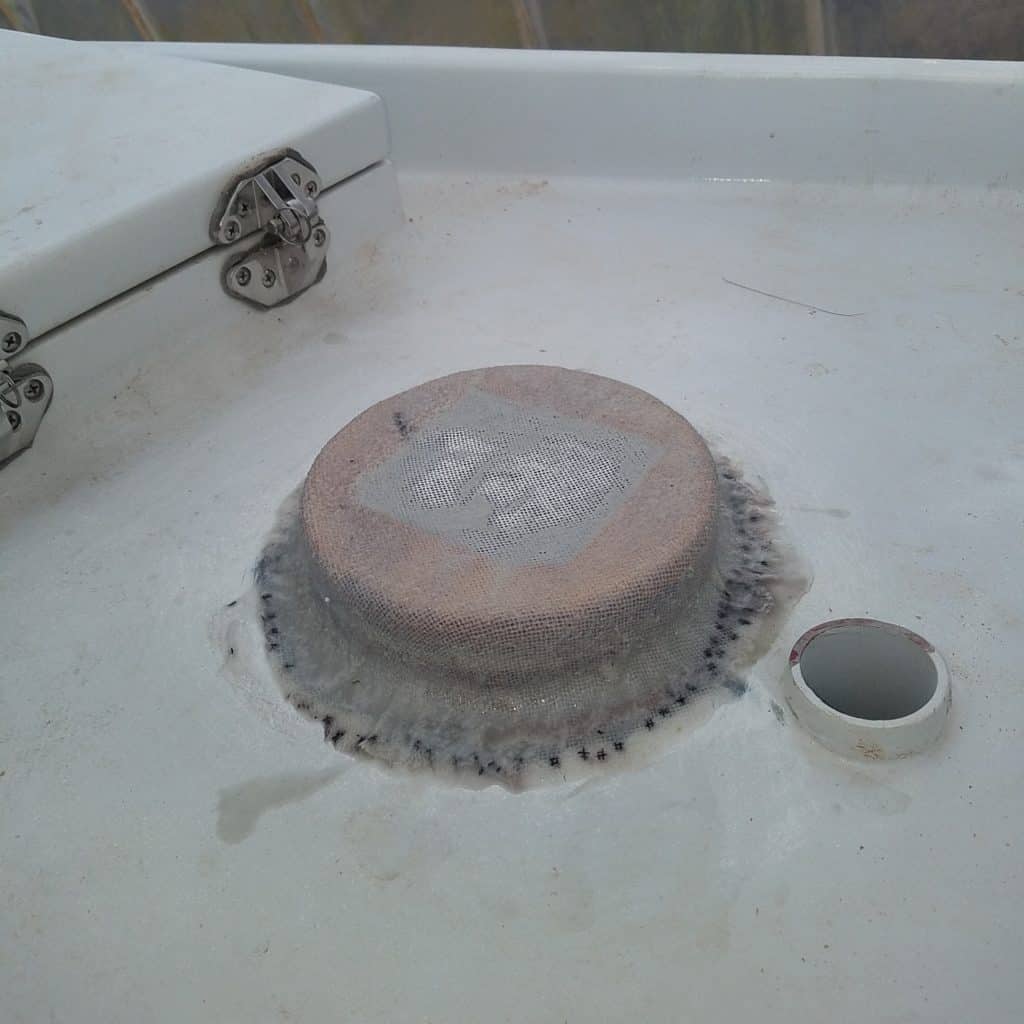
Covering with Dynel 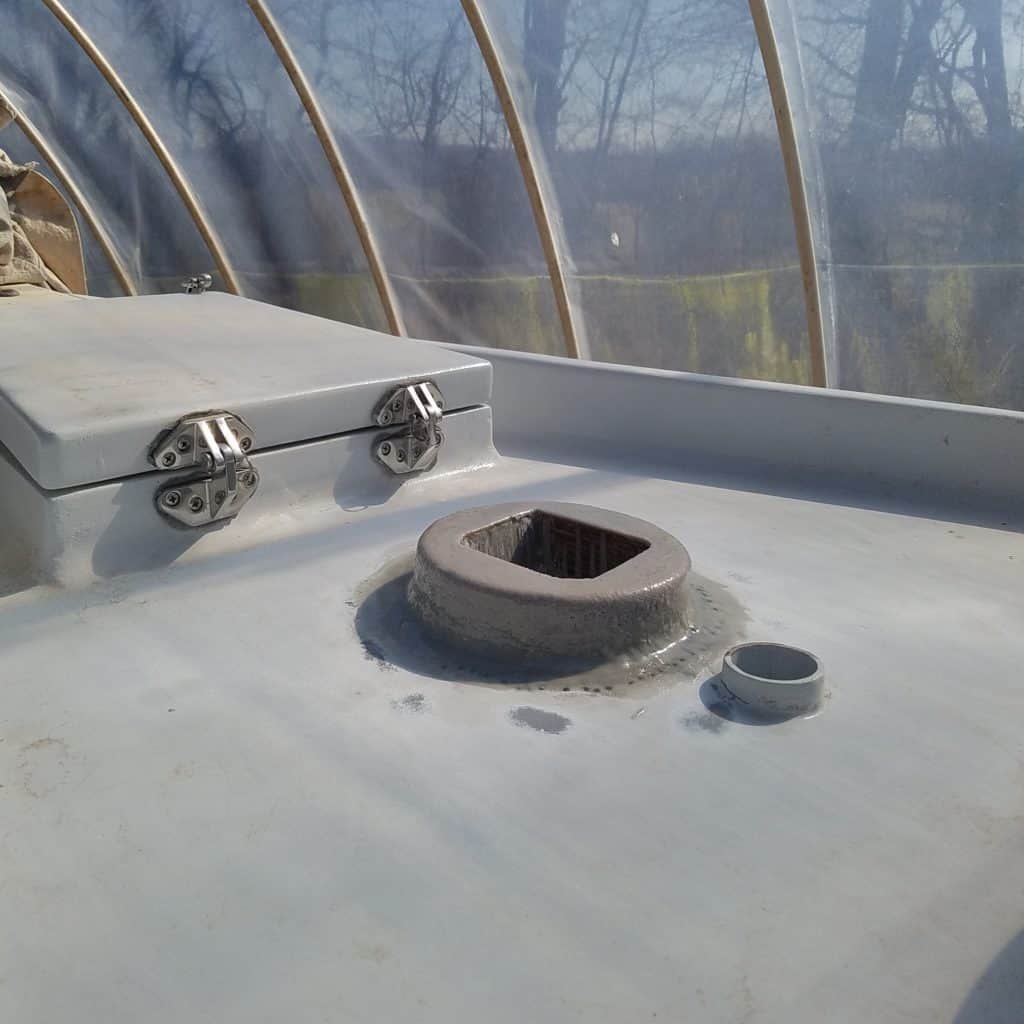
Mizzen partner


The mast boot will fit over these rings which form a dam to keep water from running inside.
Rub Rail
I went with screwing the rub rails in place with epoxy bonding them to the wale planks, then removing the screws, drilling the holes out and epoxying oak dowels in the holes and painting over those. I feared that using Sikaflex 291 and screws will invite water into the screw holes. If I have to replace then, they are epoxy-xynole coated Douglas fir, I’ll just plane them off. No screws to hit. Here is the starboard rail just installed.
Rub rails made & painted 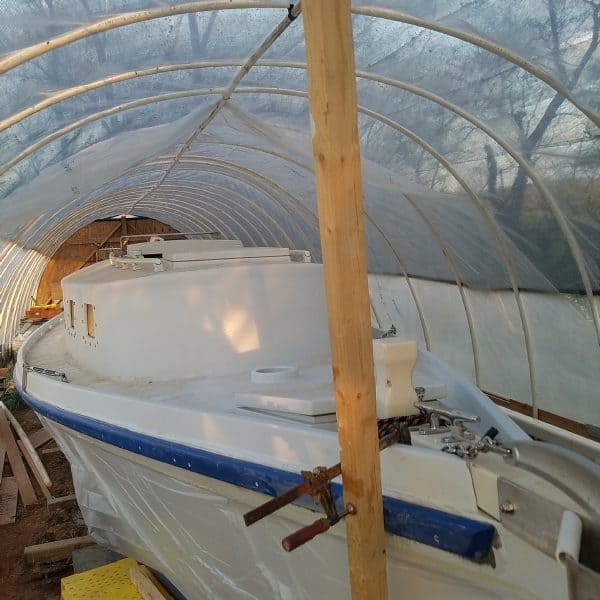
Coaxing them into place
