Building the Strongback and Hoop House
September 2012 – Who knows how long this will take, well, I don’t anyway. In any case, I have to begin, so the first thing is a solid strongback or frame to hold the boat pieces while they are being bonded together. I built the strongback and also the framework around it which will support the hoop house to protect the boat while it is being made using treated 4×4’s. The 2×12 rails of the strongback are attached to 4×4’s buried 18″ in cement. This strongback will support the entire hull of the boat eventually, and must be absolutely rigid.
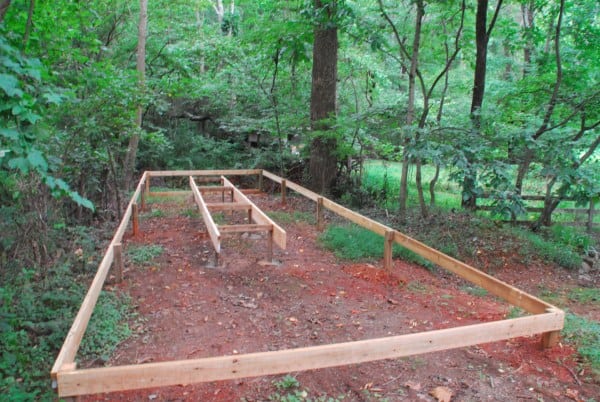
Strongback inside frame for hoop house 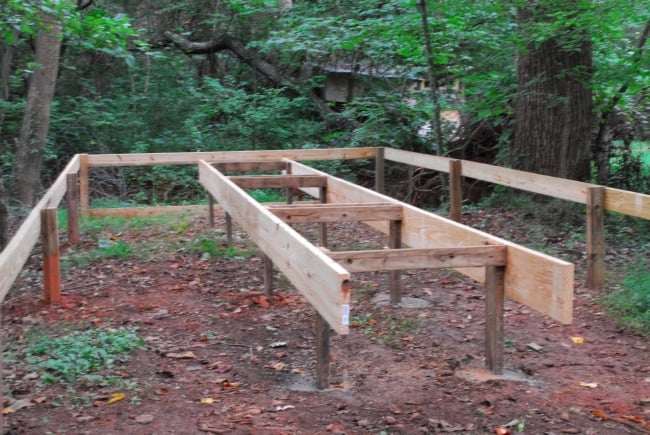
Closer view of strongback 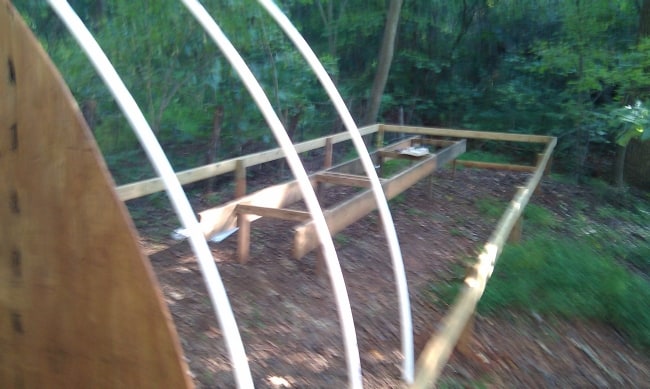
Building hoop house 
Completed
Strongback inside the 60 foot long hoop house
Hoops and ends go on attached to the 2×6 frame with conduit hangers. It is really very fast and easy once the holes and posts are in. Completed hoop house is 60 feet long, 12 feet wide. Cost about $600 as I had the 4×4 posts from an old pole building and the plywood lying around. In winter, if the sun is out, it is about 15 degrees F warmer than outside, so 40 outside + 15 = 60 inside is typical. In summer, I roll up the poly on the sides and run box fans inside.
The Framework or Skeleton of the Hull

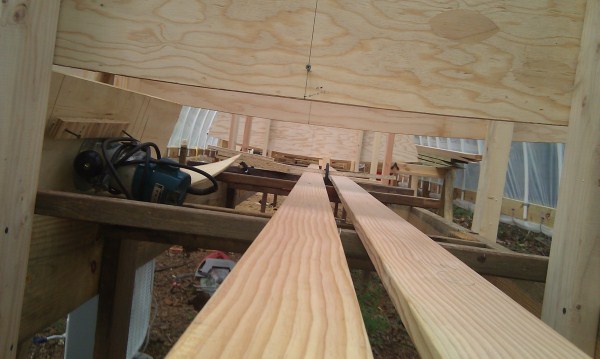
This method of boat building employs a longitudinal framework with bulkheads across from side to side attached to the longitudinals every few feet to which are attached the topsides, the bottom and the deck and cabin. The photo above shows not only the 1 x 4 fir longitudinal chine logs being scarfed, but the framework of the hull in place screwed to the strongback which is posts cemented into the ground and 26 feet of 2×12’s on either side screwed to these posts. Thee strongback are also cross braced. Attached to these two rails of the strongback are 2×4’s screwed on vertically at precise distances, the measurements given in Reuel’s instructions. These vertical 2×4’s hold the bulkheads, all with the waterlines drawn in pencil on them and level, and adjusted to the exact same height above the strongback from end to end. You can see the vertical center lines drawn on each bulkhead, which are also lined up exactly. I made a small hole in the center of each at the “waterline” to view that every one was lined up both vertically and horizontally.
There are seven bulkheads. (Later there is an eighth when the cabin is made 16 inches longer taking space from the cockpit) These were lofted full size, half inch plywood, from Reuel’s spec sheet, and notches cut in each of them for the chine logs to nestle into. The seven bulkheads along with the chine logs, the plank keel and the sheer clamps form the skeleton of the boats structure. Here are Reuel’s instructions: “After lofting the bulkheads full size on ½” plywood, subtract the planking thicknesses (¾” bottom; ½” sides; ½” deck; 5/16” coach roof) and draw in the location of the plank keel (keelson), chine logs and sheer clamps (all referred to as longitudinals). (When lofting, make the bottom slightly convex giving more strength, not straight, by lowering the center where plank keel goes about half an inch below where a straight line would be) Locate the sheer clamps right at the sheer. Mark centerlines and waterlines on both sides of all bulkheads. Bulkheads #1, #2, #6 and #7 are cut out in one piece; bulkheads #3, #4 and #5 are made in halves.
The photos below show the scarfing of the “longitudinals” which are to be attached to the upright bulkheads mounted on the strongback. These longitudinals are what the sides – “topsides” – are attached to, and the bottom of the hull also.
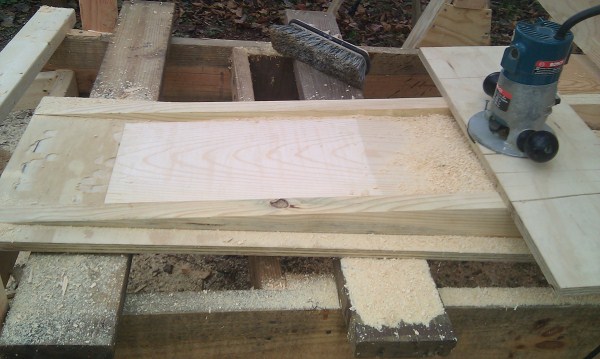
Scarfing jig 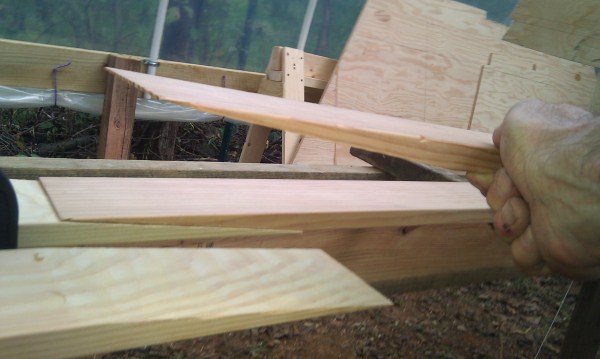
Taper of joint 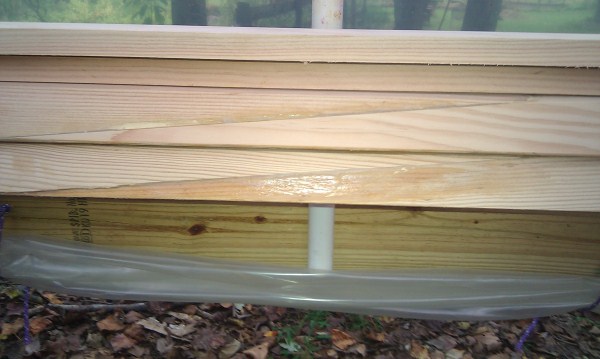
Scarf joints of the chine logs
Using this scarfing jig is a very simple way to scarf. The longitudinals are 2 x 4’s (chine logs) or 1 x 4’s (sheer clamps) or 2 x 10’s (plank keel), 12-16 feet long joined lengthwise with epoxy to make single-piece boards about 33 feet long. These pieces are then attached from stem to stern along the bulkheads and to the inner stem and stern. This forms the framework for the boat.
Chine logs, 31′ long 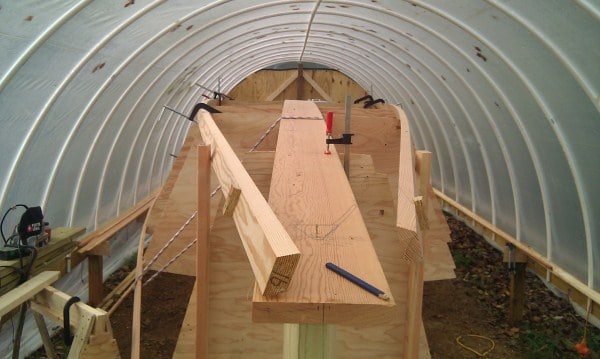
Plank keel, chine logs and inner stemt 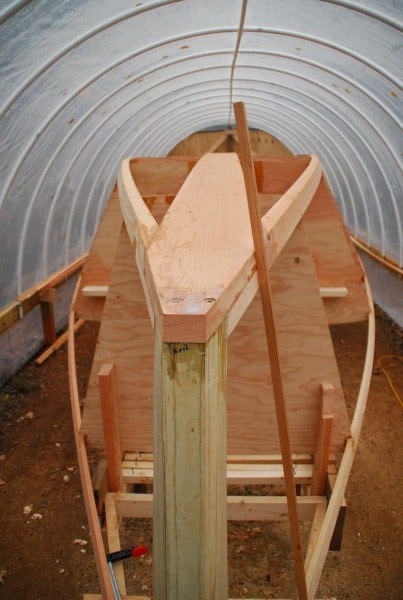
Plank keel, chine logs & inner stem attached 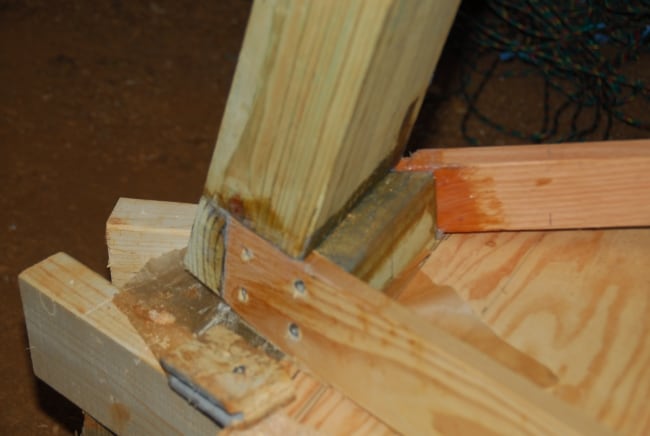
Breasthook, glued and screwed, waxed paper underneath 
Framework of the bow 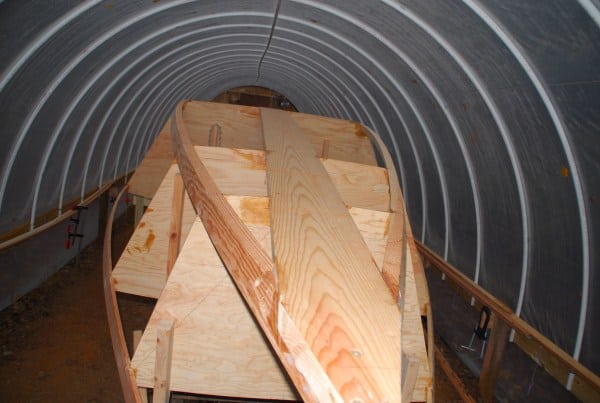
Plank keel in center
The longitudinal chine logs the plank keel and the inner stem (point of the bow) are clamped to the upright bulkheads in this photo above. Somehow, these must all be cut to fit and joined at the bow and likewise at the stern. It takes some figuring, lots of epoxy and a few long screws..
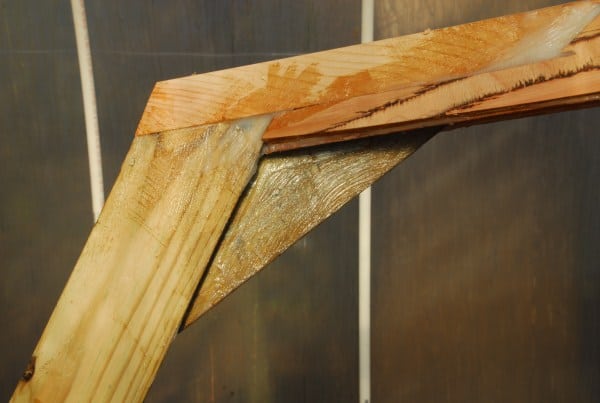
Stern knee 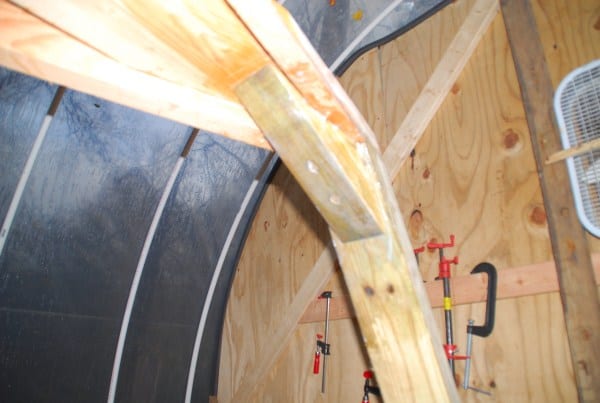
Stern knee
Nichiko is double ended, the stern is pointed as the bow is. Above a couple of photos, awkward looking, the stern knee above. More epoxy and long screws, six, if I remember correctly.
Topsides
October 2012, been working on this for a month. Part time. Once the framework was assembled, the topsides go on. They are simply pieces of half inch marine plywood (five-ply), screwed and epoxied to the chine logs where the sides and bottom meet and sheer clamps where the sides meet the deck, and scarfed one to the next, eight-foot pieces, one after the other. Below are photos of three 4 x 8 sheets, the ends being prepared to meet each other when attached to the frame, from sheer clamps to chines. I used a Makita 8 inch sander with 36 or 40 grit to finish the edges after tapering them roughly with a power plane. The joint lines of the layers of plywood are a great help in judging how much to take off so as to have an even taper.

1 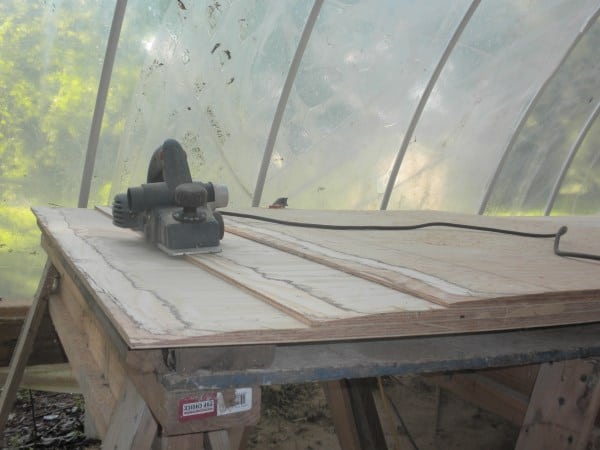
2 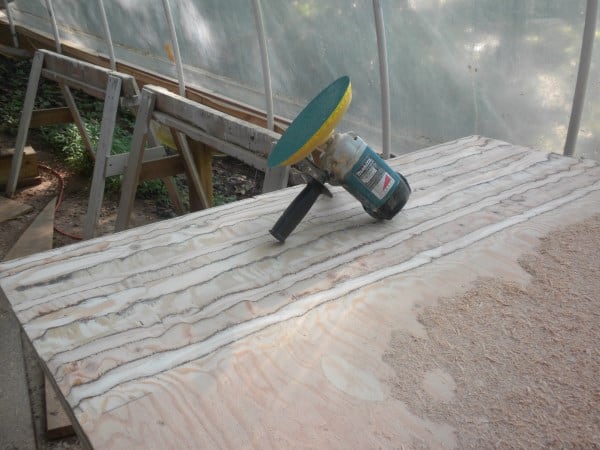
3
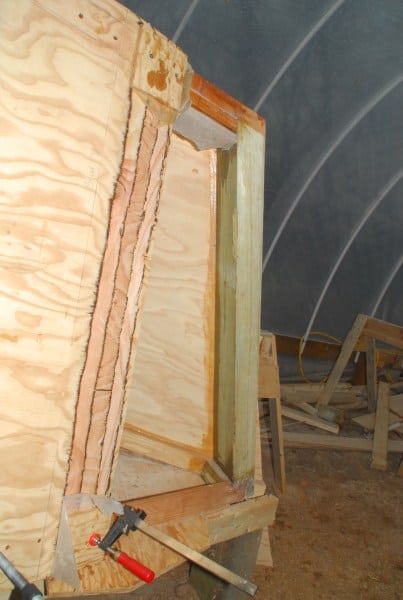
Each sheet had to be fitted, marked and then scarfed to fit in place so the scarf joint is a perfect fit; one after the next. Once each piece was ready at both ends with the scarfs fitting well, it had to be epoxied in place; that is held tightly in place while the epoxy set up. The top and bottom could be screwed easily into the chine logs and sheer clamps to be held in place while hardening. To get the vertical joint in the middle where the scarfs overlap, I used two 2 x 4’s, one on each side (waxed paper underneath) clamped at top and bottom and screwed together through the plywood where the clamps wouldn’t reach.

Checking the scarfed taper 
Second topsides panel being attached
You can see the outside 2×4 “clamp” which is screwed (with 4 inch deck screws) to an interior one, pulling the two scarfed pieces of plywood together very tightly.
Last space for topsides ply 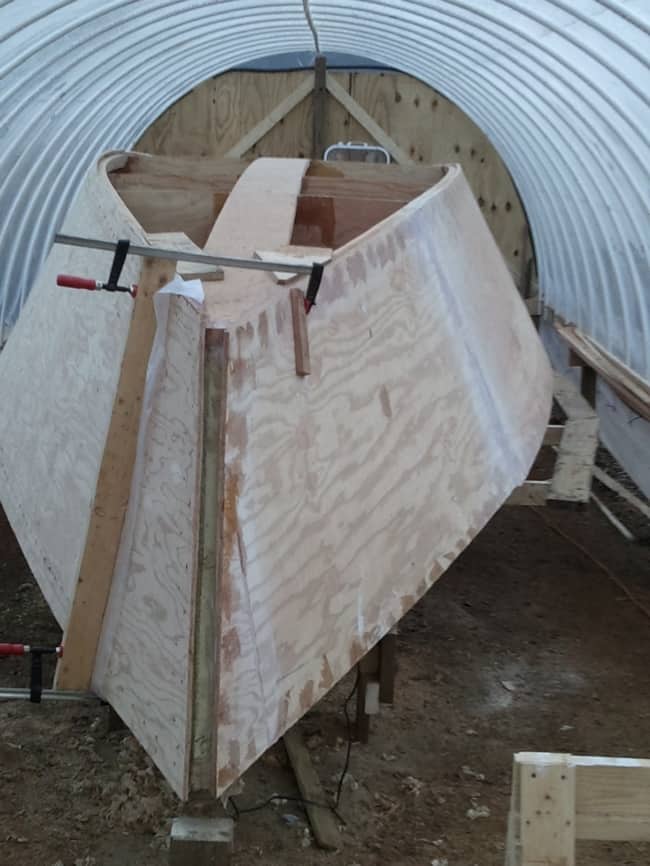
Setting up
Above is the last space where last piece of topsides is screwed on and epoxied in place. Once these pieces attached, the hull is noticeably more rigid. I overlapped all of the pieces along the top and bottom edges, then trimmed them off later.

Next to last piece down 
Last piece of second layer of bottom
13 Jan 2013 – On goes the last piece of the bottom. Note black looking epoxy, fast hardening for the cool weather in January. Actually, inside the greenhouse on a sunny day it can get into the 60’s when it is in the 40’s outside. Free heat!
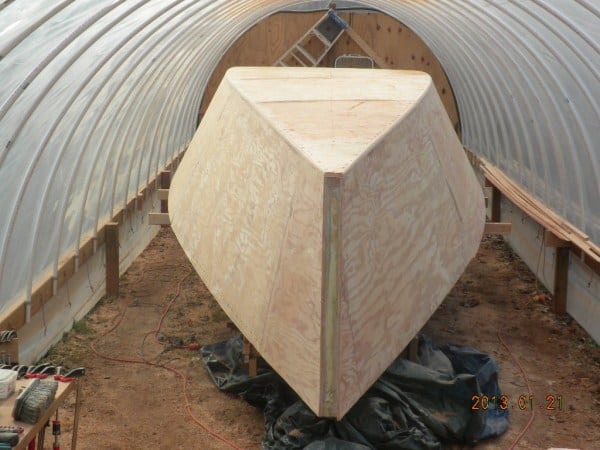
Topsides pieces all on 
Wale plank being attached
The topsides & hull bottom are on, the outer stem covers the topside edges & inner stem where you can see the green of the treated inner stem. The outer stem is Douglas fir. In this photo, you can see that the outer stem has been placed over inner stem and now the port side wale plank is being glued. I could have used 1×6 Douglas fir for the wale plank, but the half inch plywood was cheaper and lighter.
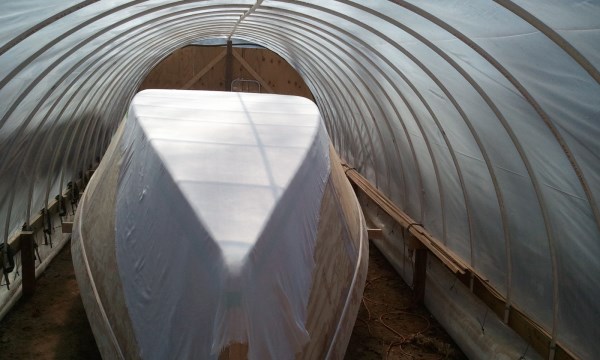
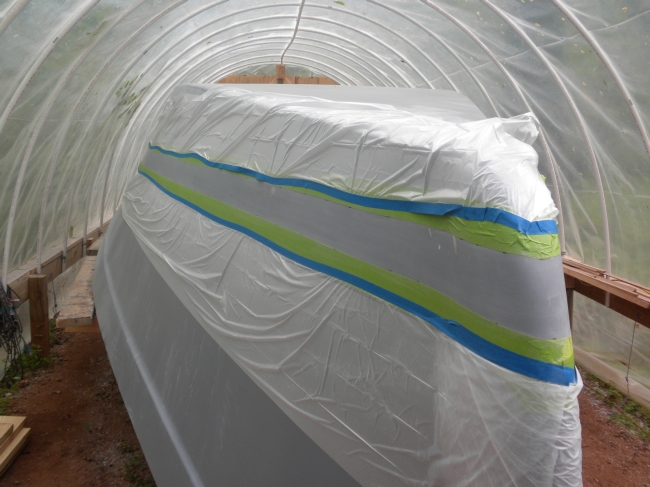
Wale planks are attached and filleted here, and the Xynole or Dynel polyester cloth is being laid on. I used a few monel staples to hold the cloth in place. The bottom ended up with two layers of cloth overlapping the chines about 4 inches with the topsides having one layer overlapping the chines about 4 inches. So the chines, and the stem have three layers of cloth. It takes a lot of epoxy to soak the cloth on properly.

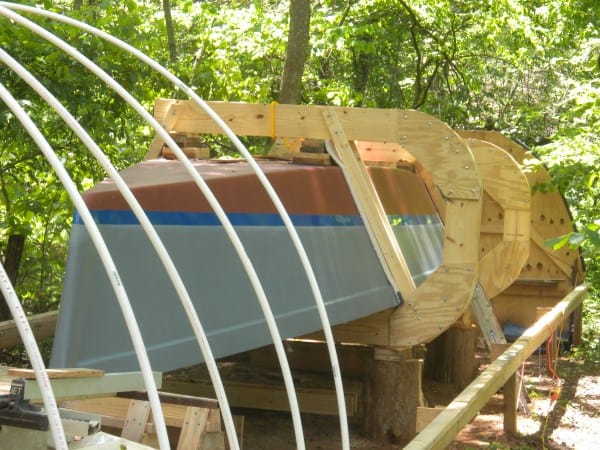
Coated with epoxy & thixogens and faired 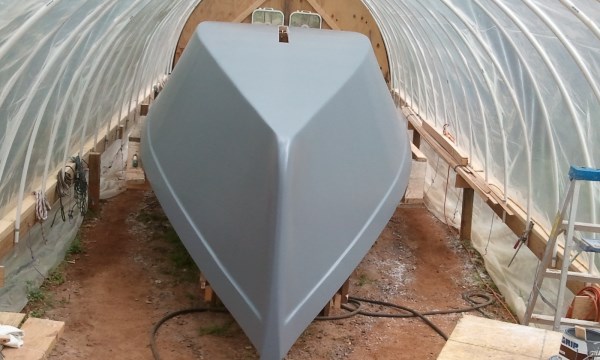
2 coats of Awlgrip 545
April 2013 – The entire hull is covered with cloth, two layers on the bottom and three layers at the chines. I put a few monel staples at each end to hold the cloth in place. Concave curves in the surface are a problem as the cloth doesn’t stick to the wood well. Then it was coated with clear (no thixogens) epoxy. It took fifteen gallons for the first coat. You have to really press it hard to saturate into the wood. A few places where there were concave curves had to be ground out and re-clothed and re-coated. No big deal, there were only about four places, and most were the size of a grape or an apple. Two were the size of a banana.
After the first coat of clear epoxy, it is mostly like auto body work or drywall work, put on epoxy mixed with thixogens with a ten-inch drywall knife, fair it and sand it and put on more and do it again until it looks pretty good. I found talc to be the most economical “thixogen” and ended up using about 30 pounds of it mixed in with the epoxy. Sanding, re-coating and more sanding… Three or four coats of thickened epoxy were put over the first clear coat with the drywall knife, sanding and fairing each time. Until it looked like this above. Next, primer.
Two coats of Algrip 545 primer covered it well, an hour or so apart. Then, more sanding with a 6 inch air sander and 150 grit paper to smooth it out, then getting the area where the topsides and boot stripe will be really smooth with 220 – 320 grit. The 6 inch air palm sander worked good at this.

I used a bucket and a twenty-five foot clear hose to draw the water line and boot top on the hull. Reuel suggests putting the painted water line three inches above the actual water line, so I did that. Here it is ready for the boot top to be sprayed on.
The basic hull is completed, and the next phase is to build the rest of the boat. To do this, it needs to be right side up, so I built a frame to roll it over.
Meanwhile, we seem to always get a big snowstorm in March here in Virginia, and I learned how to prepare a hoop house for snow when the snow comes next time.
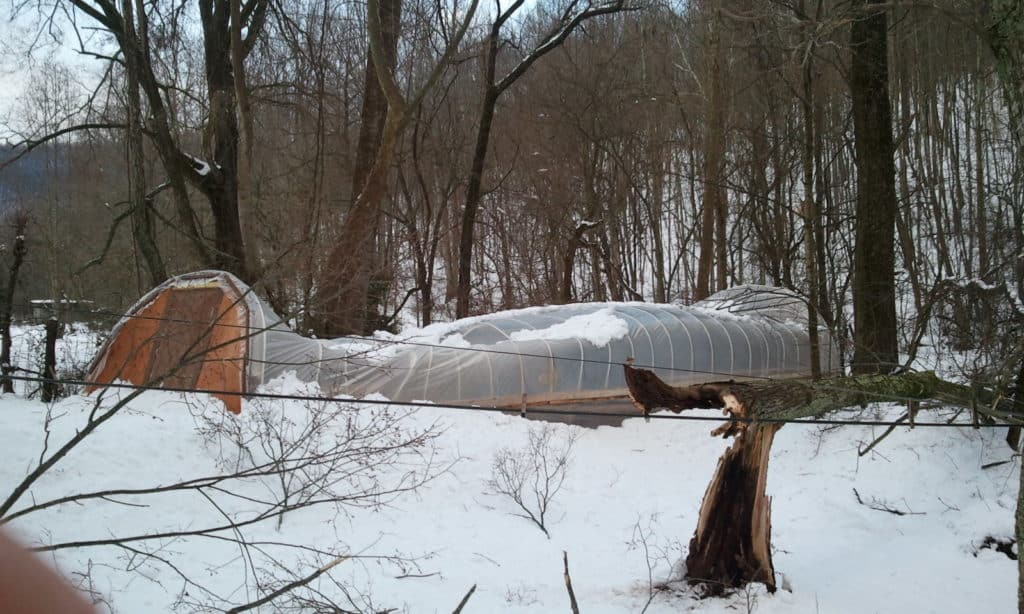
13 Mar 2013 
Snow 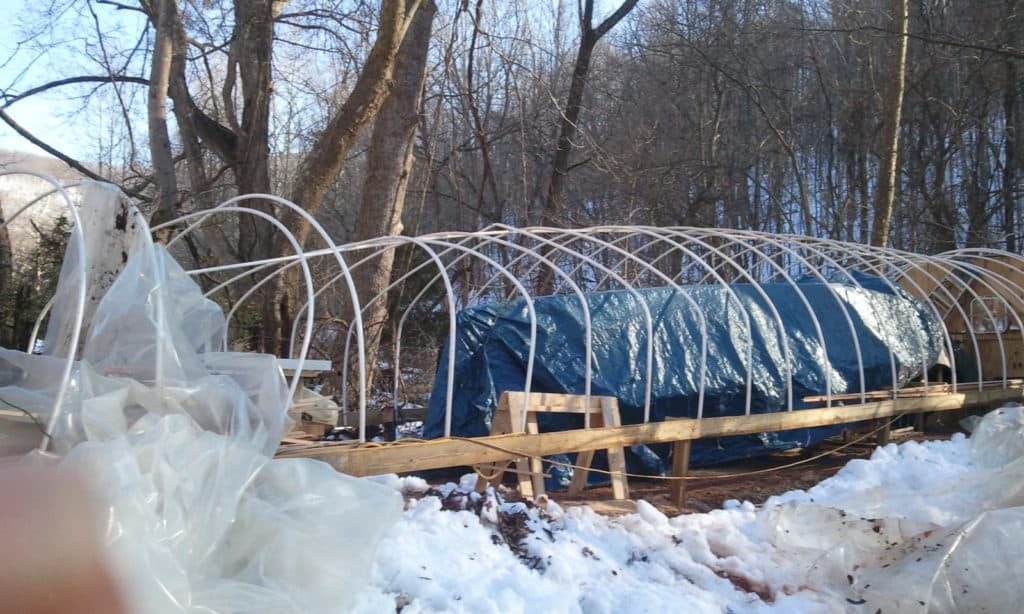
Hoop house
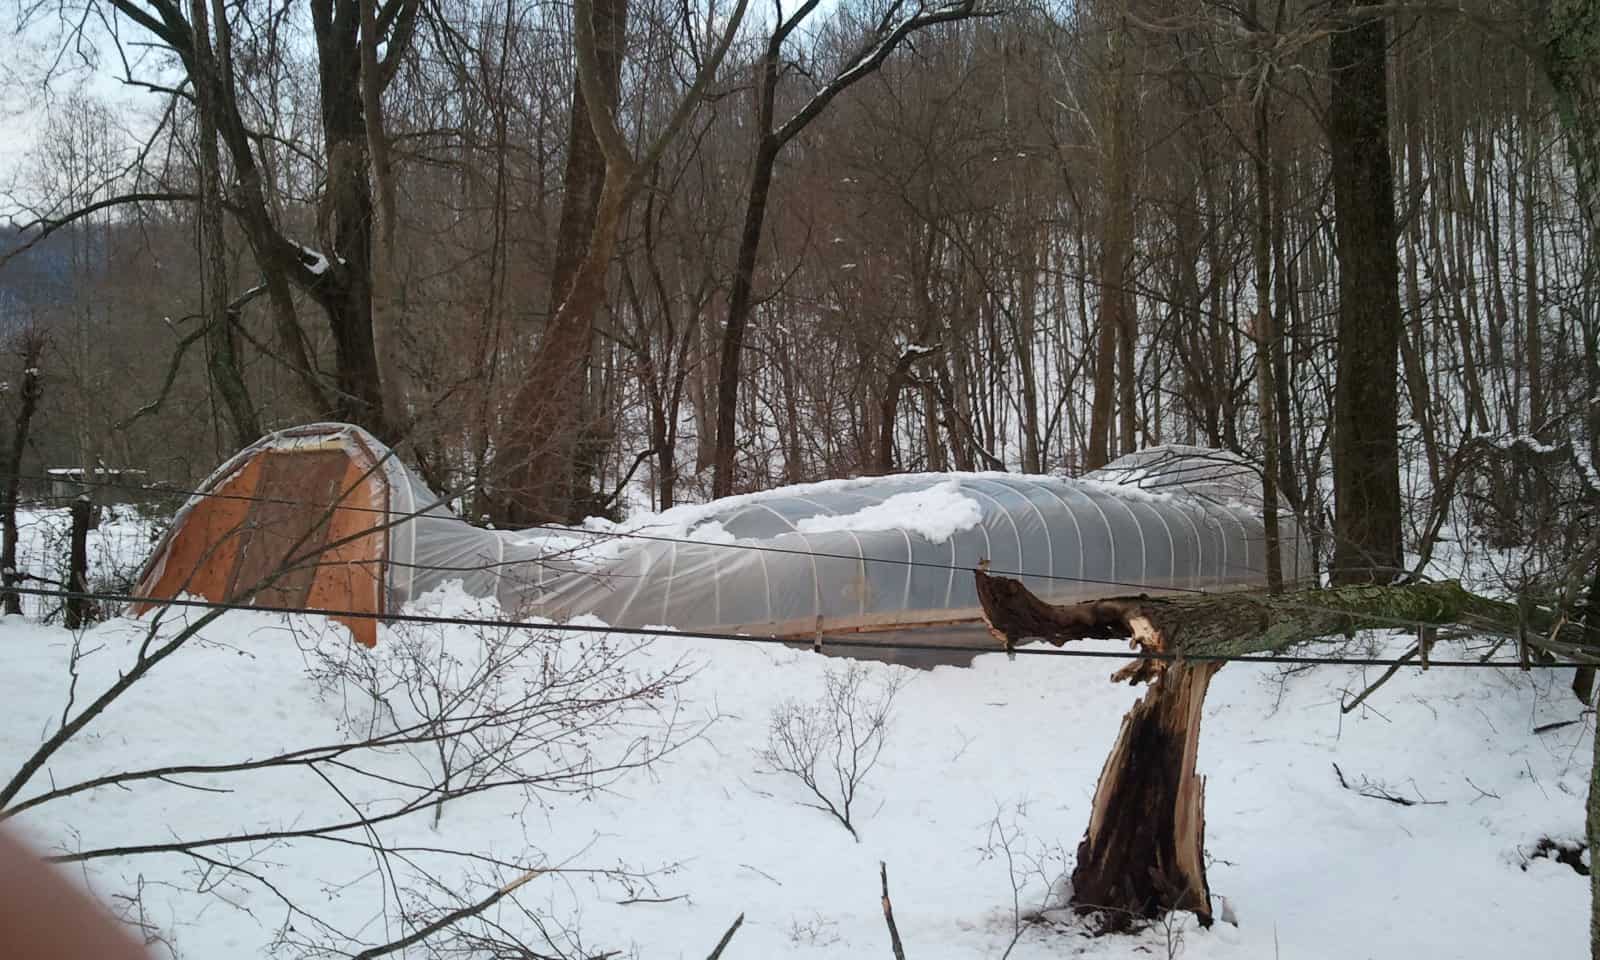

After digging out the boat and putting the hoop house back together, I went to Lowe’s and bought a good shop heater so next time, I could melt the snow as it came down.
Rolling over
We just need a dry day during the week for a crane to get in and out. It has been raining for days, so, we are still waiting.
Ready to roll! After a week of rain, on the 28th of May 2013, we take a chance on scheduling the crane to help with the roll-over. The worry is that the crane may not be able to get back out, up the steep hill after completing the job. Here follow a few photos of the rolling over process. We used two small 12 volt winches attached to a couple of trees to pull and belay the hull as it is rolled over. We had dug a hole for the bow so it wouldn’t touch the ground.

Carlos, who works at out restaurant, Beer Run, is seen here hooking up the front frame to the spreader bar held by the crane.


Half way there, the most scary part as we have to keep it from flopping over and breaking apart.

We let it down gently. And the crane operator put it back up on the strongback where it will be under the greenhouse again.

Crane, almost made it up the hill on the first try. He backed down, we put about six inches of wood chips on the tracks and then out he went on the next try!