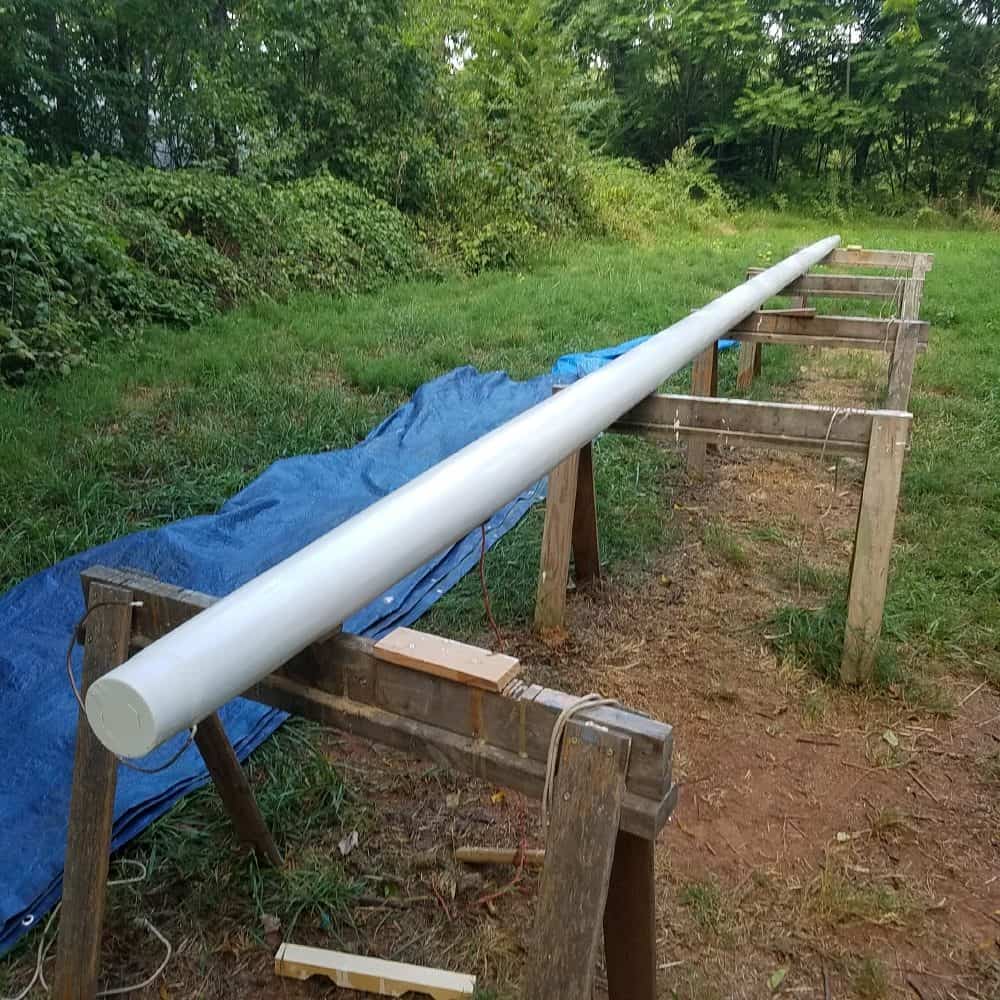
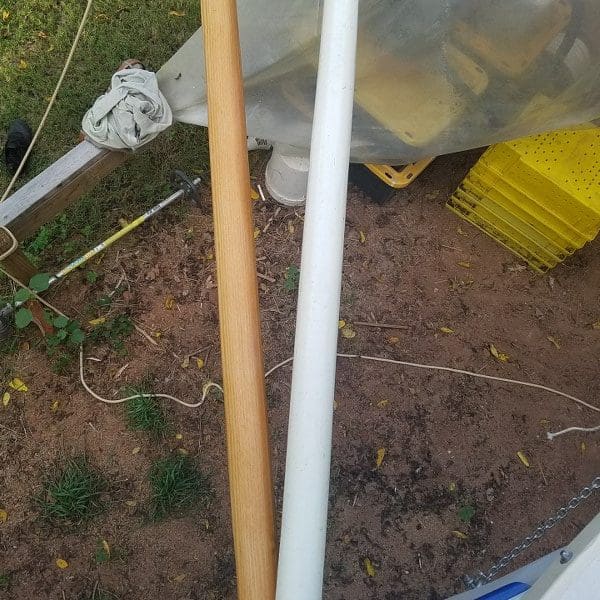
April and May 2015 – On to the spars. I did much agonizing and read many opinions on the best method for the masts. Hollow birdsmouth, hollow square or rectangular, solid… I ended up making the mizzen mast hollow square, using Douglas fir. I made the main boom 15’ 9” long, the gaff 7’ 8” long, the mizzen sprit boom 10’ 5” long, the bowsprit 68″ long and the boomkin 54″ long. All of these, I made using Douglas fir.
Mizzen Mast
The nice thing about the rectangular mizzen mast is that I could make it by myself. It is about 20 feet long, tapered and intended to set a sprit sail.
Unfortunately, I used wood a bit too thick, and it isn’t very hollow. This is the small end, so I should be just able to get wires through the middle.
The Main Mast
The main mast is hollow birdsmouth, more complicated but supposedly stronger.
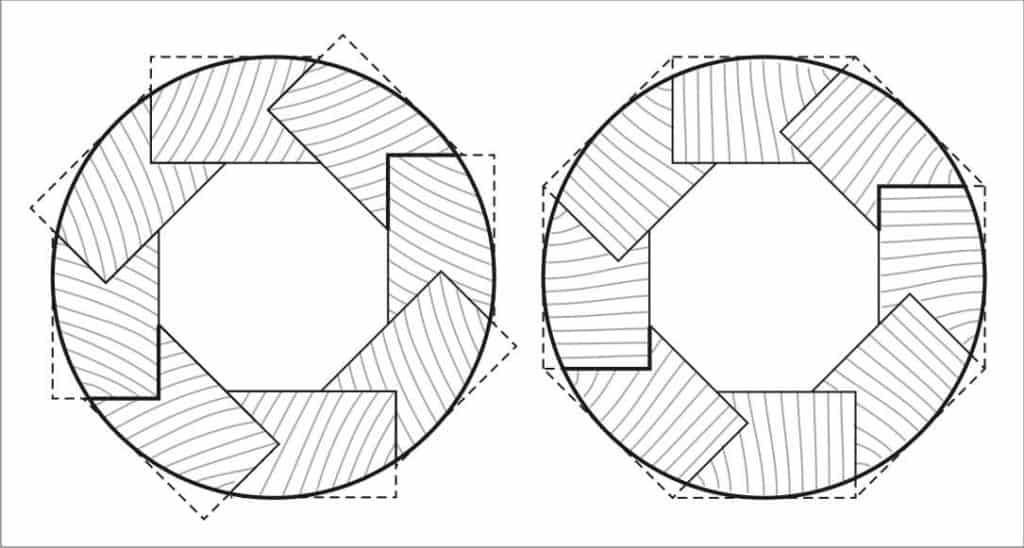
Hollow birdsmouth diagram 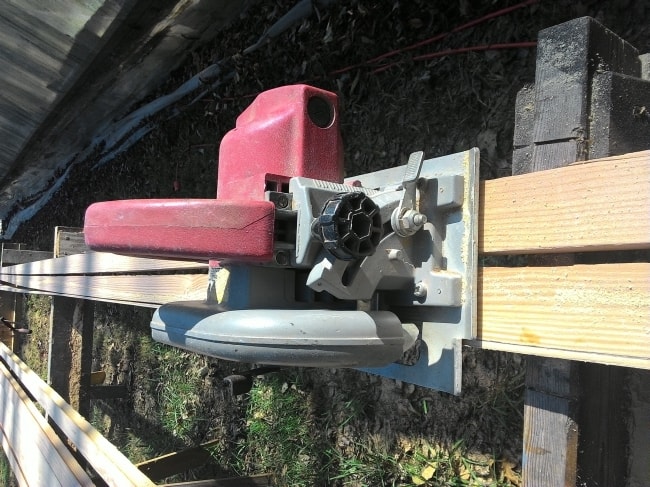
Milwaukee saw 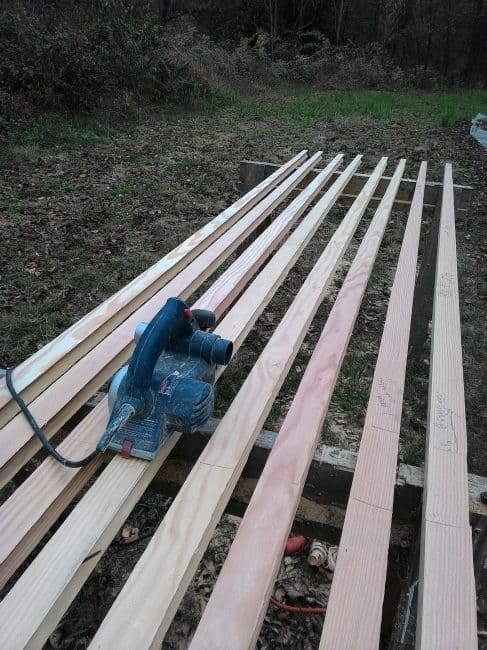
The 8 staves, double tapered 
Reinforced at base and mast level 
Trial assembly 
Two halves


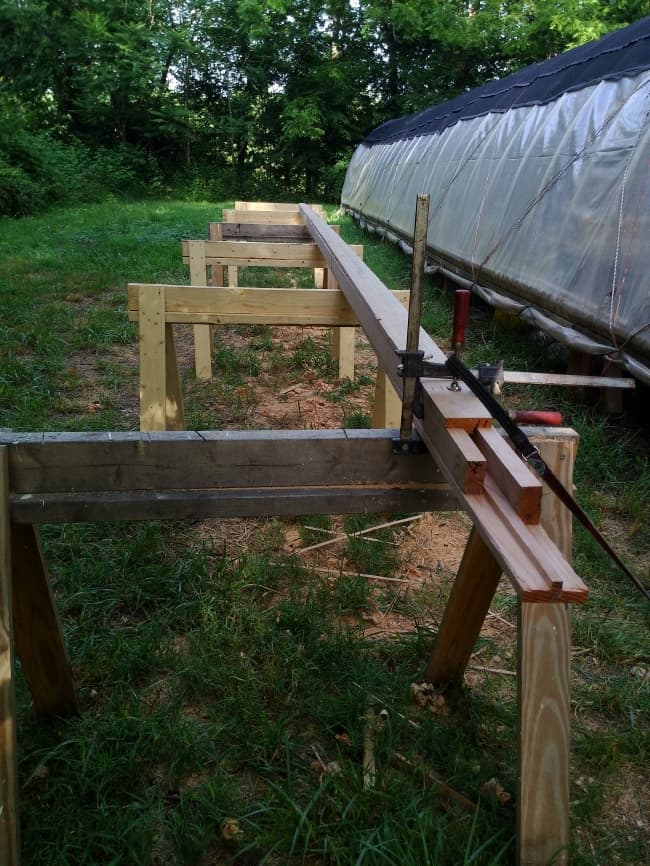
These details are a bit boring, but here is what I did to make the 30 foot main mast. It is methodical, but not difficult. Reuel gives the diameter at different points, step, deck, half way, gaff, and top. I used the Duckworks calculator to find the stave width (L) at each point. He gives the thickness, (H), as 1.25 inches. However, at the top of the mast this thickness is too great, as Reuel specifies a diameter at the tip of a 2.5 inches, so it won’t happen. I reduced the calc to H = 1.0 inch thick staves there, and that came out to almost an inch width (L) at the top end still leaving a small hole in the center.
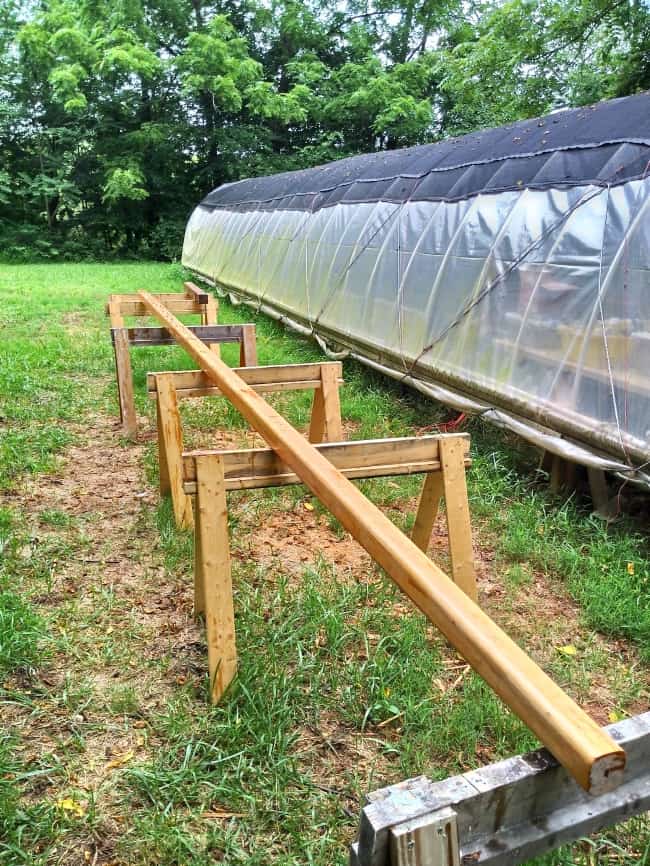
I set up 6 saw horses in a row and made them have the tops in a straight line, exactly. I used left-over wedges from scarfing process to adjust the heights.
First, I ran all 16 2×4’s through my thickness planer, reducing the thickness to 1.25 inches from 1.5 inches. Then I ripped all of them to 2.25 inches wide, a little larger than the maximum calculated width (L), at deck level. Then ran them through the table saw putting a V’ee on one edge. Made this vee a tad too deep, ensuring complete removal at the inside notch or corner, perhaps 1/32 of an inch overlap.
Scarfed, after ripping to width, with cut off saw and two boards set as guides for a 1/12 cut set on the saw horses. This gave 8 staves of about 31.5 feet, so I’ll stagger then so as to not have all scarfs at the same point.
Then, I marked and cut one stave and shaped it with a block plane and 8 inch Makita disk sander, 40 grit, till it looked good, with the width (L) gradually changing, corresponding to the calculated results and giving a nice looking parabolic taper.
So far so good. I used this one as a template to mark each of the rest and cut them with a cut-off saw.
Next, lined them up with vee’s facing down, clamped together, and sanded them, where they weren’t identical, to a uniform decreasing width.
Next, to reduce the thickness at the top end of the mast, I needed to plane each one on both sides to a nice taper from near the gaff point to the top end. The total to remove at the top was about 1/4 inch in thickness. From (H) = 1.25 to (H) = 1.0. This meant 1/4 inch total thickness reduction at the top, but starting from almost no reduction near the gaff point. So, I set the electric plane to 1/16 inch depth, and planed each stave on both sides; one pass from just above the gaff point to the tip, and two passes from the midpoint of the first pass to the tip or top. 4 x 1/16 = 1/4 total reduction.
Then, I lined them up, vee’s facing to one side, and had a look. When I clamped them lightly, the decreasing curve of the combined taper of the width, (L), looked off, too abrupt at one point, about a foot above the gaff. So, I clamped them all together, vee down, and reduced this “hump” causing this ugly curve with the 8 inch Makita sander, 40 grit. It’s really like a sculpting tool.
Next, I put some 8 in wide ply stations on each saw horse with U-shaped holes cut near the top, each U-shaped “hole” smaller toward the top end of the “mast”. Chalk line to get them straight side to side. Screwed to the saw horses.
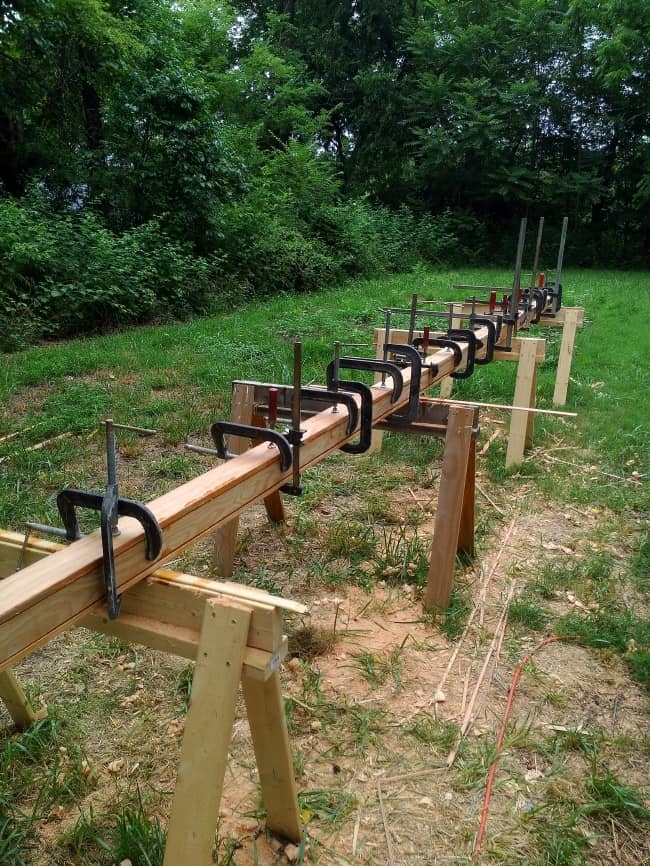
Got some help, and dry fitted the staves. Raised and lowered the stations on each horse till middle stave in one side was straight, within 1/32 of an inch measured from the top of each saw horse. It looks good and straight.
I cut a piece of 5 mil plastic about a foot wide and 30 feet long, from the edge of my 60 foot greenhouse/workshop; extra lying on the ground. Will put this between the four bottom and four top staves when we glue it up, so I can separate the two halves and put in blocking, wires… and later glue two halves together.
Around September 15th, with the help of four people, we glued the mast together. We actually had plenty of time to get it done before the epoxy started to harden.
February 2016, I’m working on the cabinets, ice box and head in the cabin. It is mostly done, but it has been cold and we went to Peru and Bolivia for three weeks in January. I made the interior compartment of the ice box on Saturday.
Once the solid blocks were inserted, all was epoxied securely, the mast was planed then sanded round with the 8 inch Makita, then strips of sand paper by hand, primed with Awlgrip 545 and painted with Awlgrip, many coats.
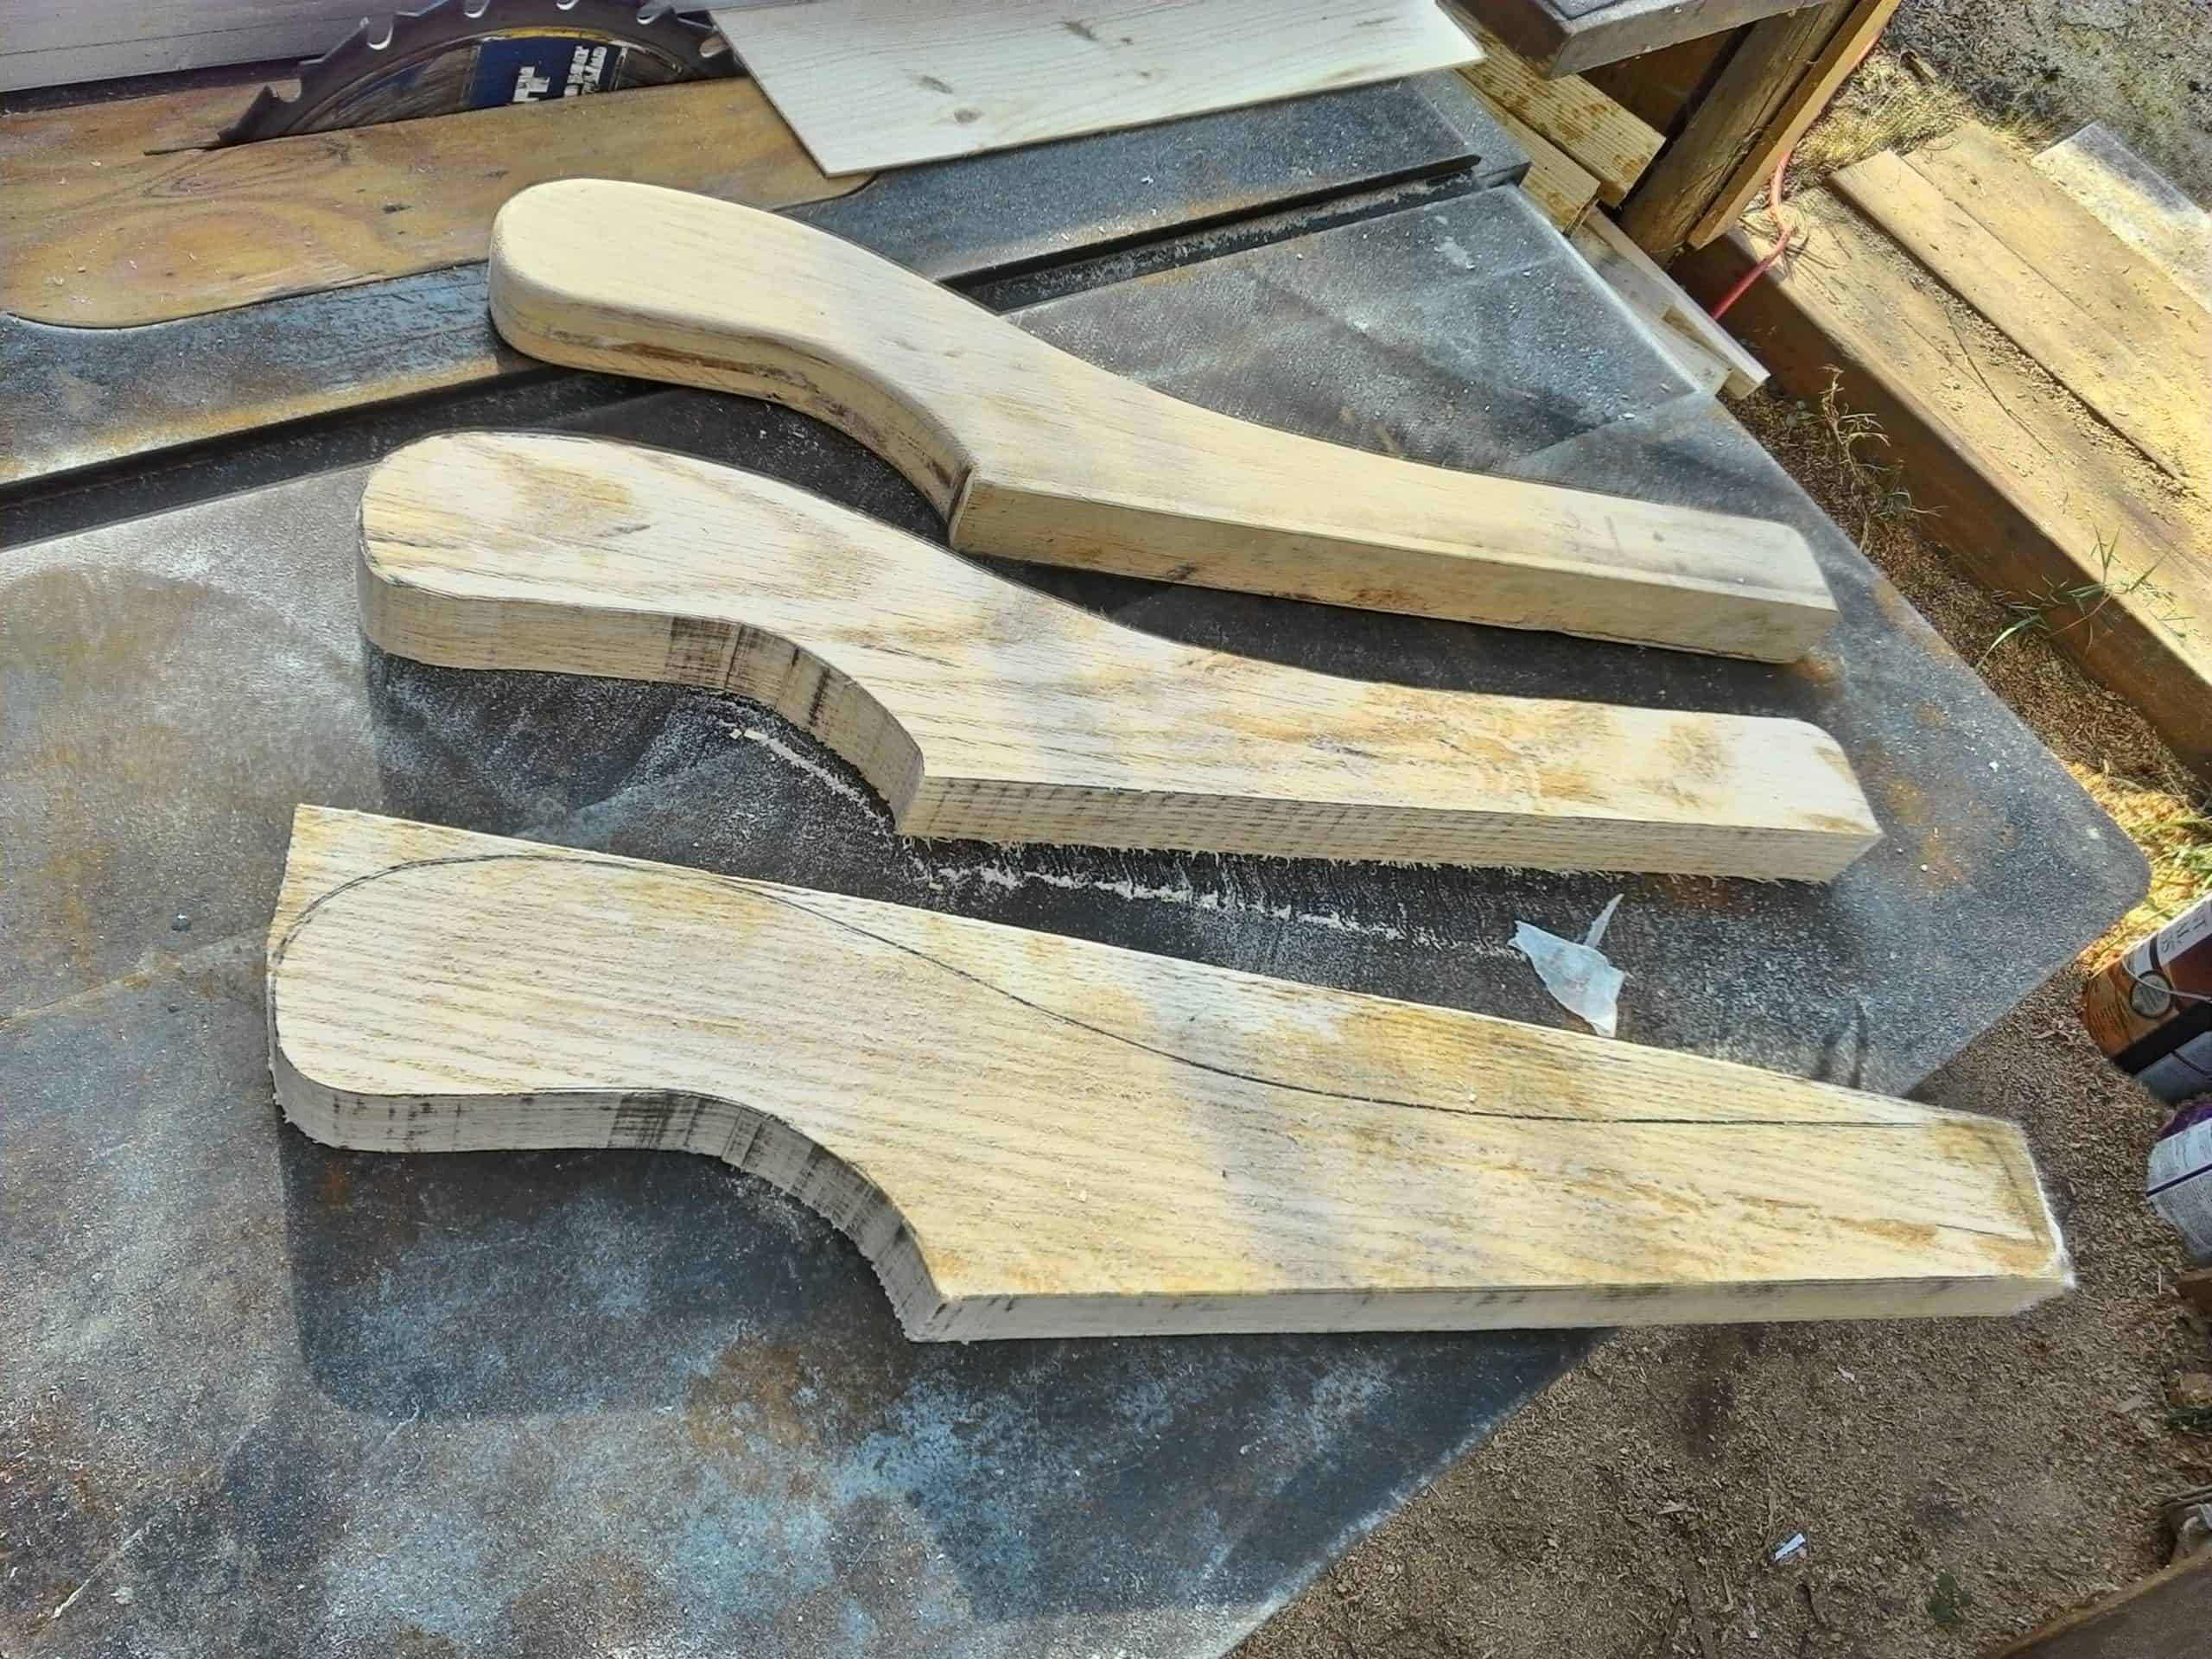
The Booms and Gaff
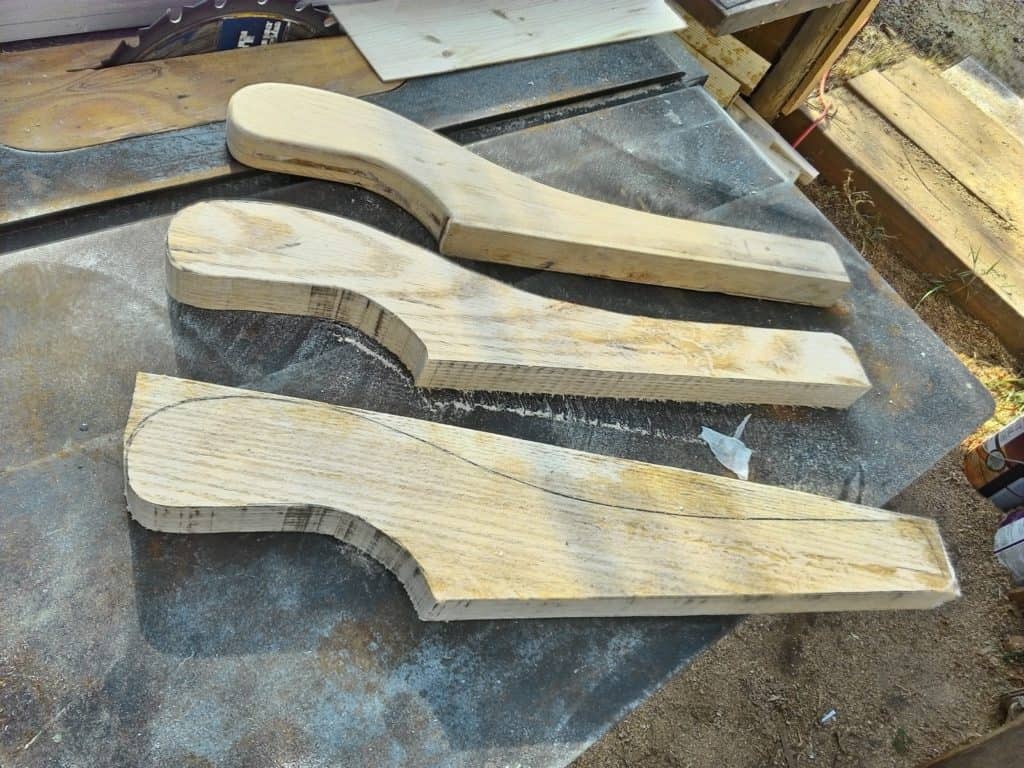
The two booms and the gaff were made of Douglas fir. Reuel’s instructions: Make the booms from 3×3 Douglas fir stock: taper from 2 ½” to 1 ¾” at each end. Make the boom jaws from 1” white oak. The forward boom ends finish with the jaws butting the mast. Make the gaffs tapered from 2” to 1 ½” at the ends. Laminate the jaws from 1/8” white oak to finish ¾” thick.
The main boom measured 18 feet long. The mizzen, 12 feet and the gaff 8 feet.

Mounting jaws on main boom 
Main boom 
Main boom 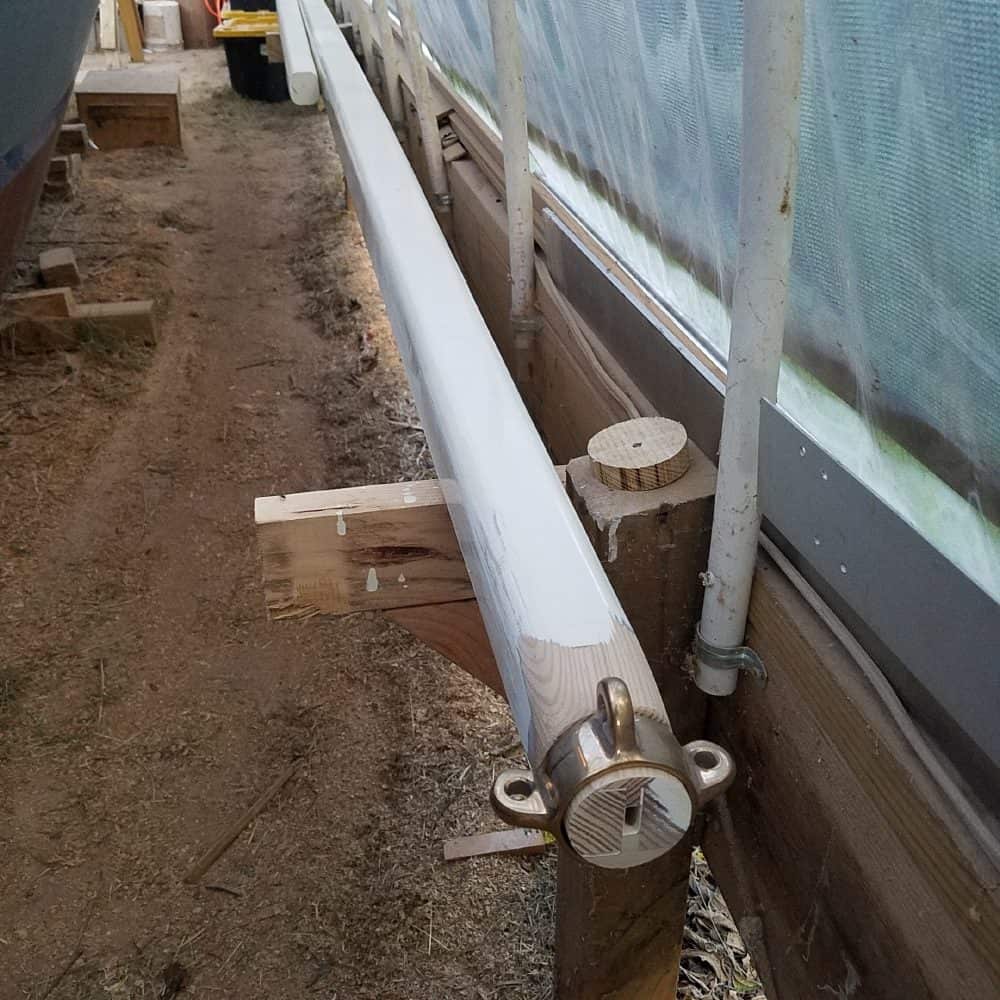
Mizzen mast
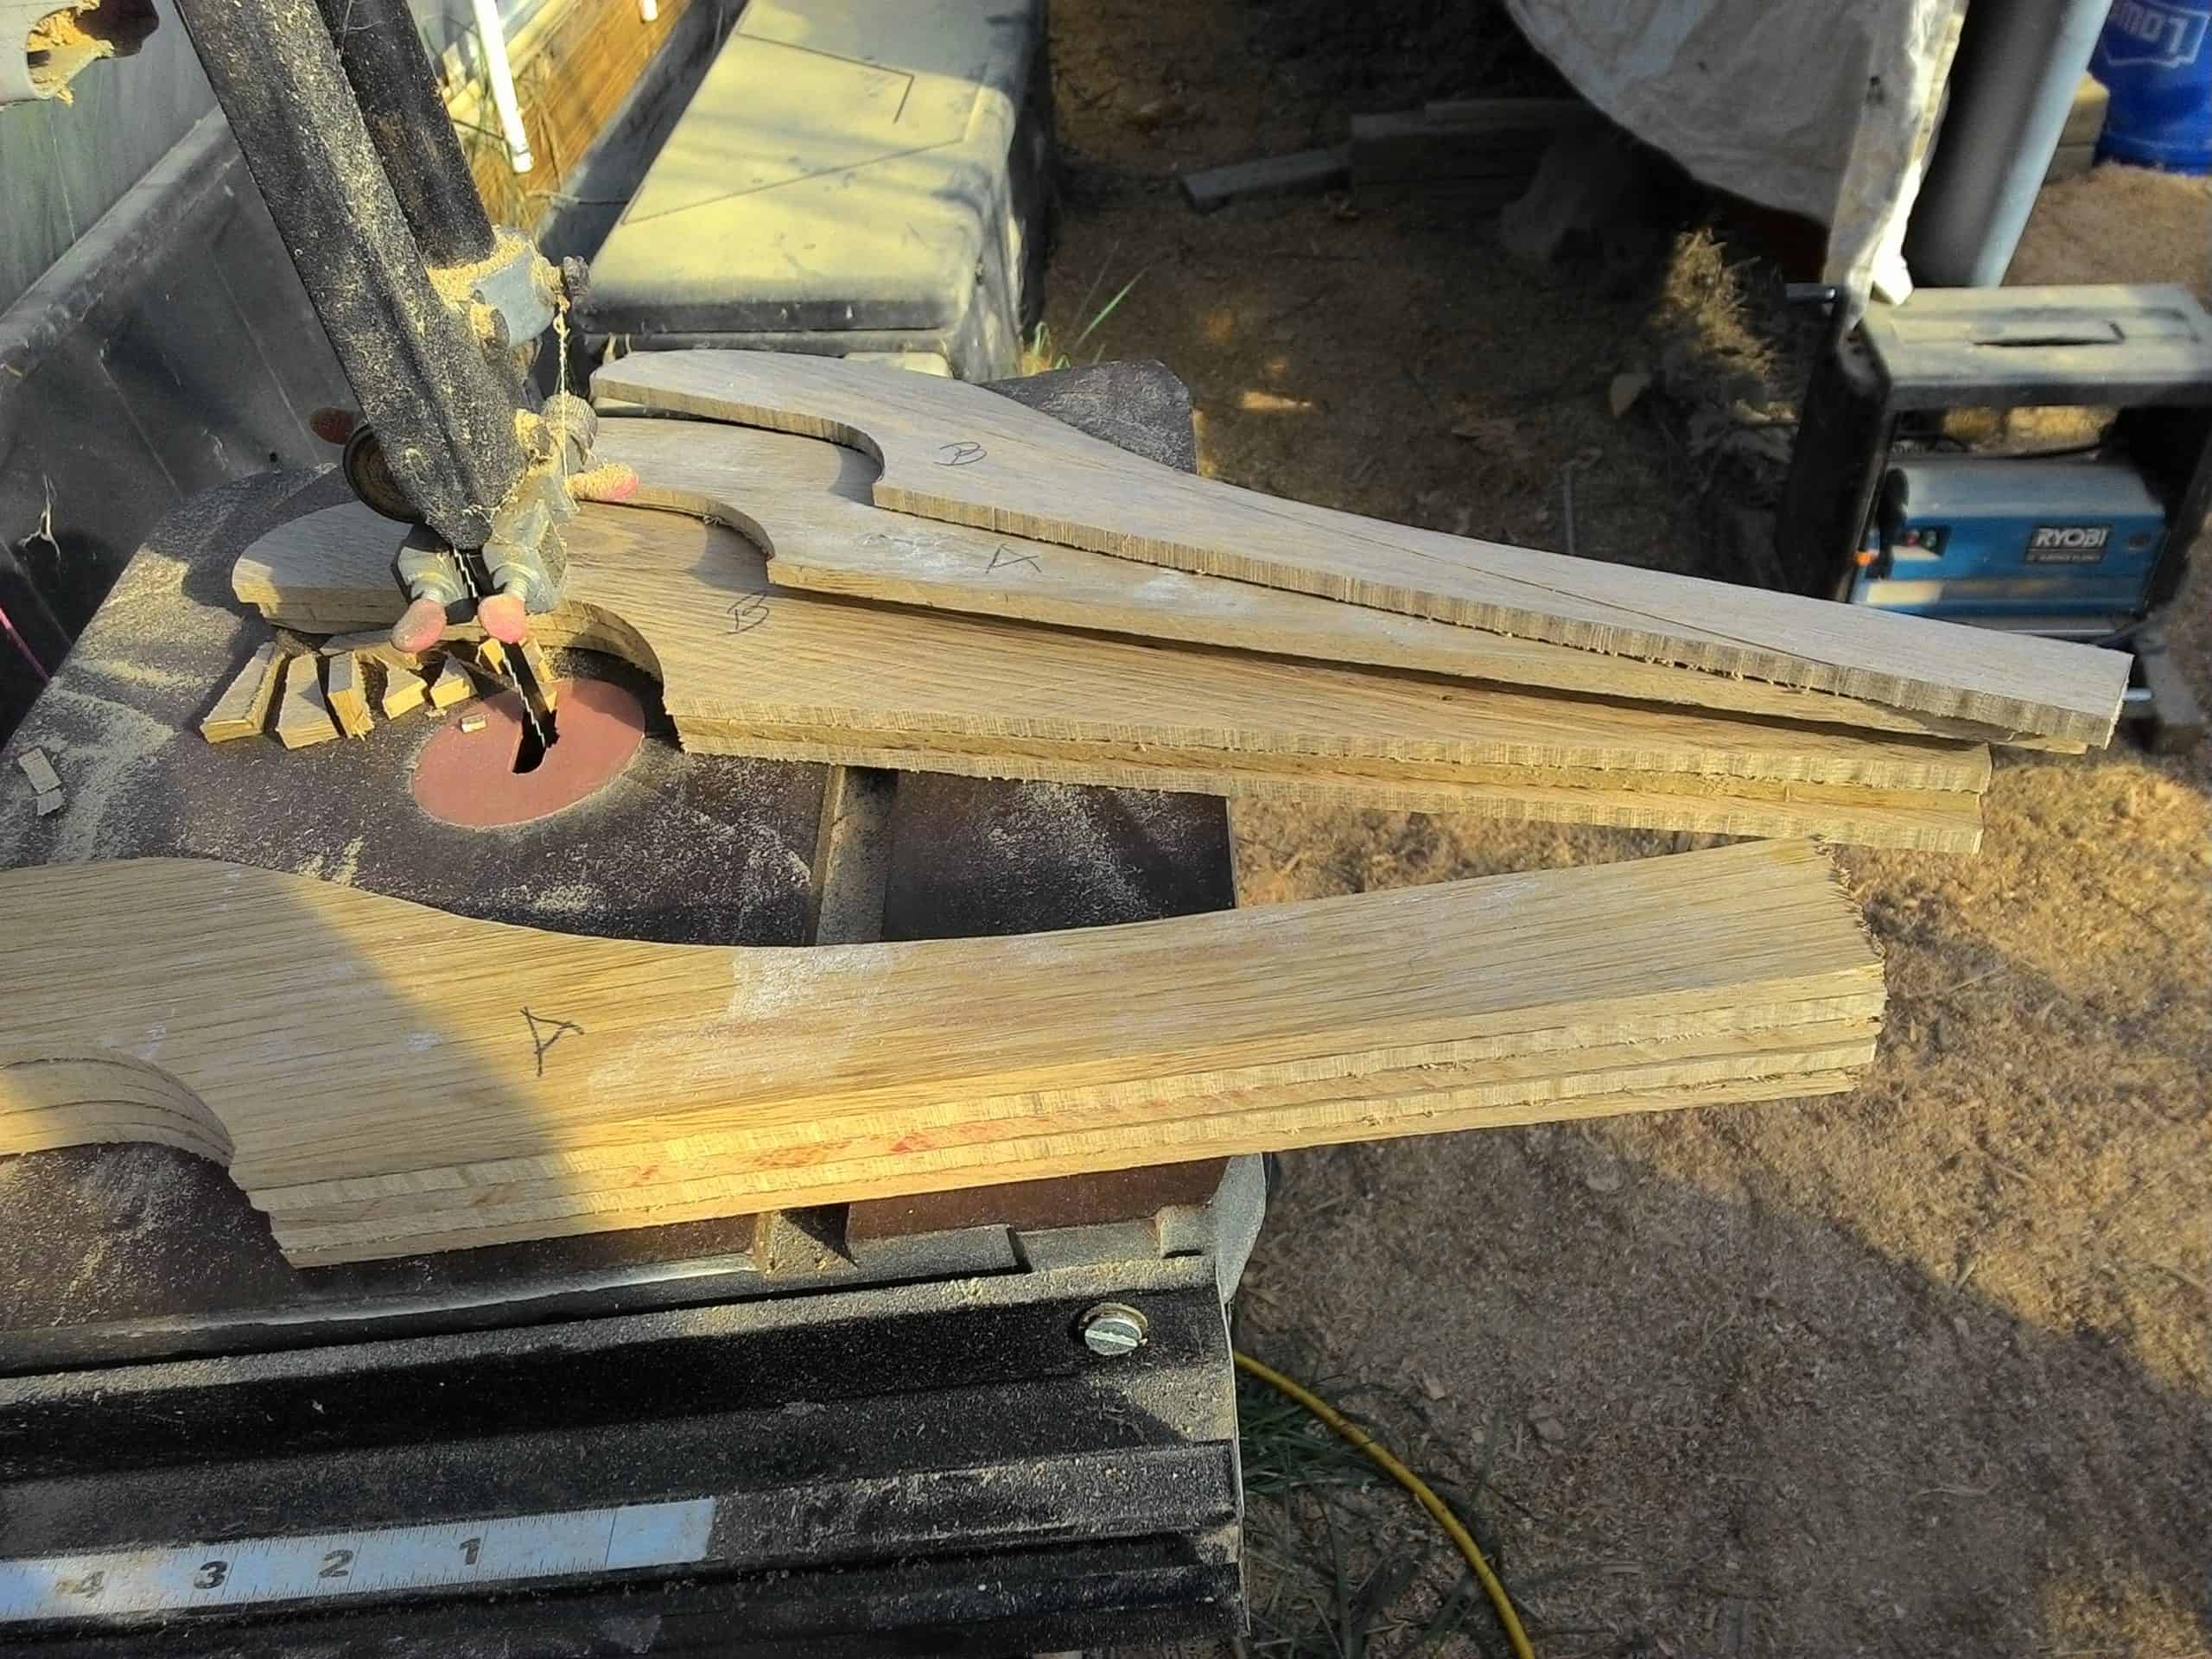
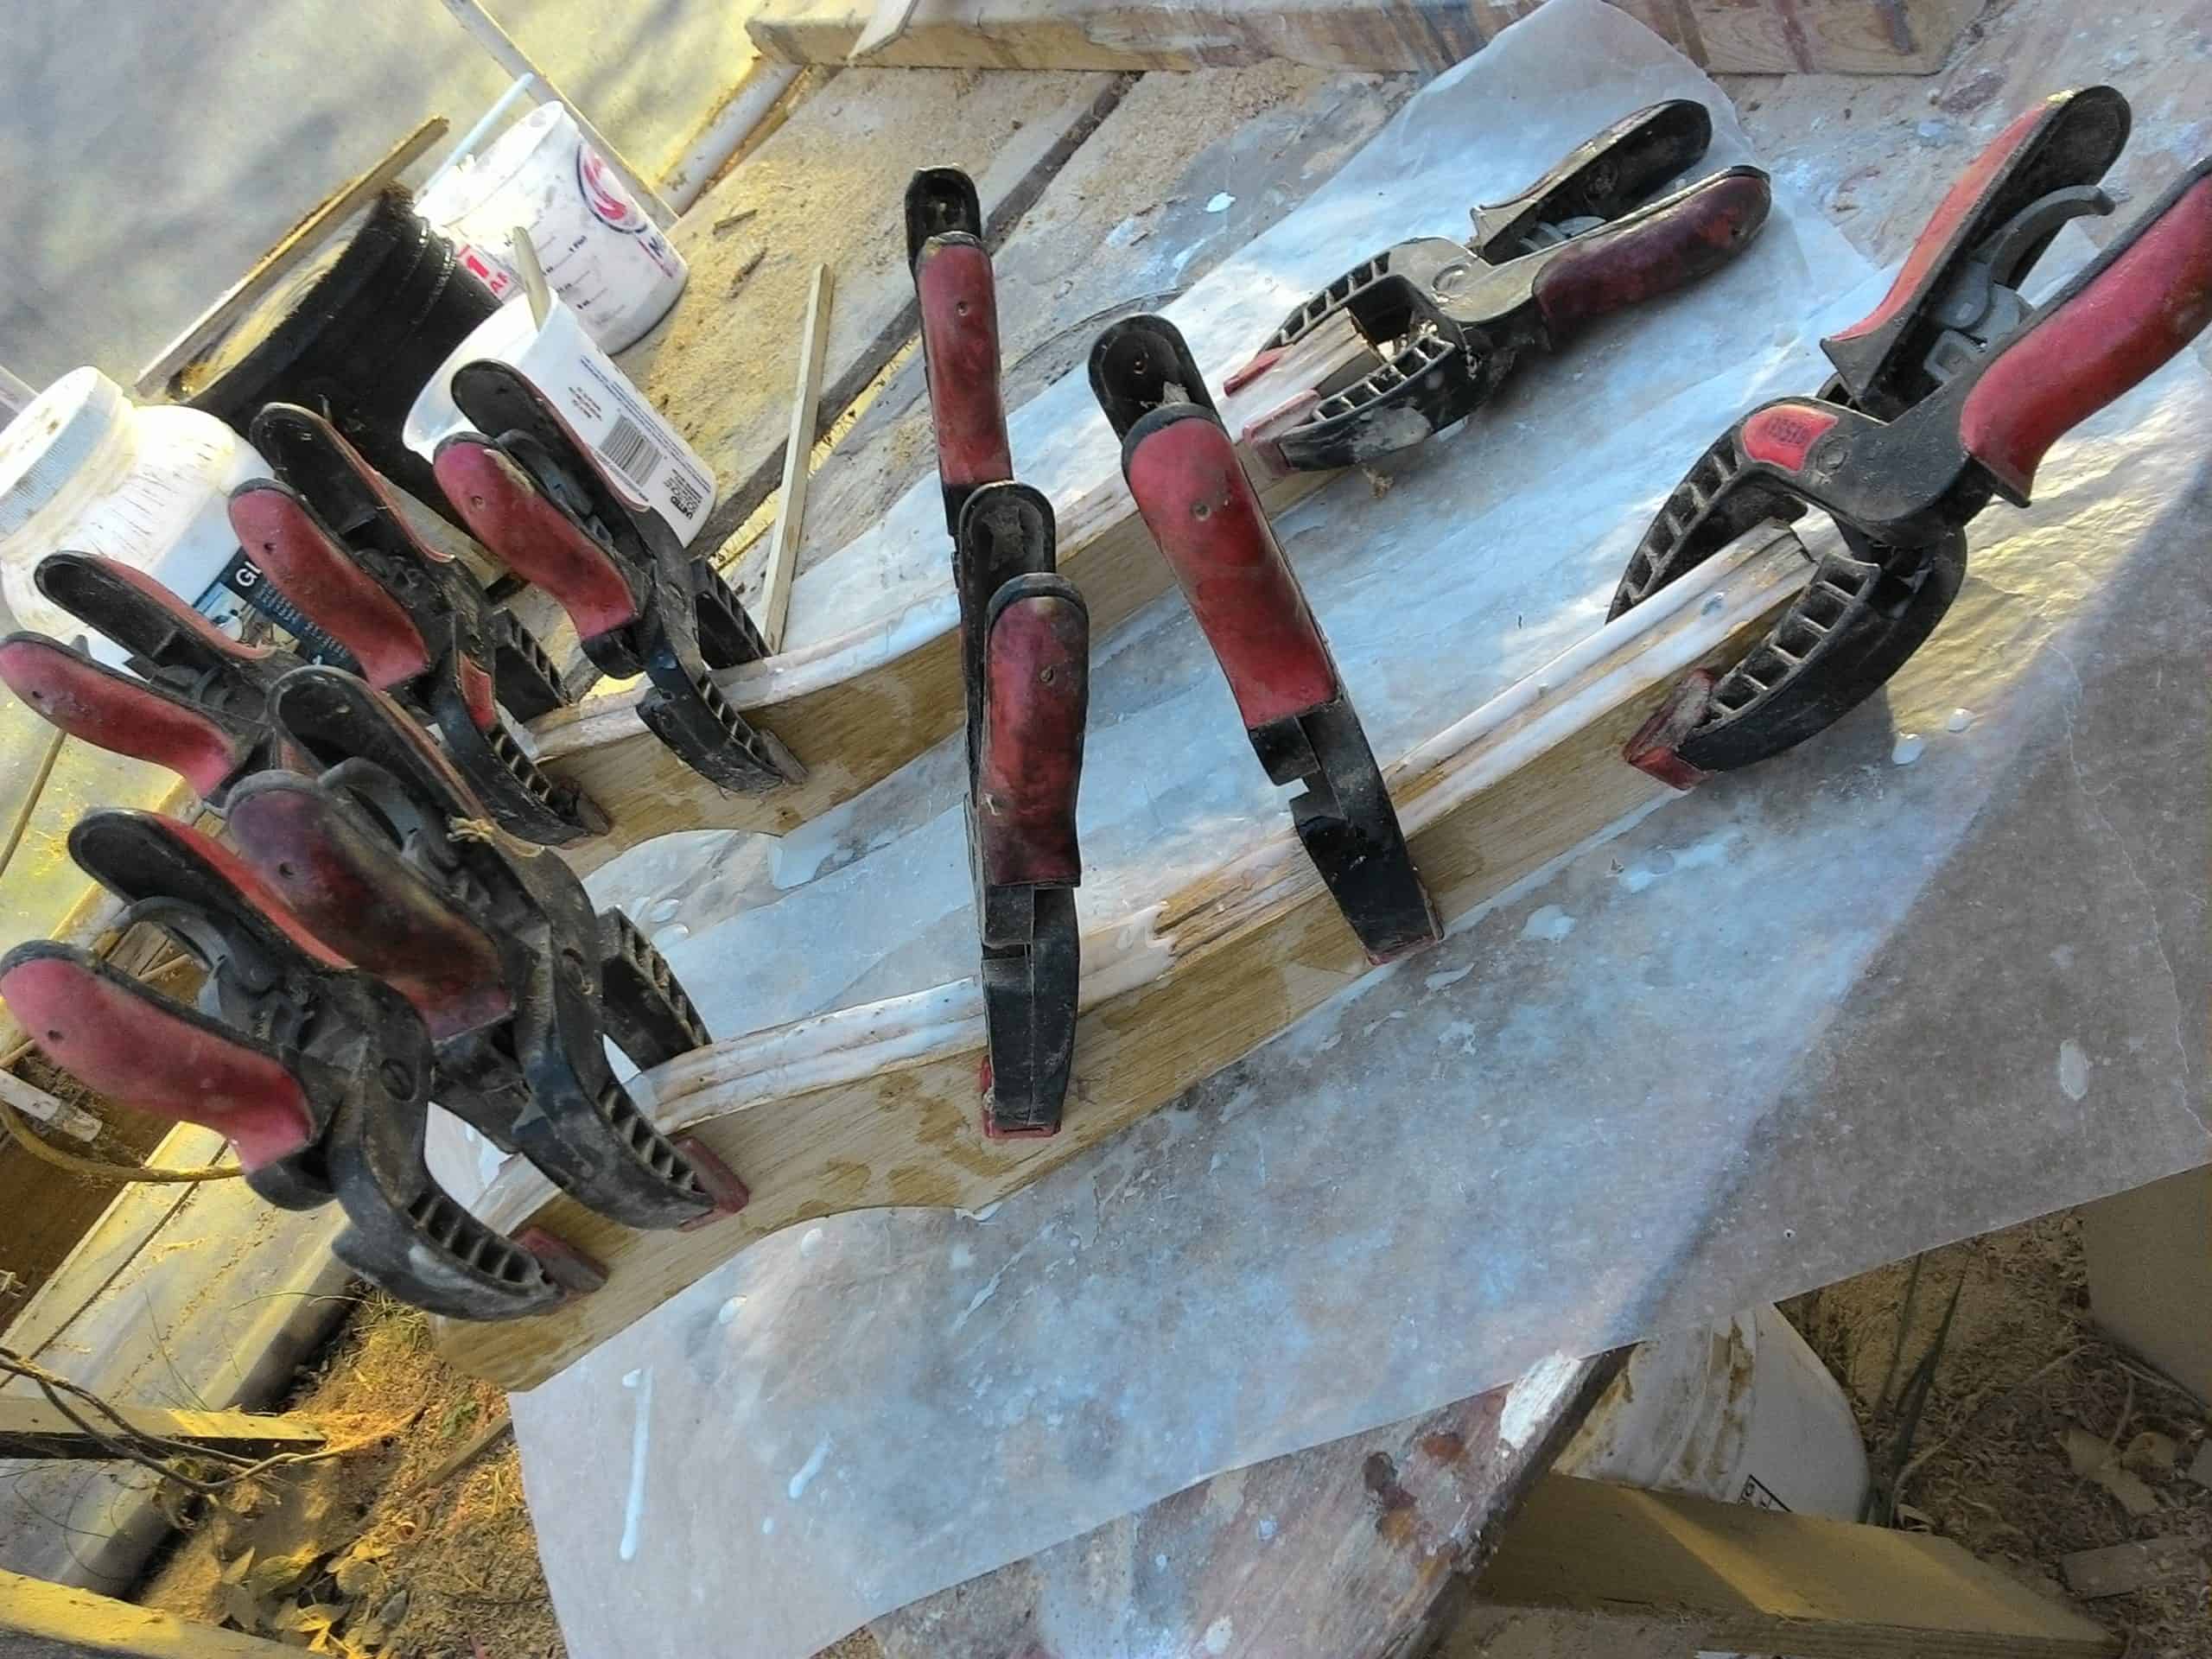
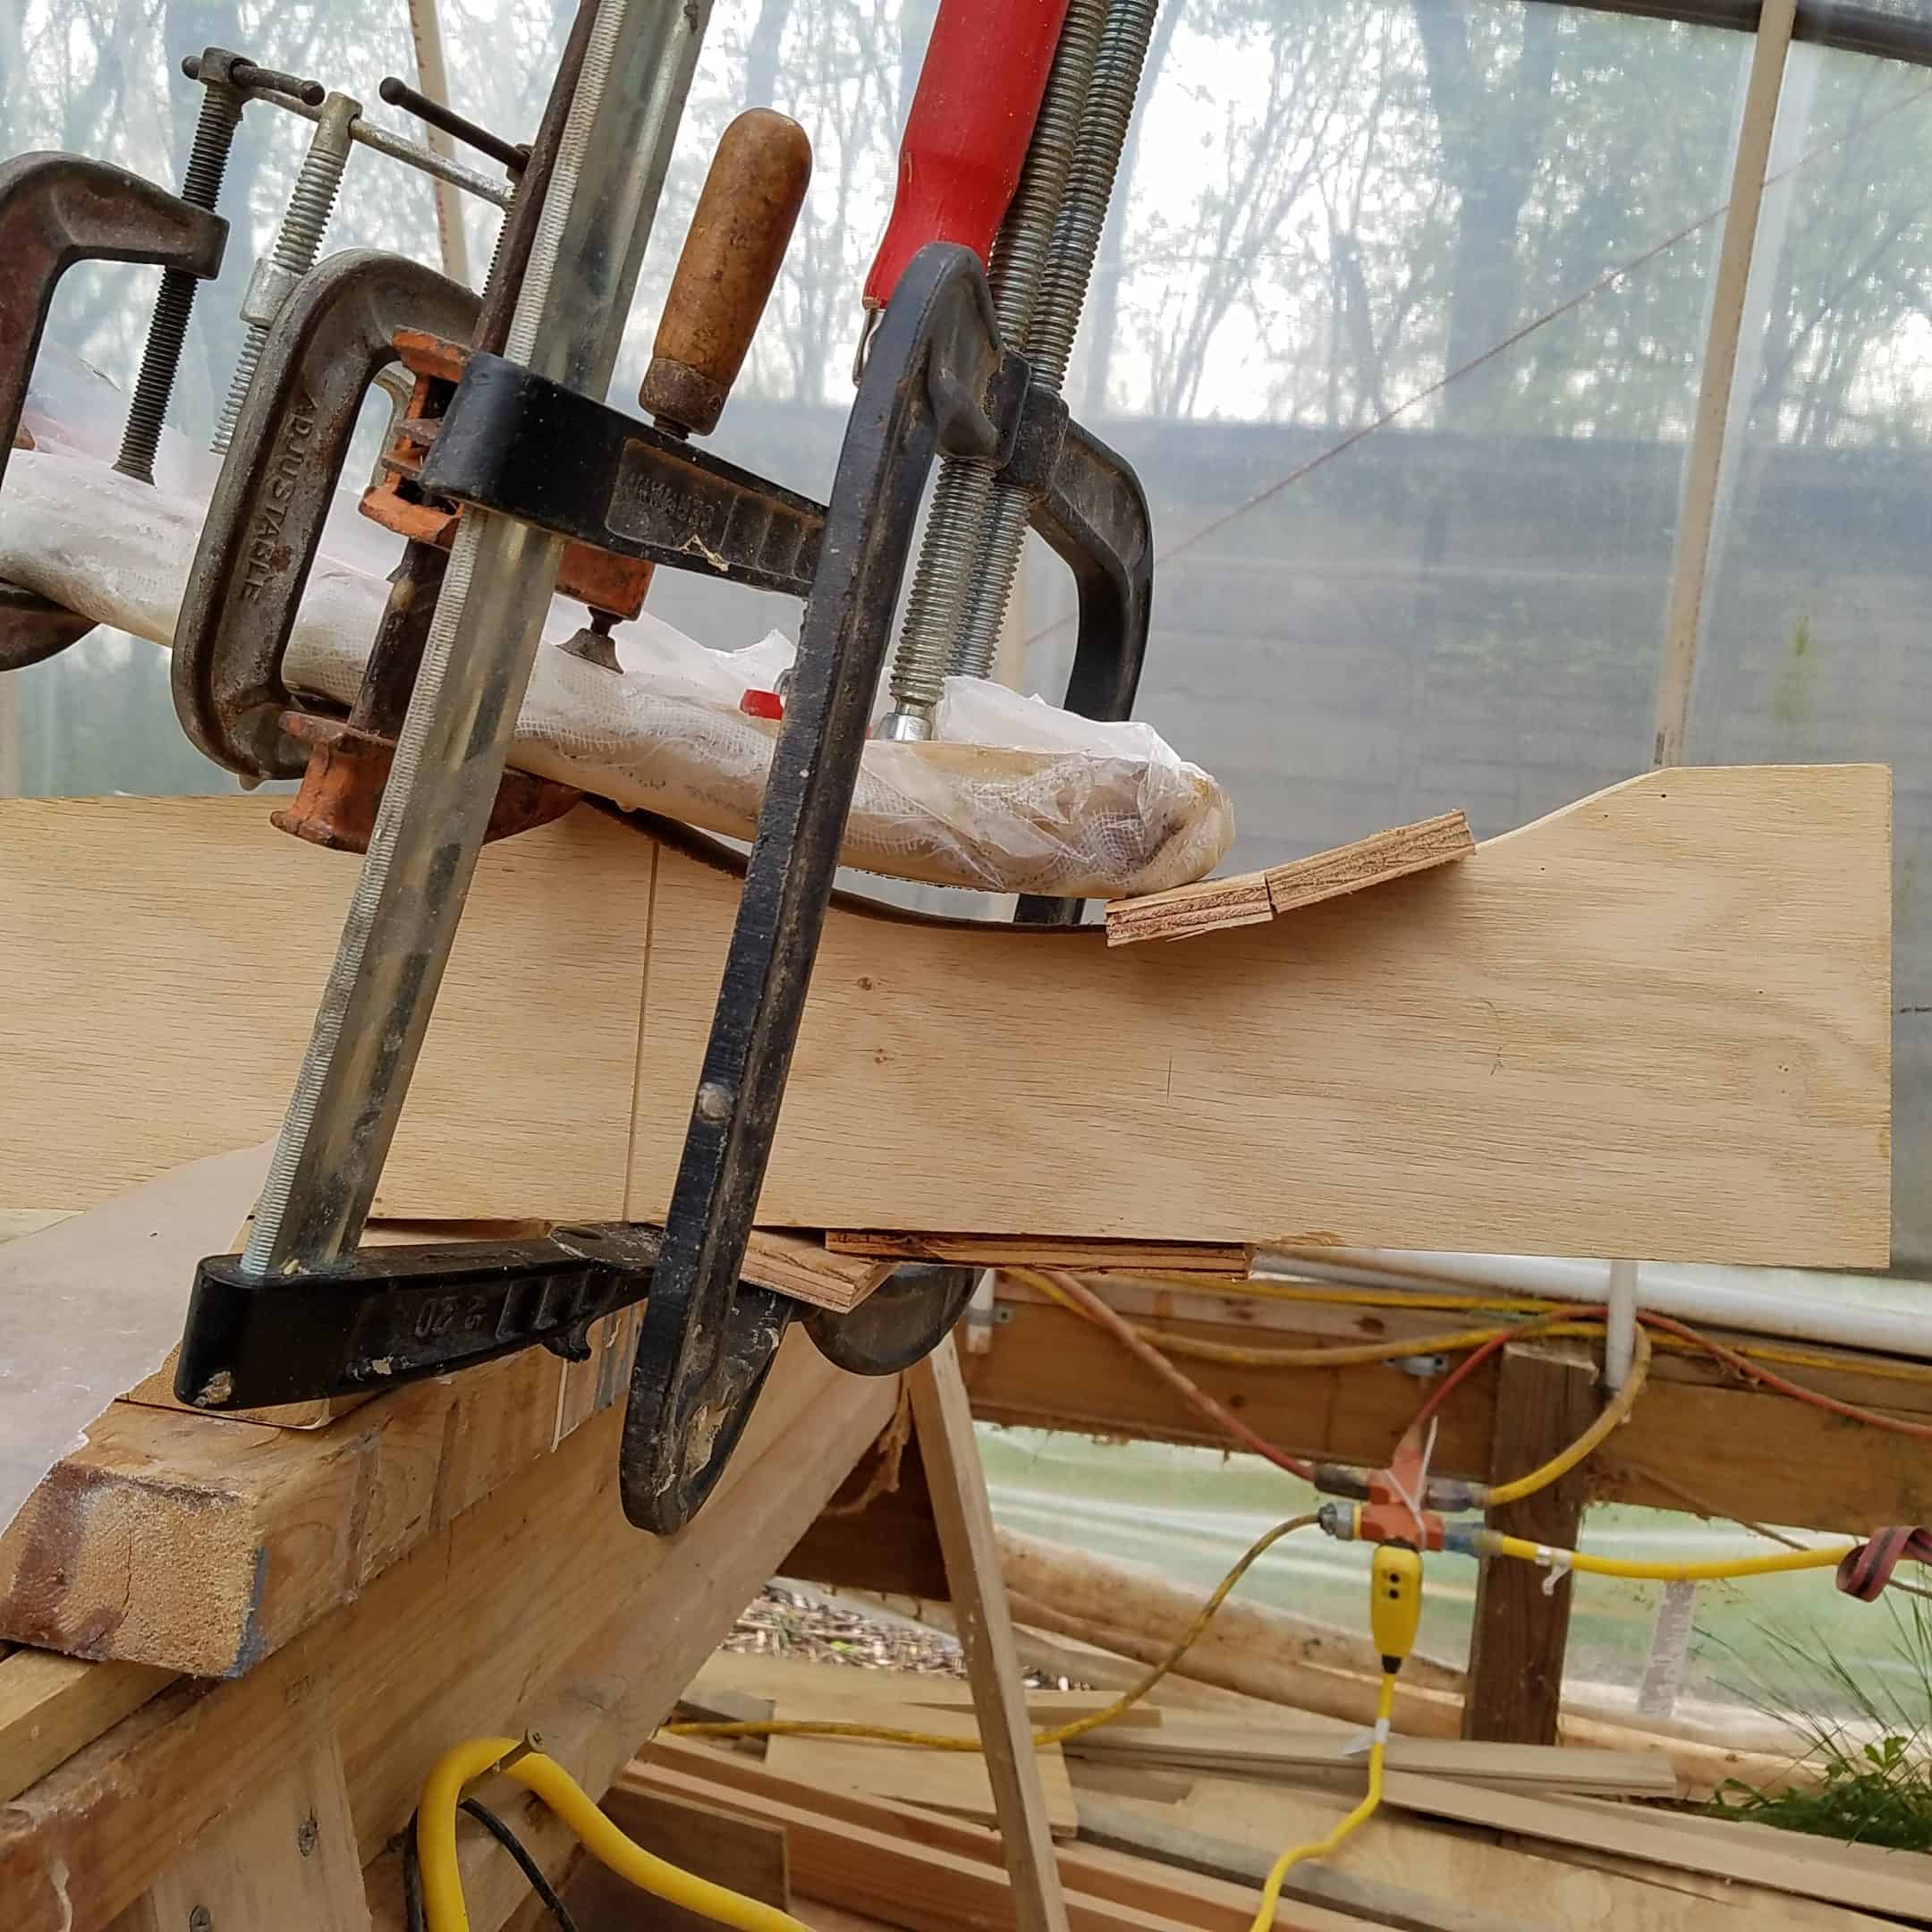
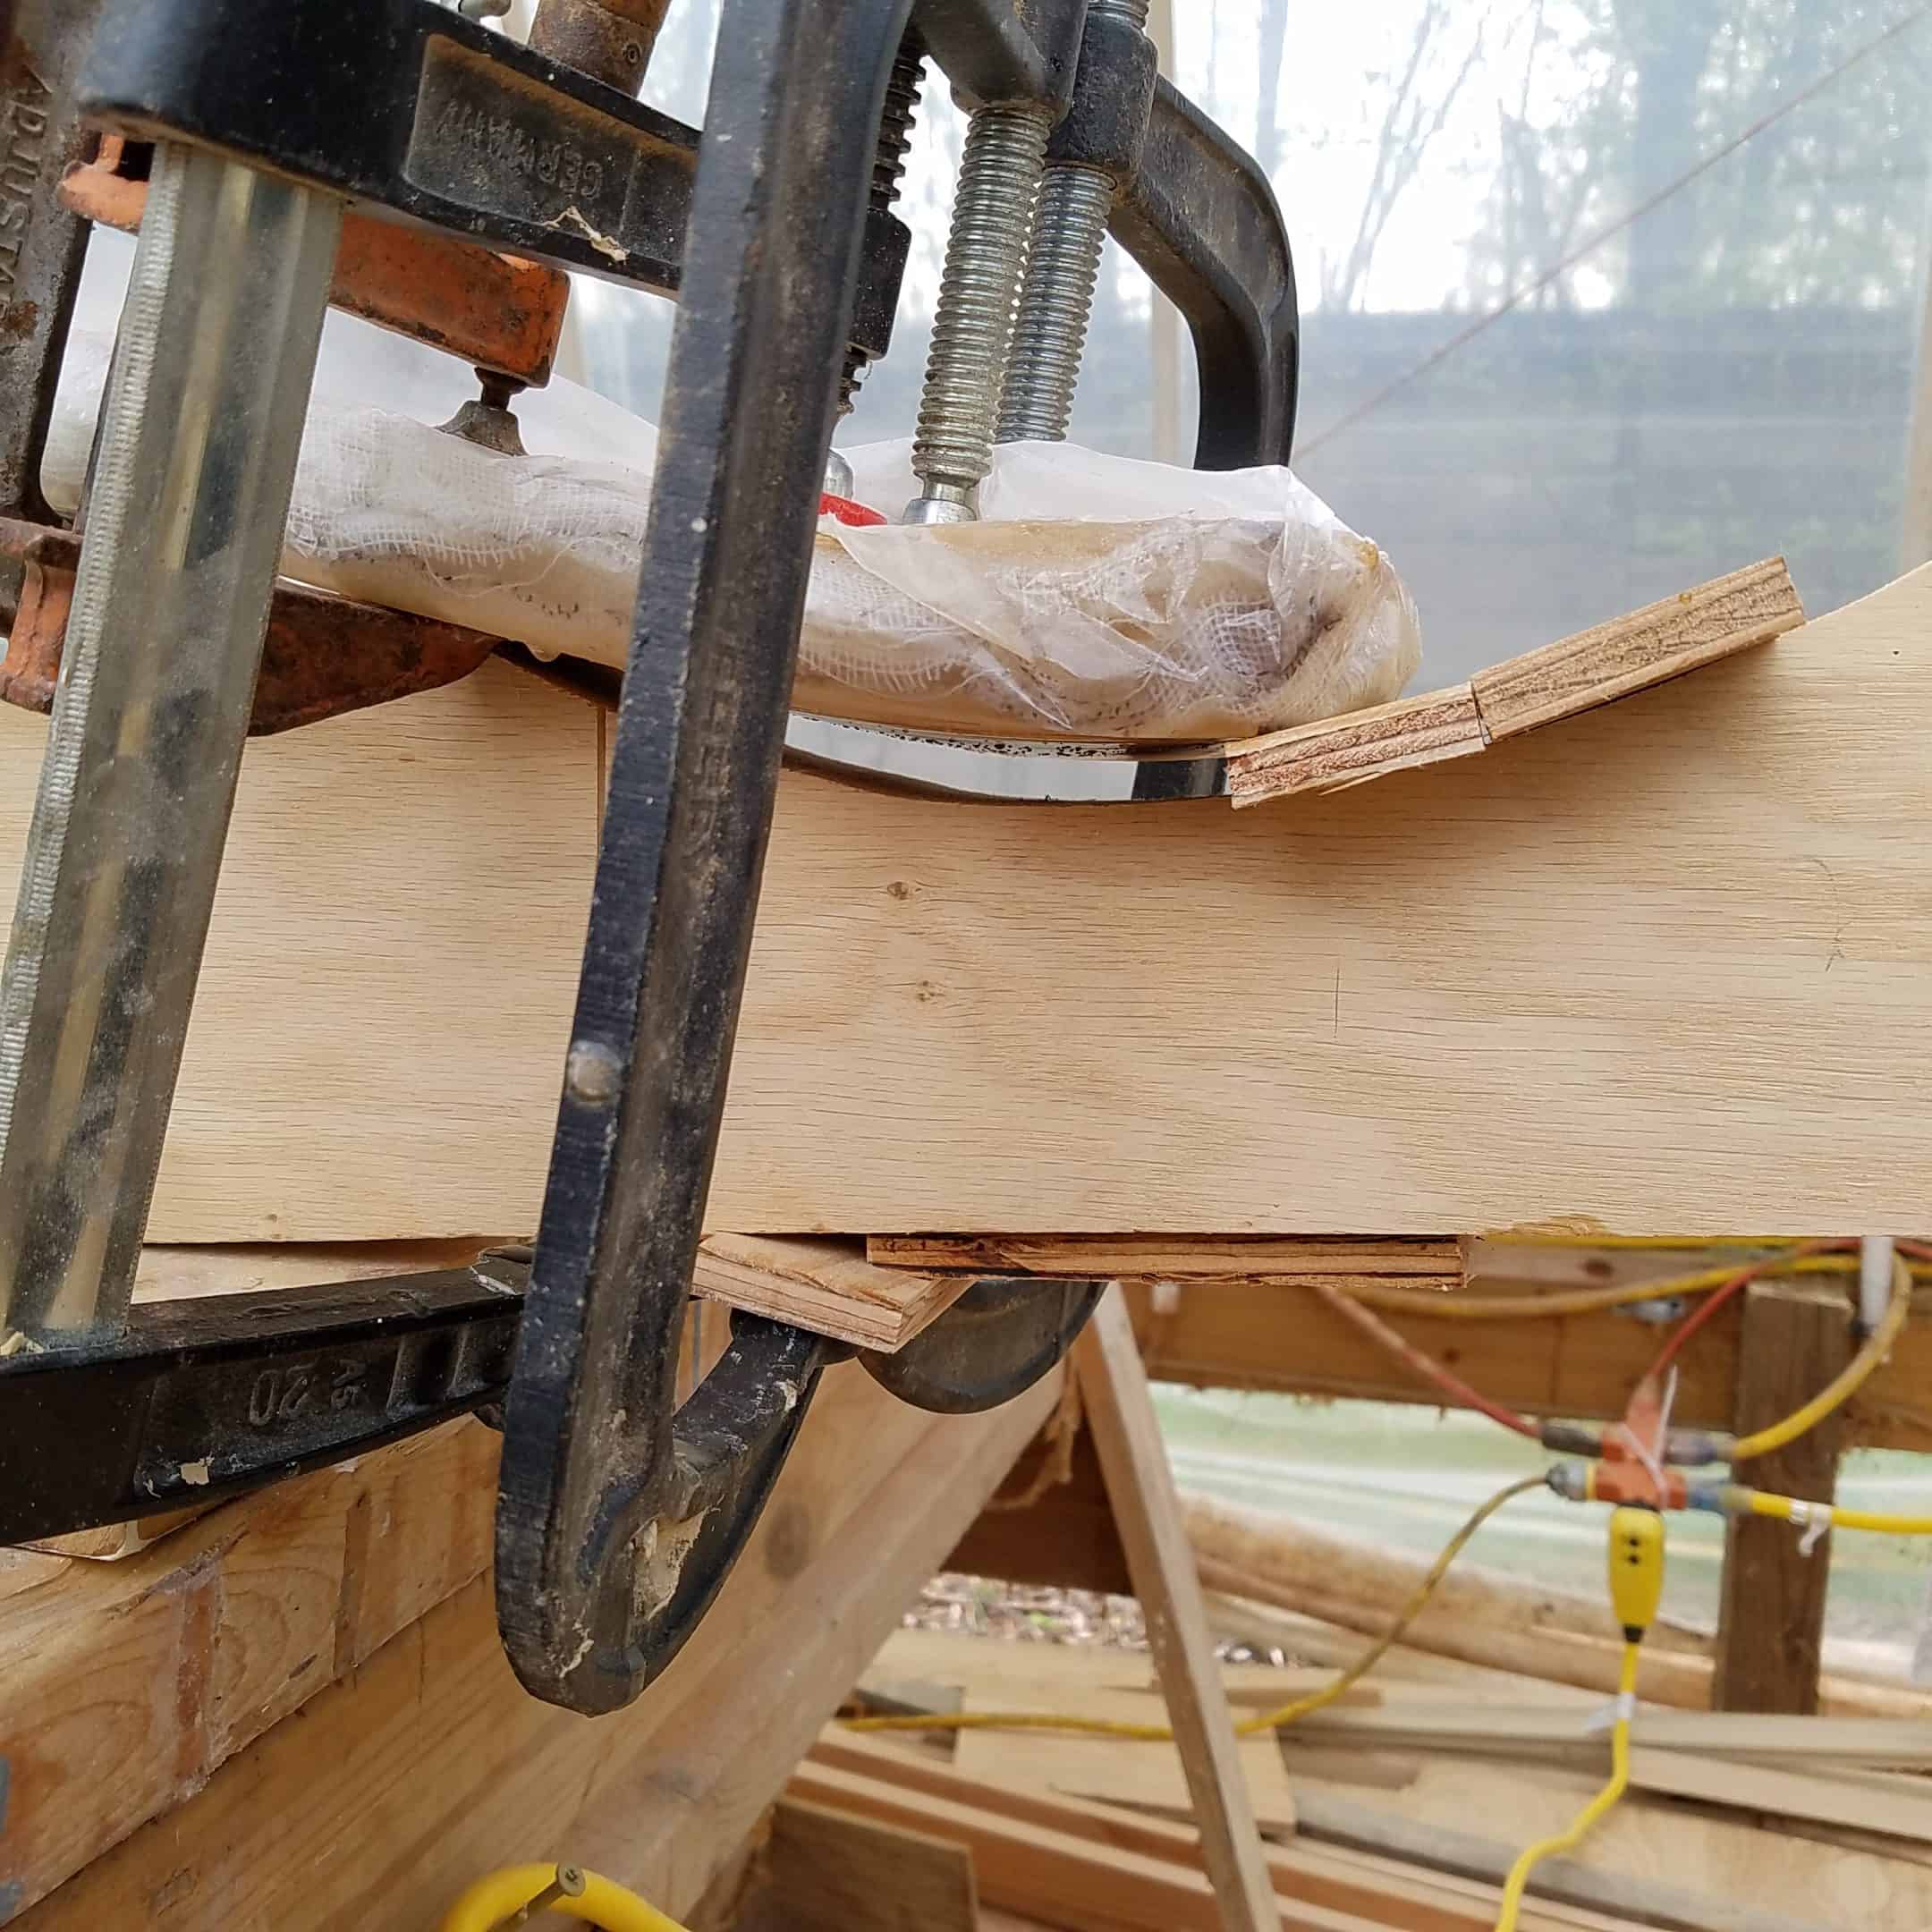
I chose to laminate the boom jaws, laminating white oak, about eight layers of oak, each about an eighth in thickness with a layer of Dynel or Xynole cloth in between each piece.
White oak blanks, 1 1/2 in thick 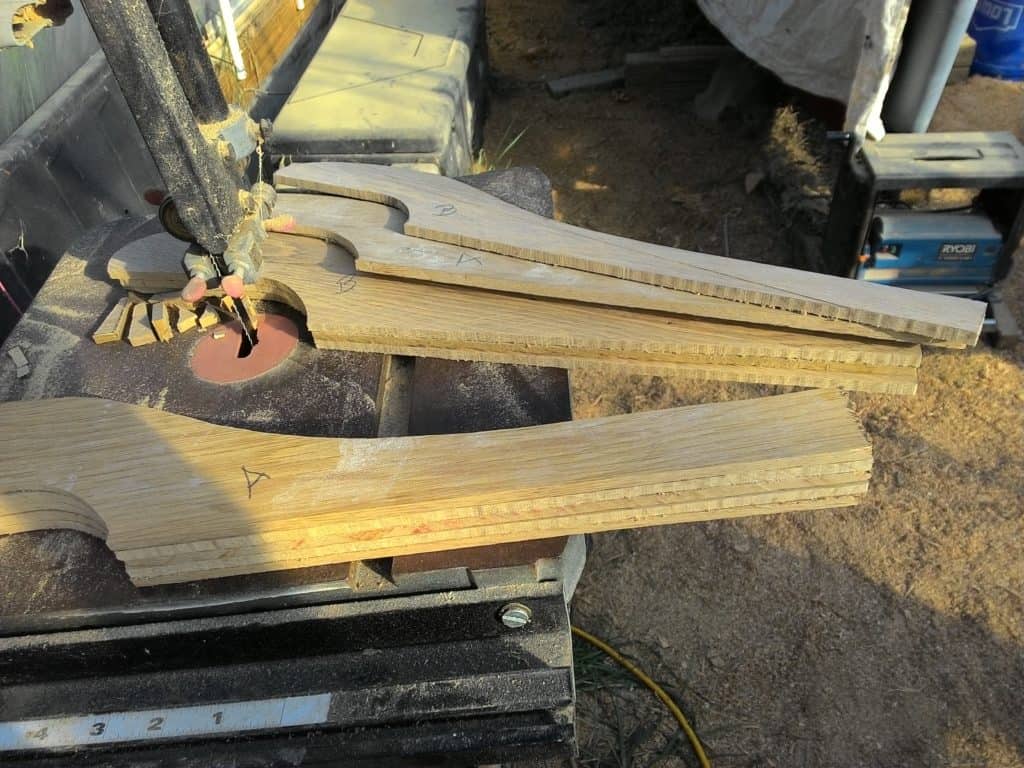
Ripped layers of white oak 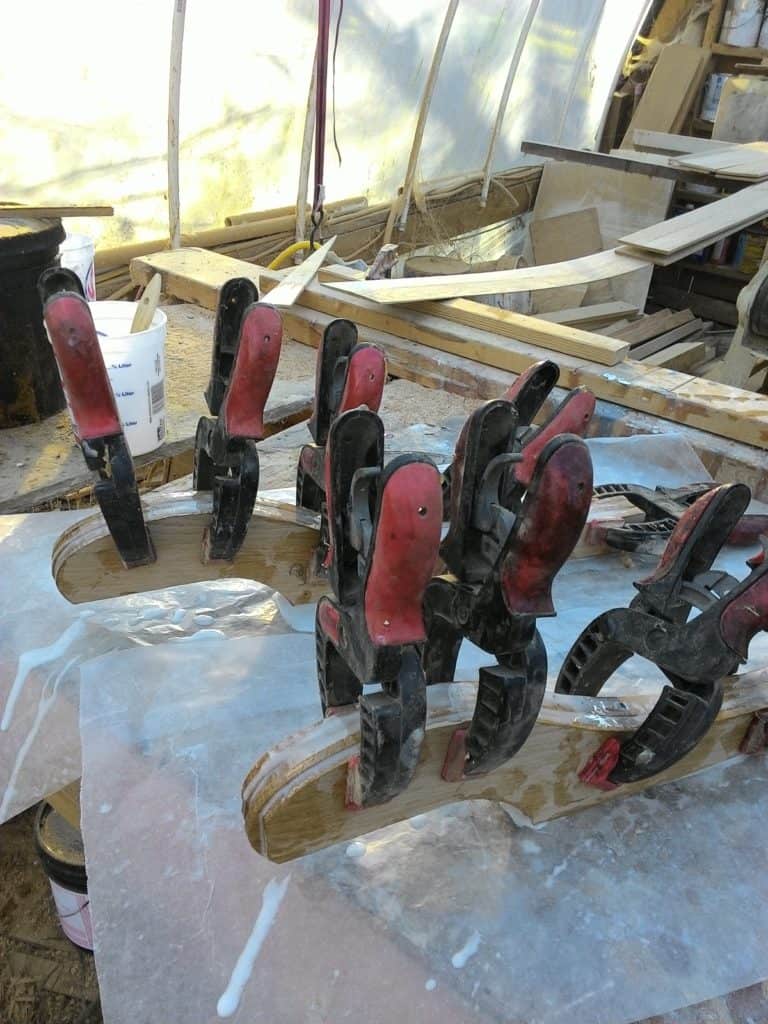
Epoxying together 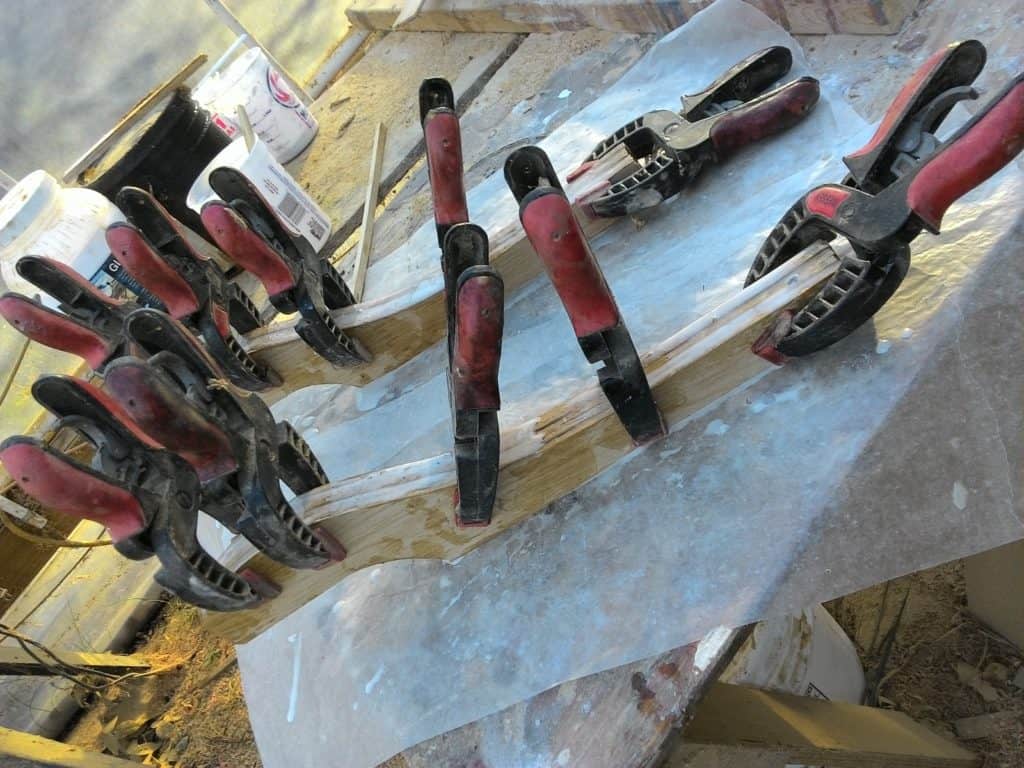
Epoxying together 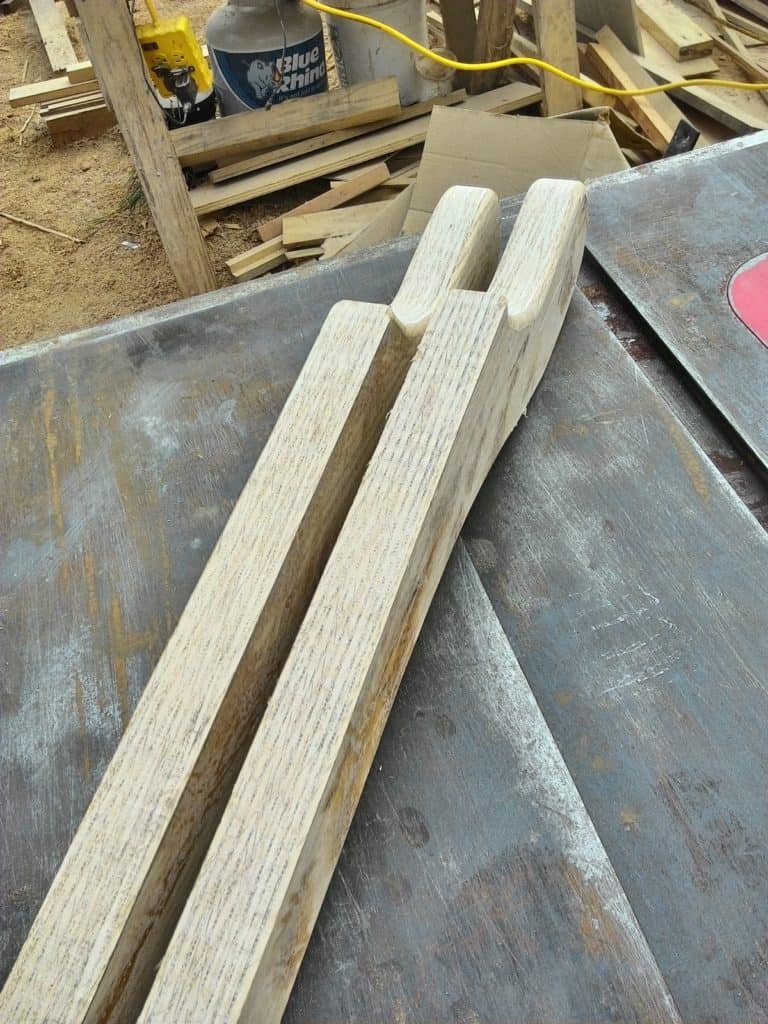
Boom jaws, about 8 laminations 
Sanded & primed
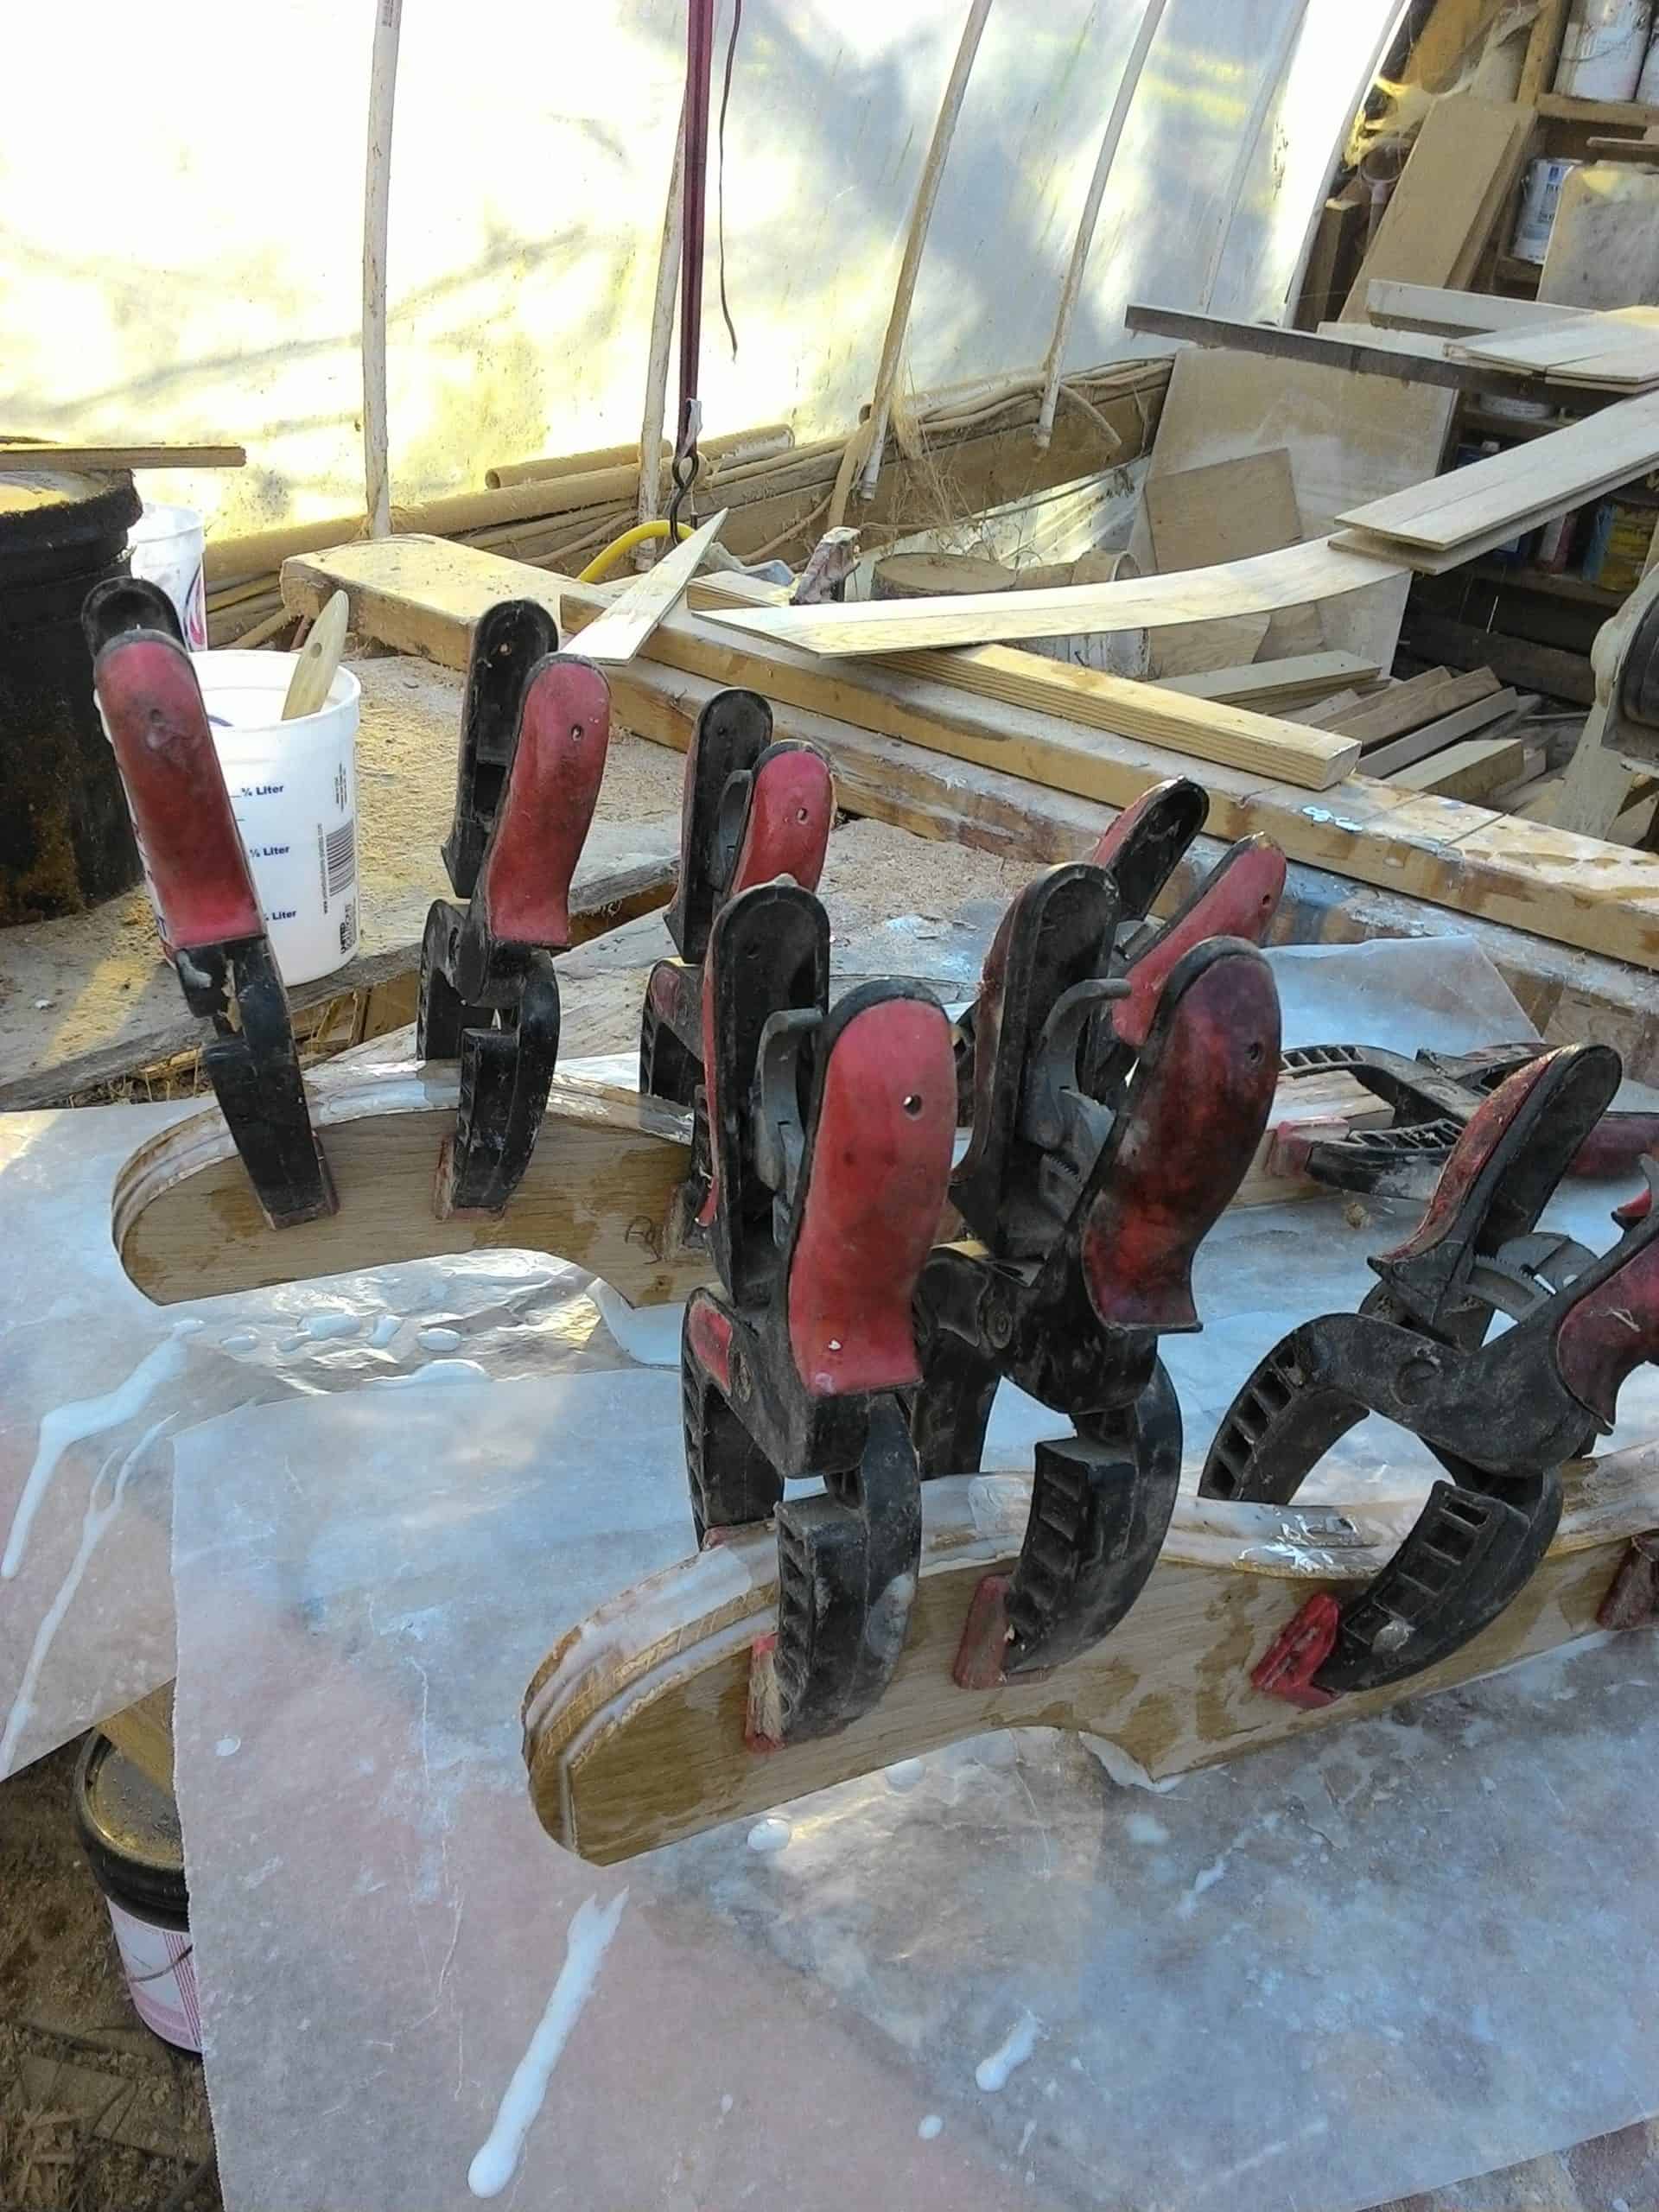

The gaff jaws are curved, so they were forced into shape while epoxying the layers together.
The sprit mizzen boom rode on the starboard side of the mizzen mast which made it so that it would not swing out too far compared to how far a Bermuda rig boom would. The sprit boom has its advantages over Bermuda but as it wouldn’t swing out very far before hitting the shrouds, especially to starboard I switched to a Bermuda rig for the mizzen mast. . In this photo, they are both up against the starboard shroud, sailing by the lee angle is different.
Sprit boom = white 
Bermuda boom = unpainted 
Adding round shape and shelf for jaws on mast 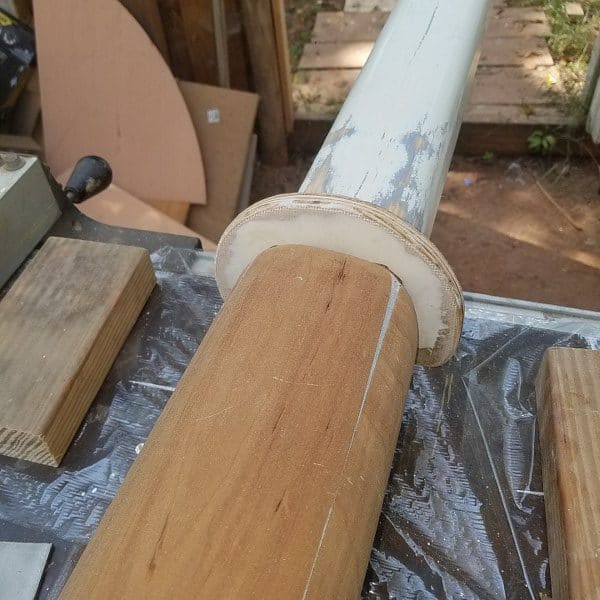
Mizzen mast alteration for jawed boom