The Centerboard Trunk
The centerboard trunk was pretty quick to make and install. I made the two halves one with both end posts in place, coated each with Dynel cloth and epoxy, then two coats of Awlgrip 545, then two coats of Blue Water Marine Copper Shield 35 which is a hard modified epoxy bottom paint. After drying, I then joined them and made one last fillet at this joint and painted that joint. Next, I cut the hole in the floor of the cabin again. It had to be wide enough to let the trunk extend through the floor to be flush with the very bottom of the hull.

Half of centerboard trunk – port side 
Slot in bulkhead and hull for centerboard trunk 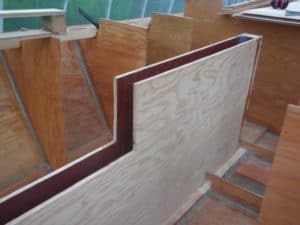
Trunk set in place to scrbe 
Scribing for cut flush with hull


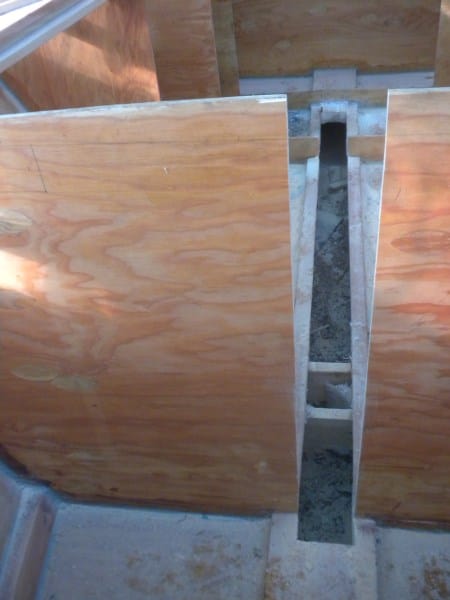

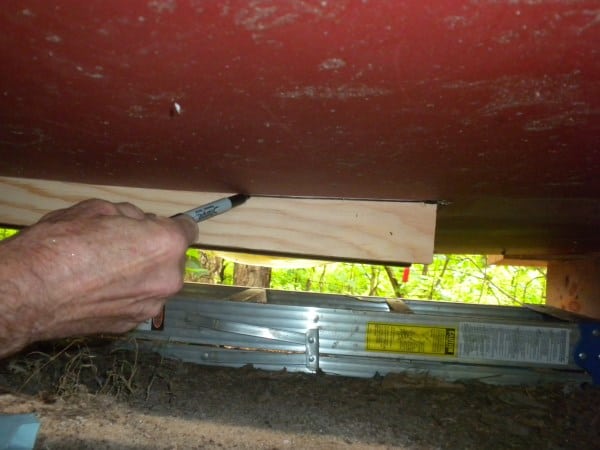
The trunk was made deeper on the bottom than needed, then scribed, taken out and and cut and then replaced and epoxied to the floor of the hull. This joint will be finished on the bottom when the boat is lifted to install the centerboard. Once this was scribed, I removed it, cut it along the scribe lines and then epoxied the trunk in place.
The Centerboard
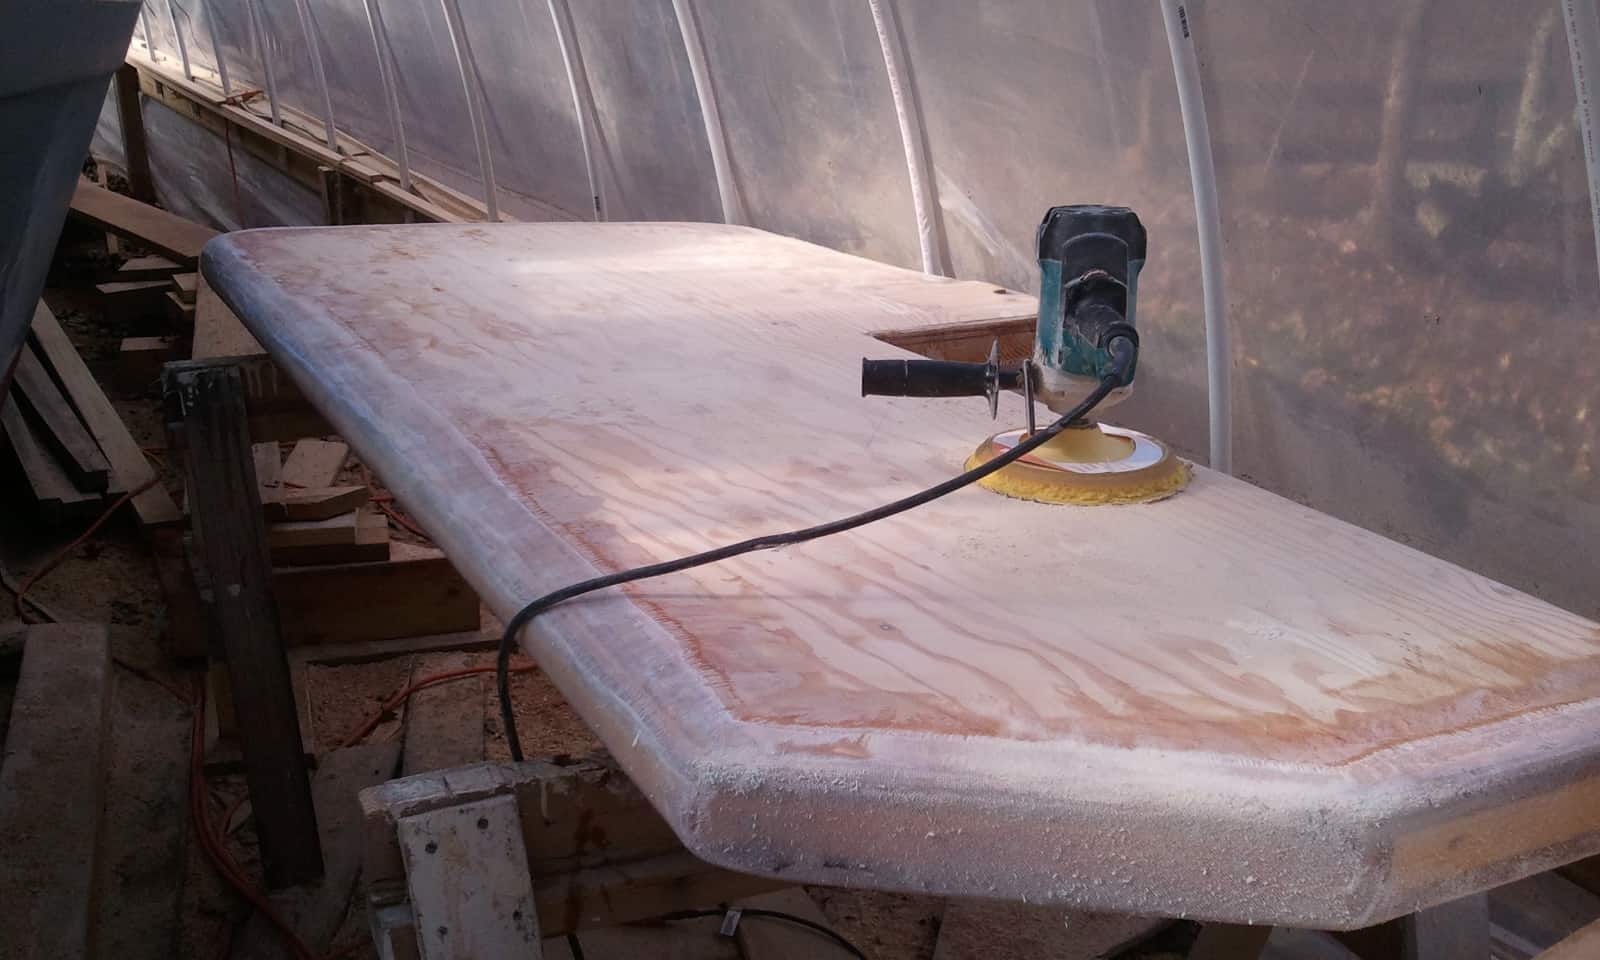
Next. the centerboard. The basic frame is 2×6’s glued on edge. A hole is left for the 150 pounds of lead ballast with the first layer of plywood in place on one side, three 50-lb weights inserted and epoxied in place. Then a layer if 3/8 in ply over the side the weights went in on, then one more layer of ply on both sides. Shaping to a foil profile as you go. Don’t try to bend this crappy plywood.
I’ll take a moment here to whine about the marine plywood I’ve been getting. It is manufactured by Roseburg in Oregon, and I buy it at Better Living in Charlottesville, which is a terrific place. The batch I had bought recently had two pieces which seemed to be de-laminating. See the photo below of a piece I had just run through the table saw. It looks like the glue was allowed to dry before the two pieces were pressed together. One of the pieces I had cut for the centerboard had this problem along one edge. See below where I have stuck some sticks of wood into the crack to hold it open.
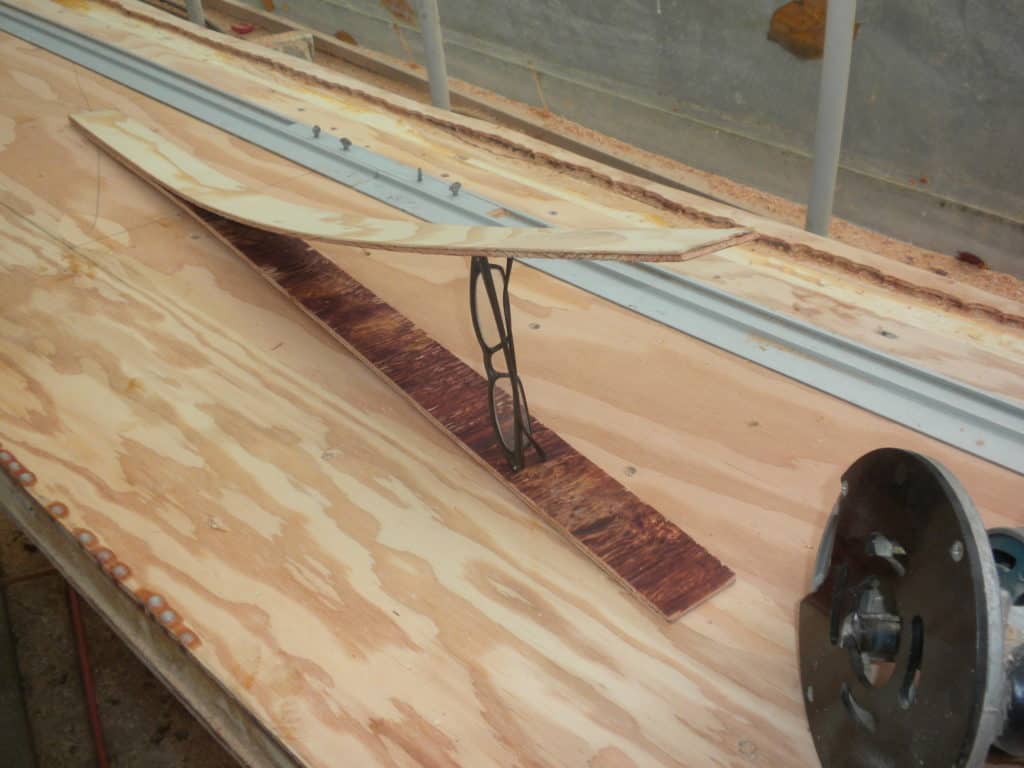
Roseburg ply de-laminaton problem 
Fix it with epoxy

I ended up opening the crack where it was de-laminated and pouring epoxy into it and then clamping it back together and letting it set up. I complained to the salesman at the building supply store who then showed the small defective piece shown in the image above to the factory rep, and was told that the sales rep told him that it was a “user problem,” that is, that I had caused the de lamination from improper use. Total BS. Anyway, I think this batch was made on a Friday afternoon after a three-beer lunch.

Shaped and with ballast 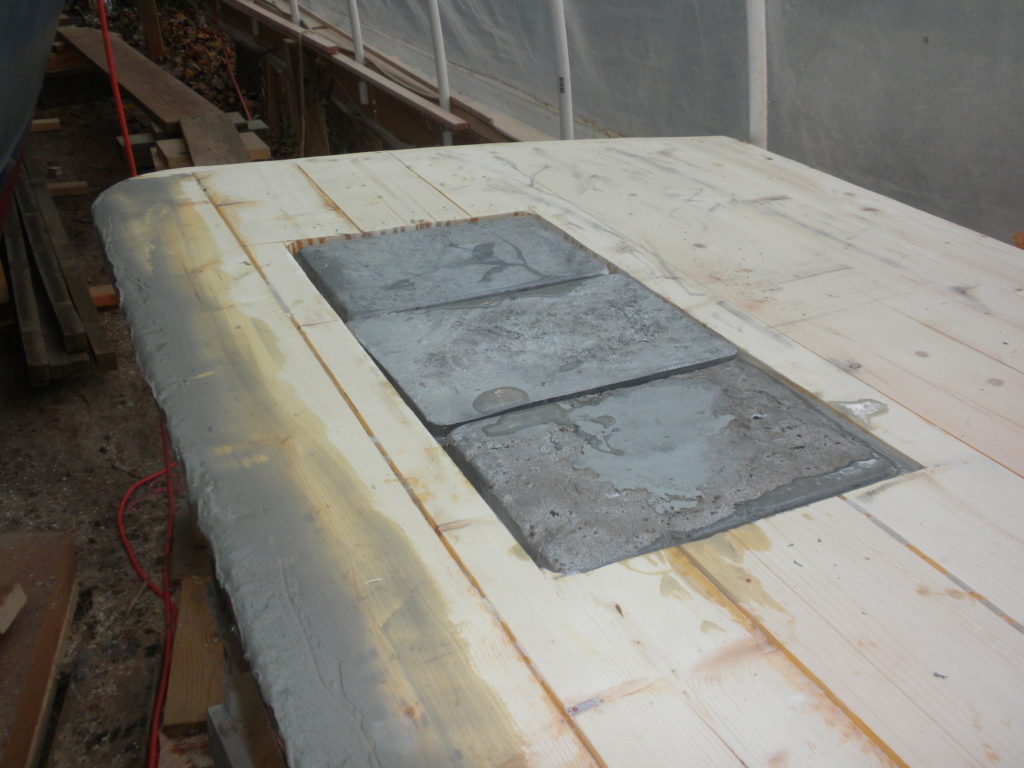
Lead ballast, 50 lb ea 
Centerboard sandwich 
Last layer of ply over ballast 
Shaping 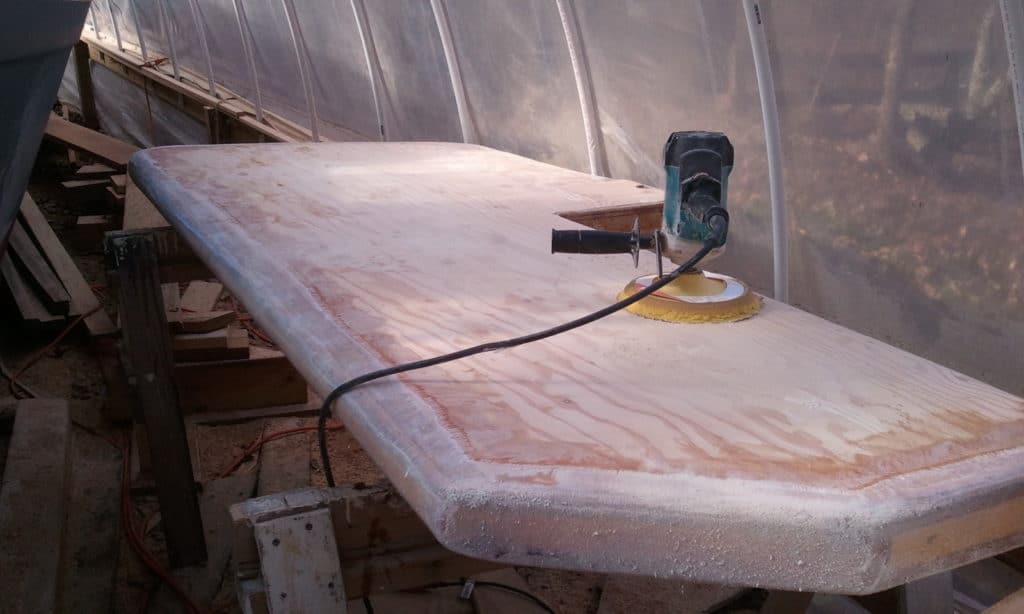
Dynel cloth going on 
Checking thickness 
Dynel cloth 
Prototype to experiment with fit and pivot hole


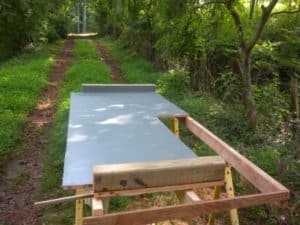
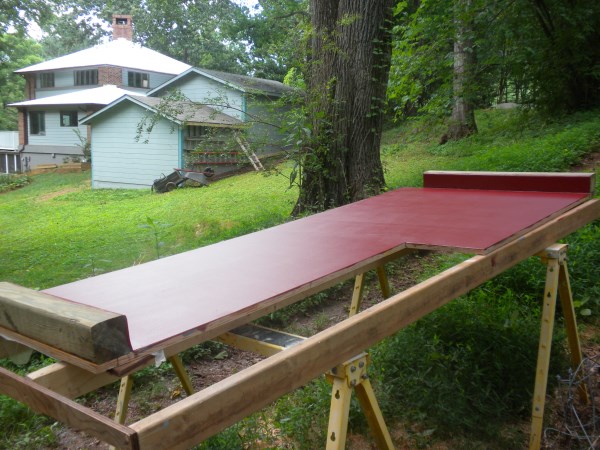
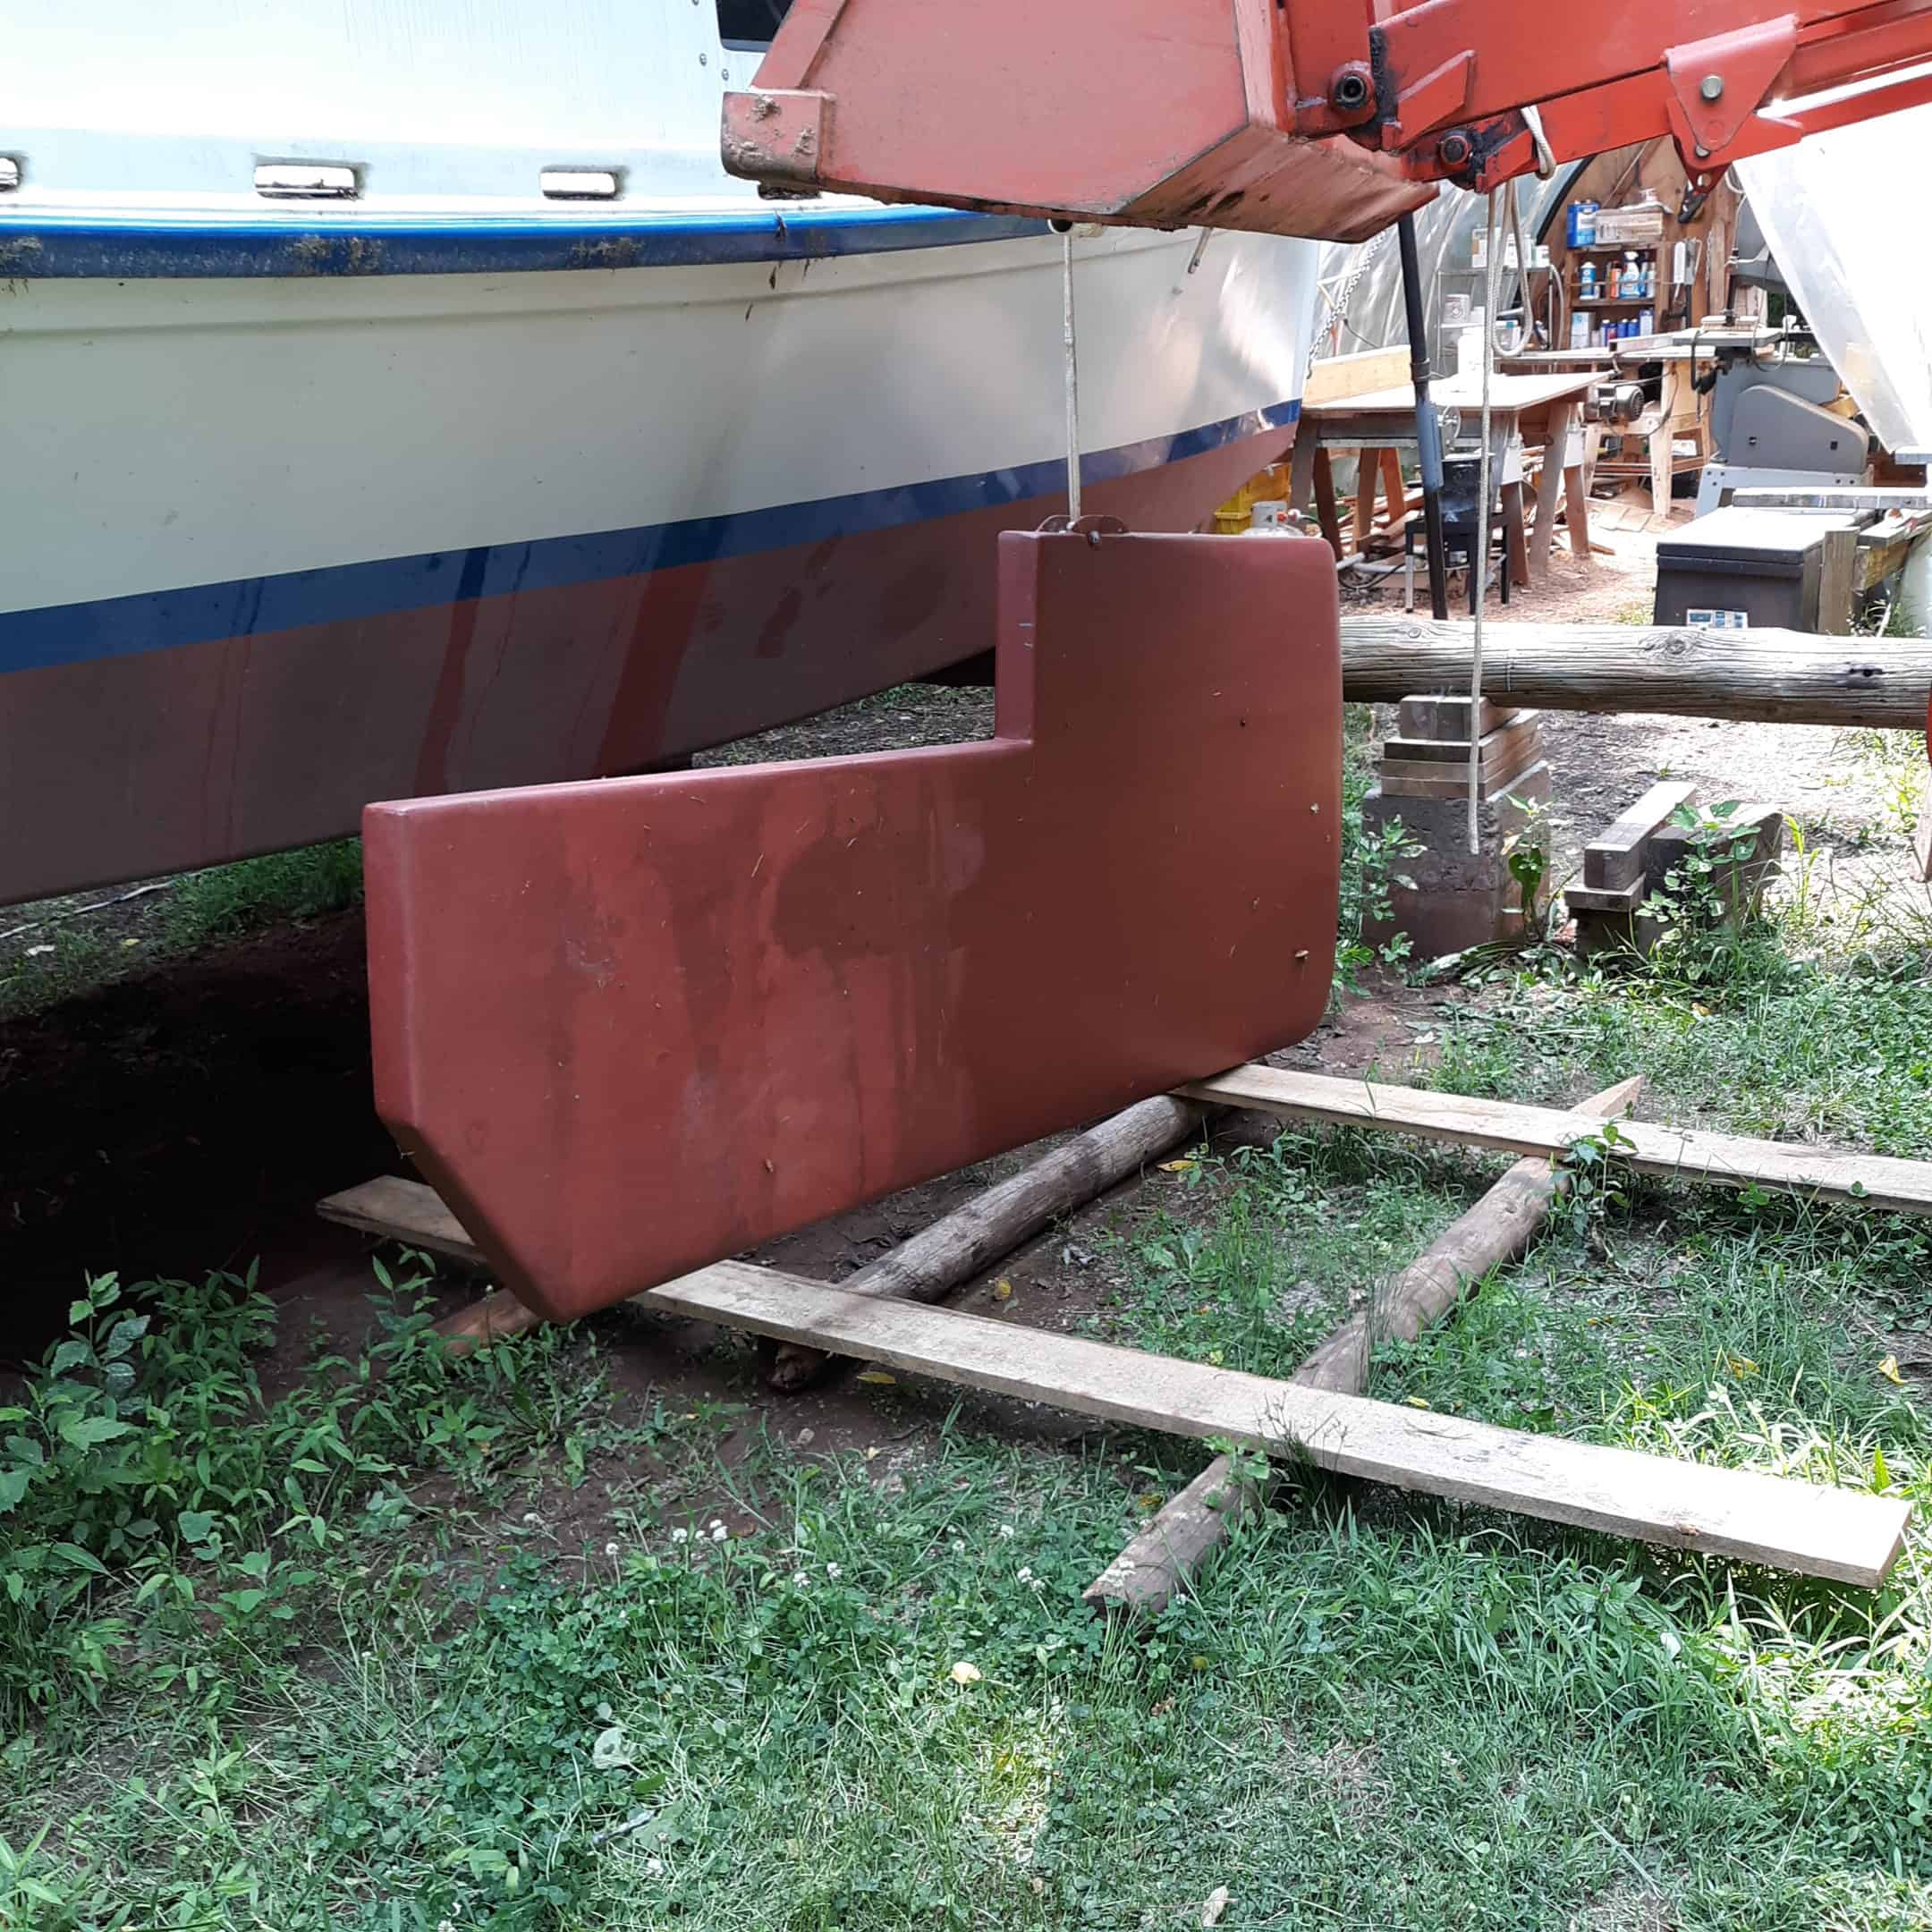
The finished centerboard is above, bottom right, painted red next to the trial prototype, white, which only weighed about 60 pounds. I ended up putting in the trial with the pivot hole in a spot which worked, having tried a small-piece mock up of the forward part of the board to experiment with. The centerboard was installed once I lifted the boat four feet in the air, in preparation for backing the trailer under her. The actual centerboard as built turned out to be a tad too long and a bit too thick, so I had to fool with it a good bit to make it fit properly. All 250 pounds of it.
Being lowered onto rolling slides with tractor – Ass backwards here 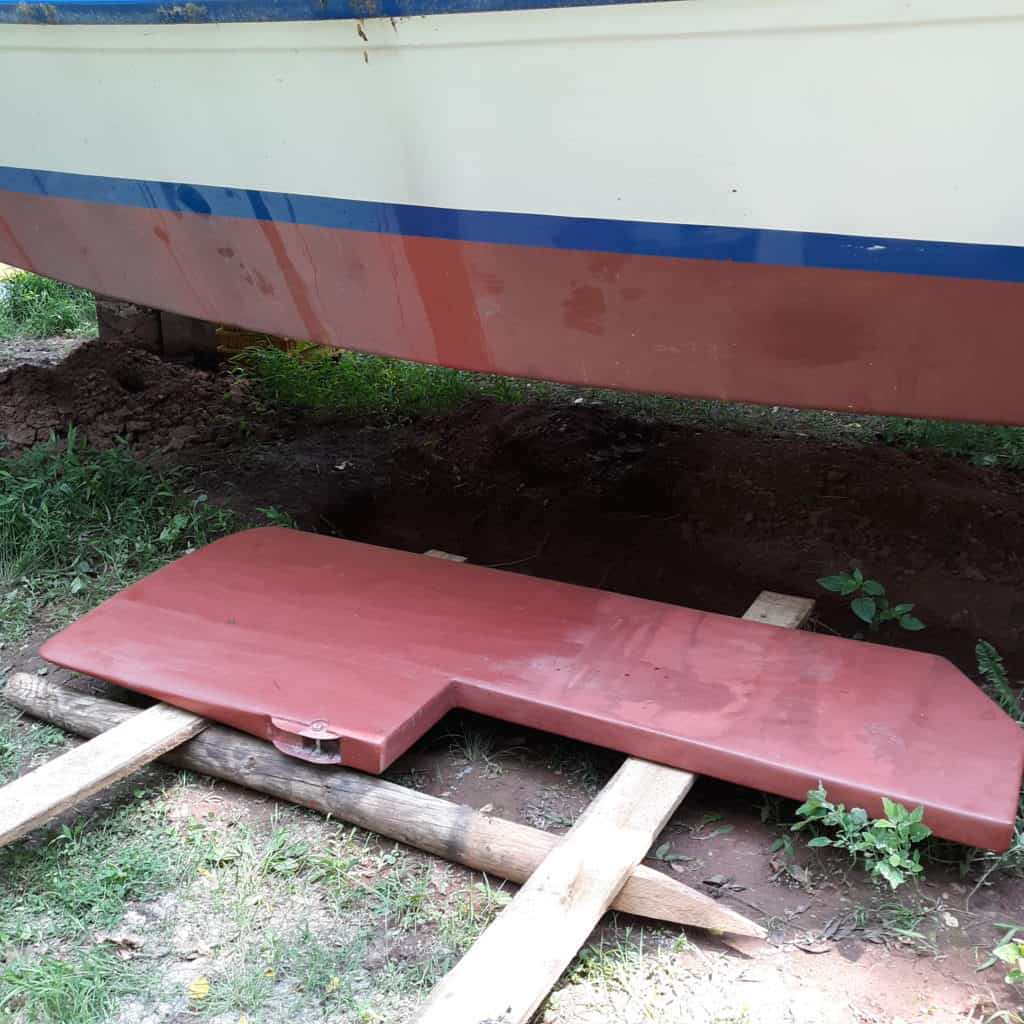
Ready to slide under the hull 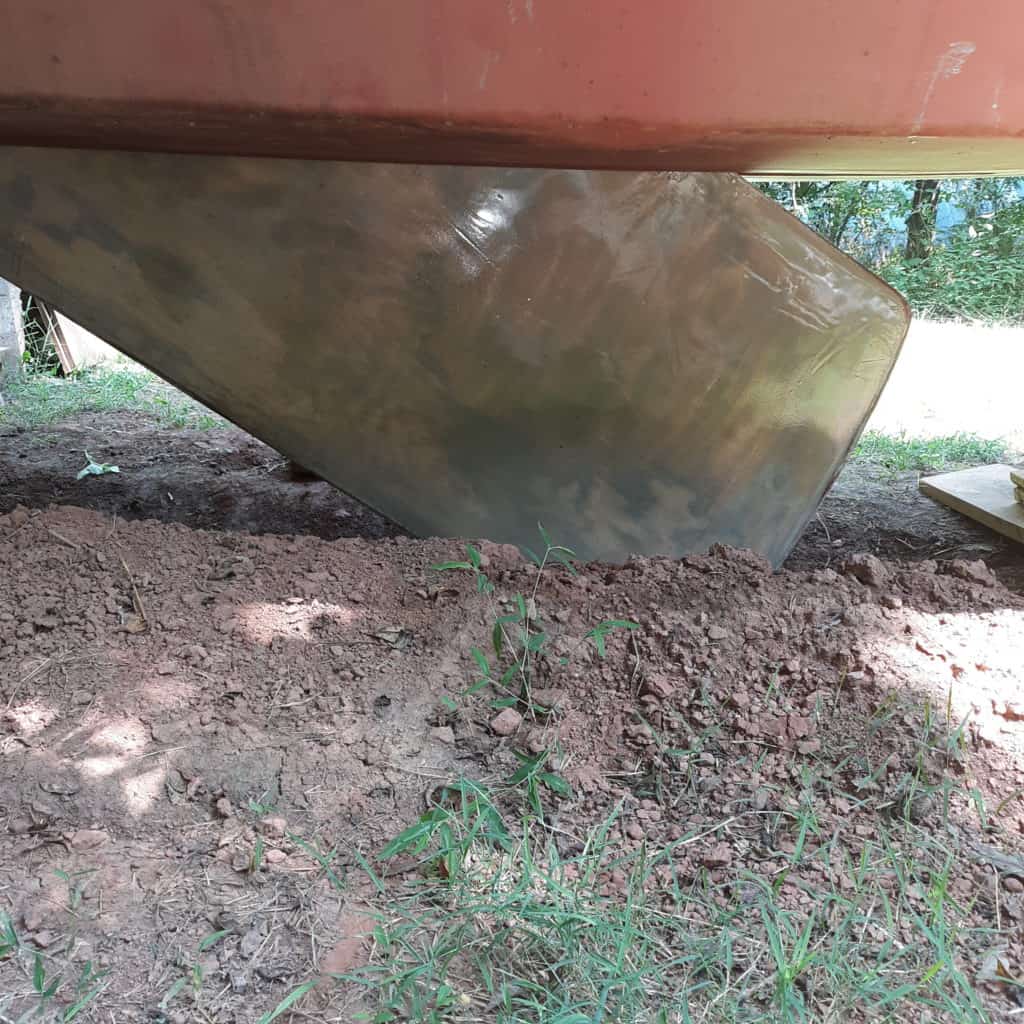
Pivoted down into hole in ground


The Rudder
Building the rudder is similar to the centerboard, the only unique thing is the stainless shaft welded to a stainless steel plate around which the rudder is built. I don’t seem to have a photo of that. The rudder is balanced and quite large. The shaft is one inch stainless and fits inside a steel tube embedded in the hull and deck.

Drawing 
Rudder tube with flange at bottom 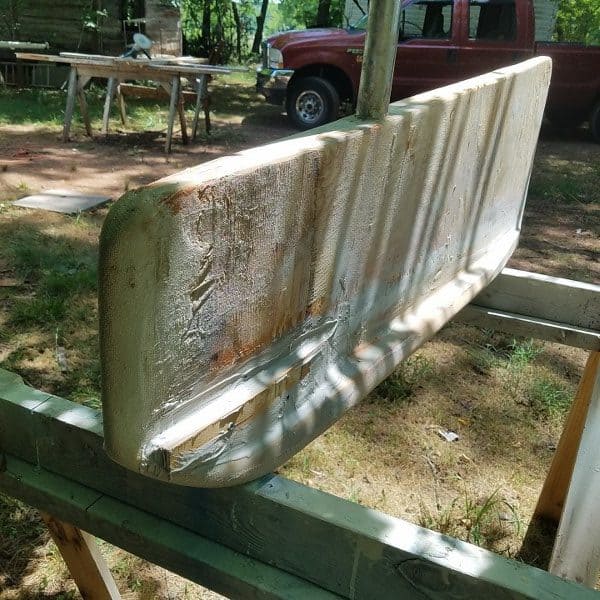
Shaping the rudder 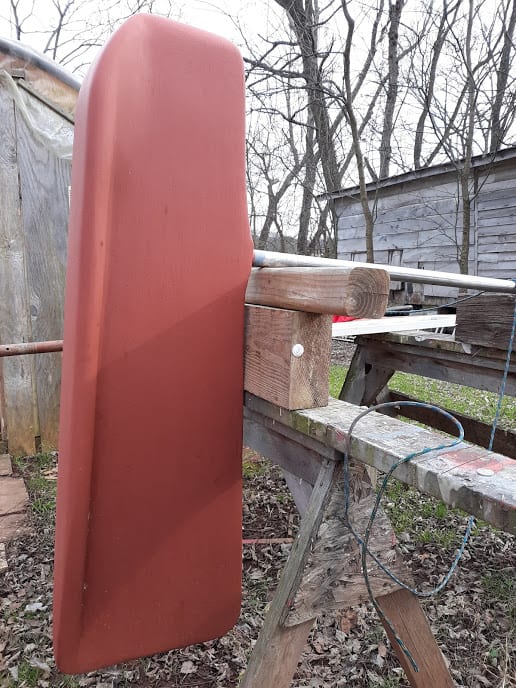
Finished rudder – primed and painted
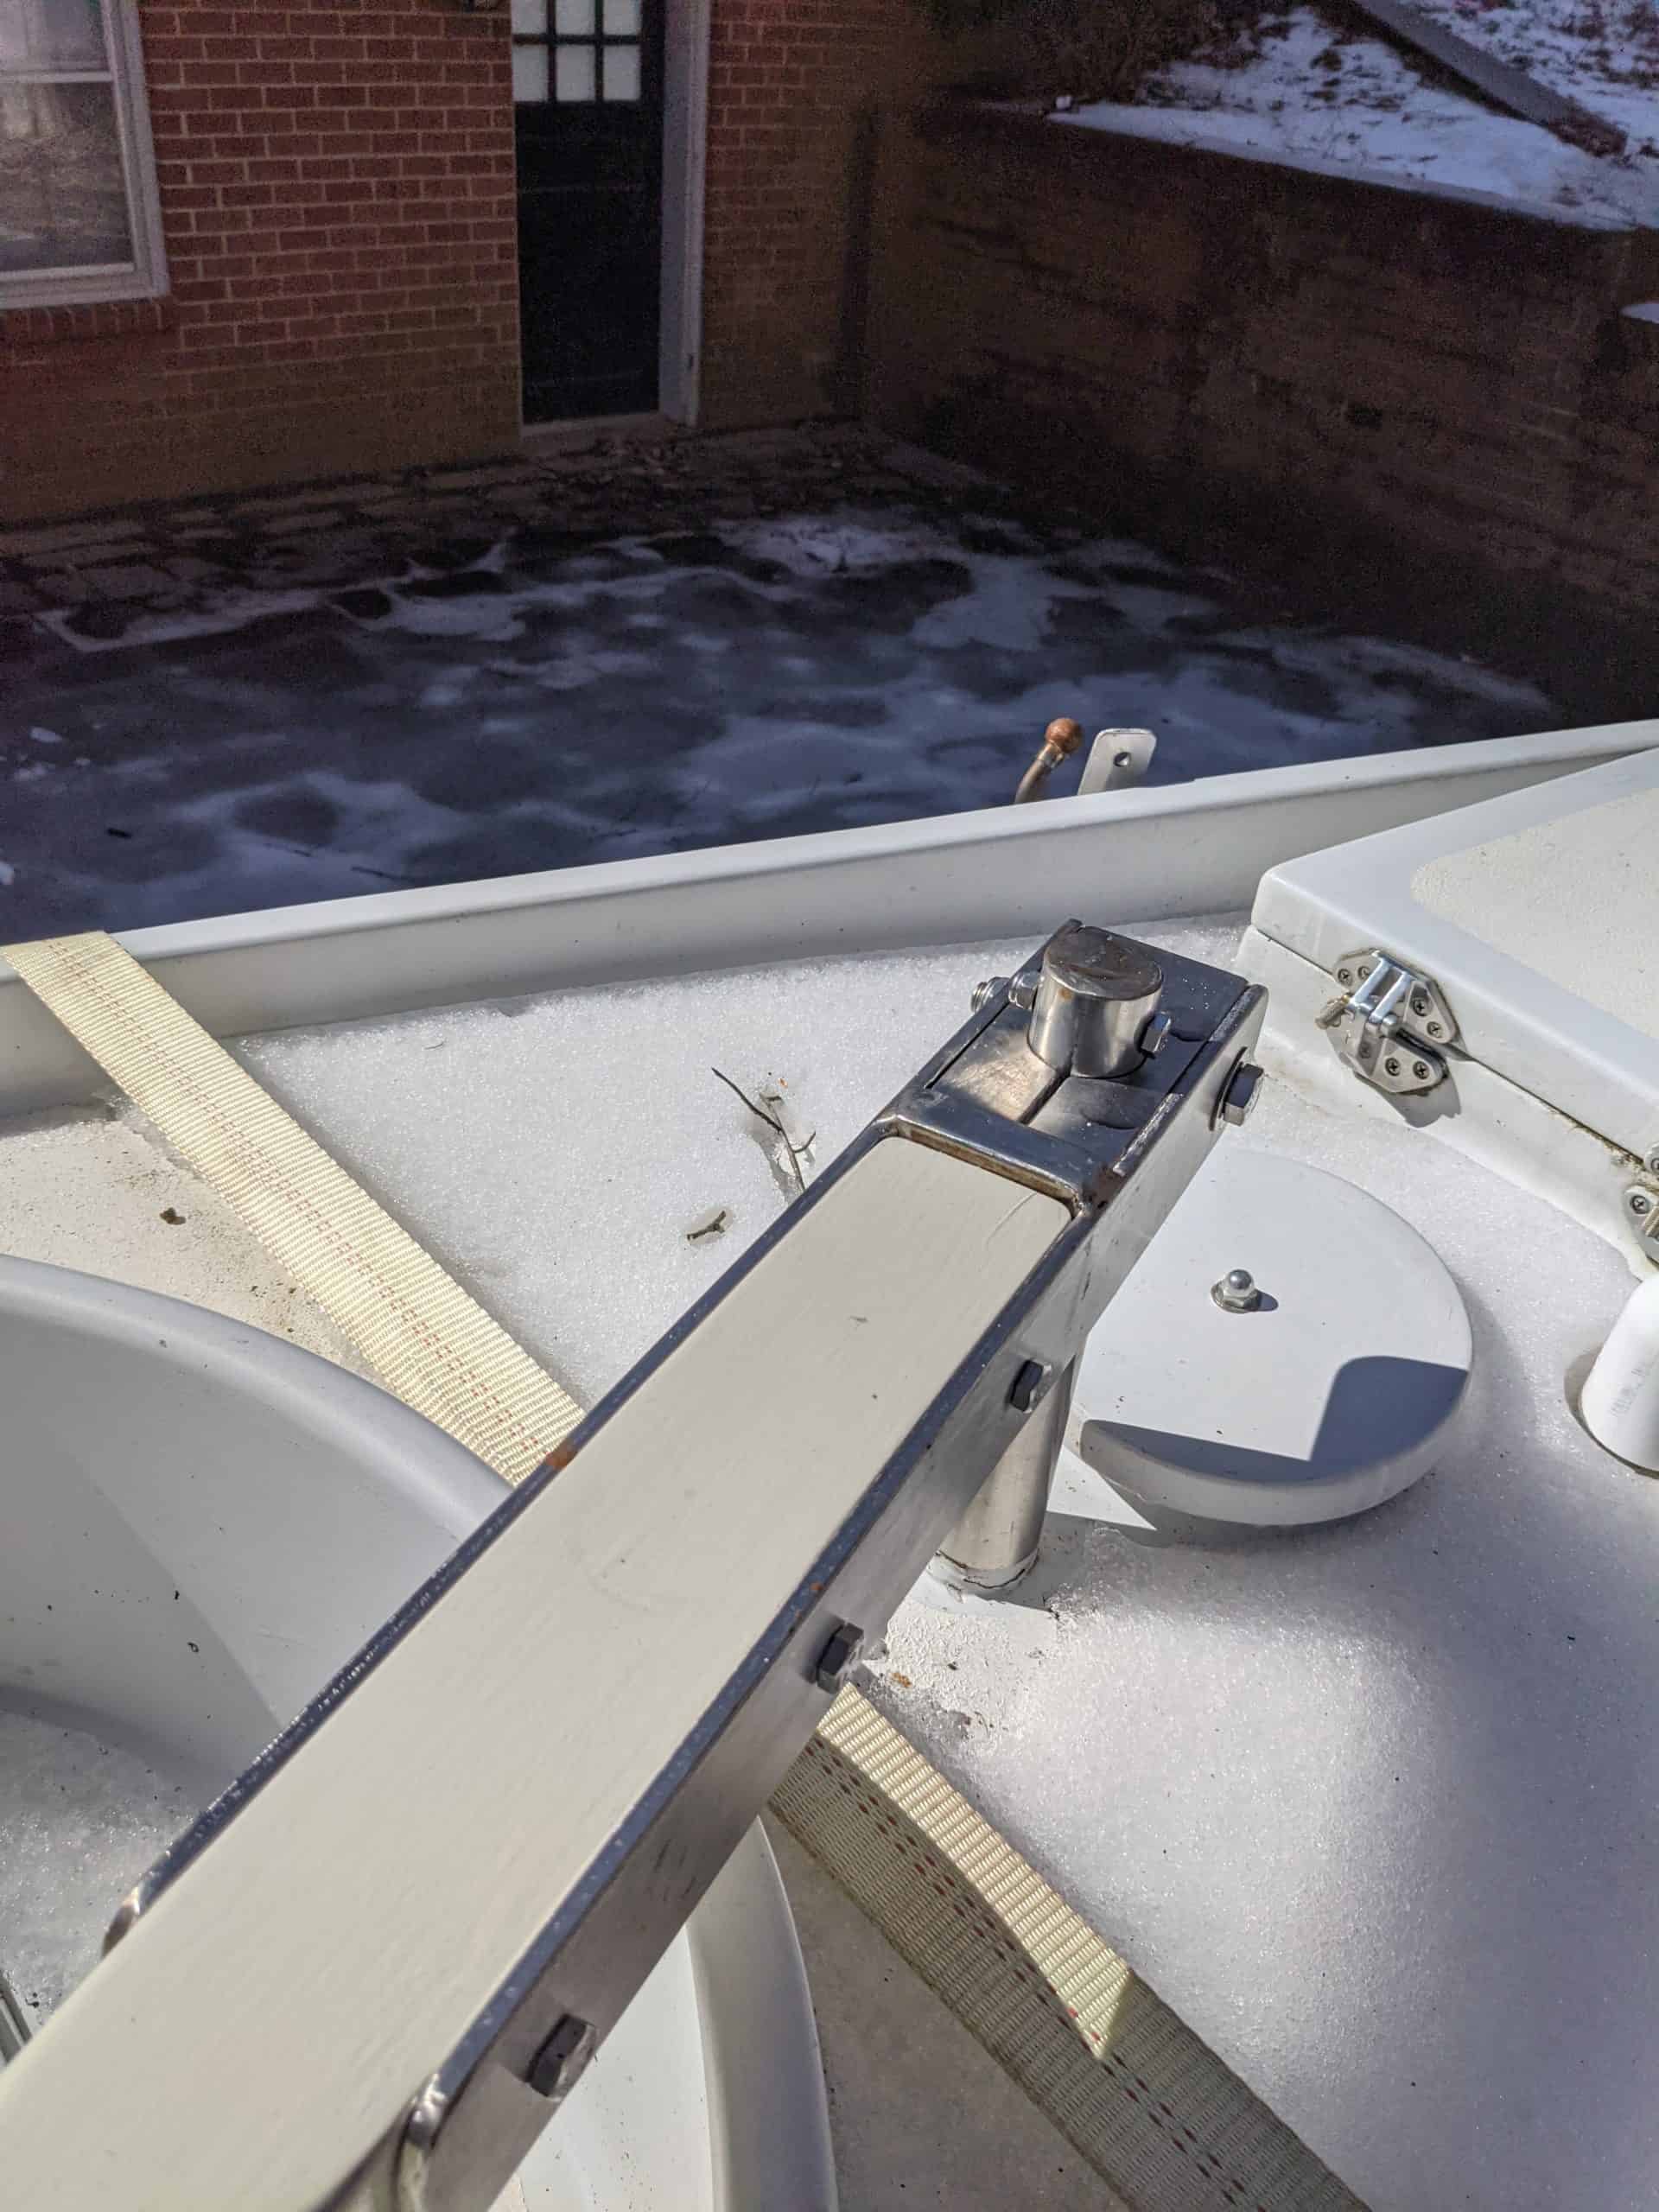
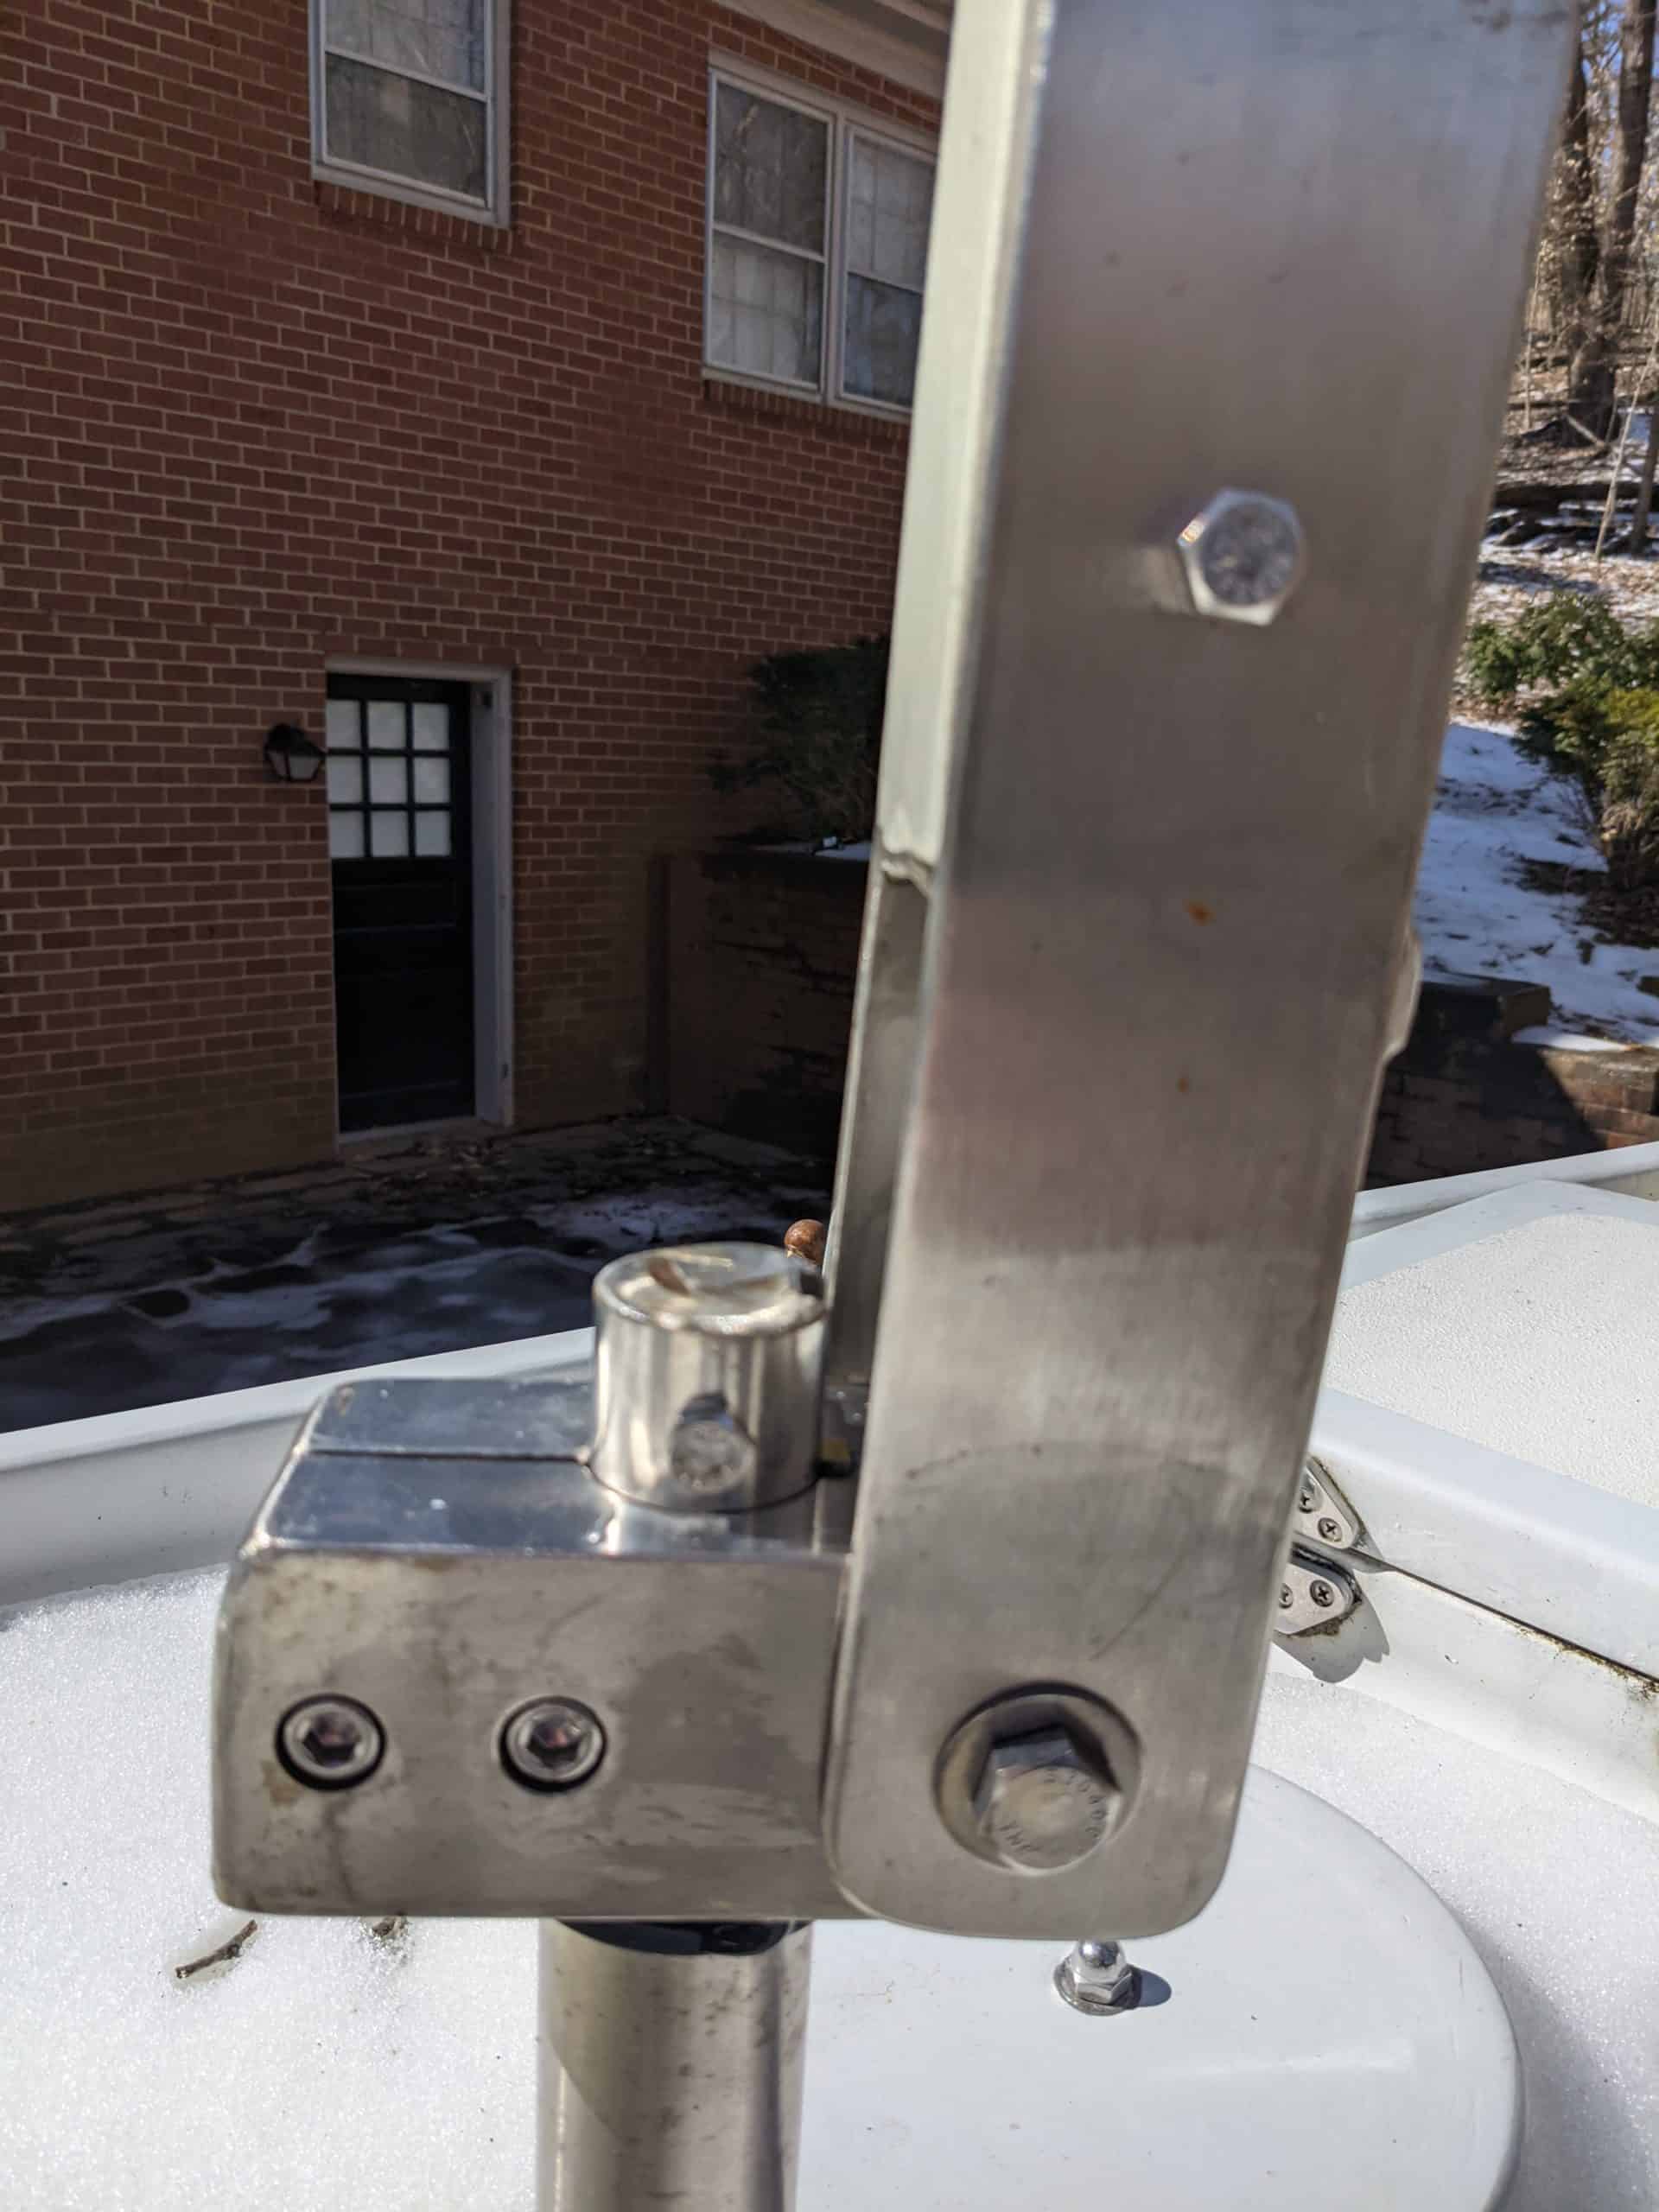
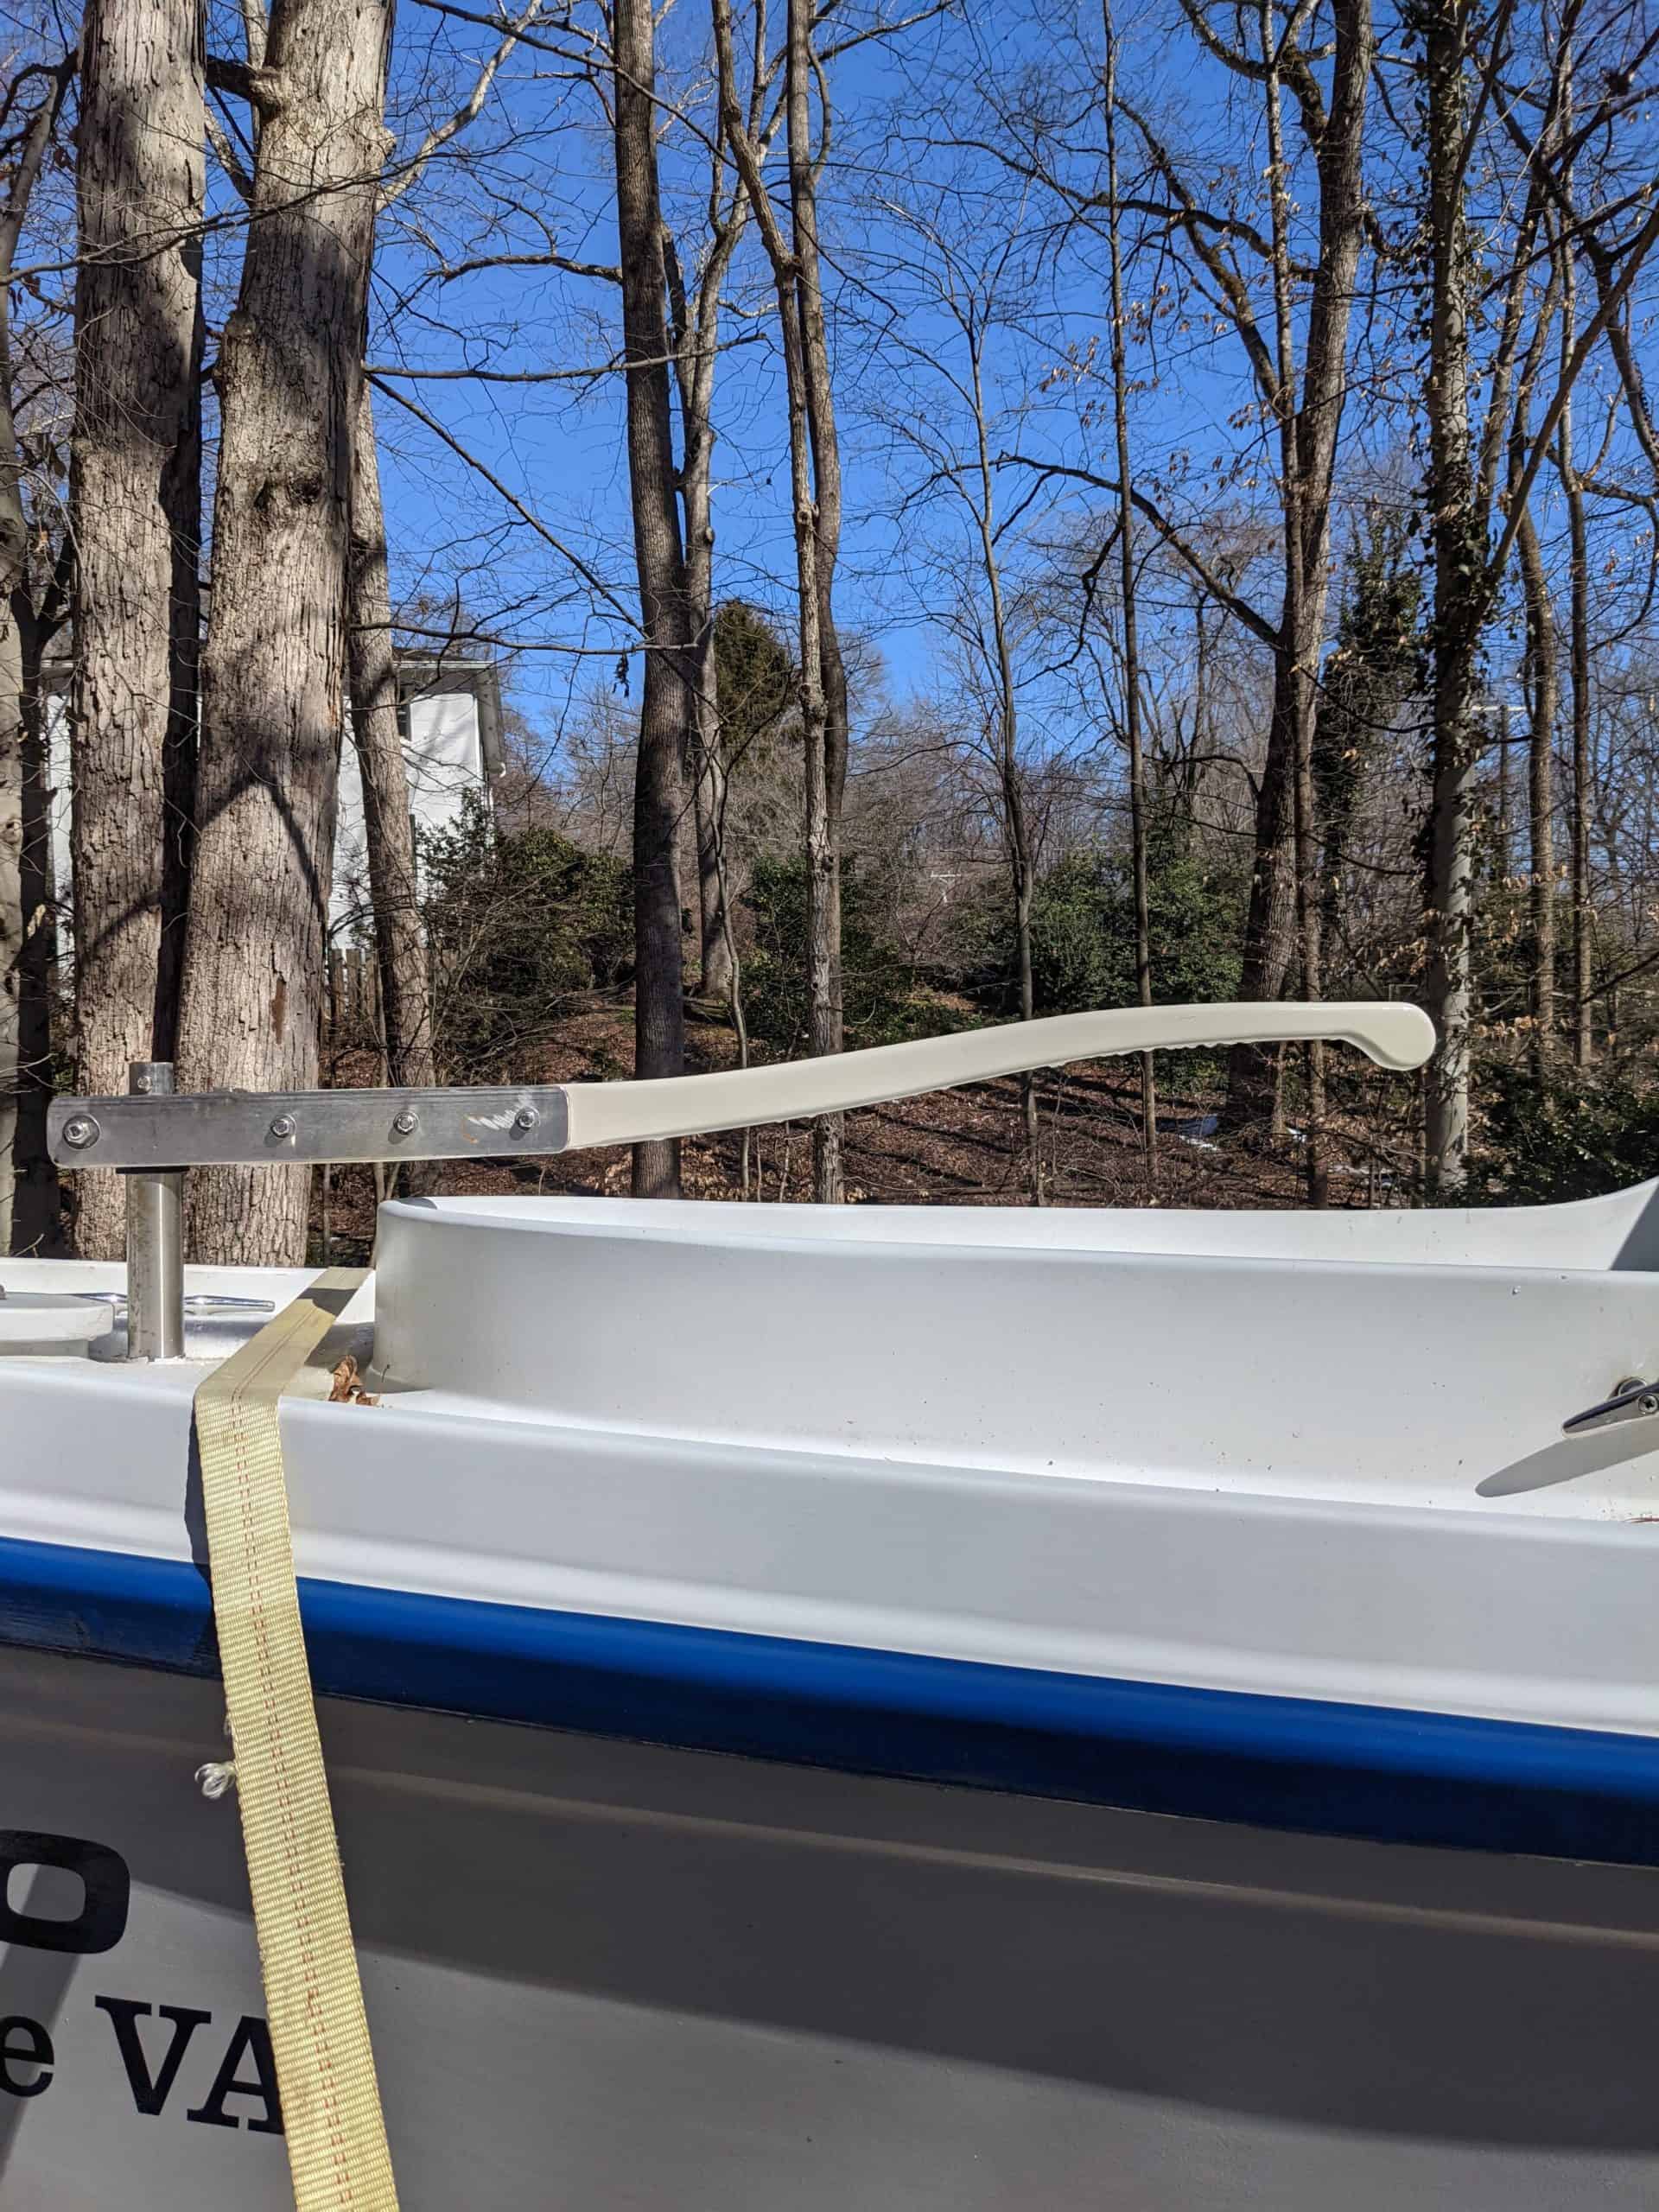
The Tiller
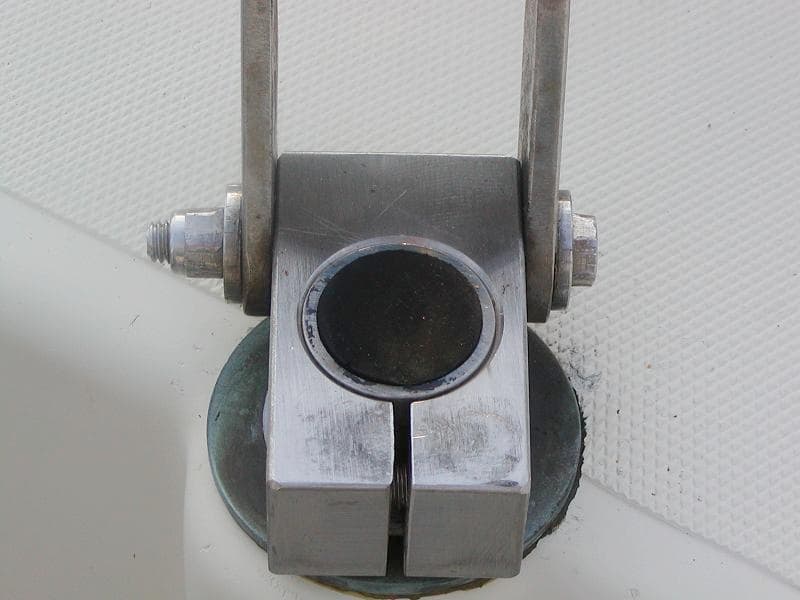
The tiller was a fun project. It needed to be strong, be able to lift to vertical position and be handsome. I purchased a block of stainless steel two and a half inches square and ten inches long and had a machine shop fabricate the base which would be fixed at the top of the rudder shaft and hold the wooden handle I would build. I copied a tiller head I saw online at Dan Zee’s website about his Helms 30.
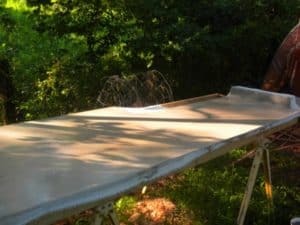
Steam box info
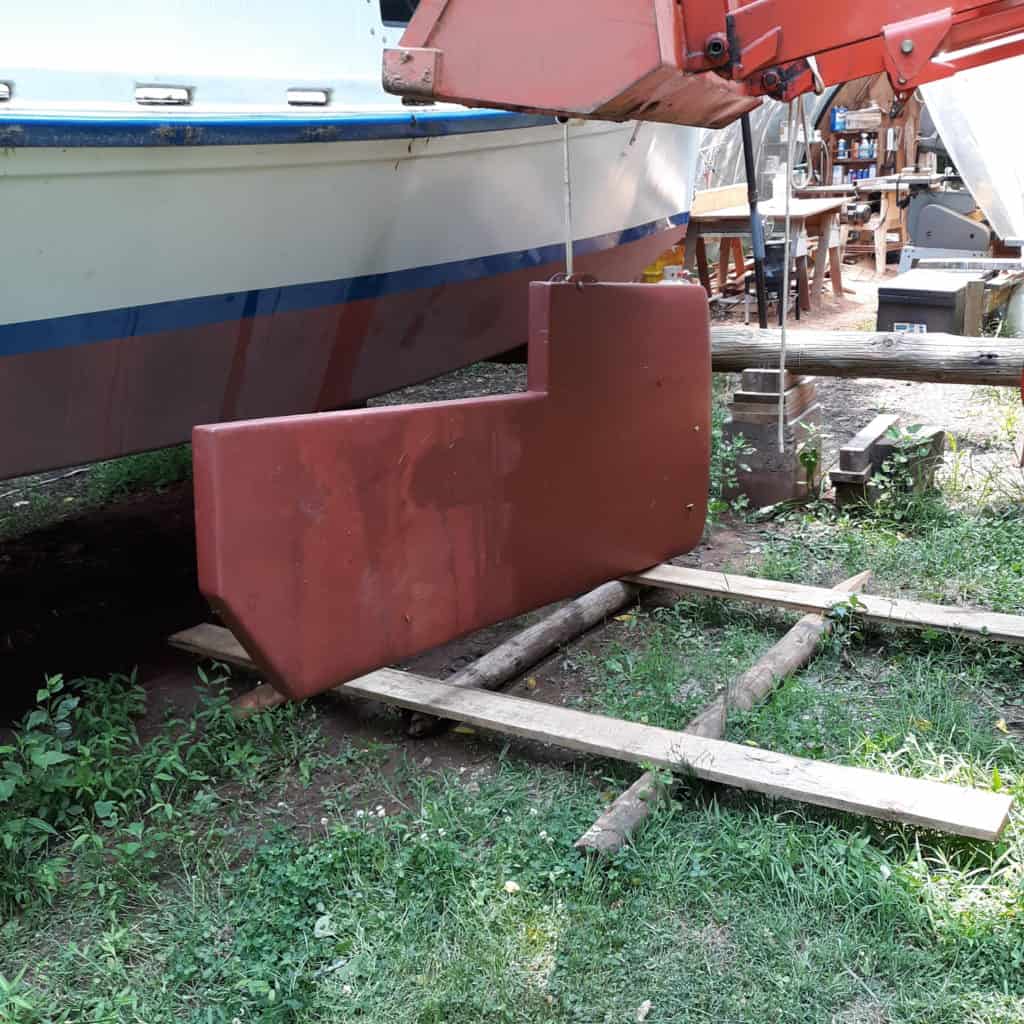
I picked up the tiller tube from Quality Welding in Charlottesville and installed that, drilling another hole in the bottom of the boat. I had to dig a hole in the ground under the boat almost two feet deep to get this up into the hole, but this was easier and safer than jacking the boat up a couple of feet. I let in the square flange at the bottom so it was flush with the bottom and used plenty of epoxy seating this in place.

Steam box 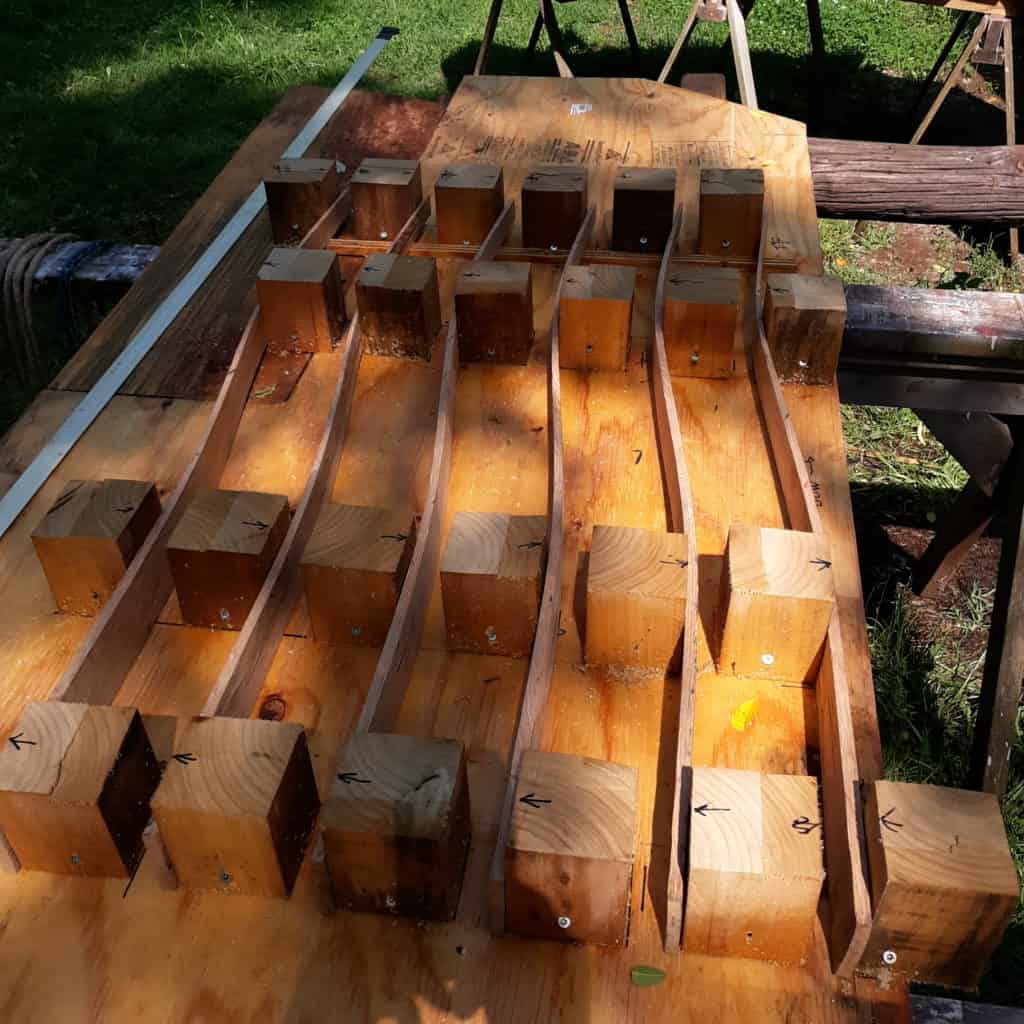
Bending laminates for tiller
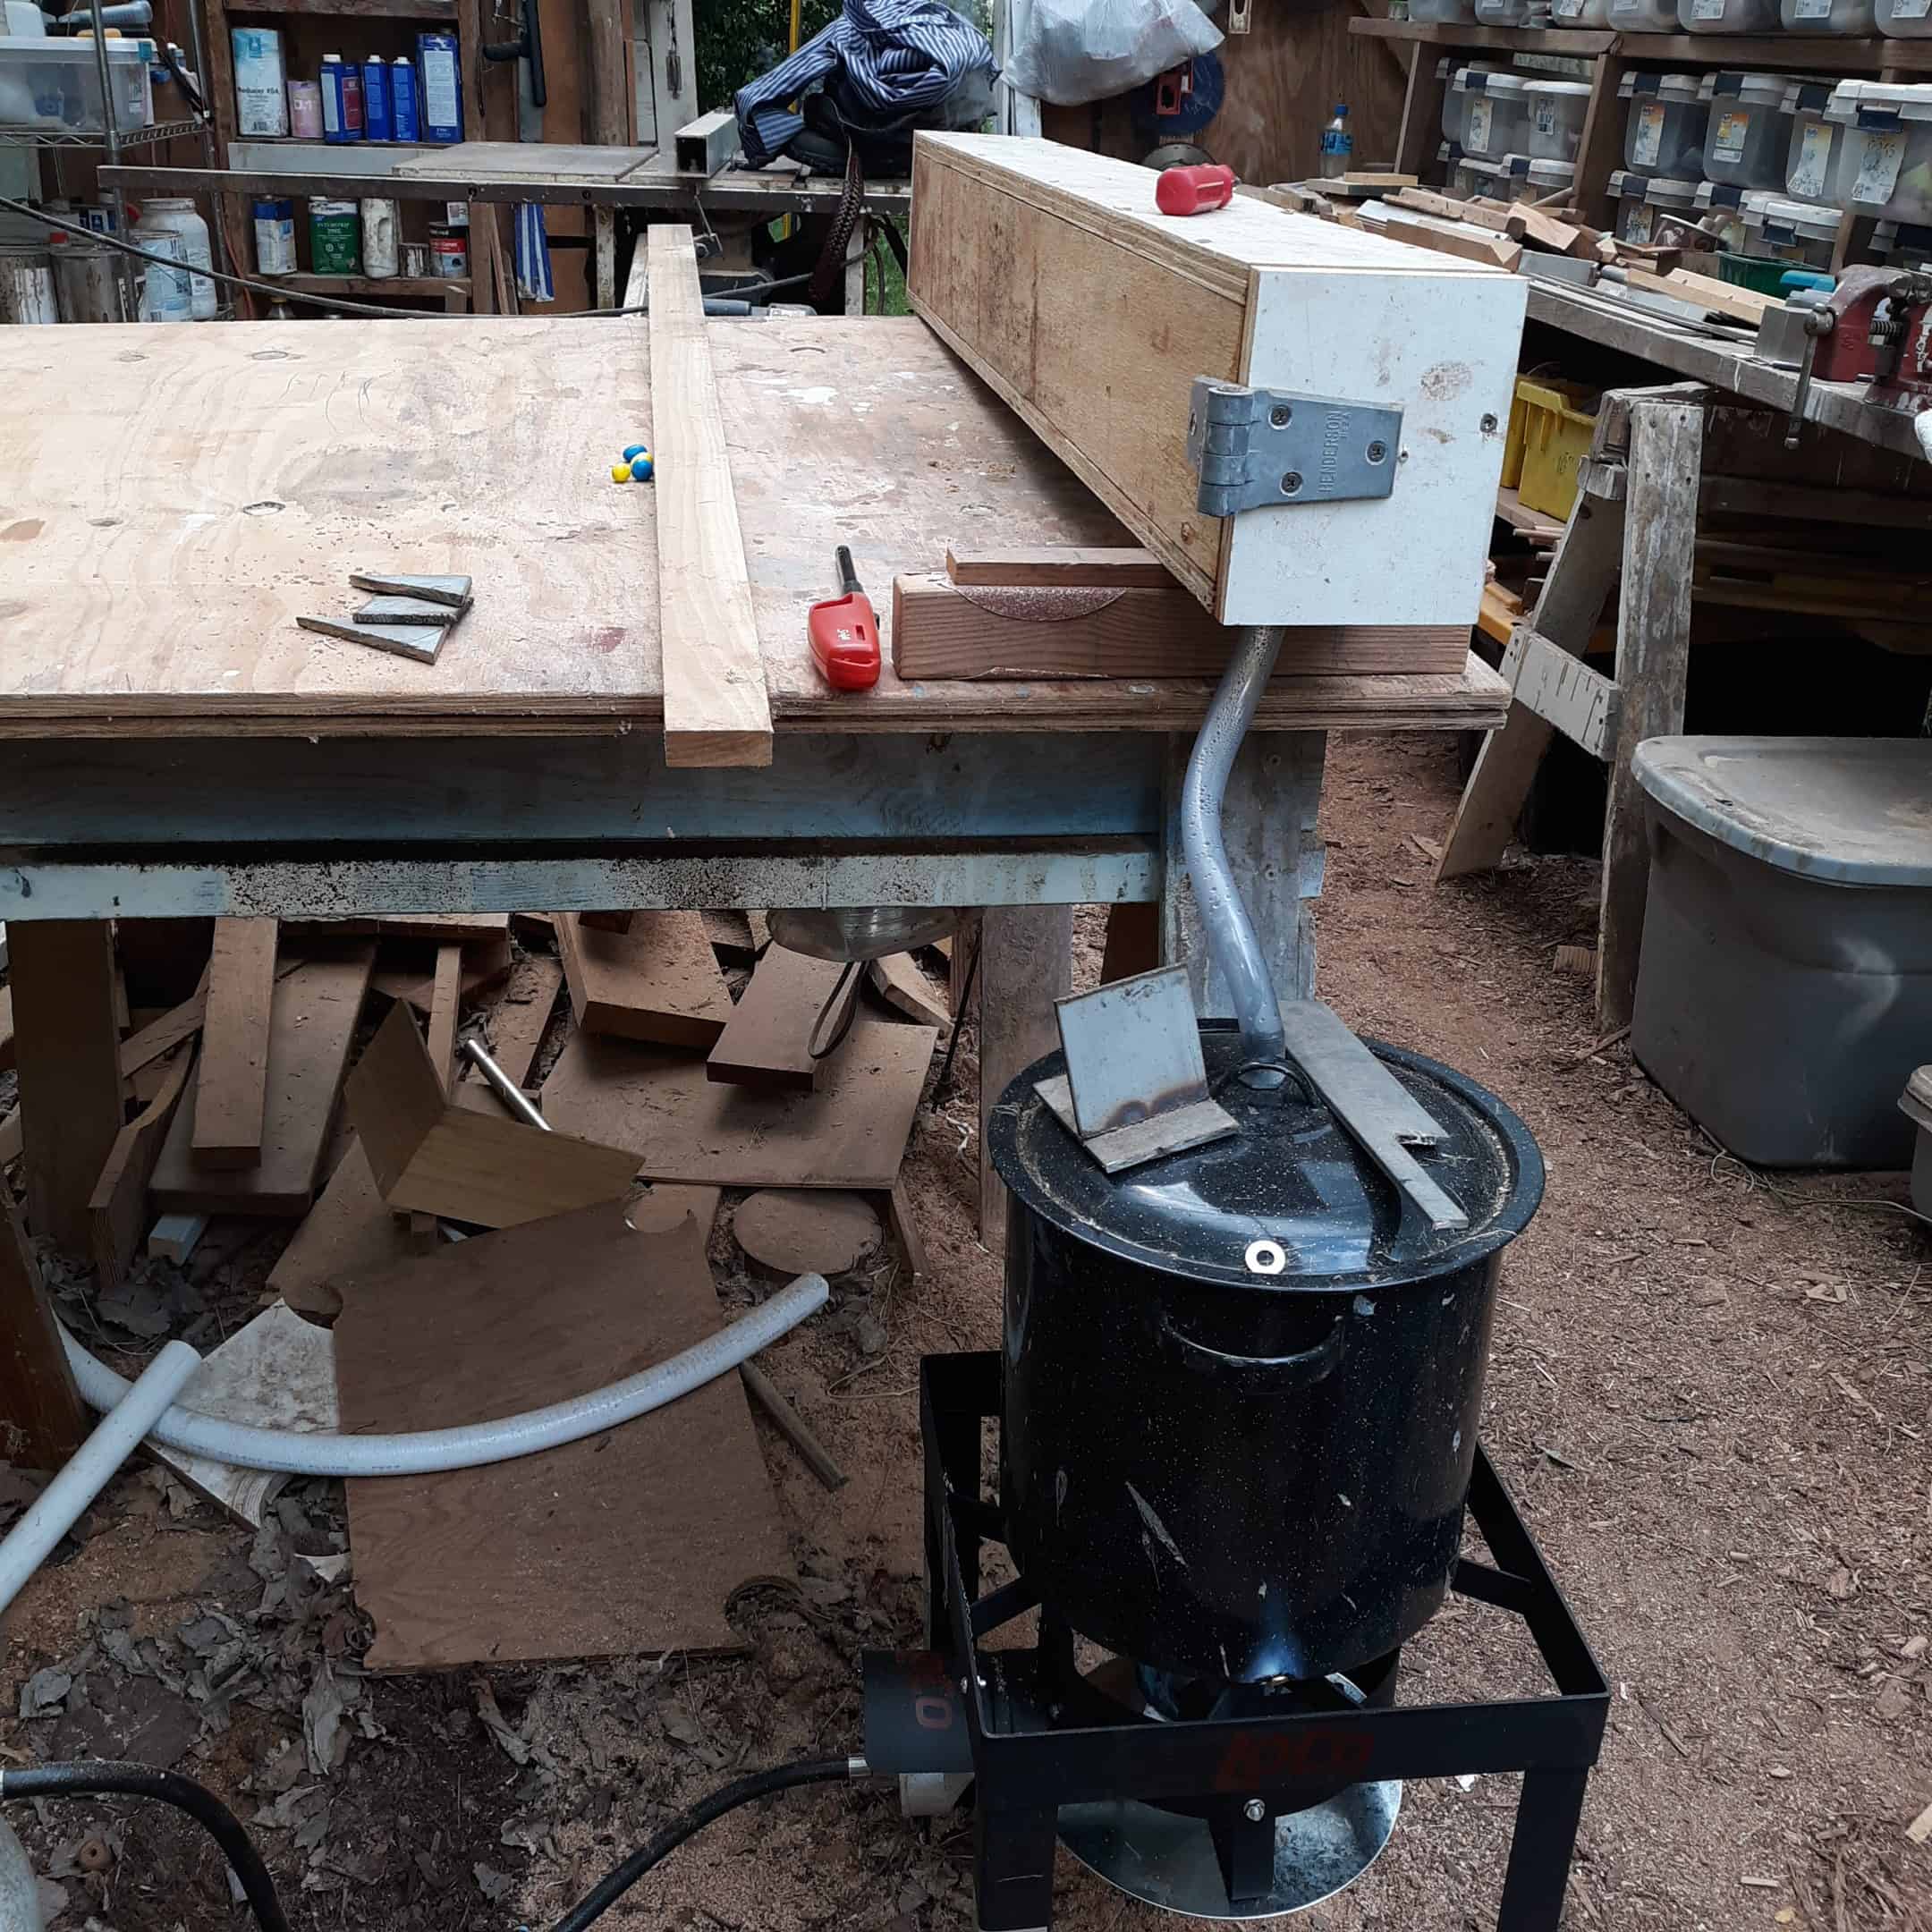

Six layers of laminate are cut, steamed and bent to shape in a jig where they dried for a few days. They were then epoxied together and a small tab added at the forward end. The tiller head I got a machine shop to put together built around the stainless block.