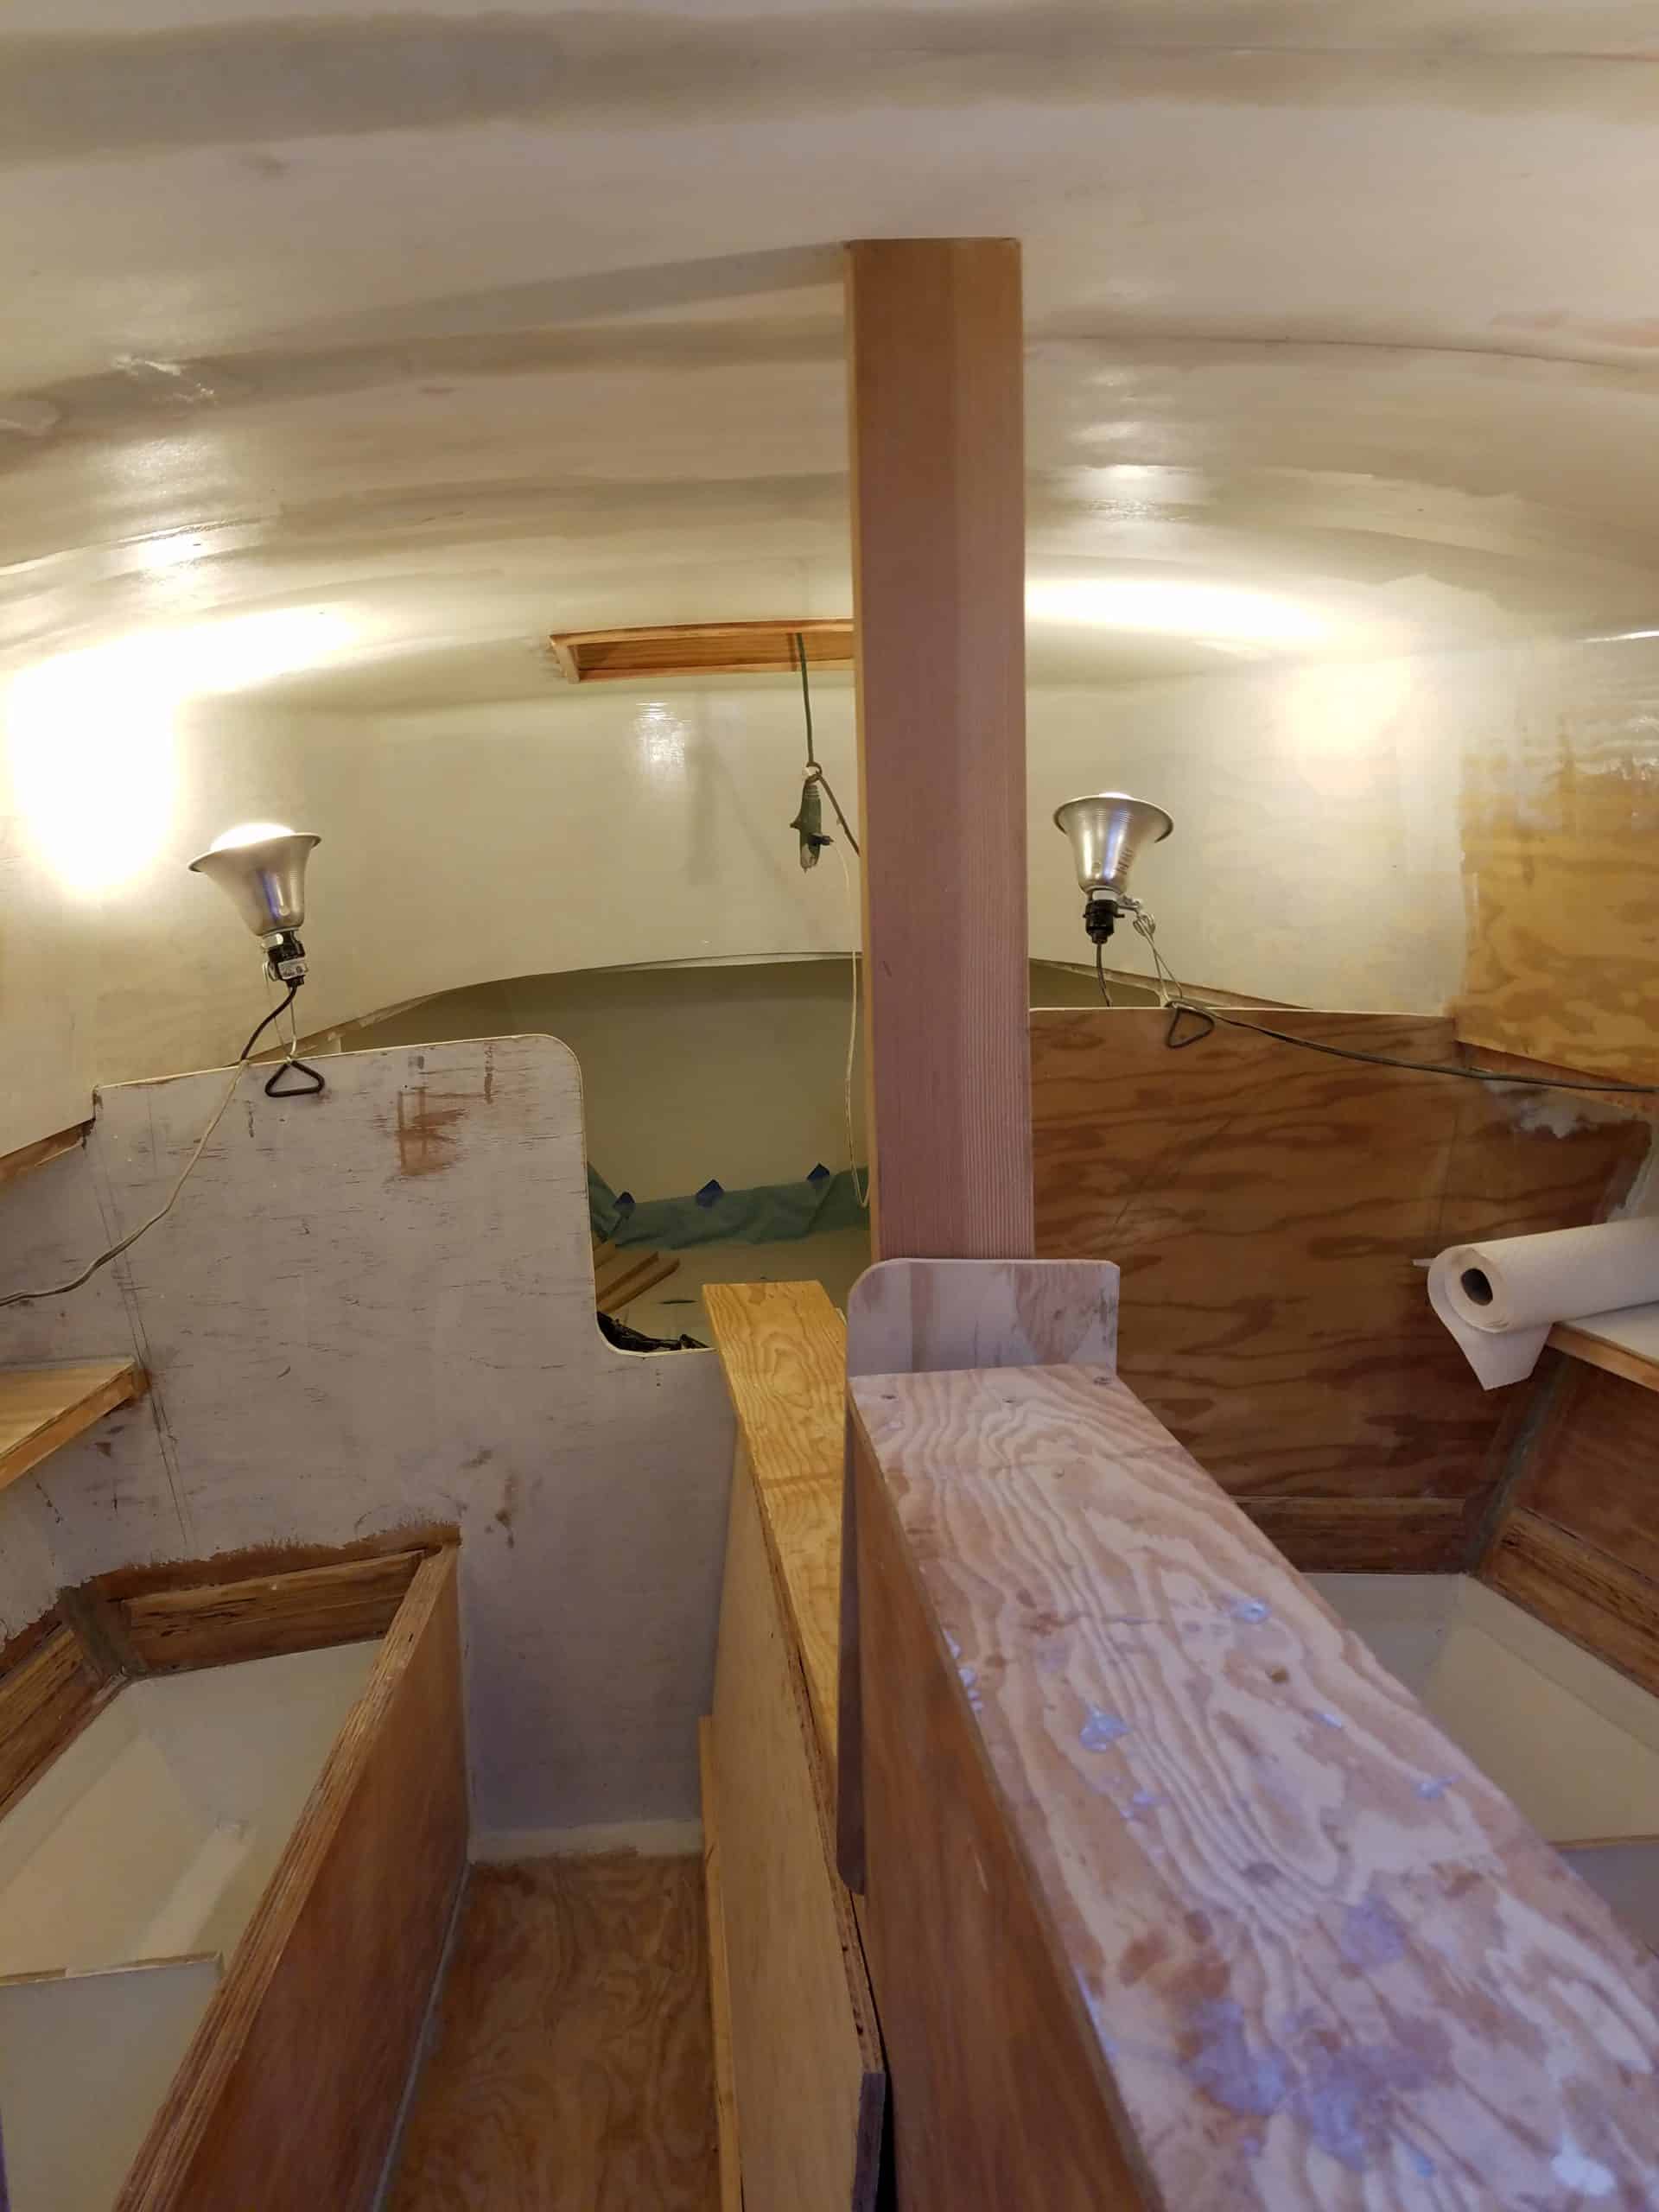
April 2016, the focus is on finishing out the interior of the cabin. The cabin sole and lead ballast is first, then the settees, the icebox, the head, cabinets, shelves, and all electrical things including batteries, lights, fans, charge controllers, fuse banks, and of course, the wiring for these electrics.
The Ballast
Reuel suggested that she needs about 1,500 pounds of lead ballast. I found lead online priced at over $4,000 for 1,500 pounds, so then tried scrapyards, but “regulations” prohibited them from selling me scrap lead. So, on to tire stores. I found four tire stores within twenty miles which were willing to sell or give me used wheel weights. I managed to accumulate a couple of dozen five gallon buckets of these weights over a few months. Then, in July my son Hans was visiting and he melted down most of the lead and poured it into fifty pound ingots, using 11 x 14 cake pans as a mold. If you let them rust up first, the cooled ingot falls right out. We used an outdoor propane pot boiler from Lowe’s to heat the lead, and an Asian style cooking wire screen-spoon to filter out the impurities. Nuts, bolts and the metal clips float right to the top, so it is easy to skim them off. Hans made about 35 of these, weighing 50 pounds each.
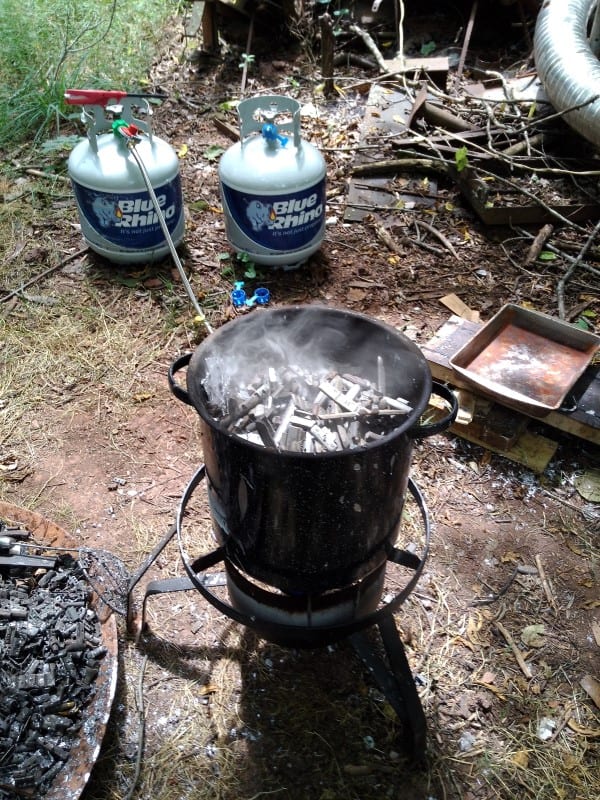
Melting wheel weights 
Skimming off impurities 
More lead 
Spacing out 
Frame for ballast 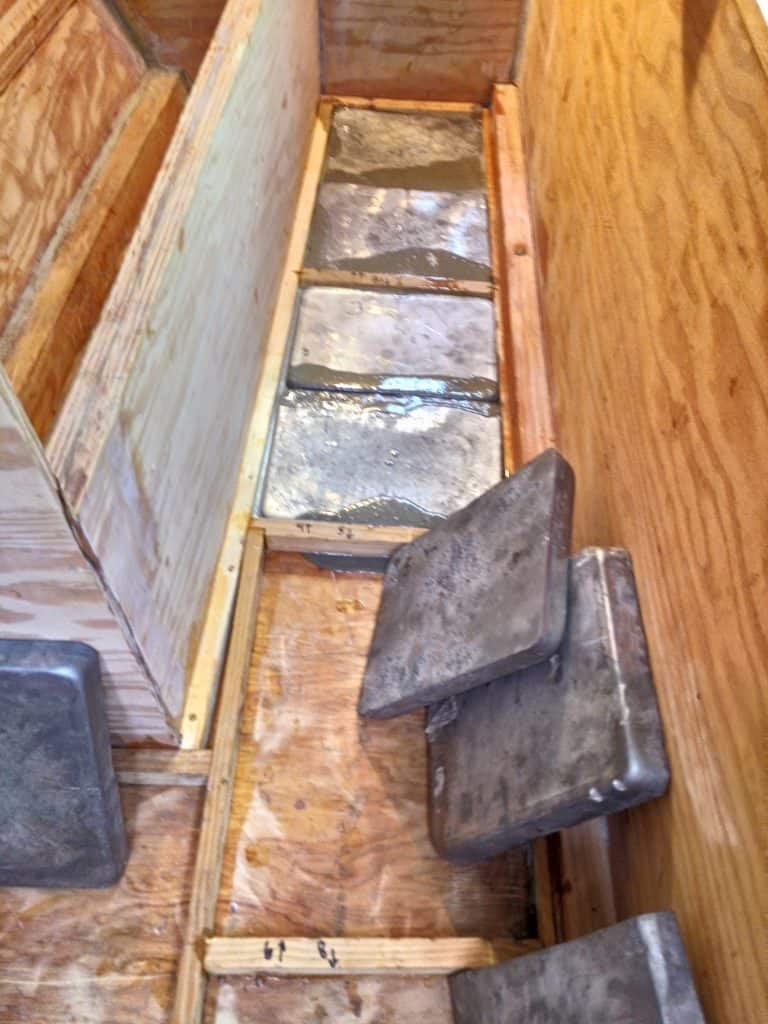
Mucking in 
More 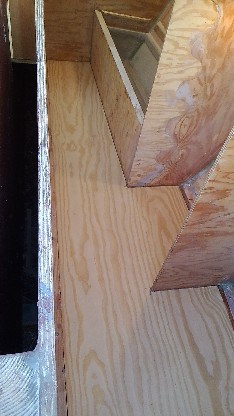
1/4 in cabin sole 
Hans Woodriff
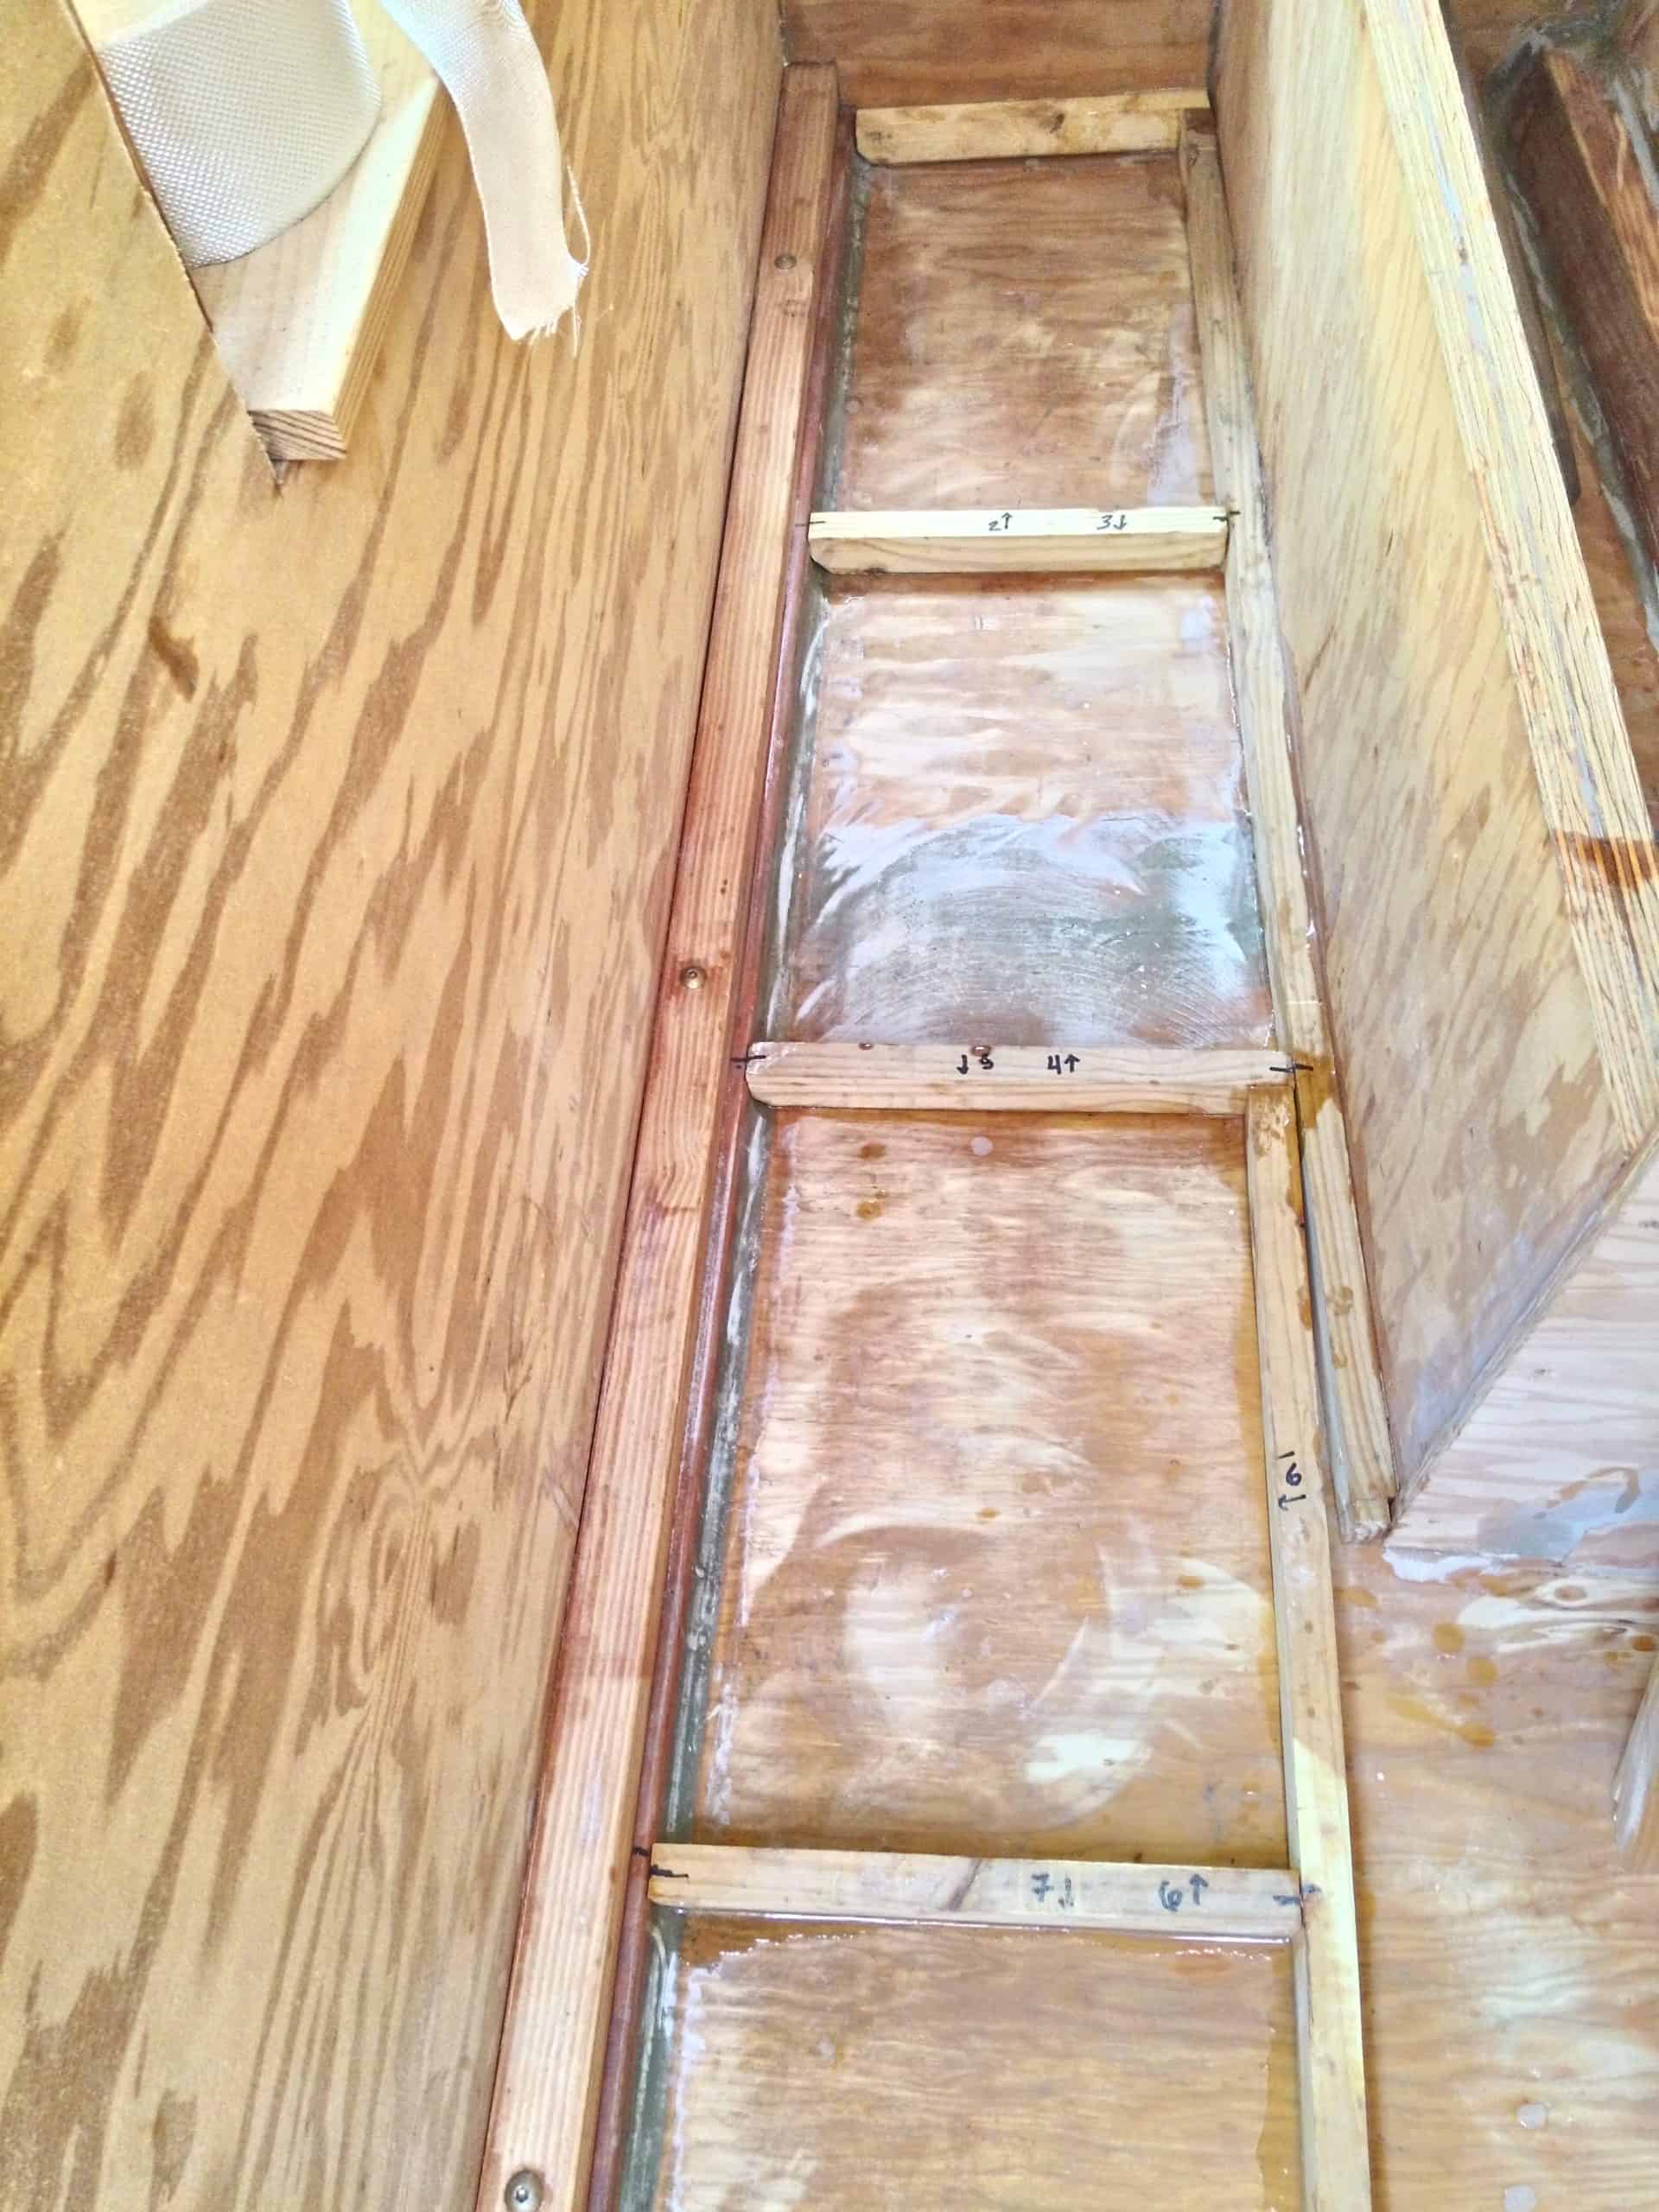
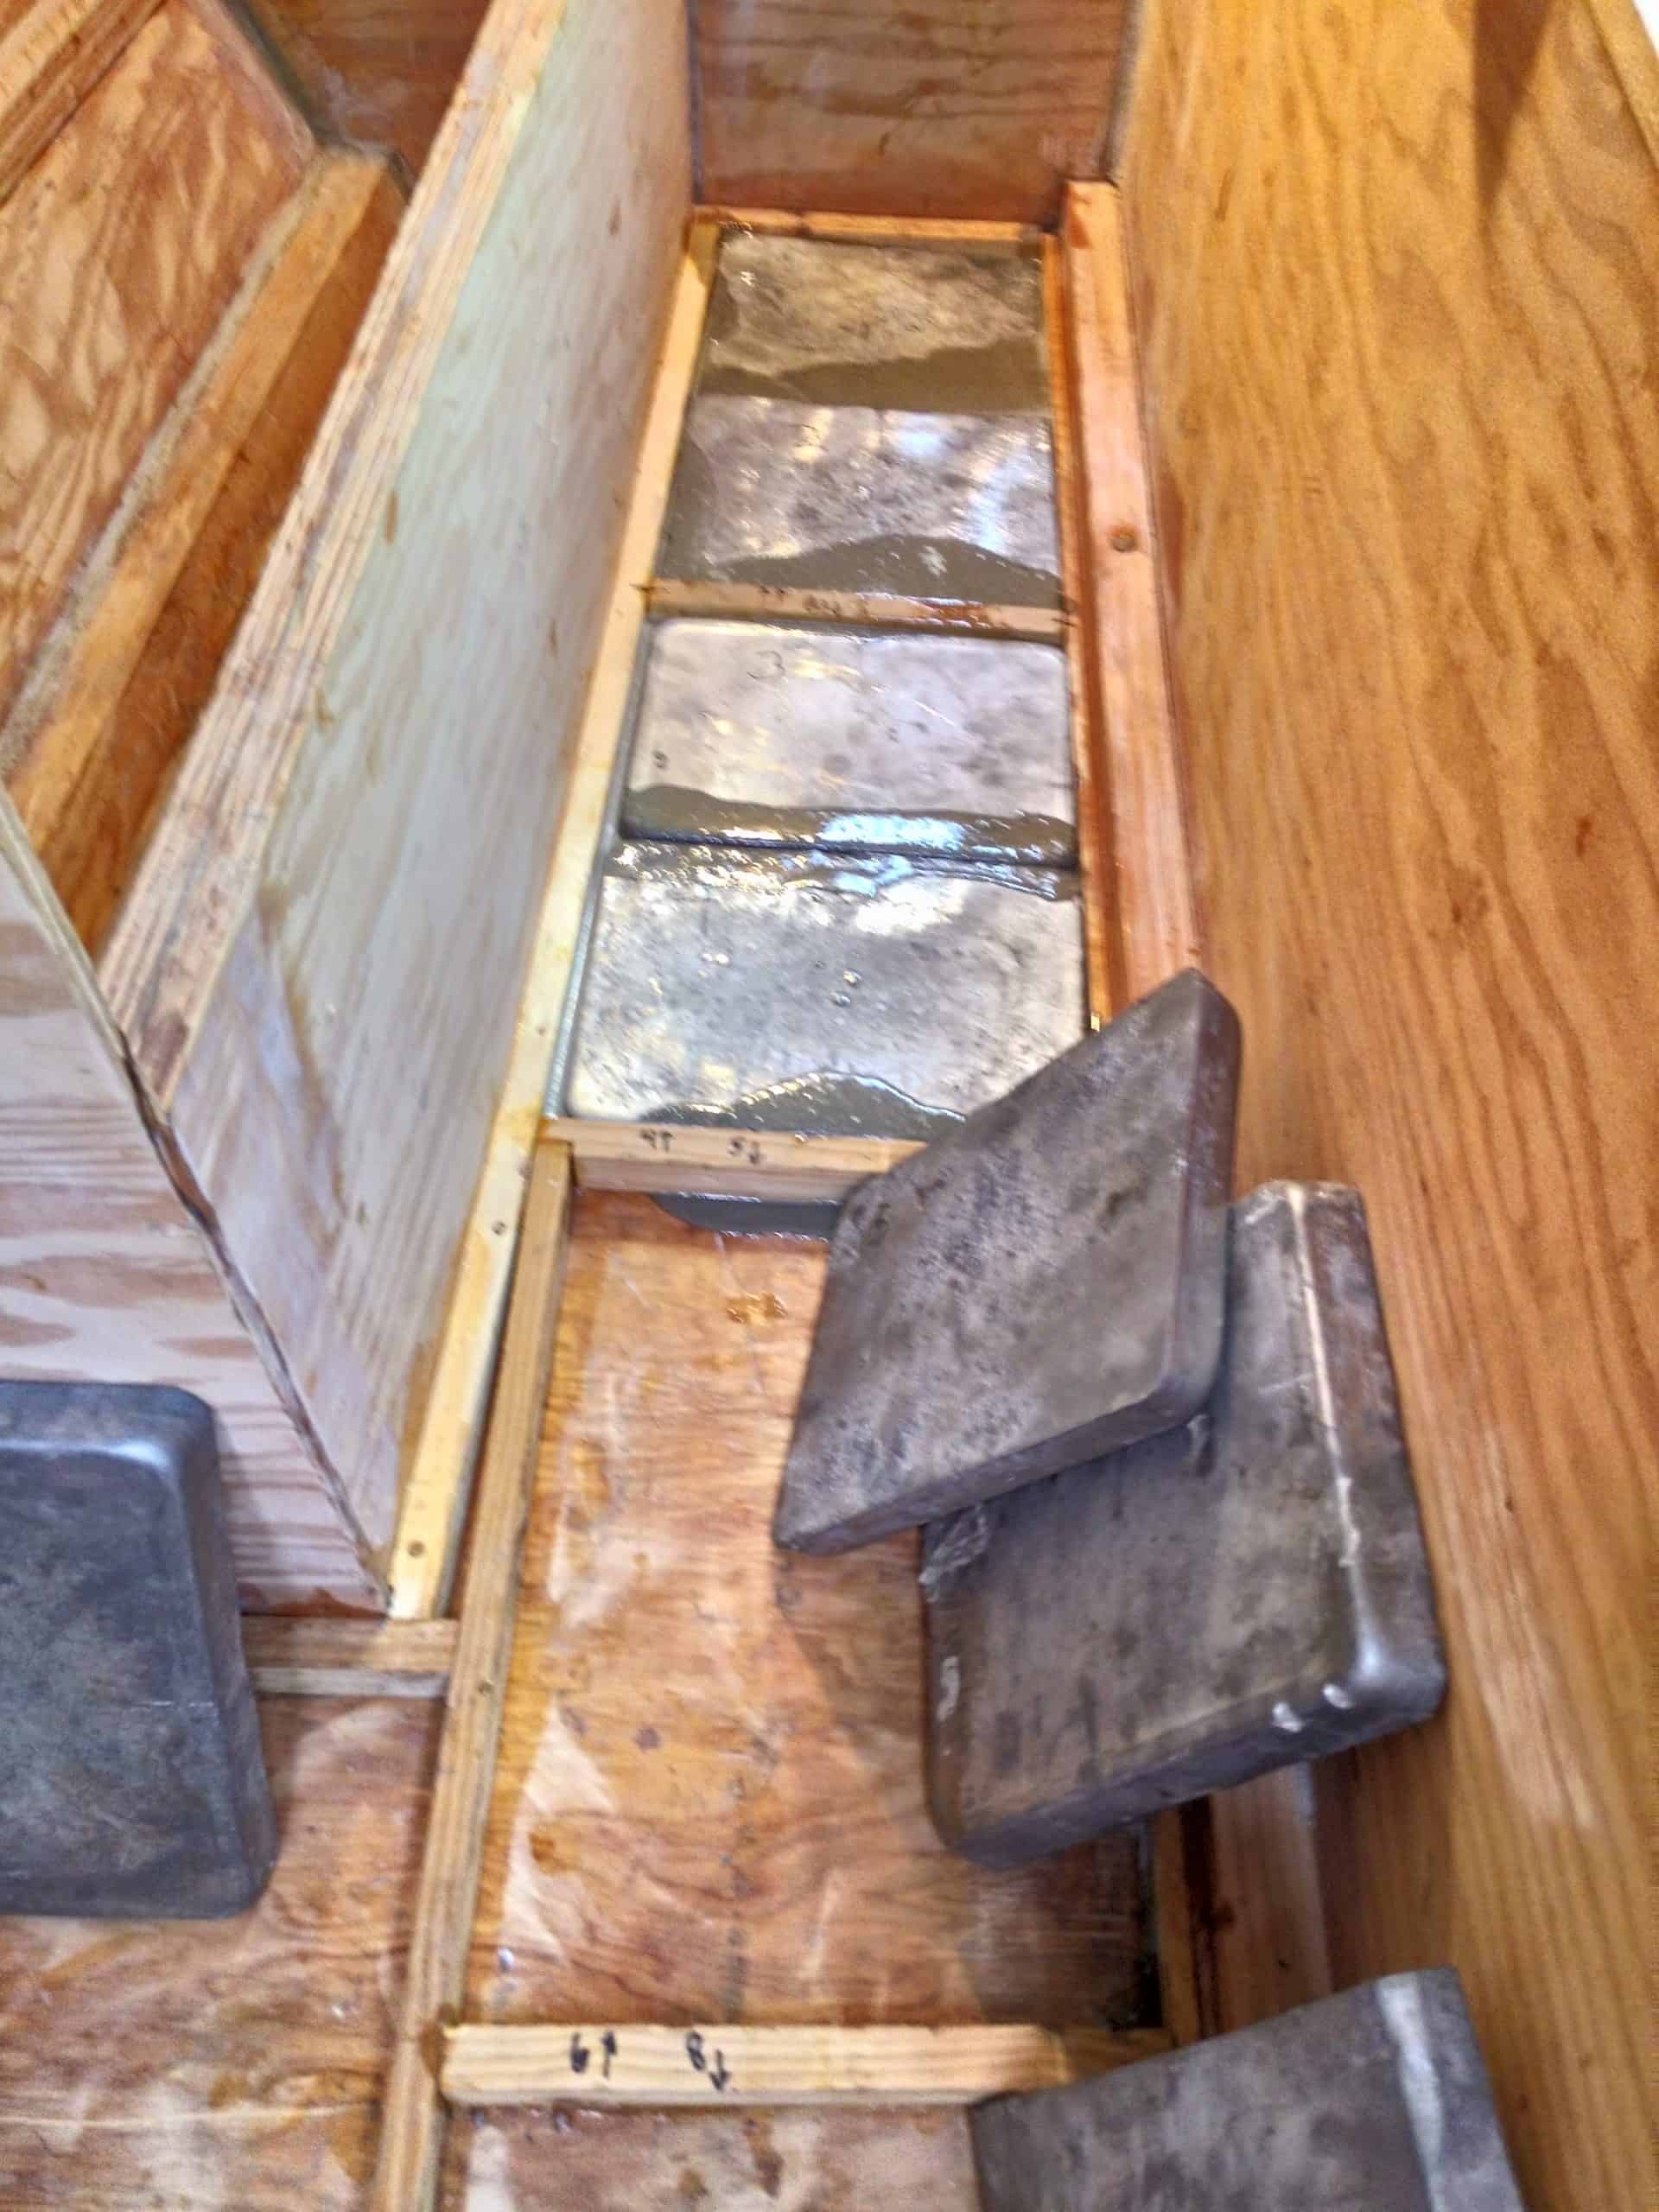

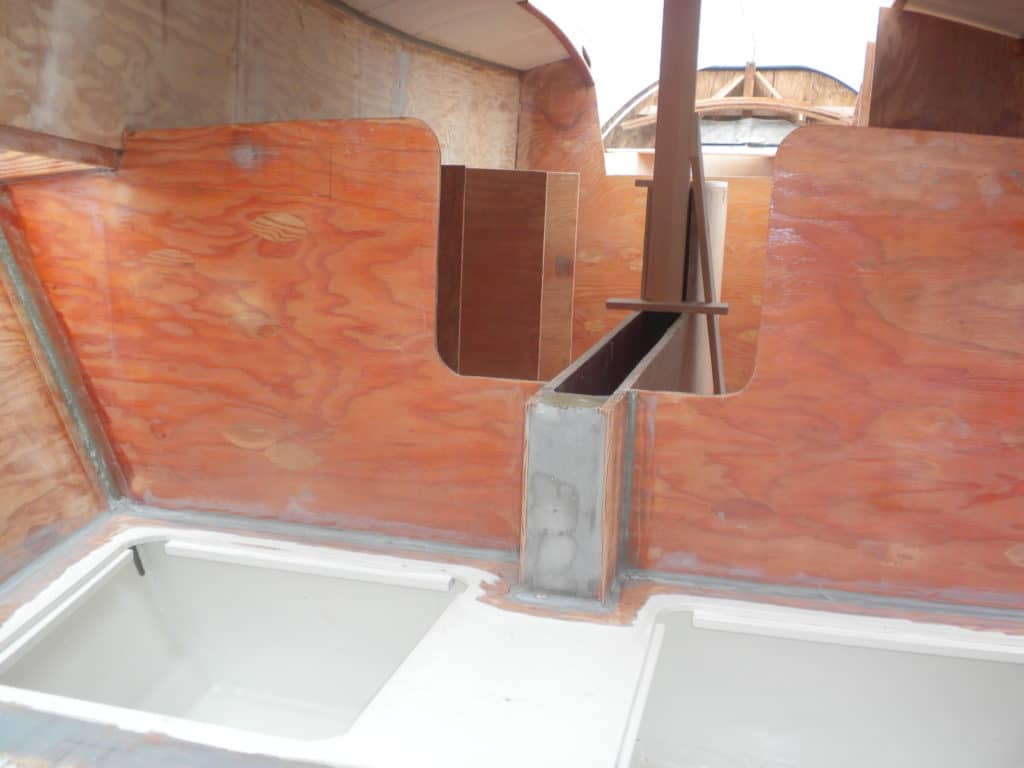
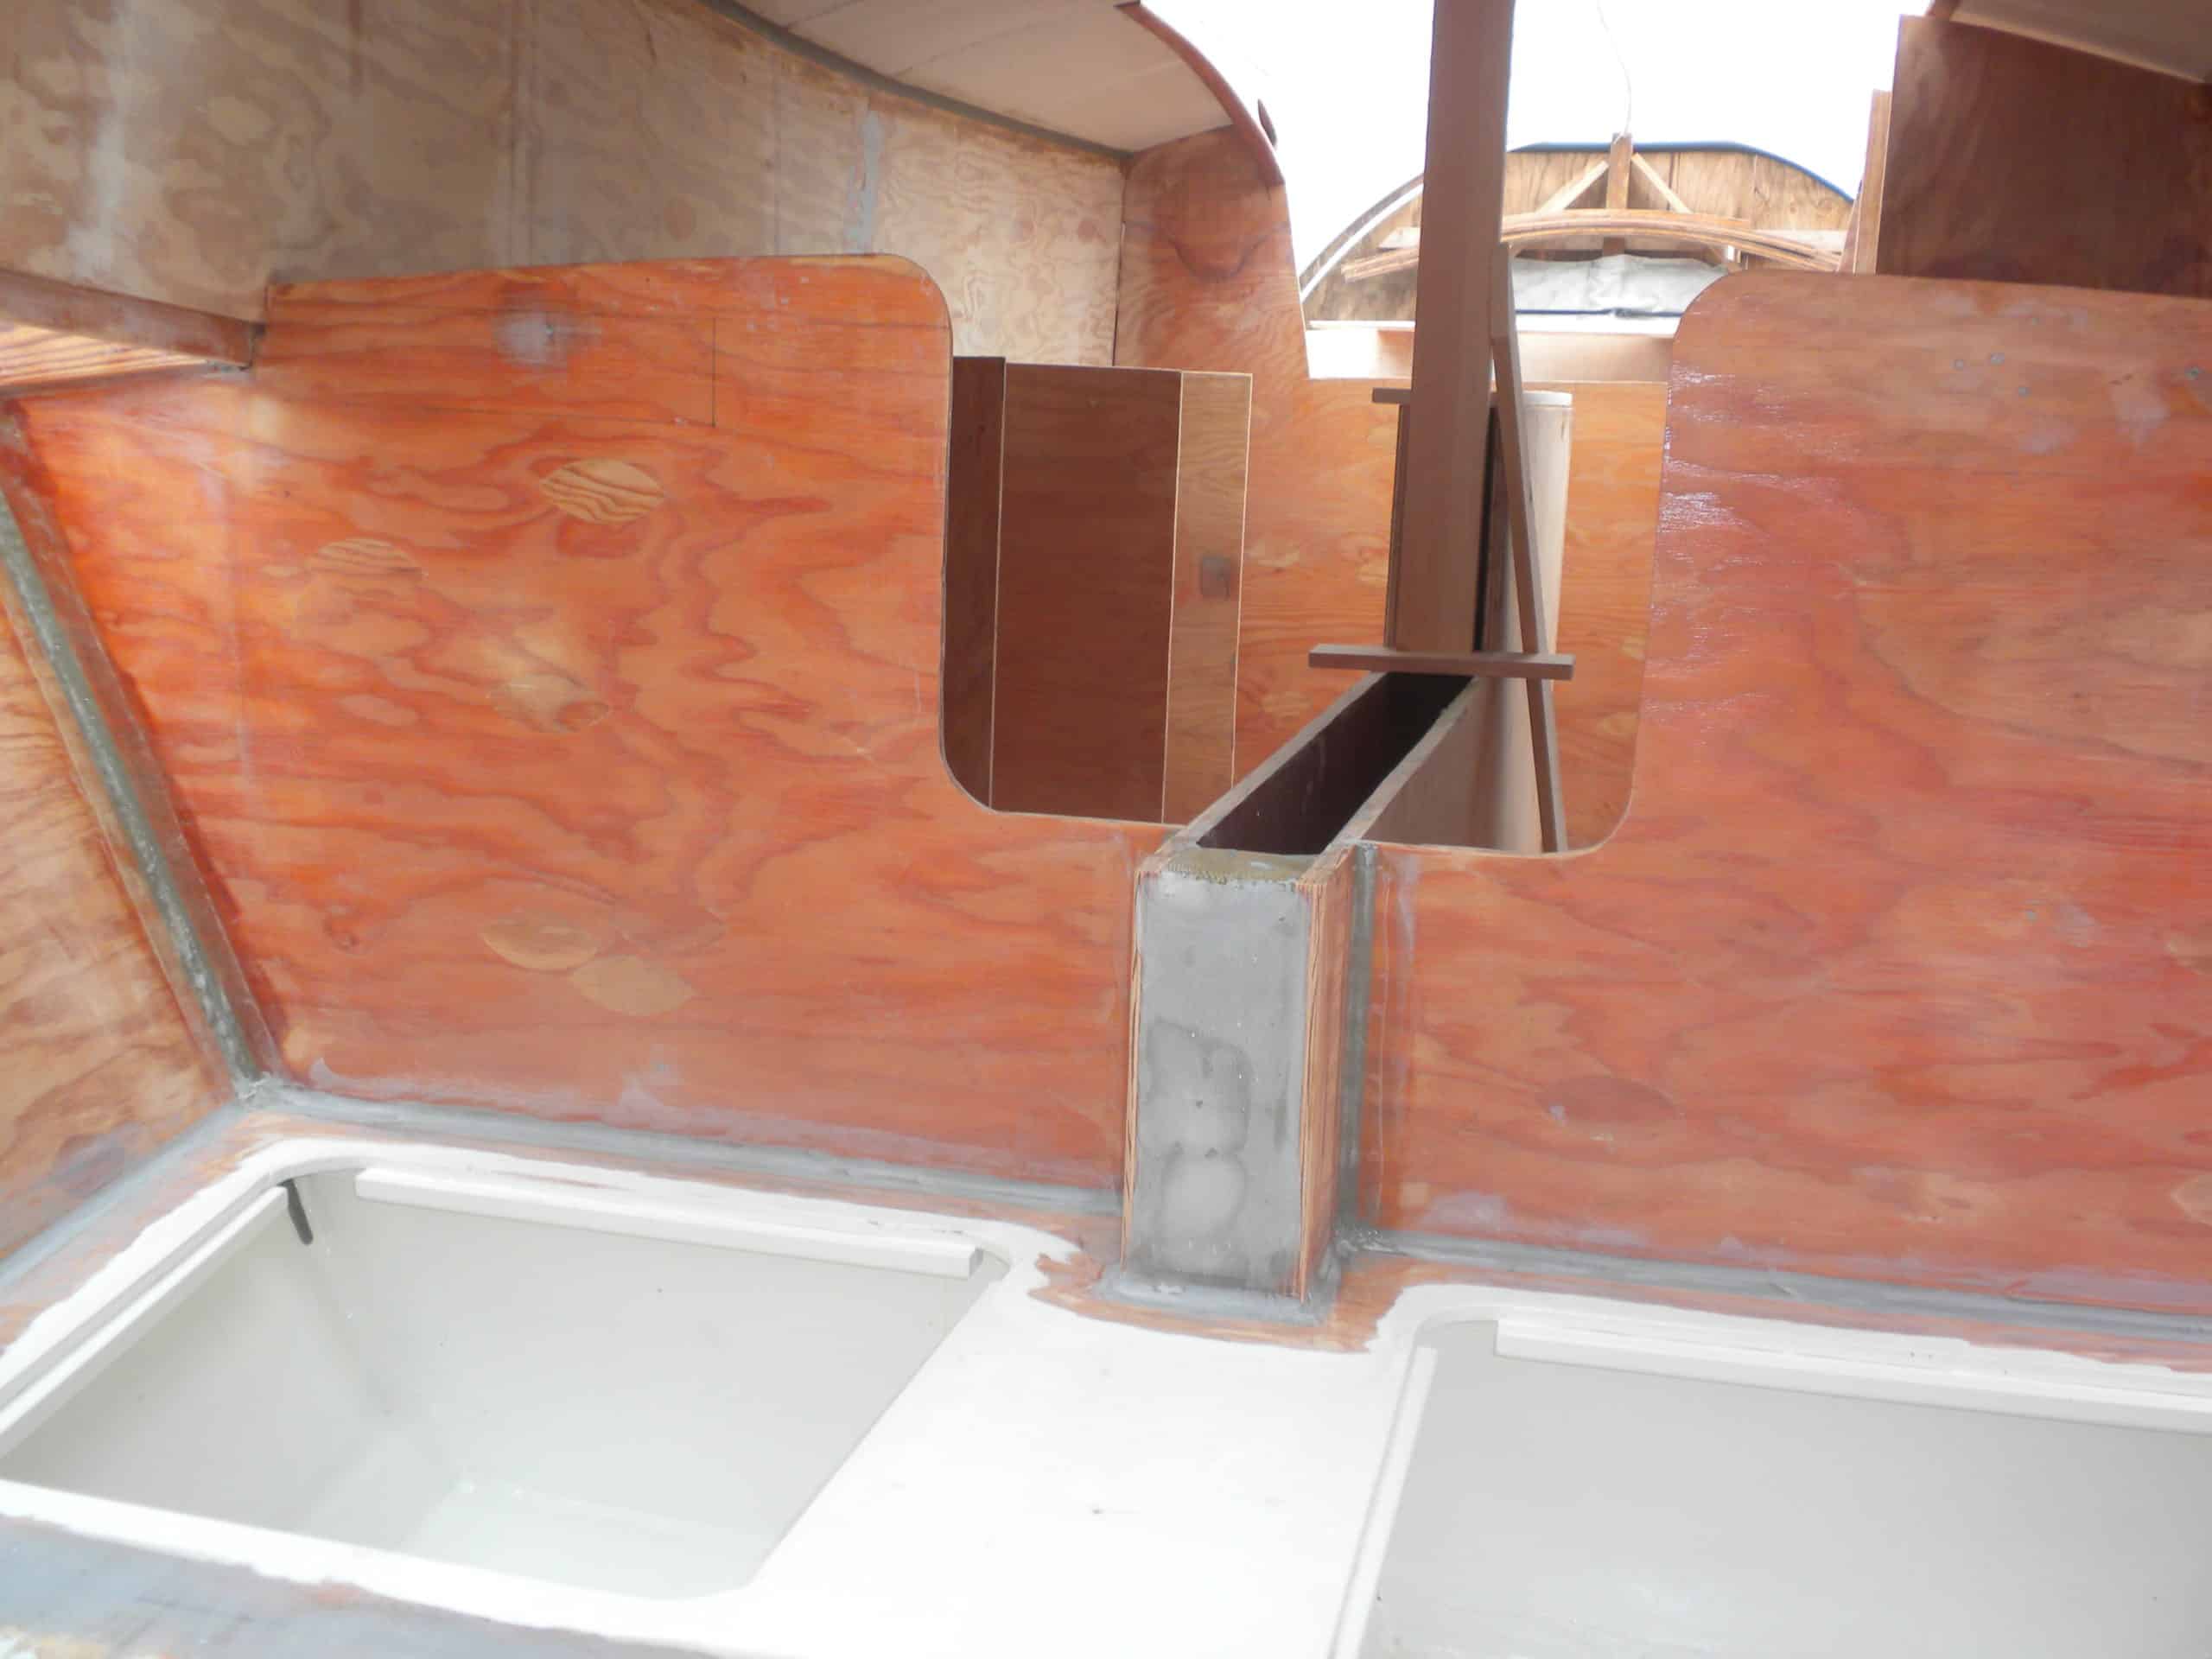
I placed the ingots directly against the hull on both sides of the centerboard trunk and epoxied stringers between them to screw the plywood cabin sole to while epoxying that in place. I had to trim a couple of the lead ingots to fit properly, but the lead cut easily using an old skilsaw blade. Once I had thirty of these ingots fitted, I mucked them in well against the hull and to the little spacers. Later, I “leveled” them out using the spacers as a guide. They covered most of cabin sole – the floor of the cabin. I sanded the lead and epoxy very fair and smooth with the Makita 8 inch rotary sander and 40 grit paper then epoxied 1/4 inch plywood over that, so it is completely sealed.
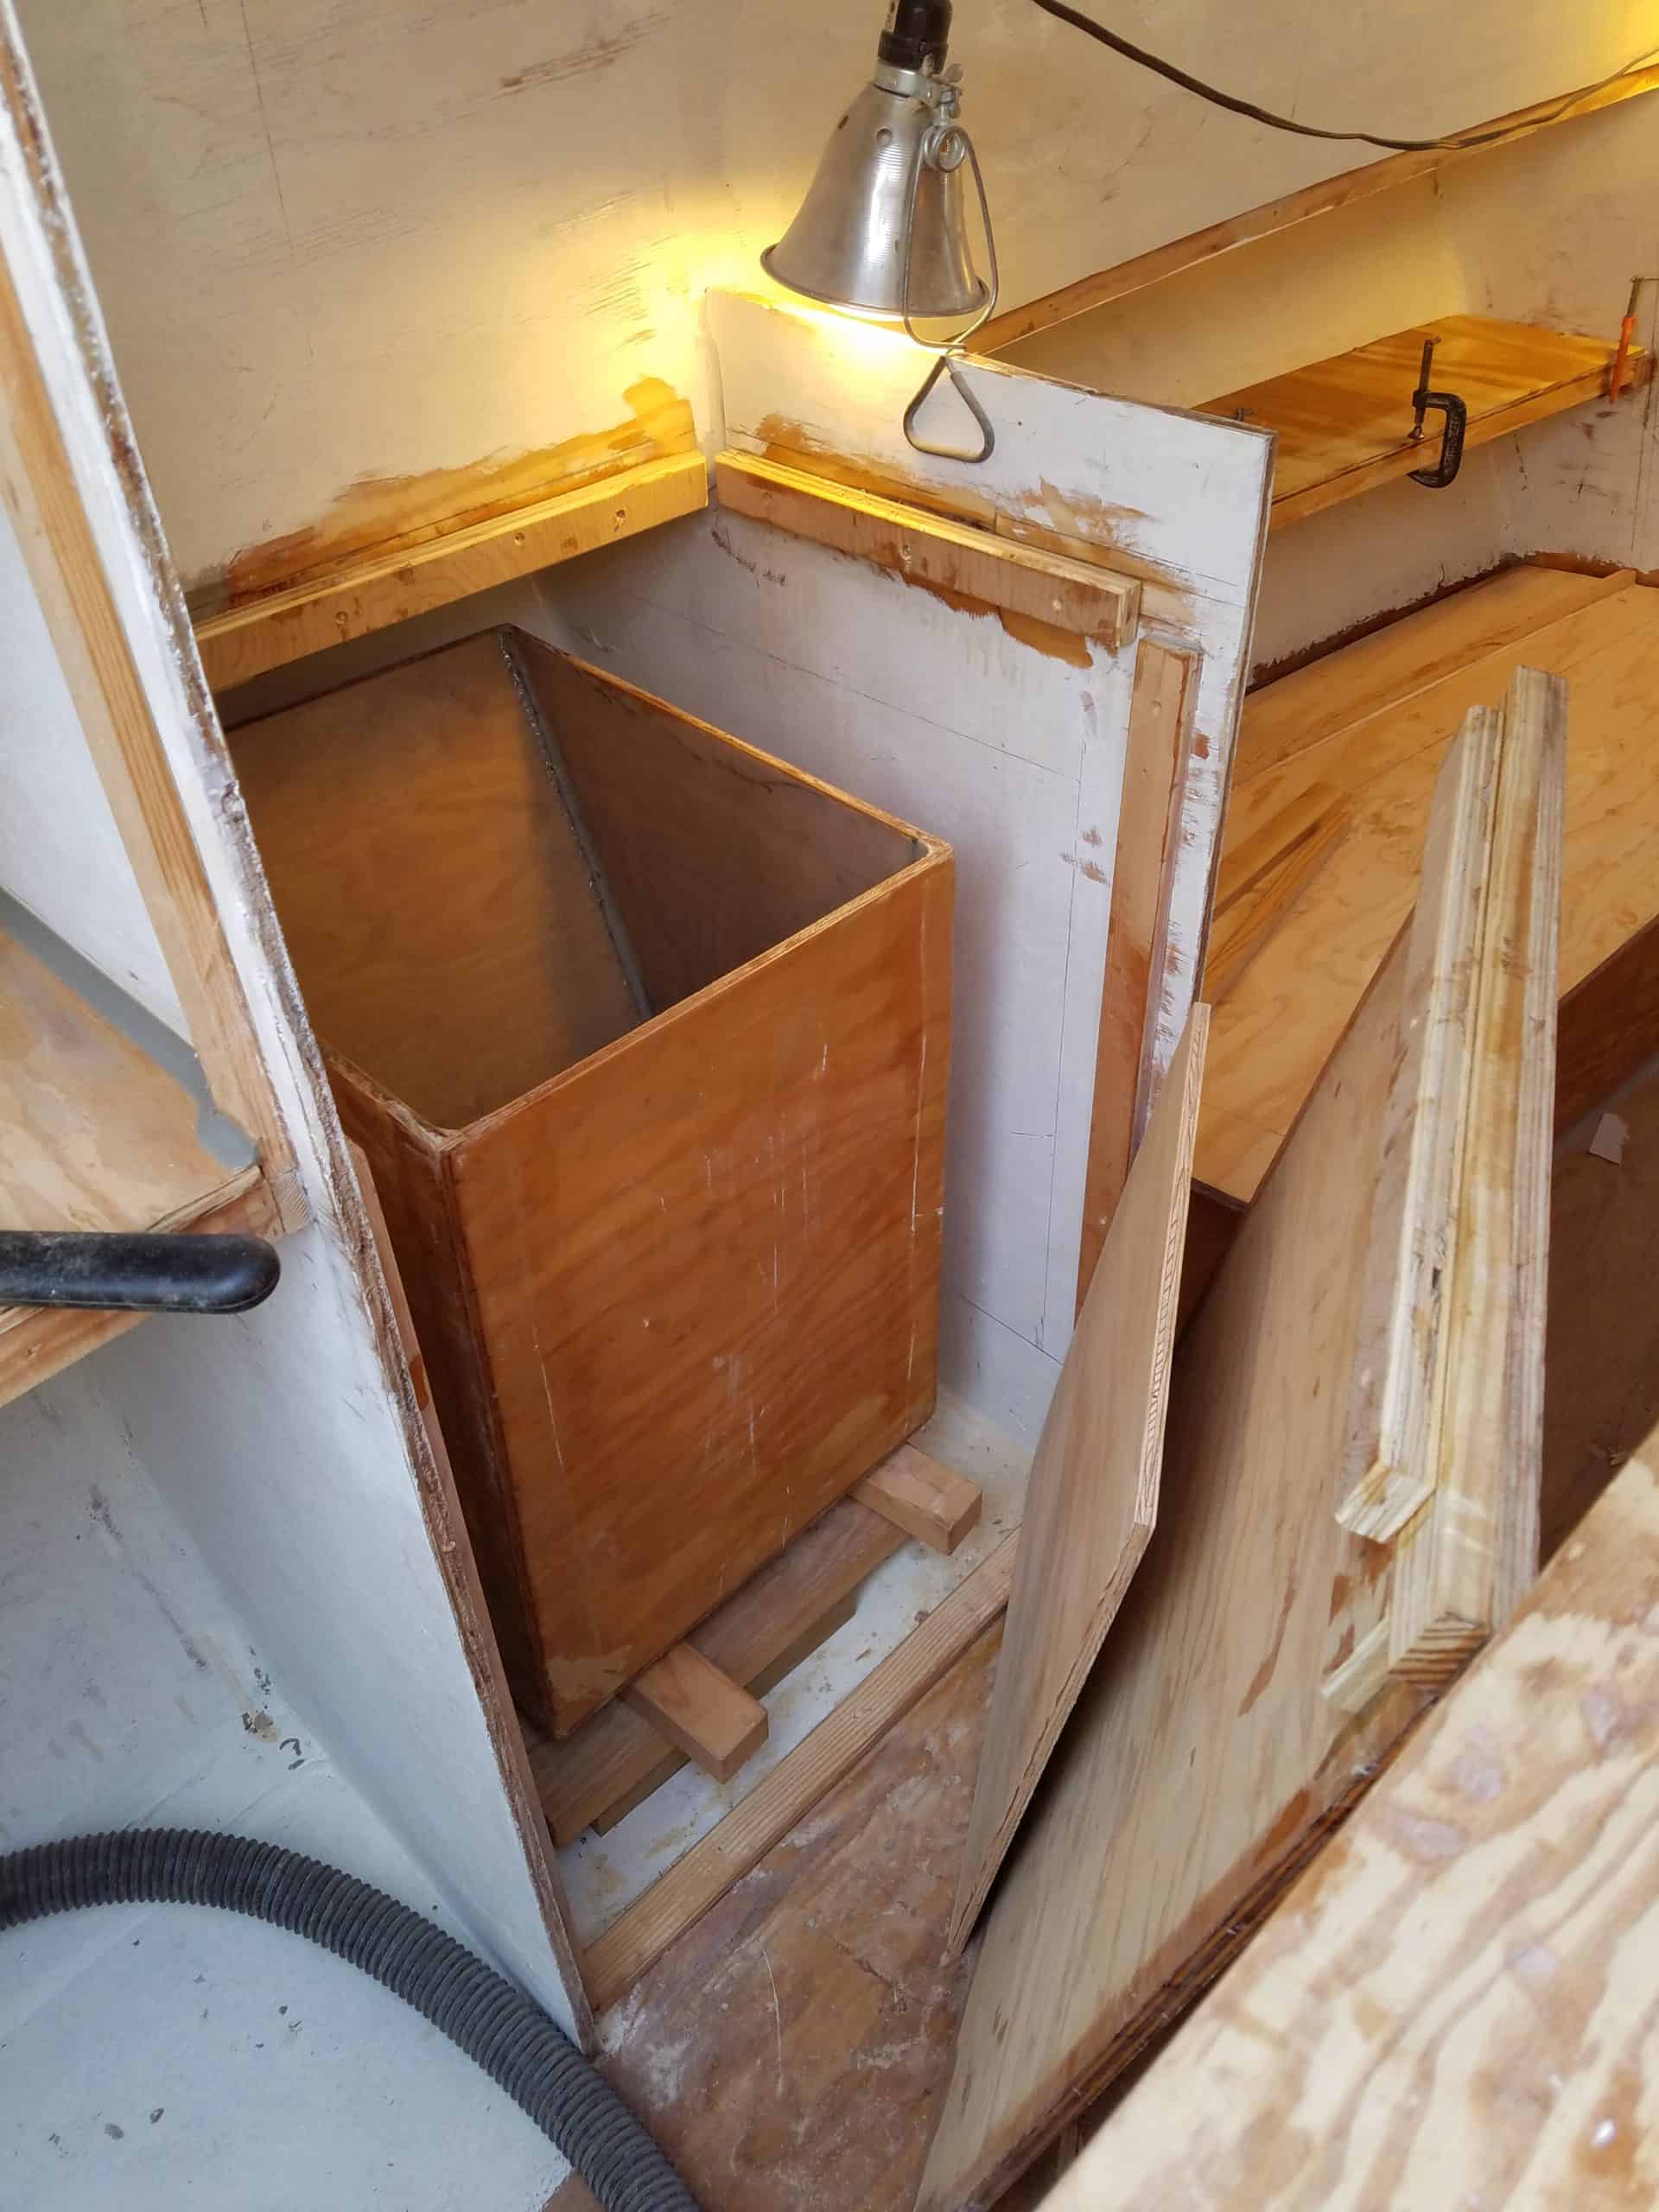
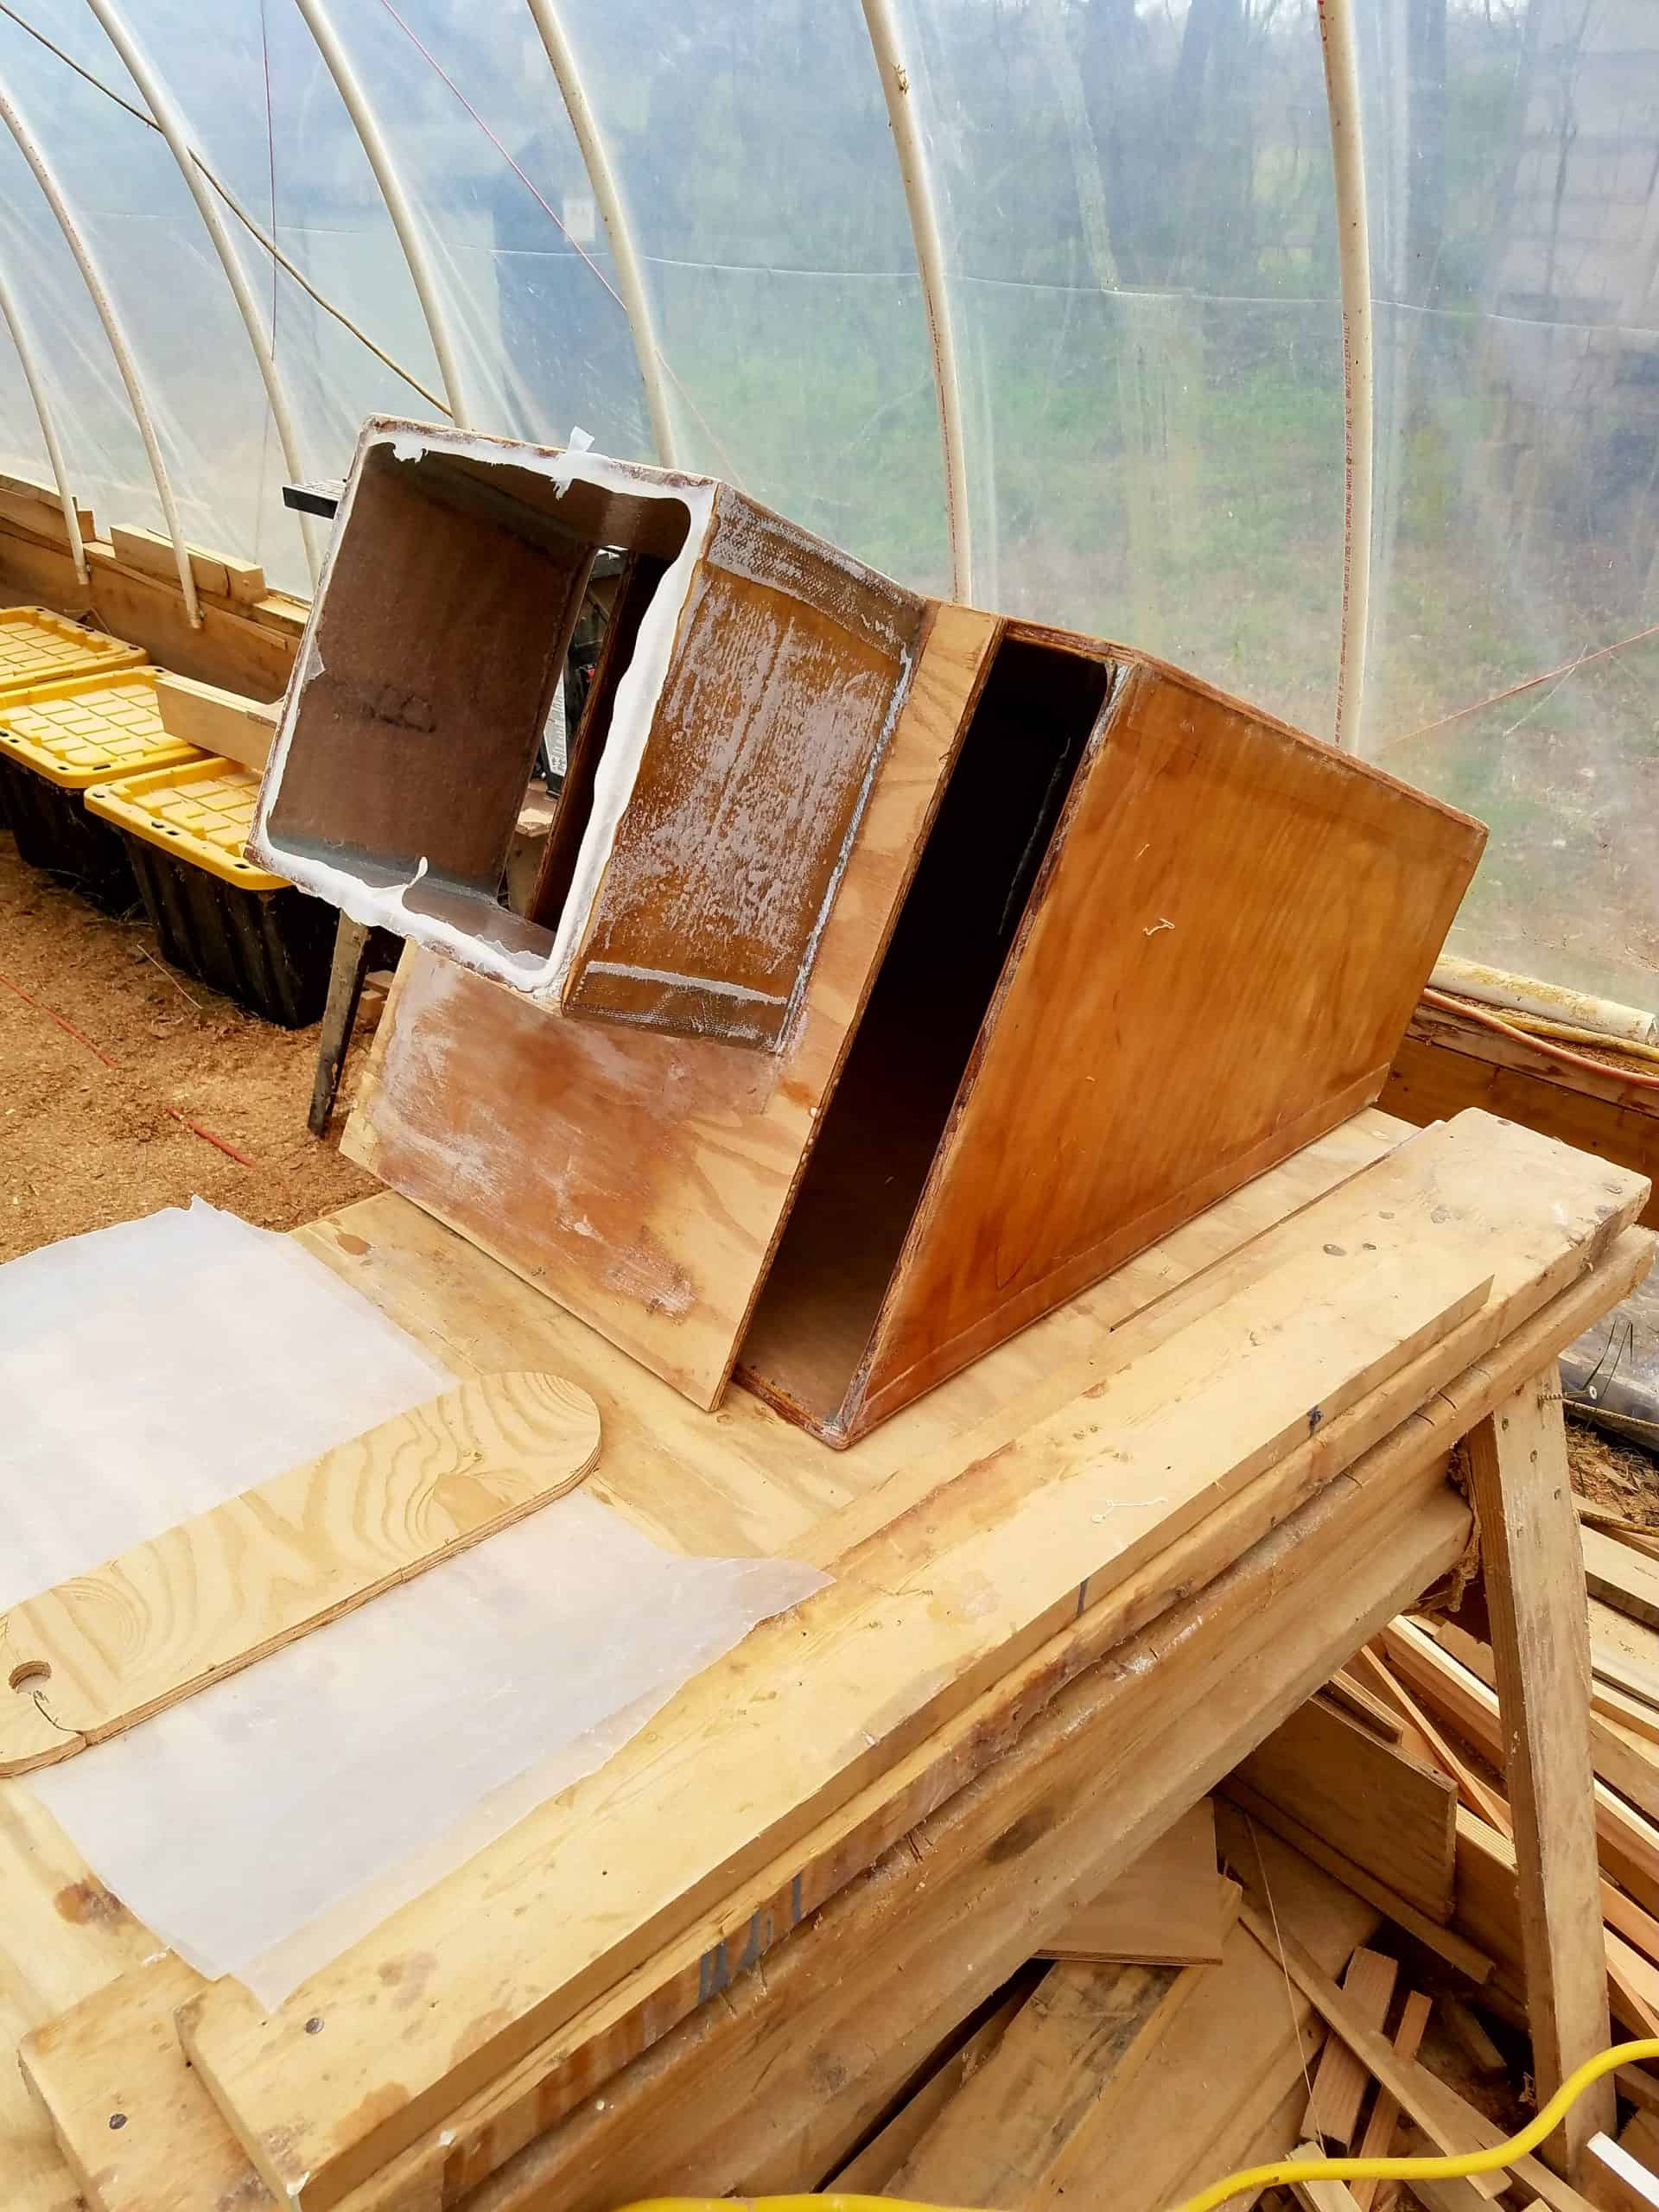
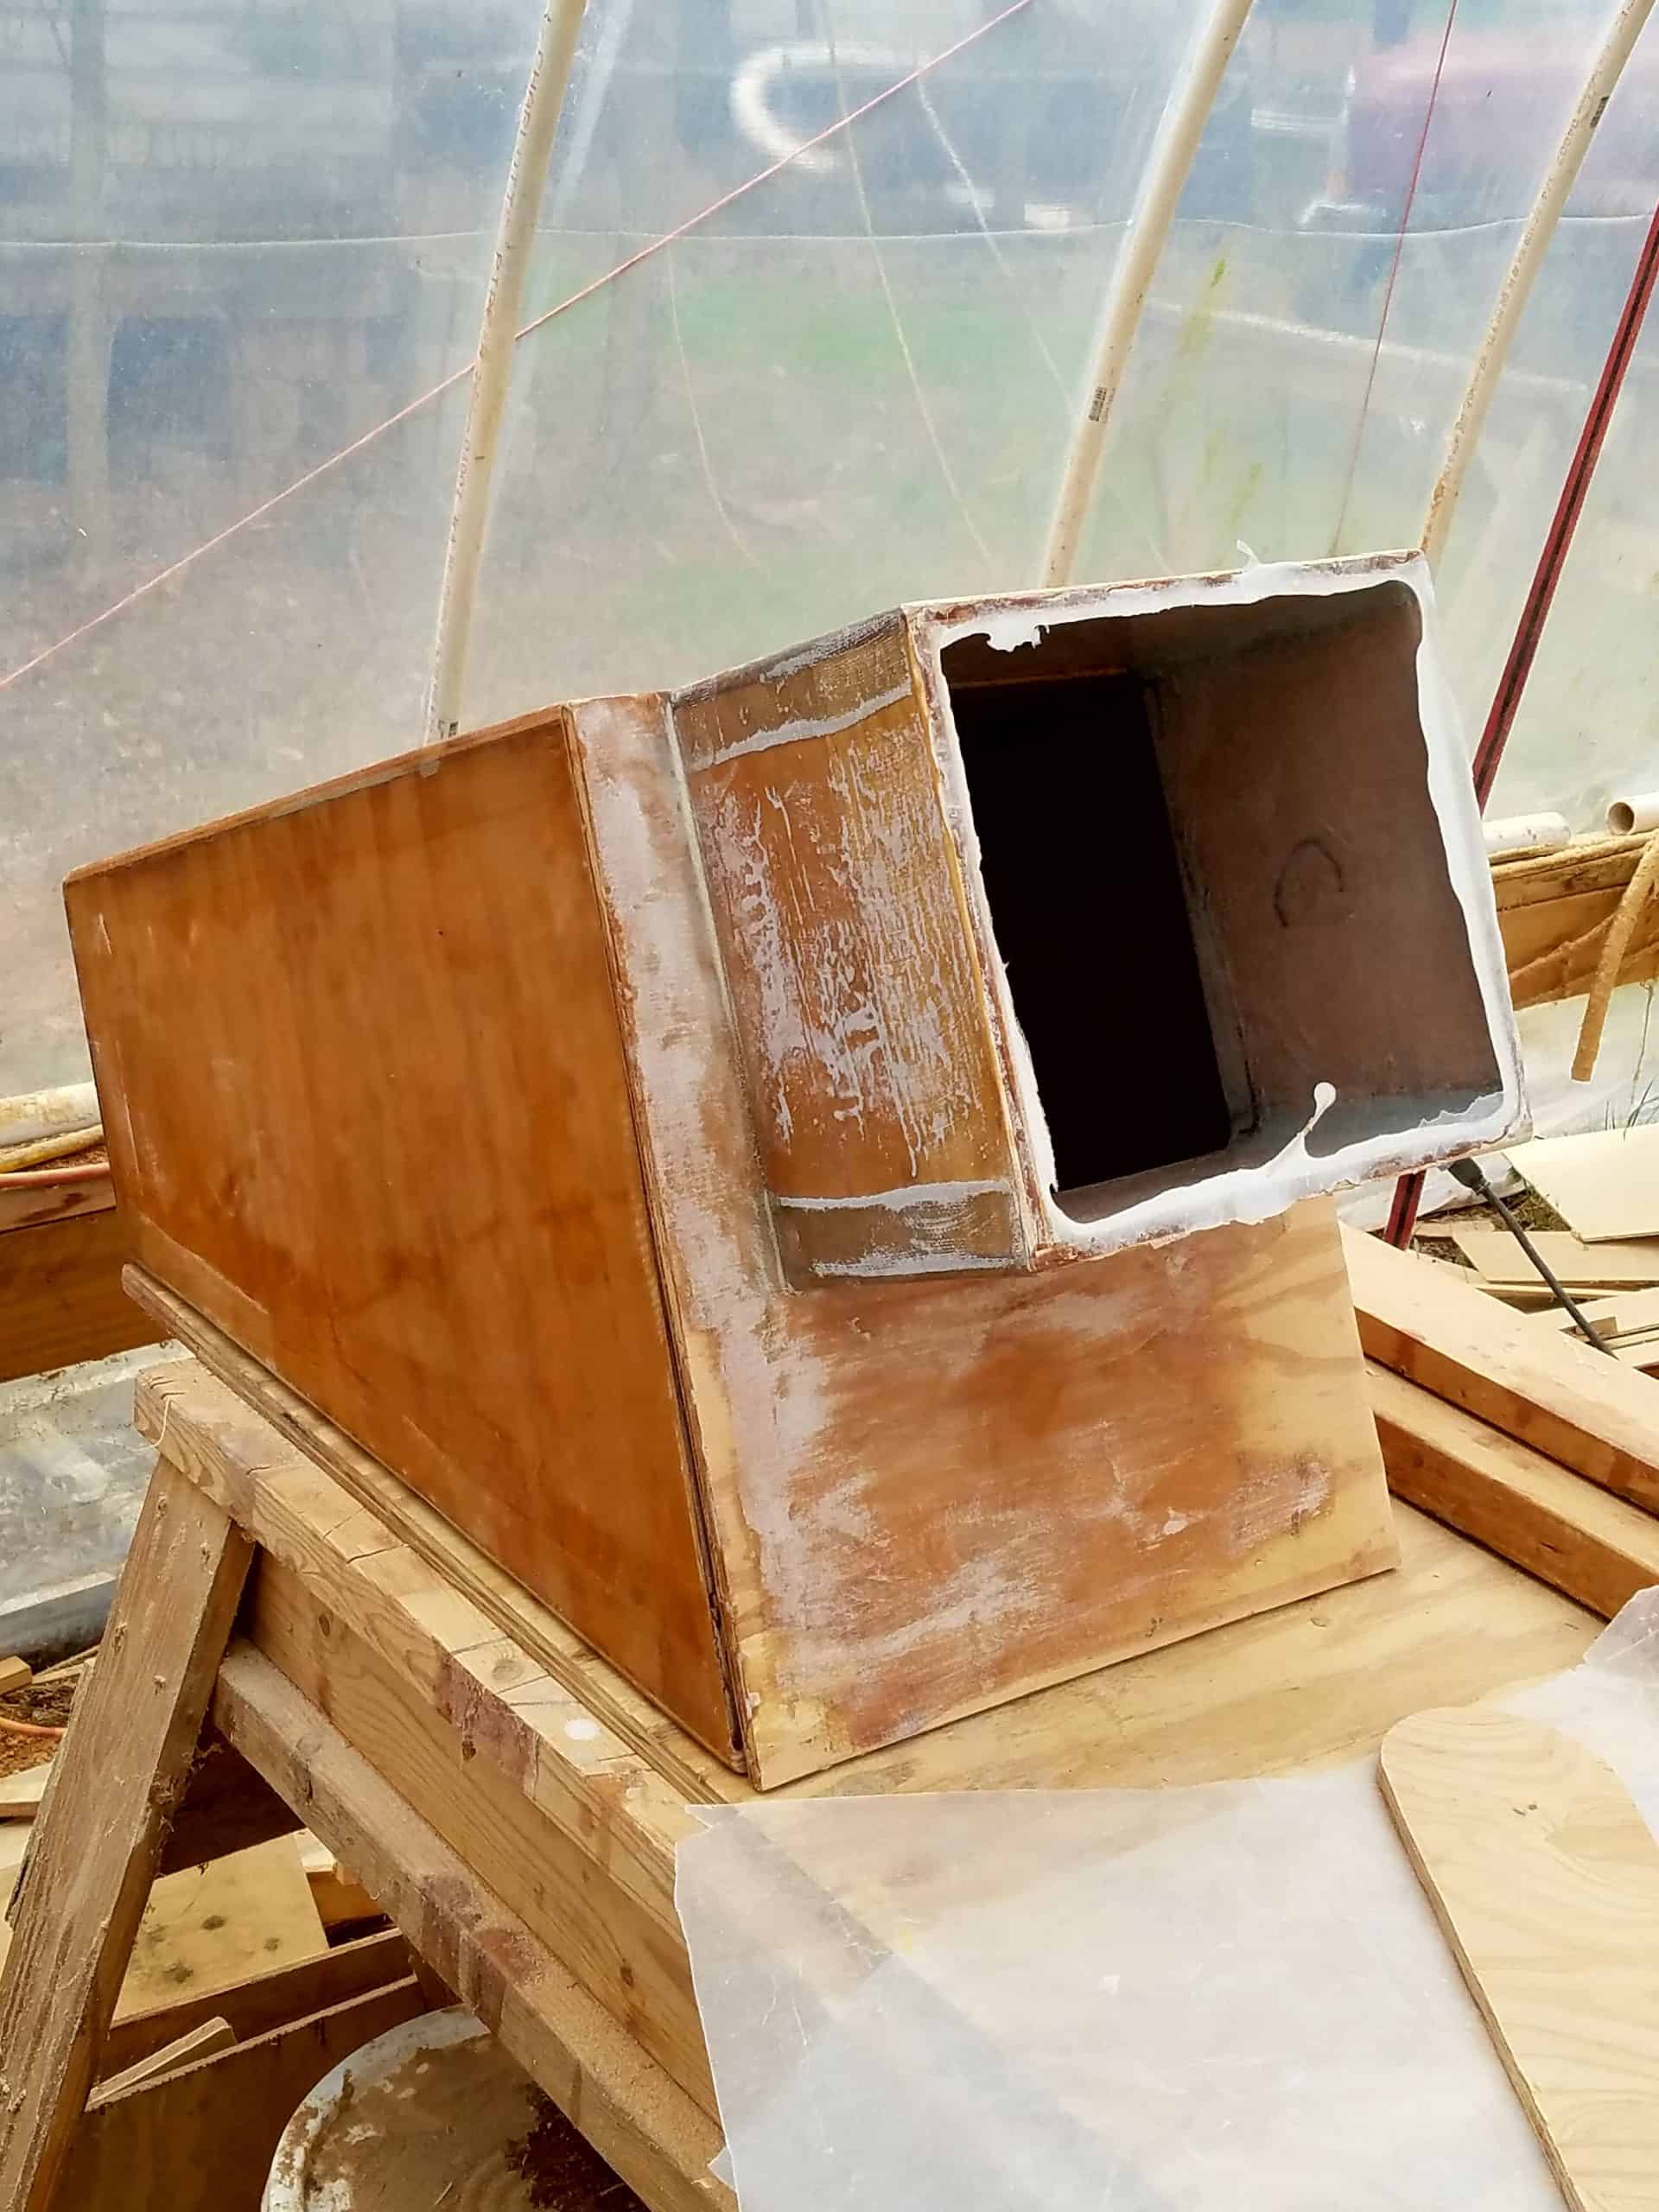
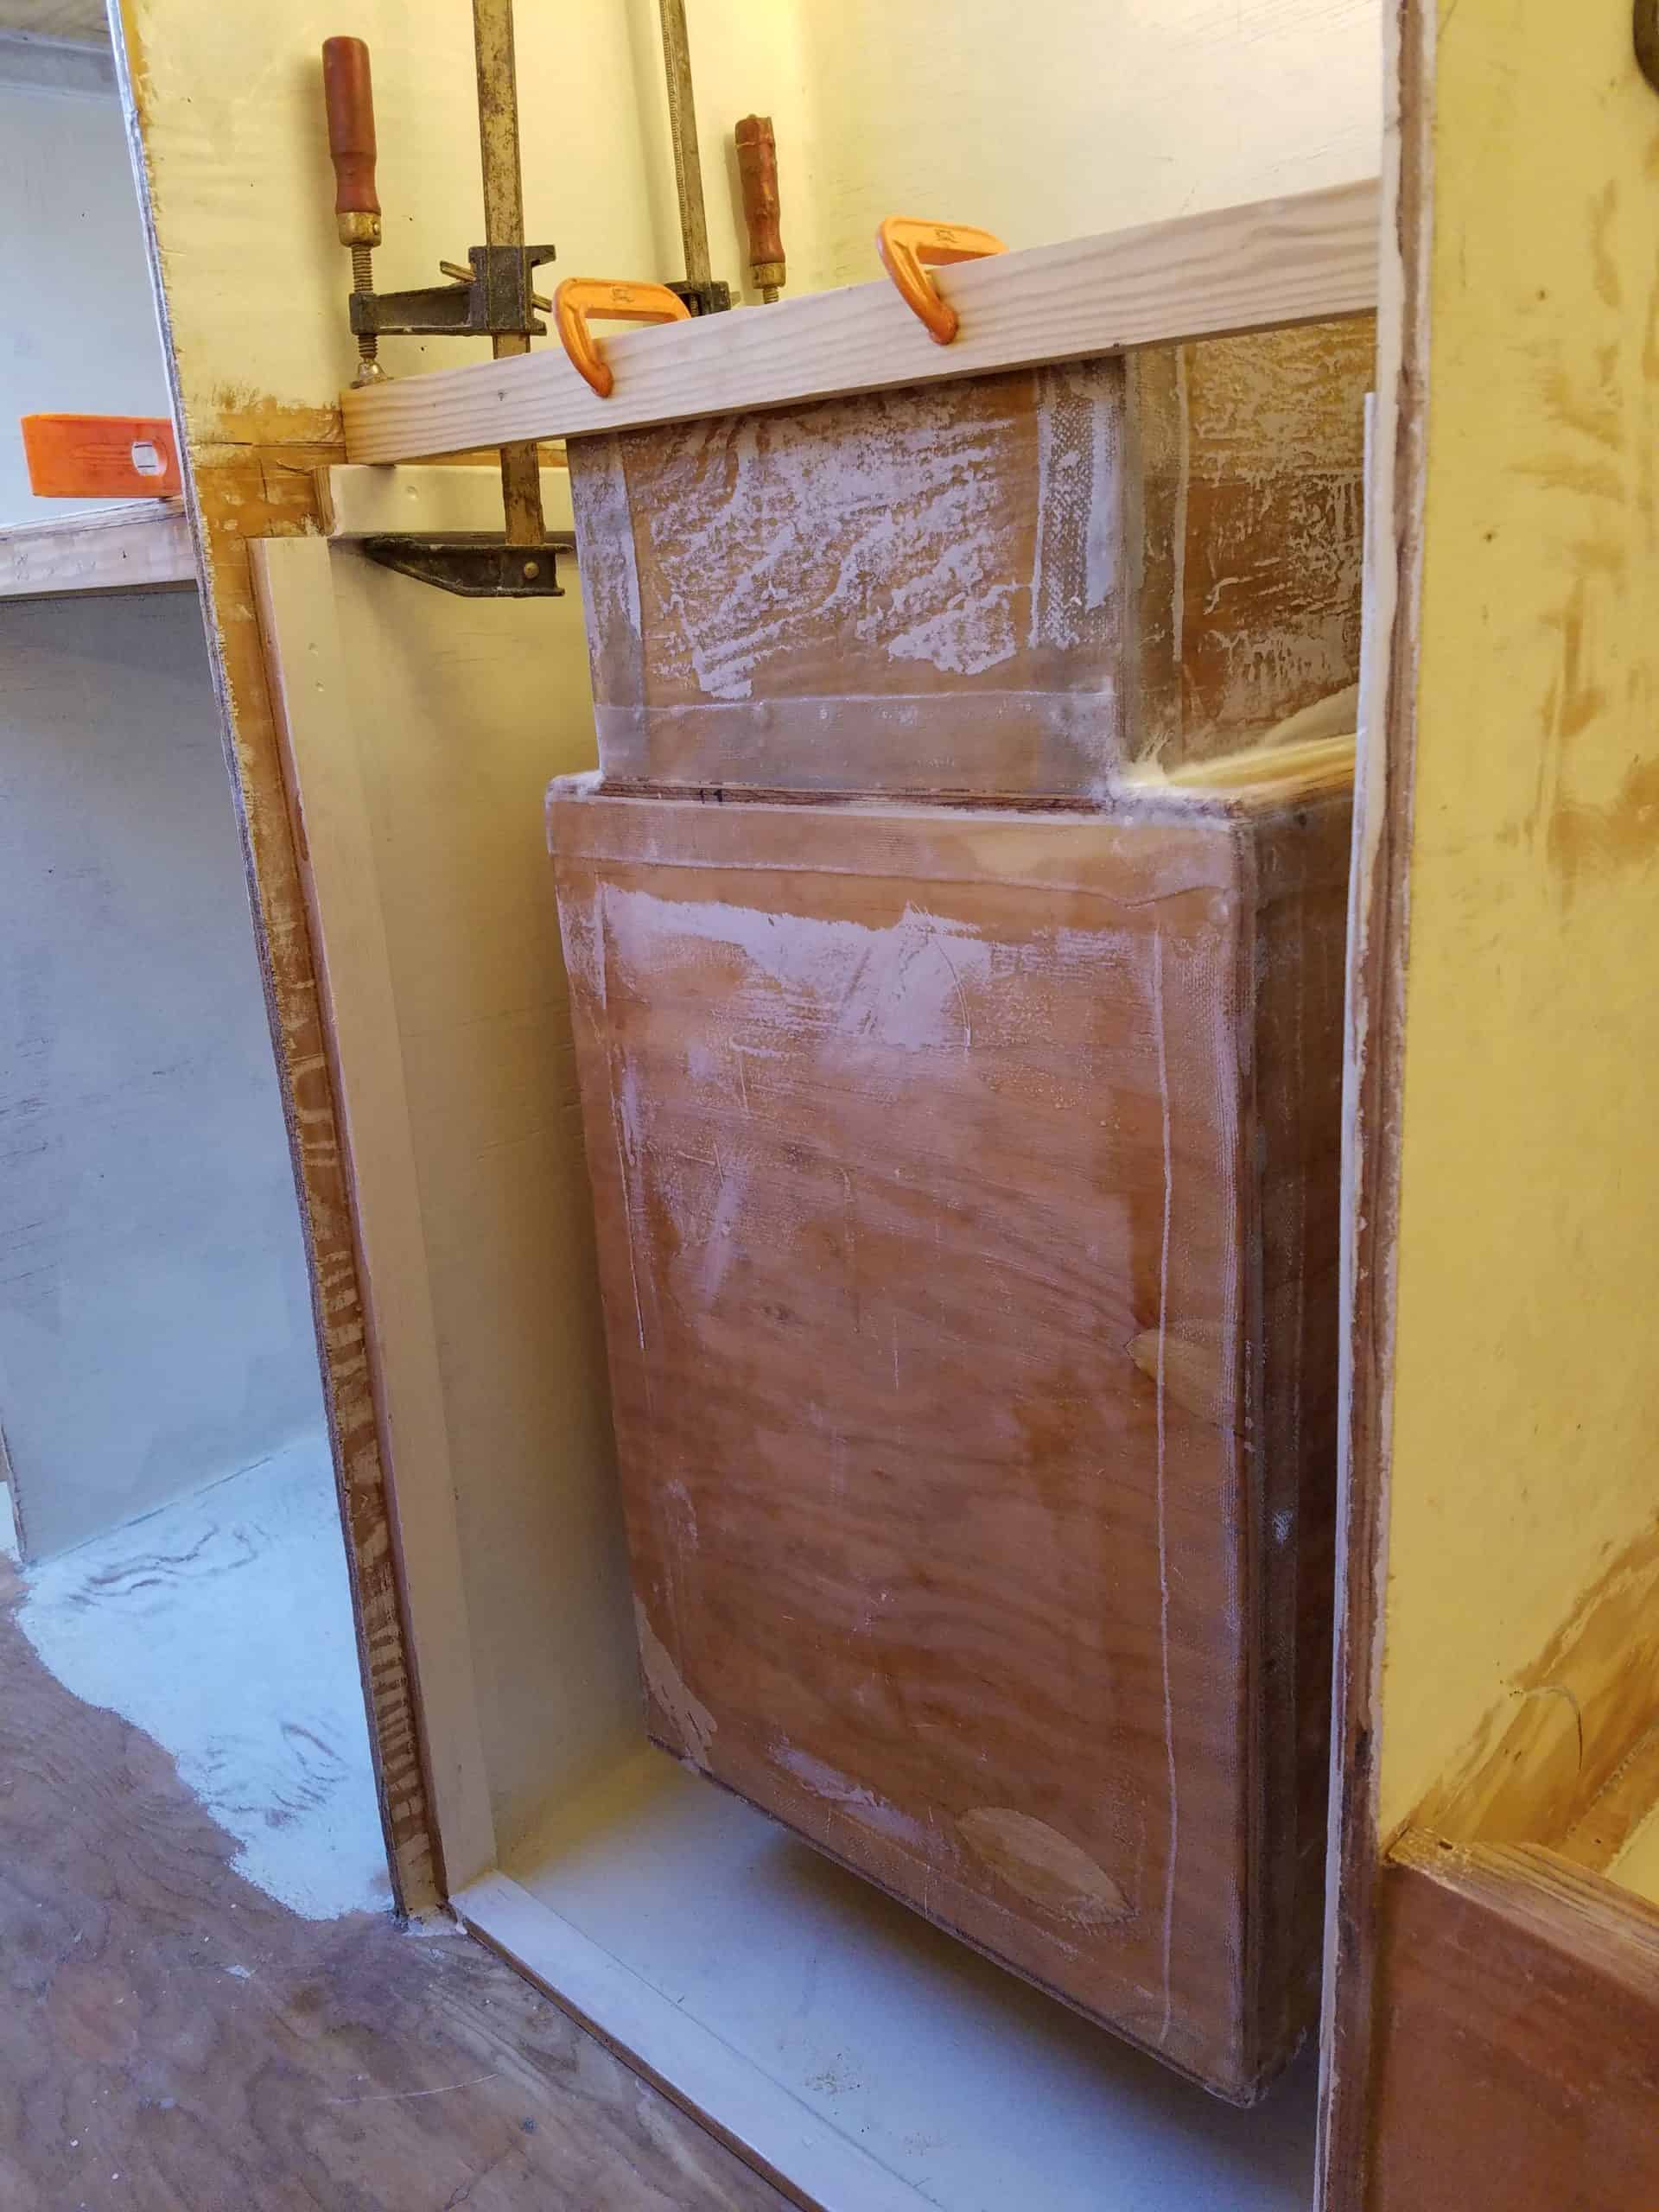
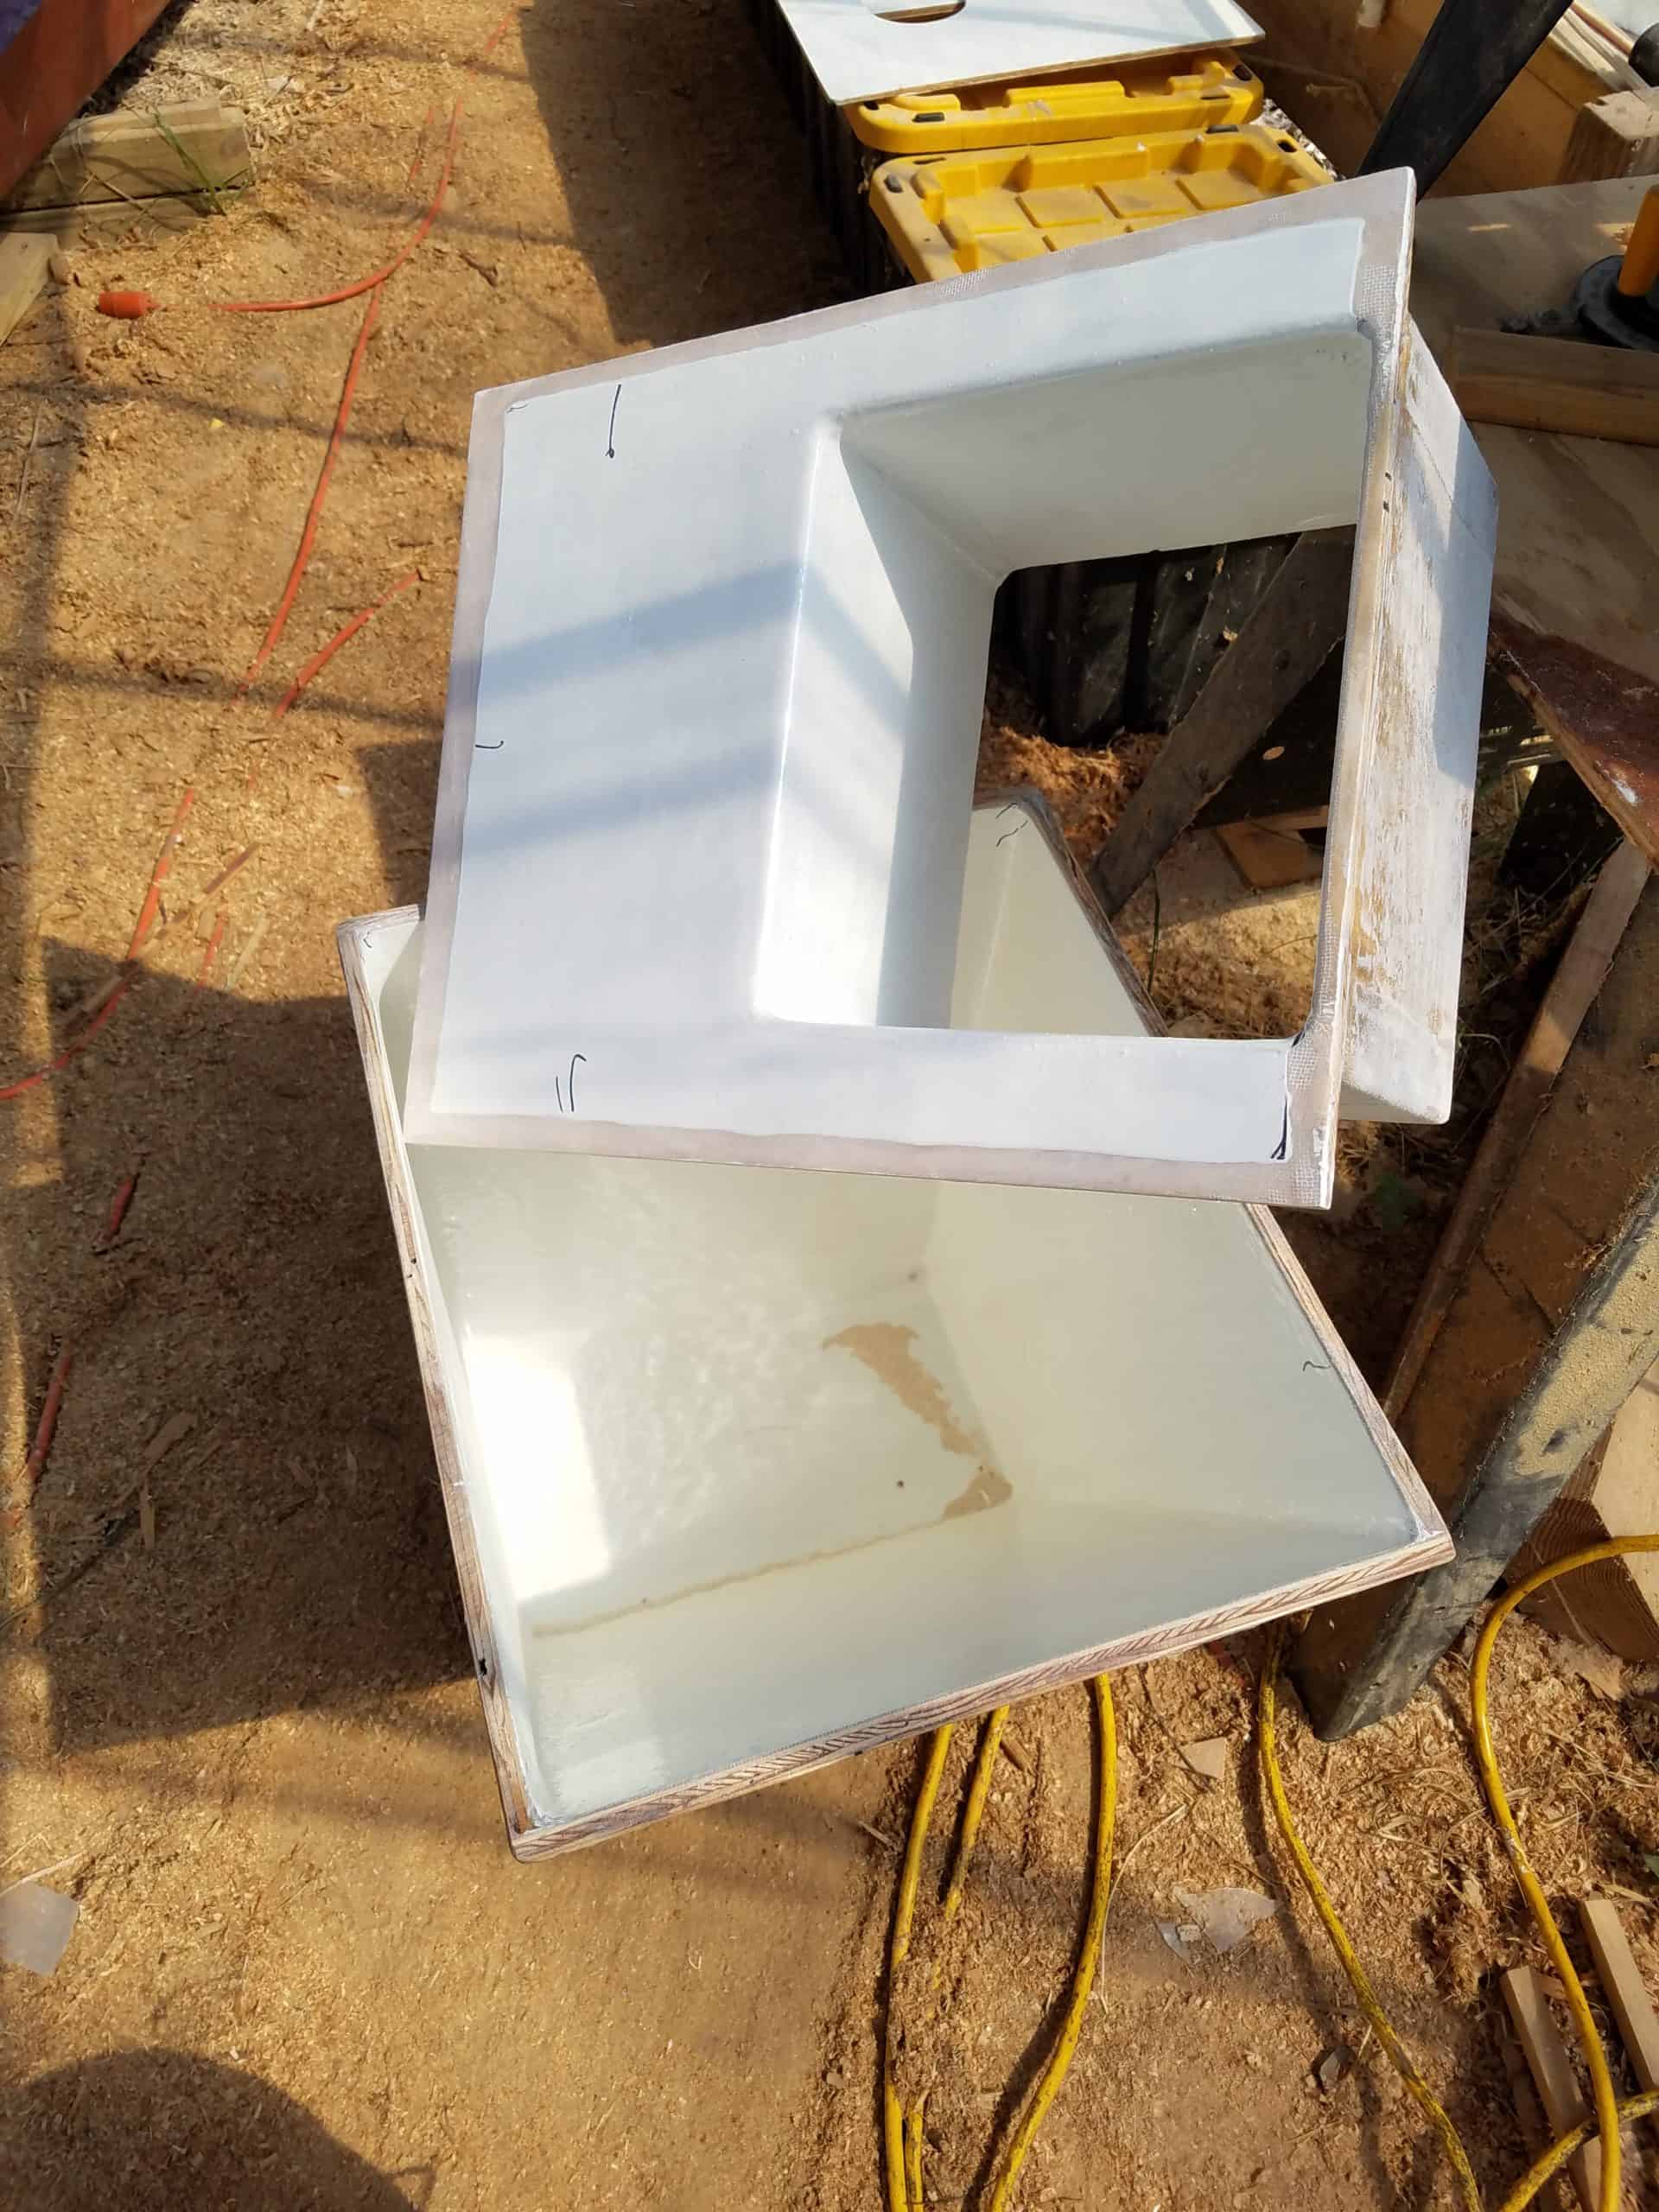
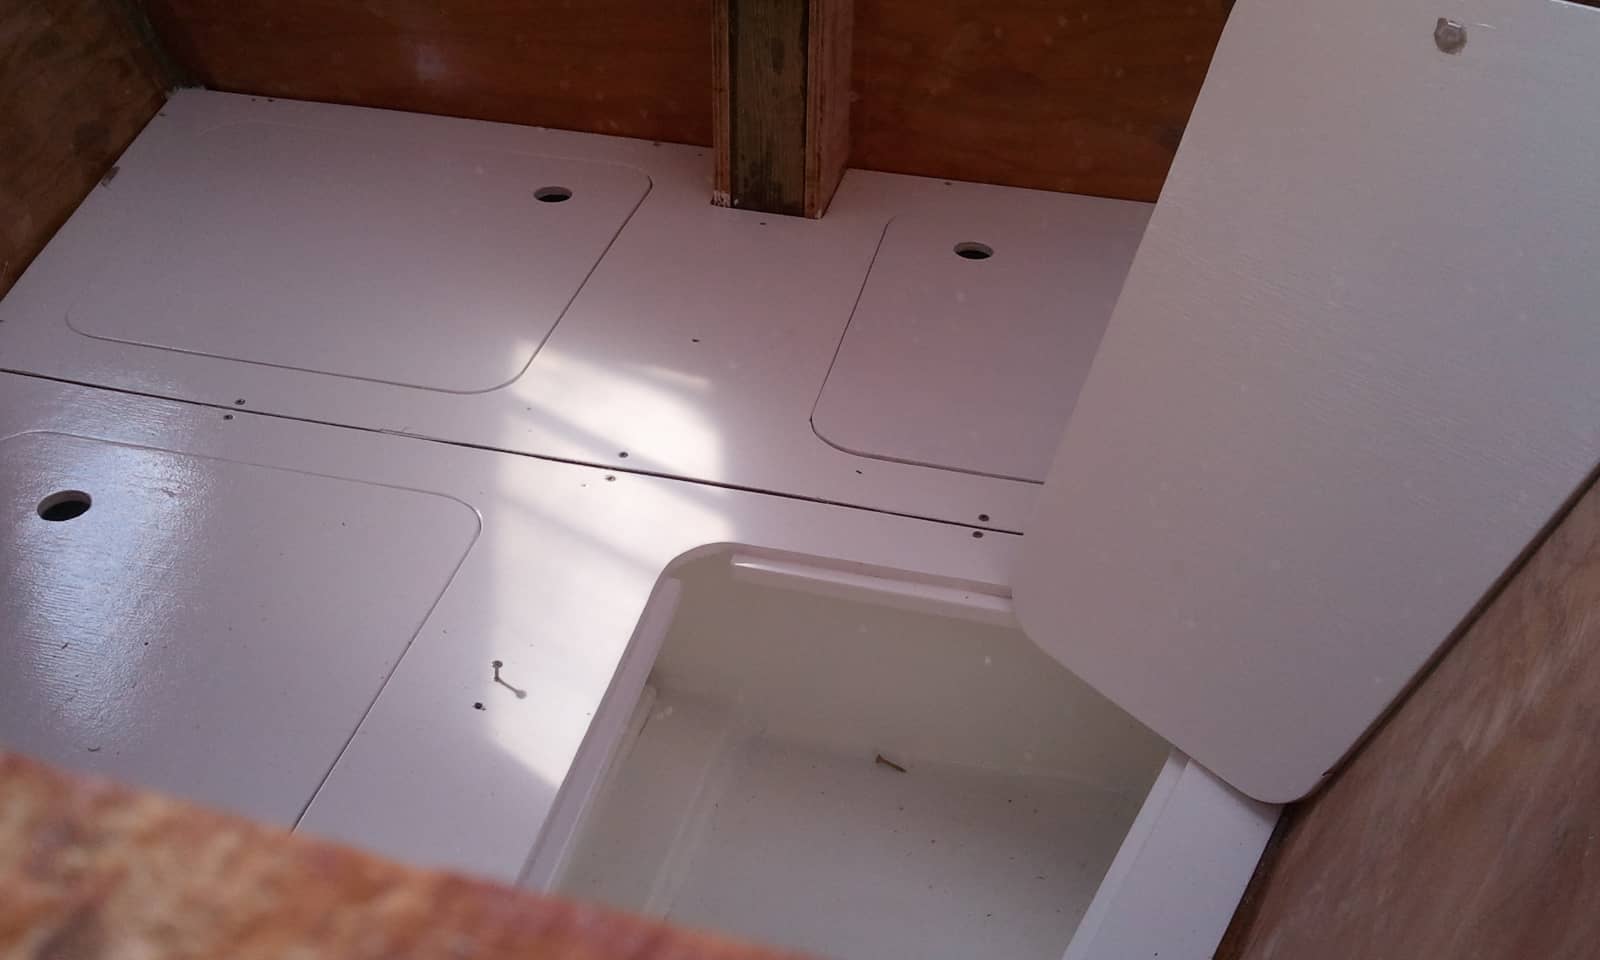
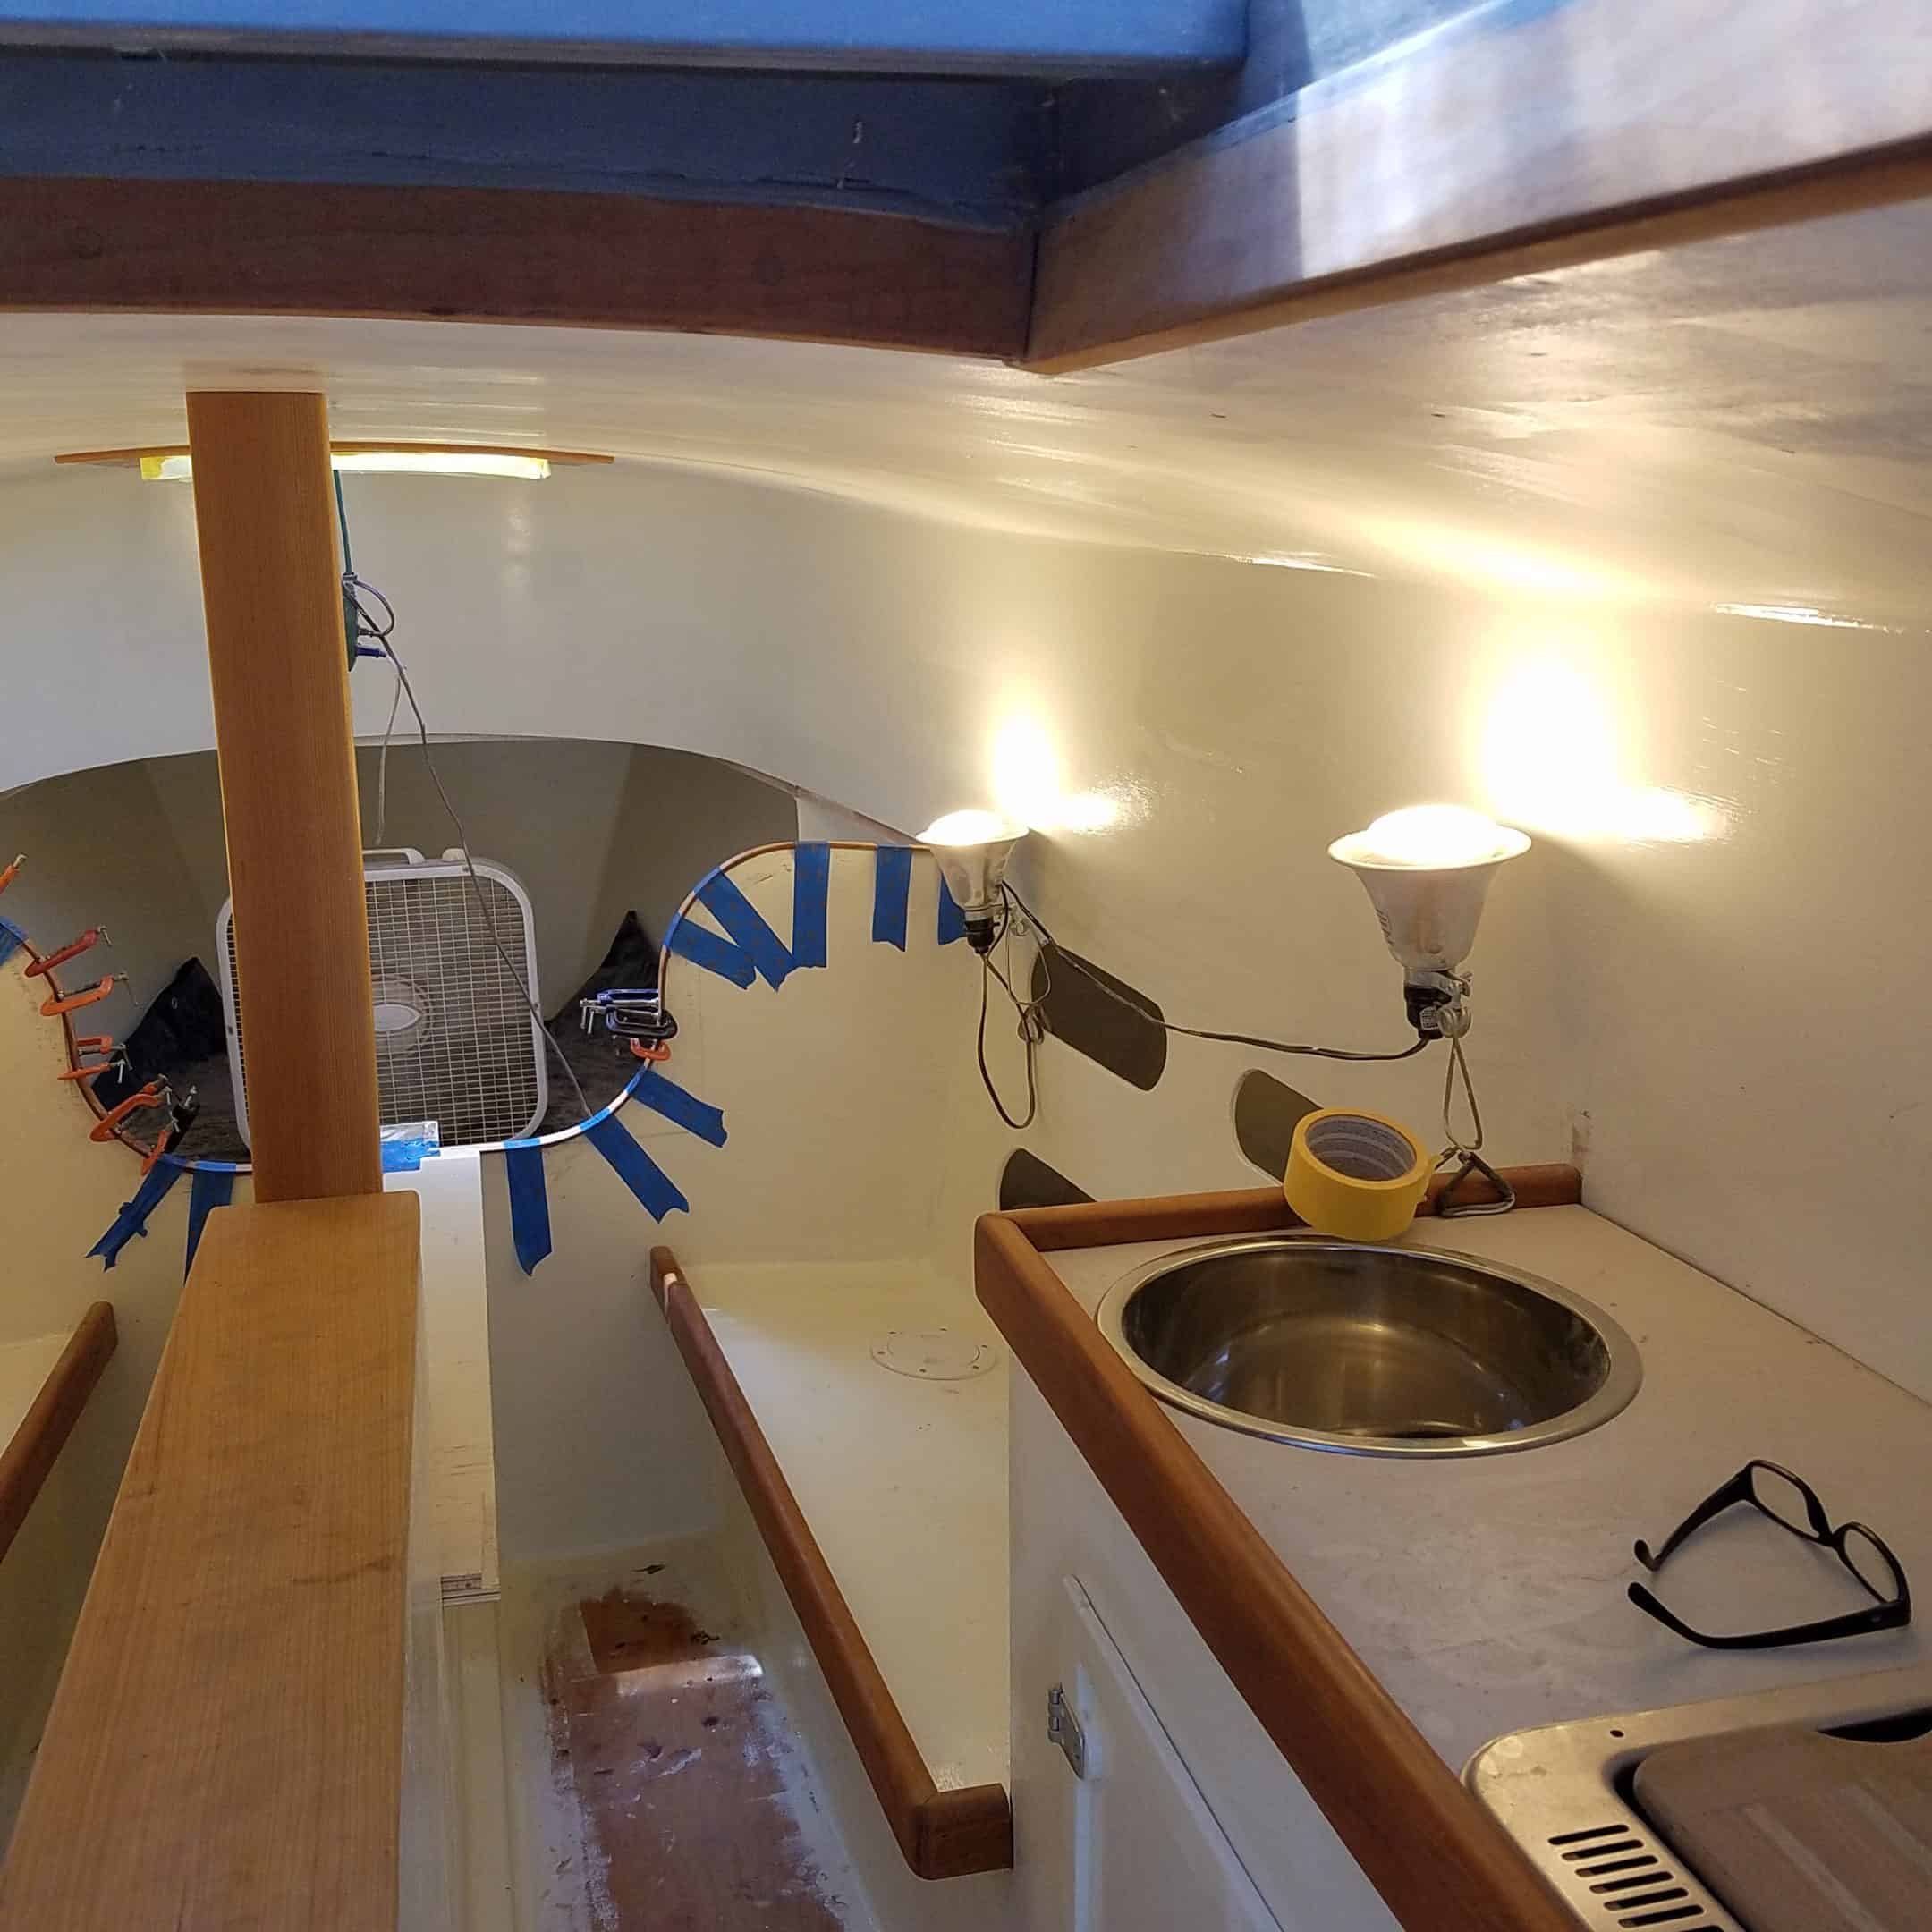
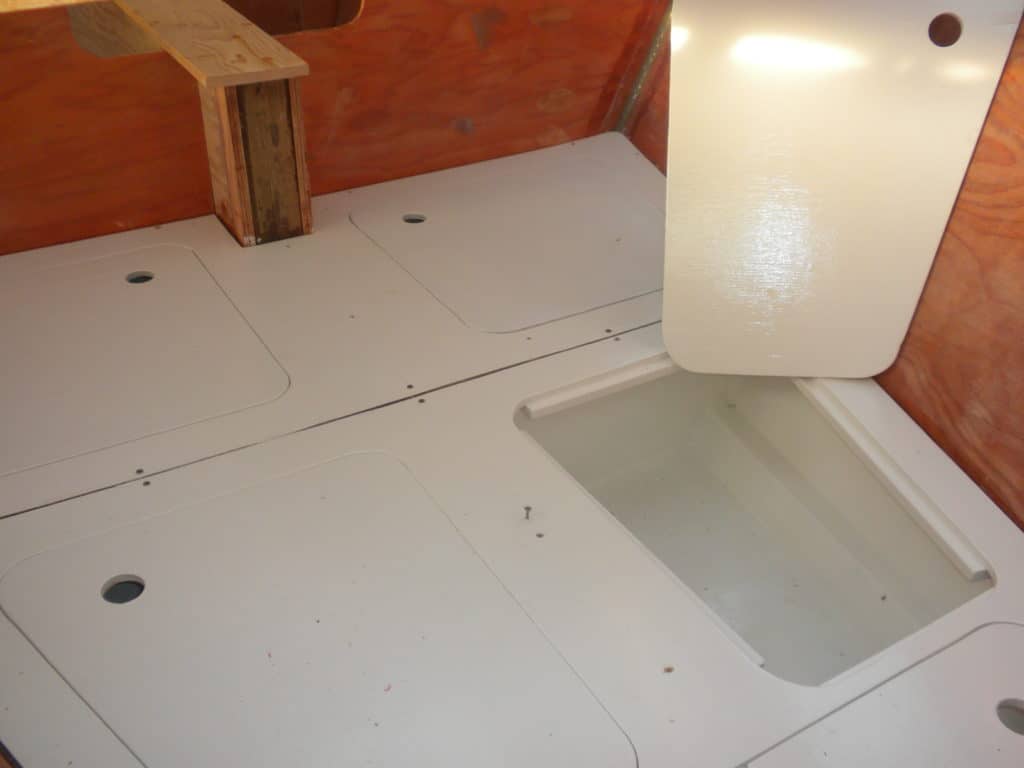
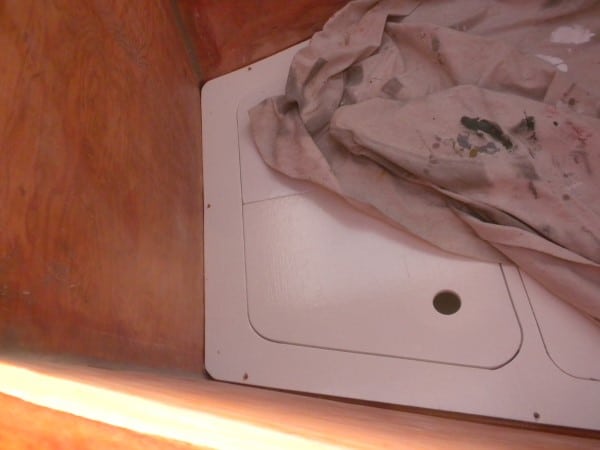
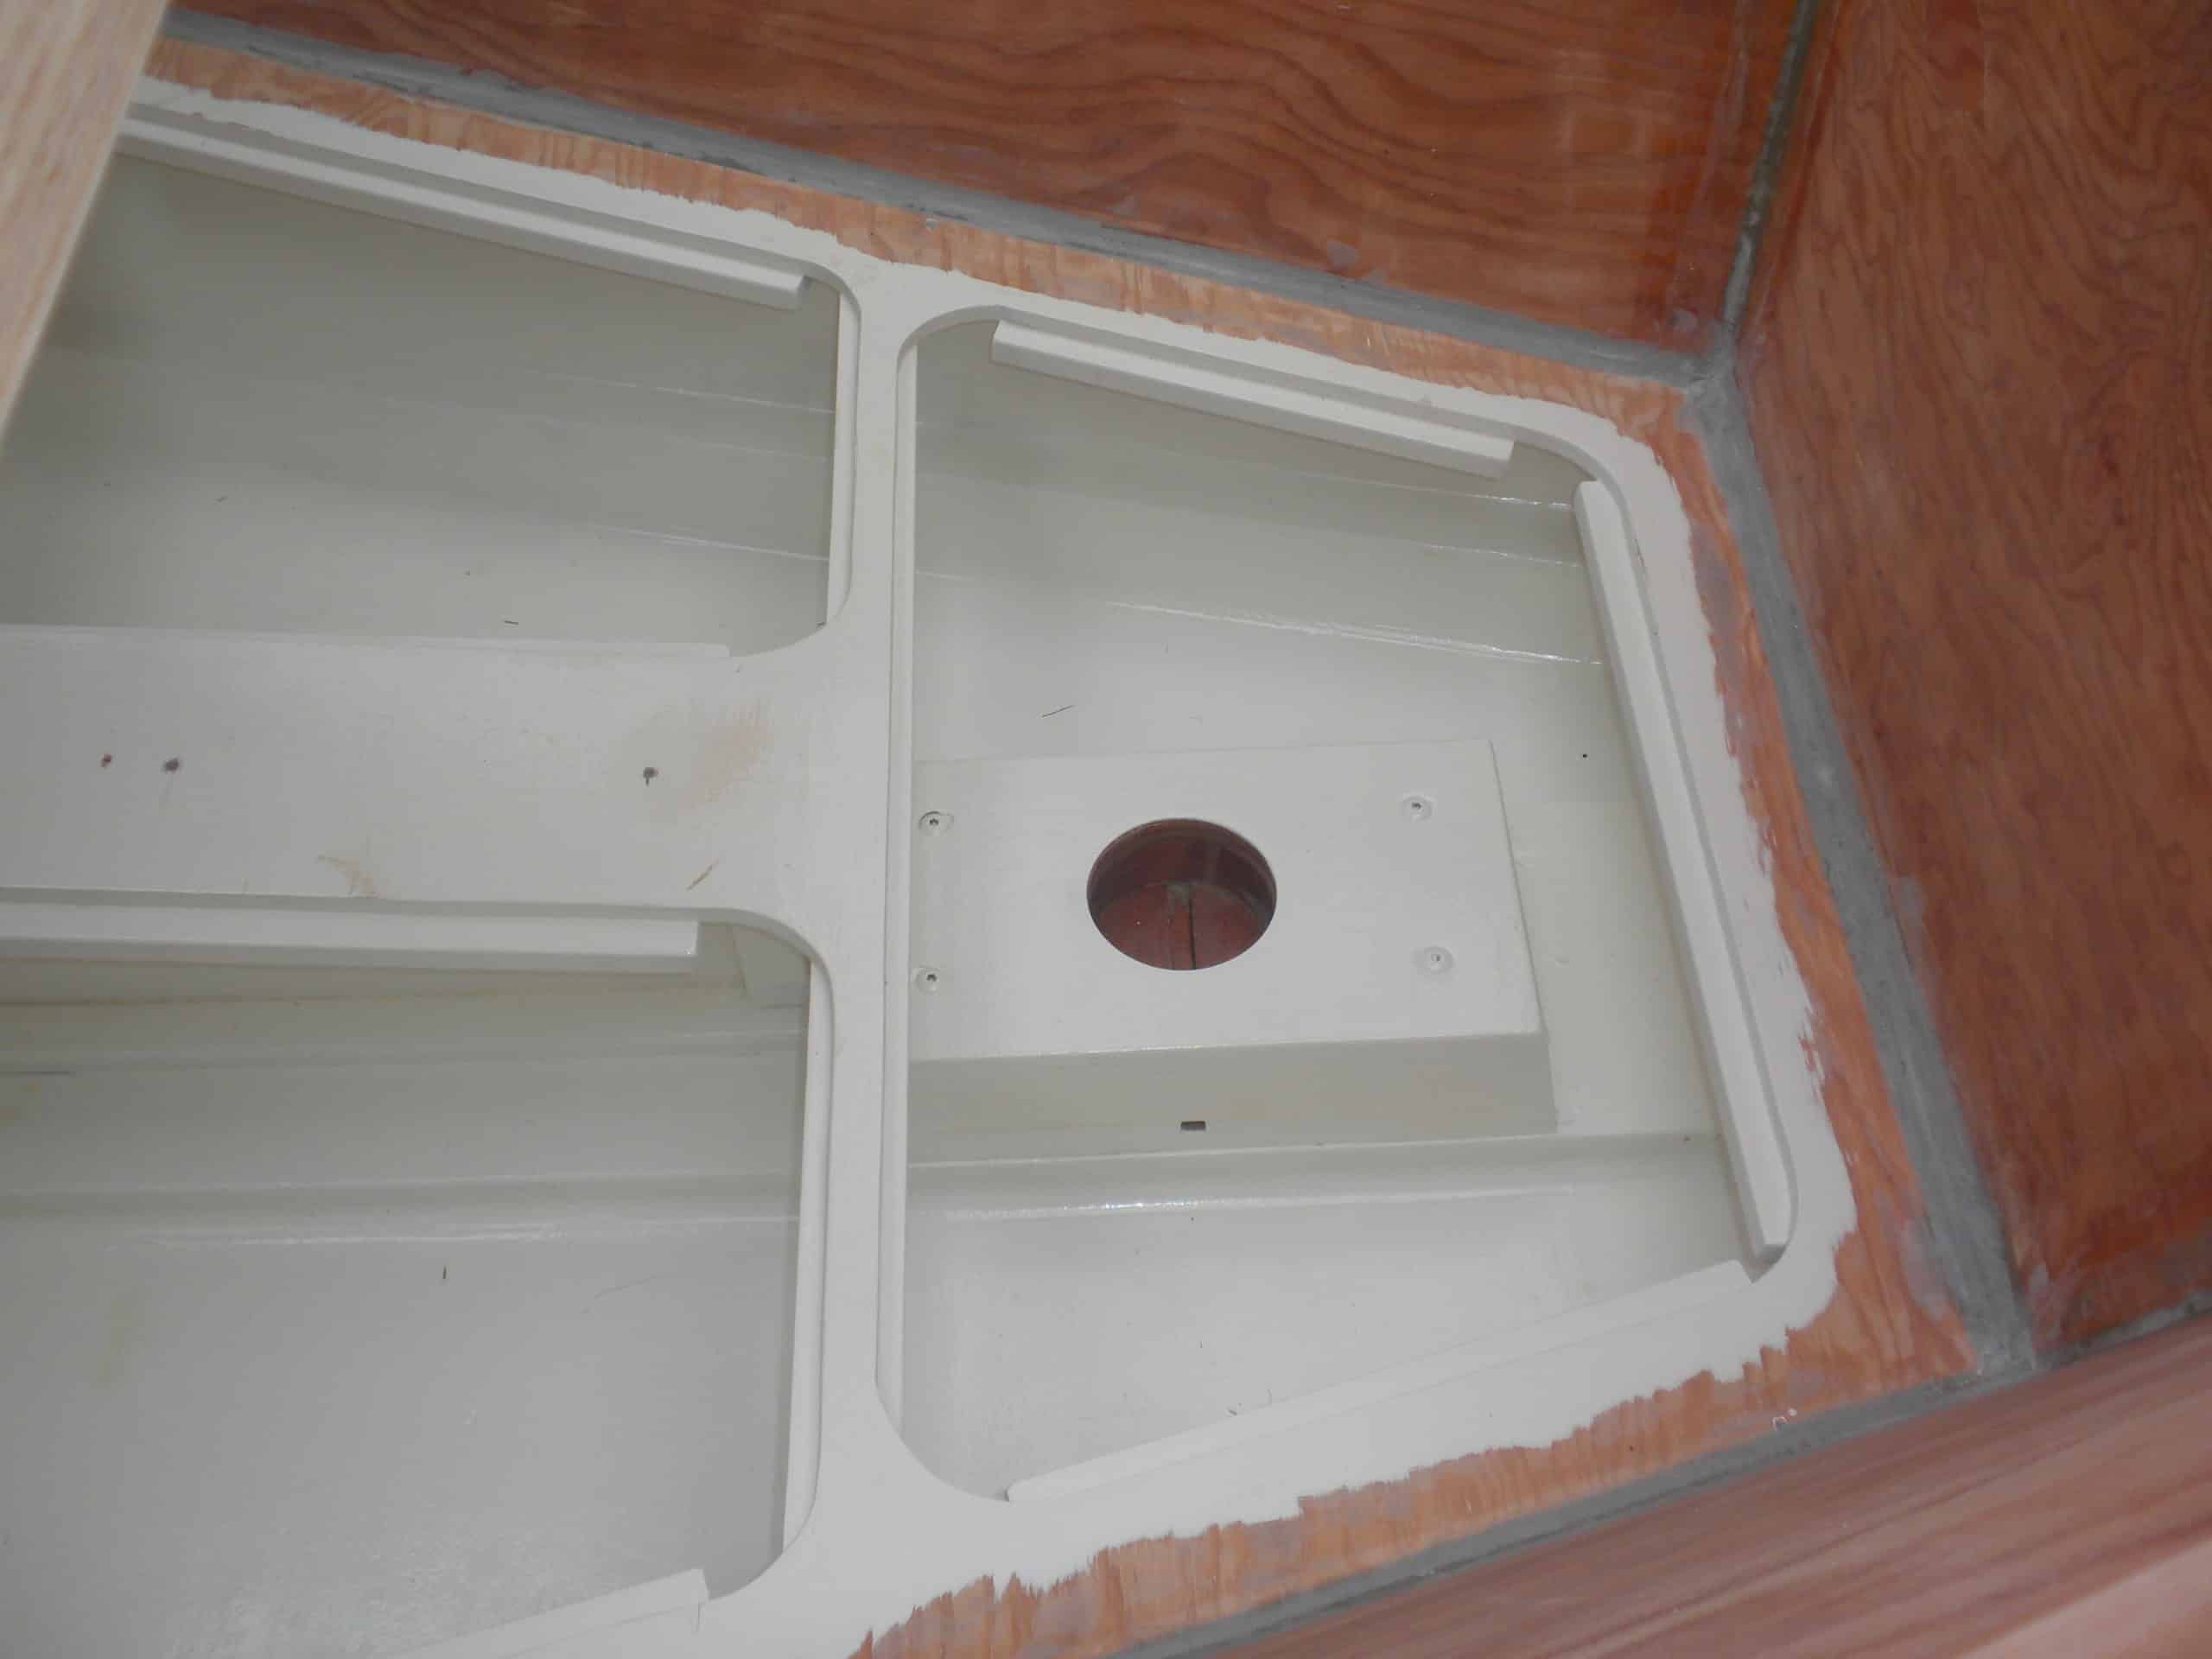
The Ice Bin or Ice Box
The ice bin on the port side was constructed so as to float inside a foam bed. First I made the bin, then painted it inside with Brew Coat and glued it together with epoxy. Below is a sequential gallery, ending with what it looks like being fitted in place, suspended in place before the face of the cabinet is put in, then the bin completed and installed.


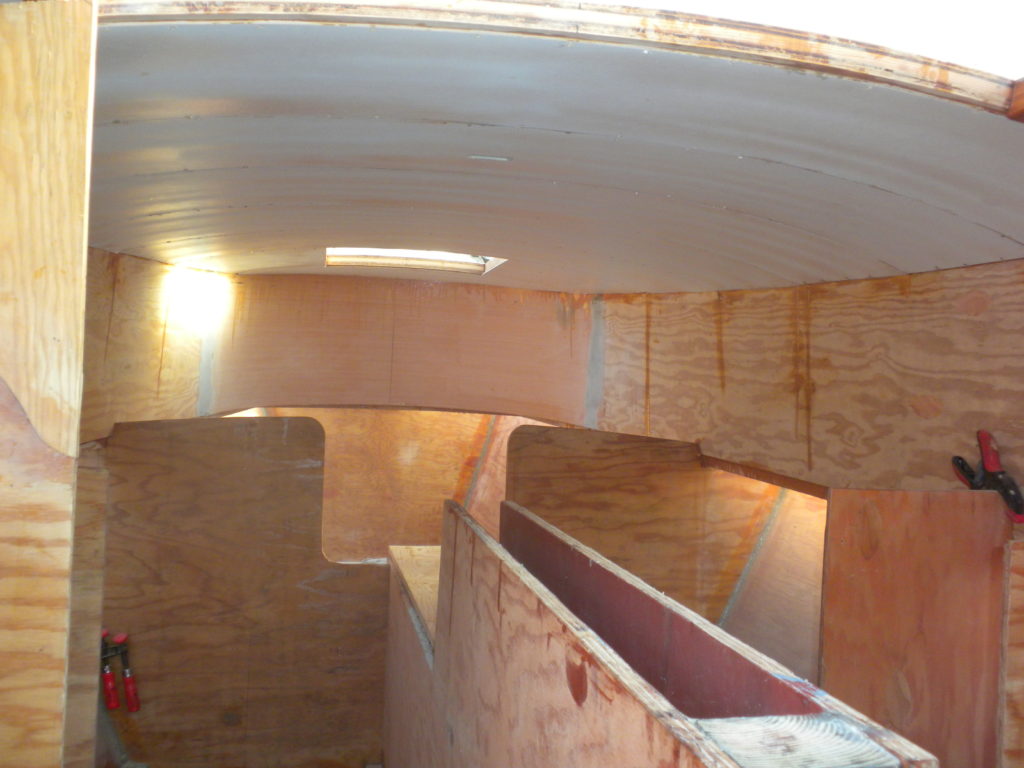
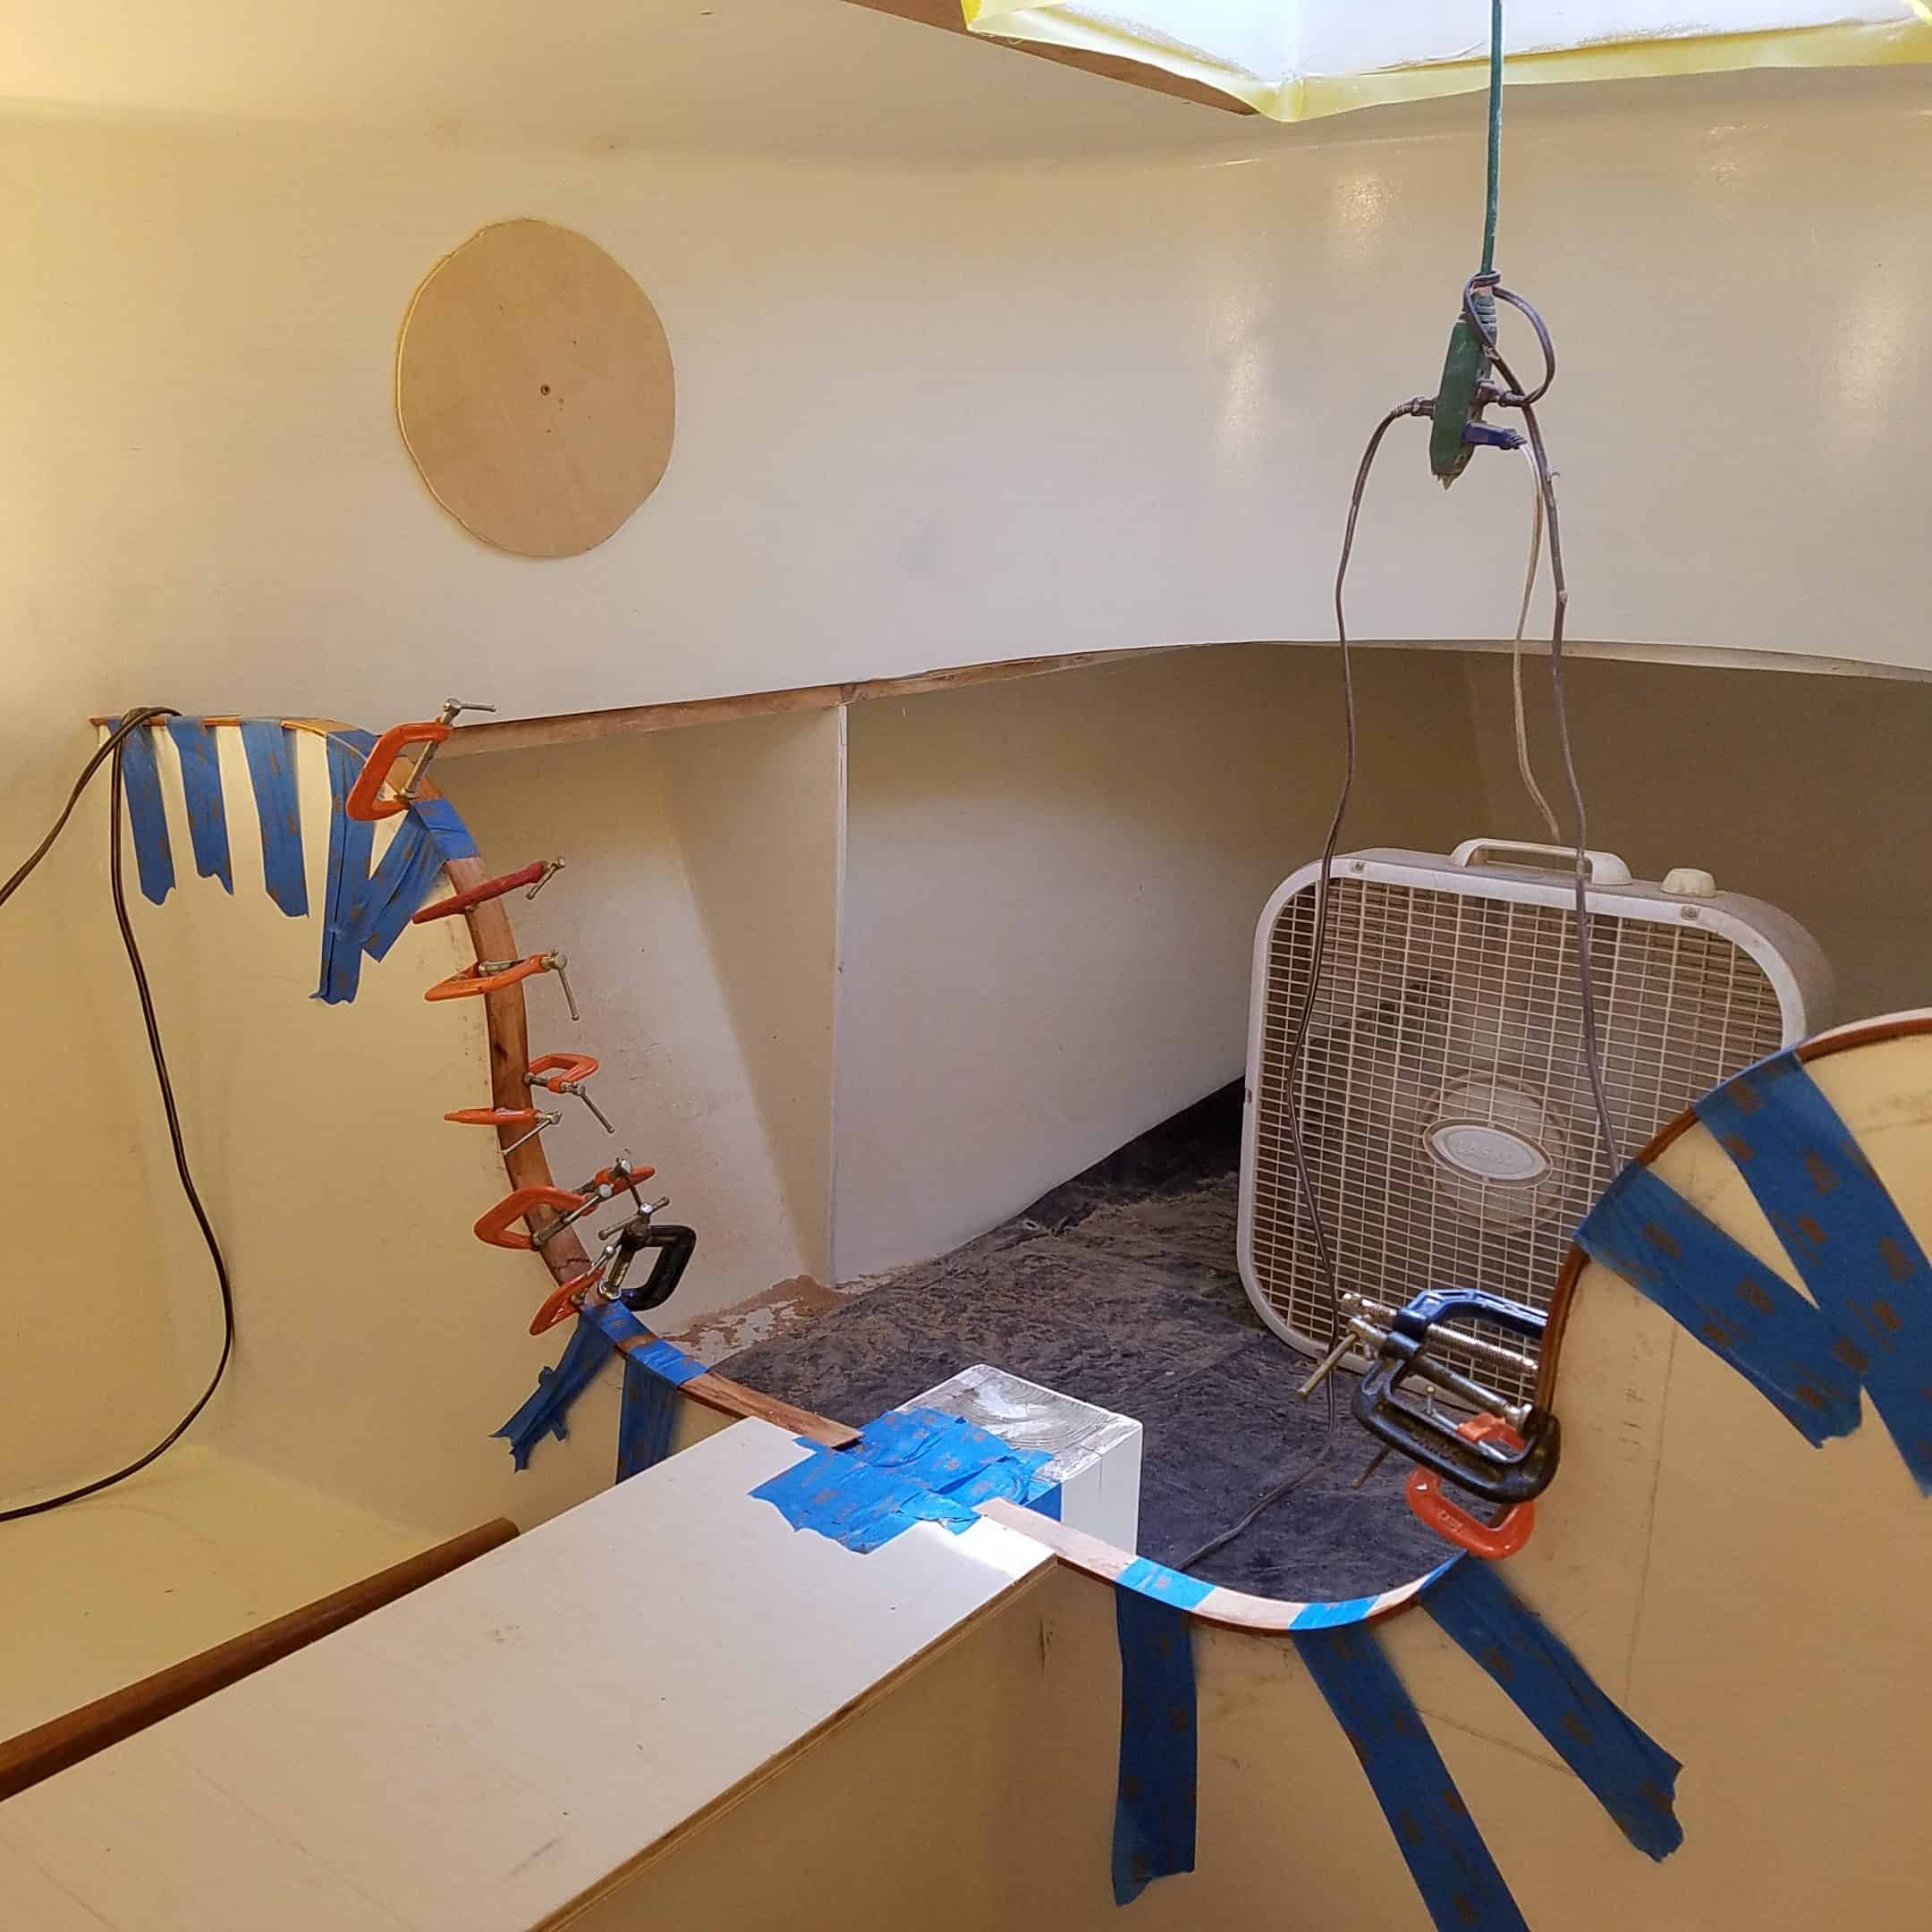
Interior Trim and finishing
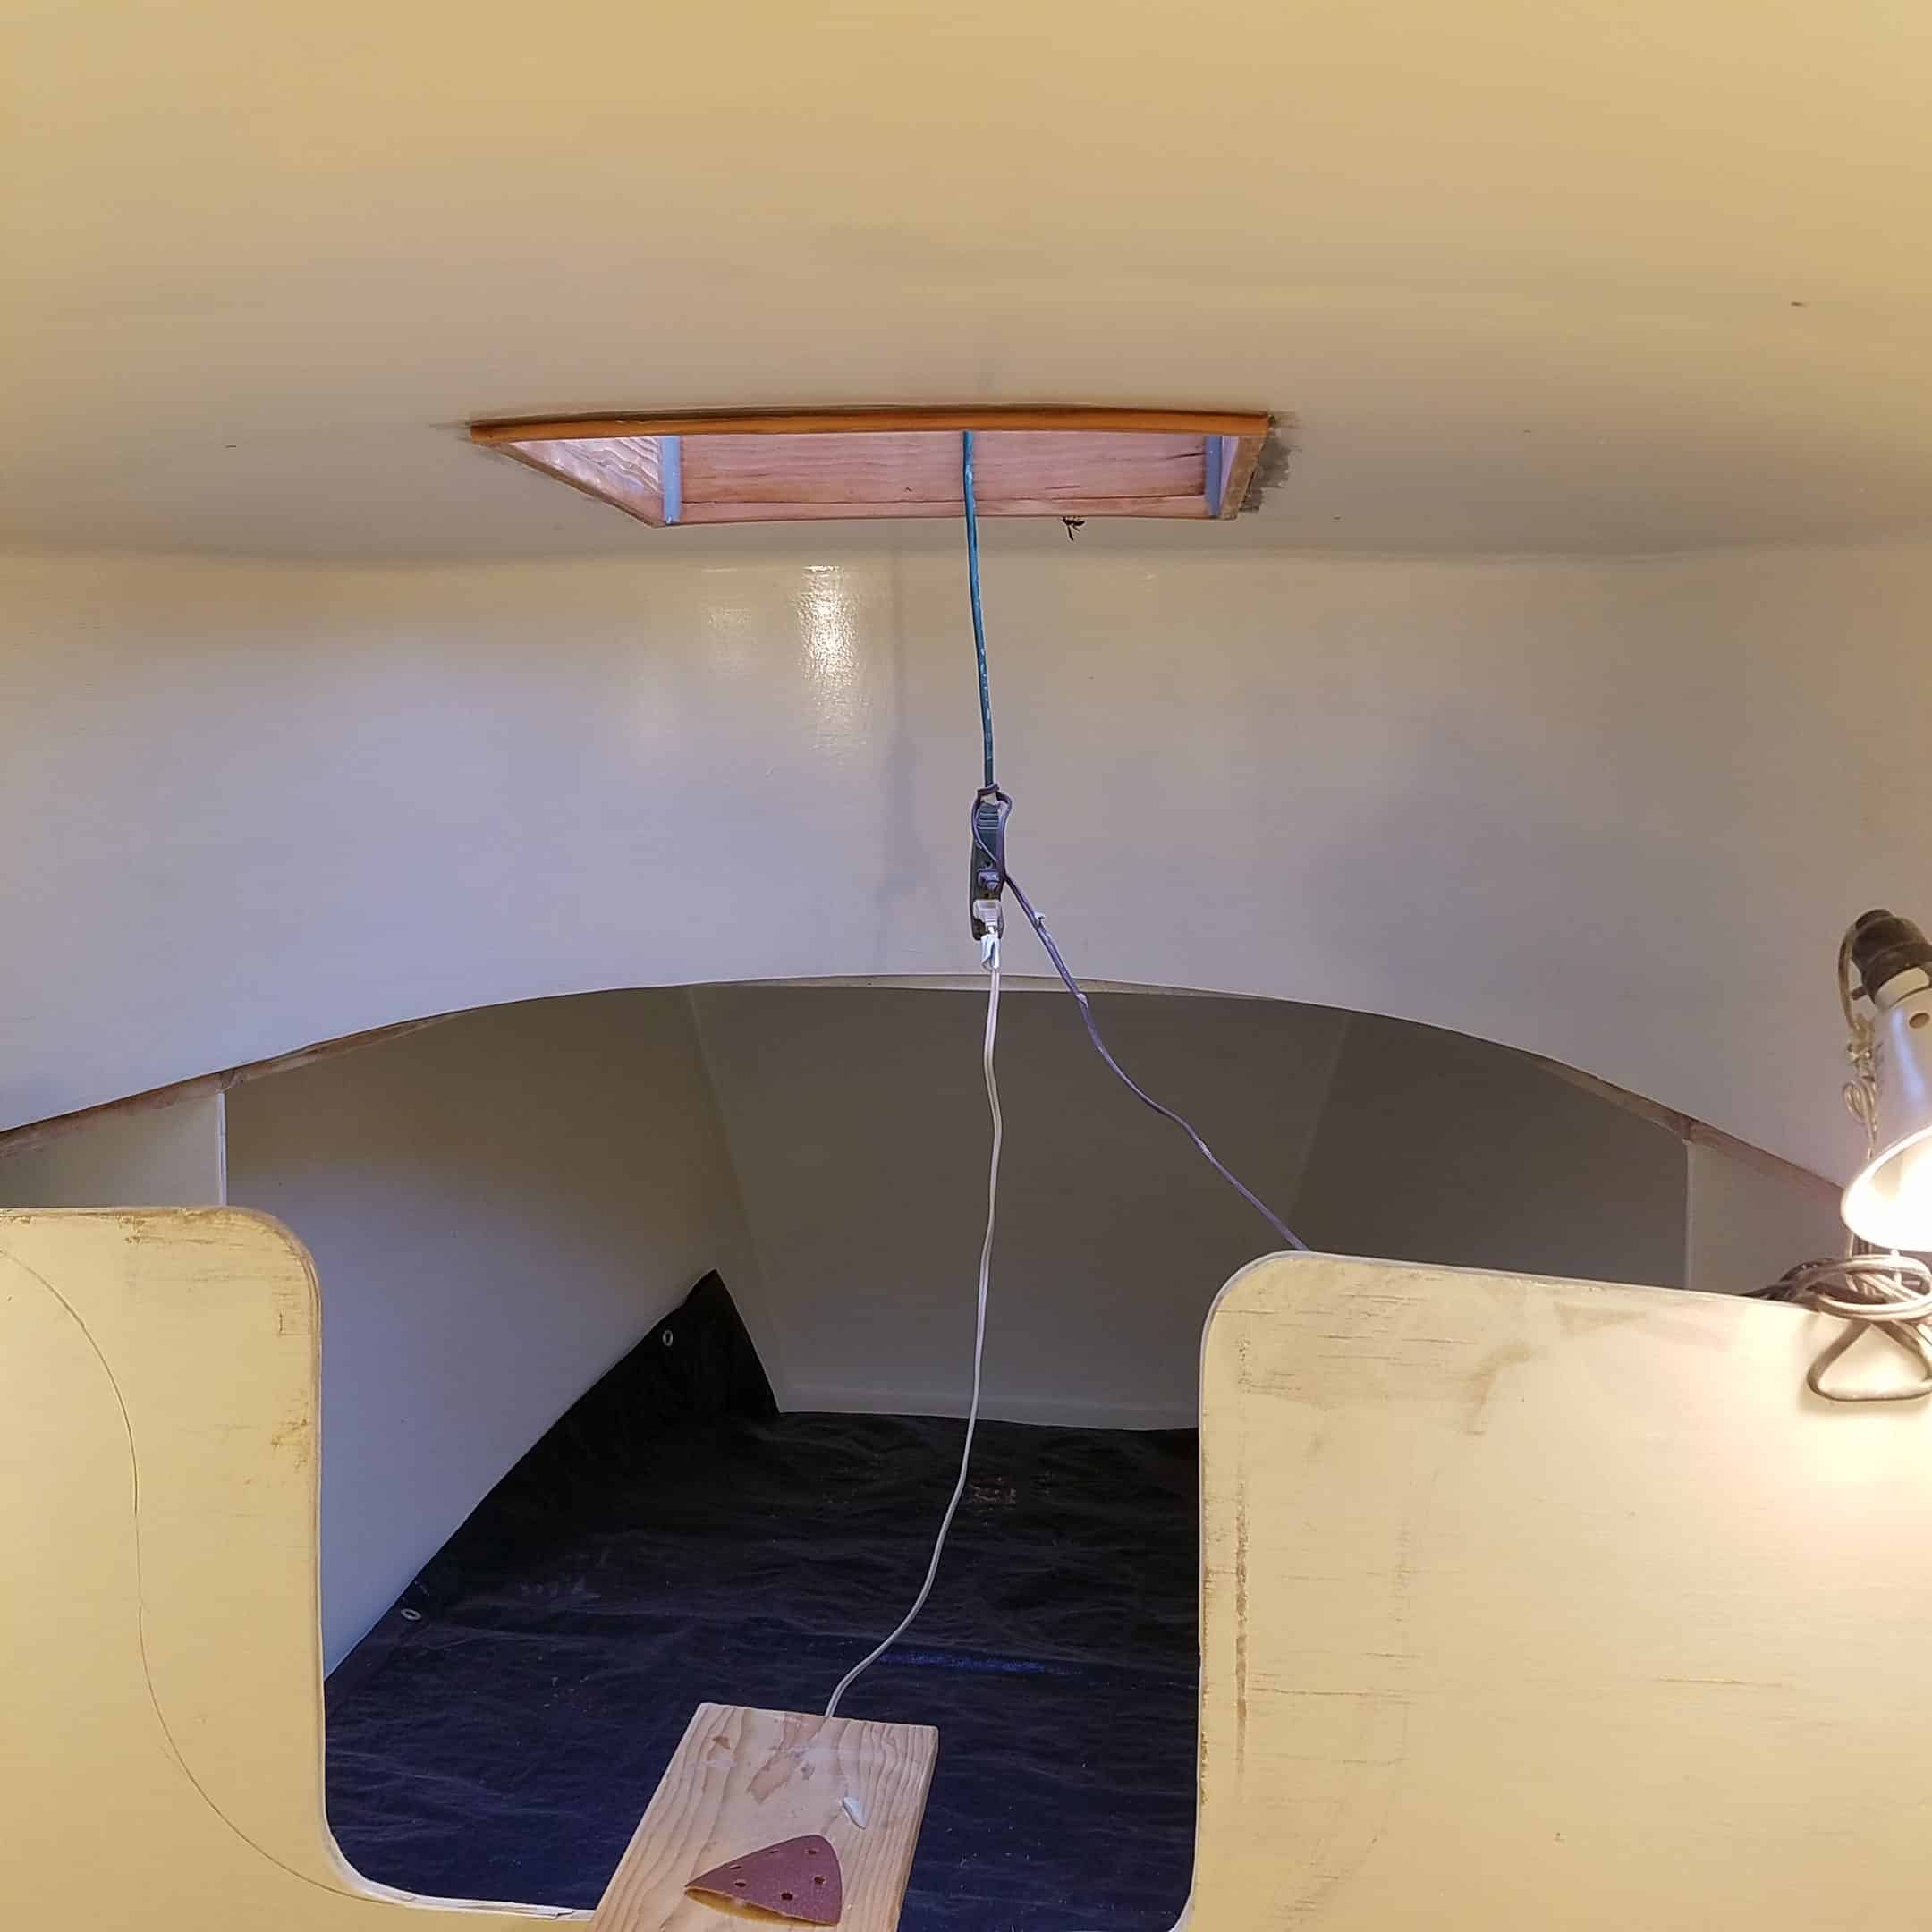
Other projects were finishing the interior of the large forward hatch which is over the V-berth, trimming the bulkheads, making the settees, making and installing port lights, ..
Unfinished 
Painting 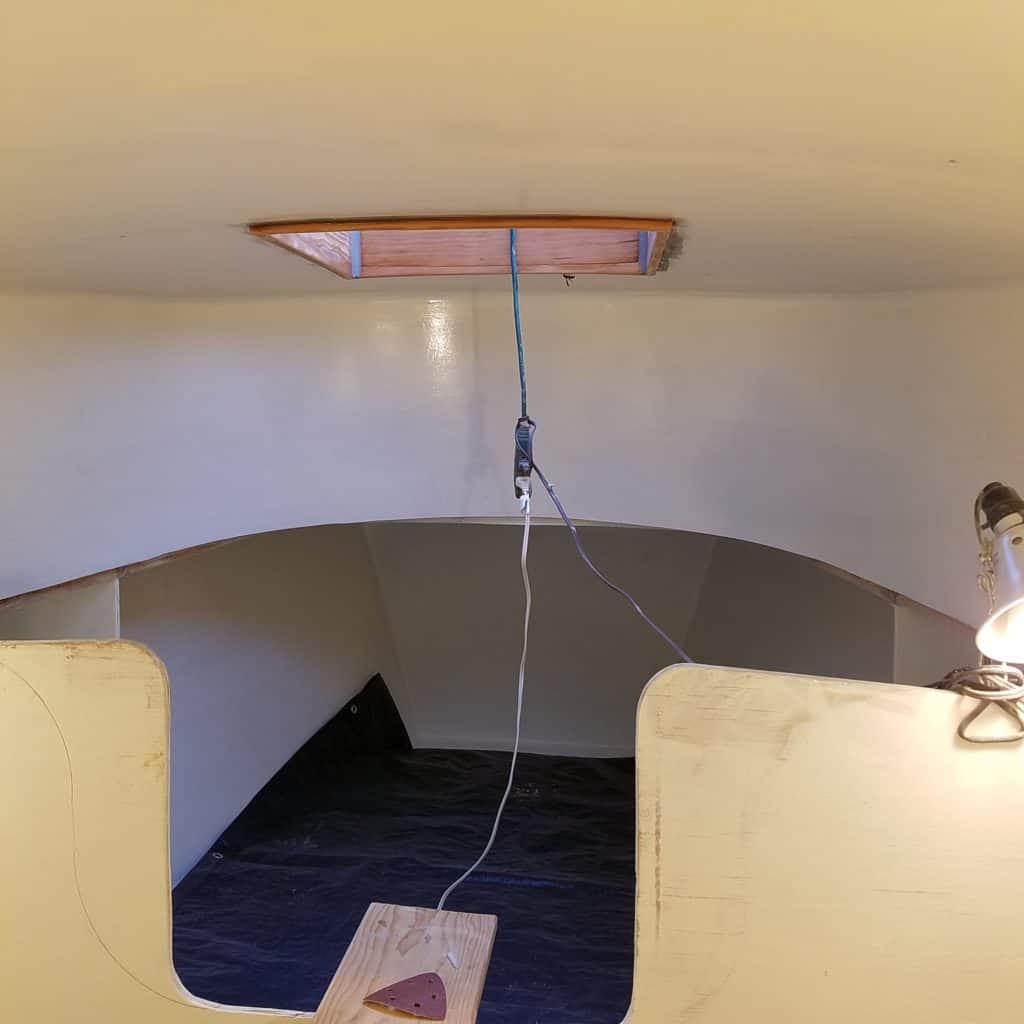
Trim around hatch 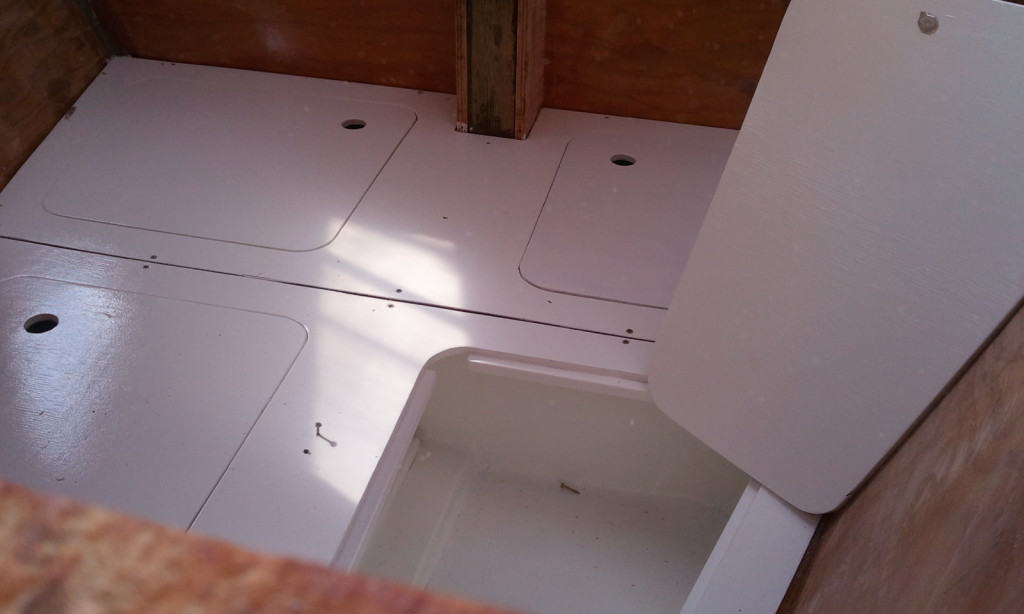
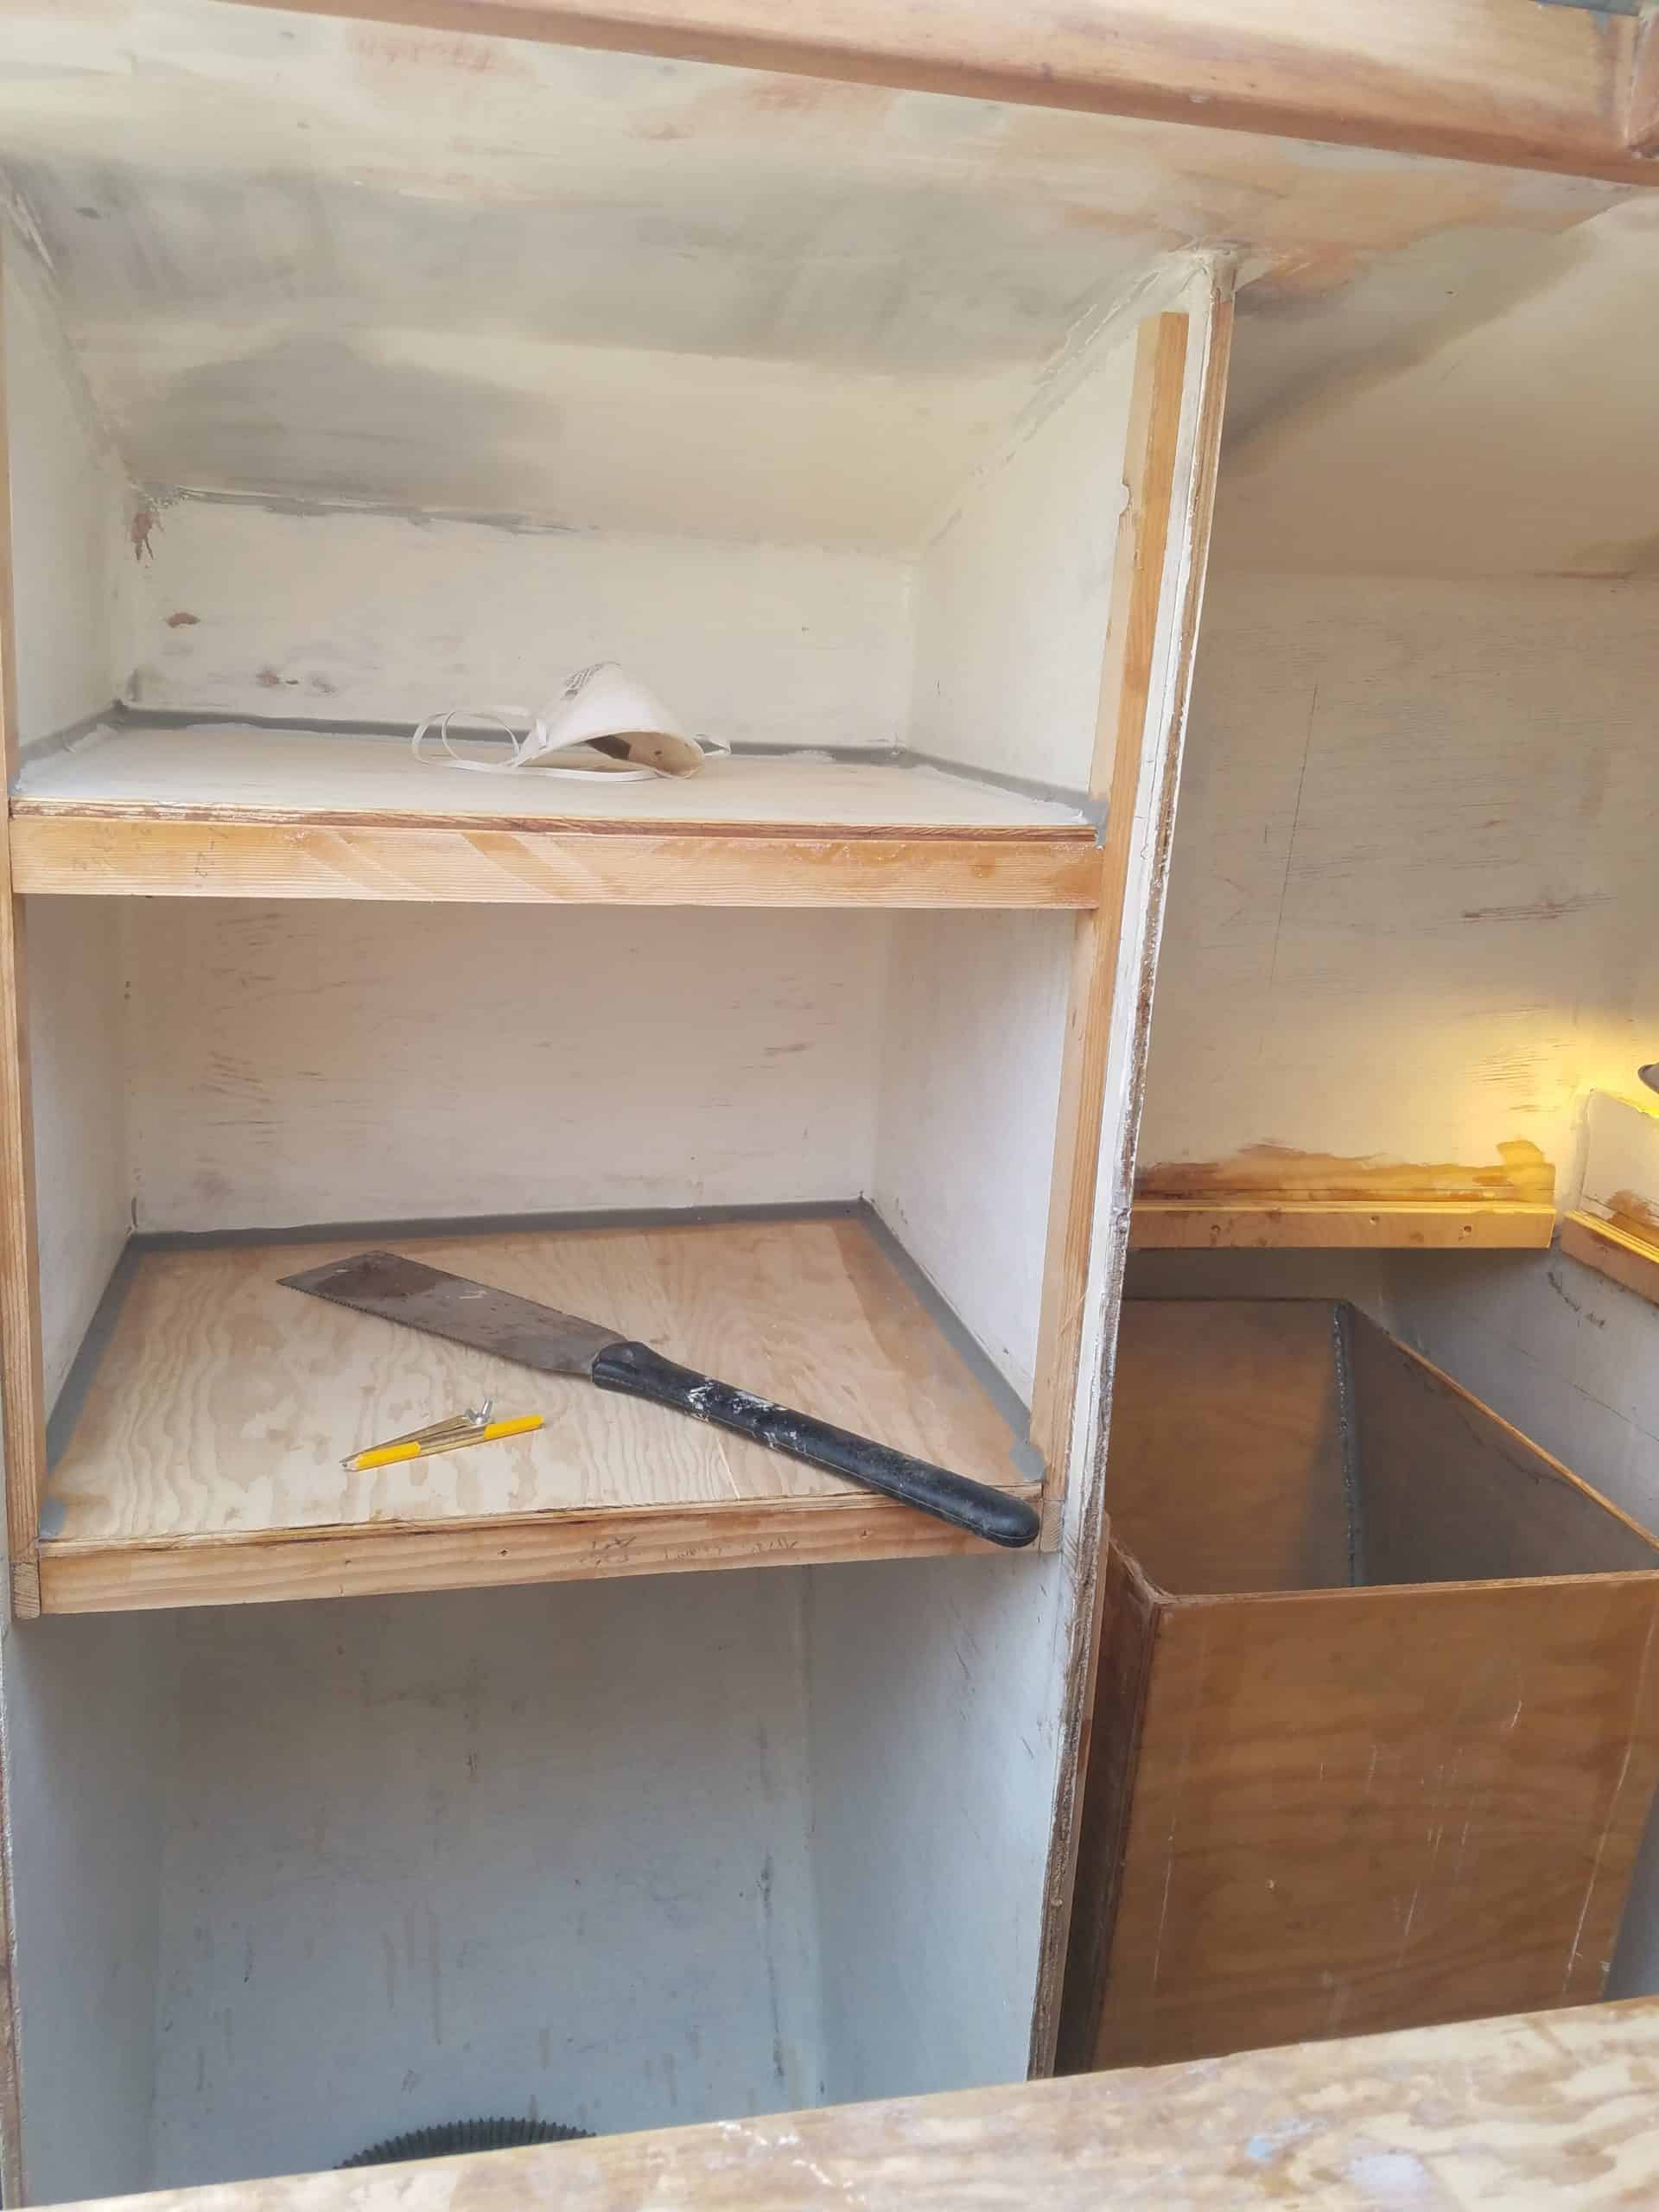
V-berth storage 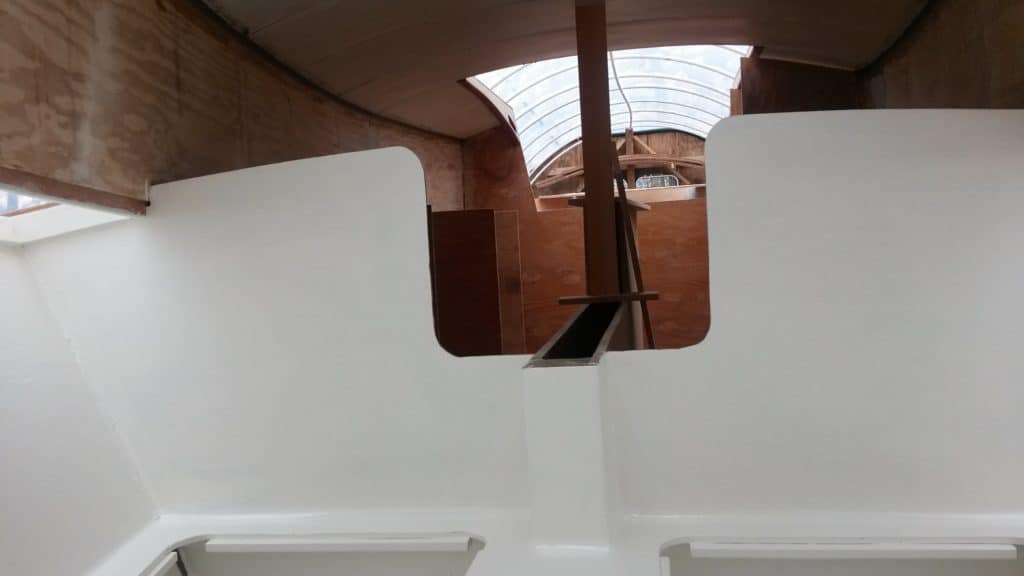
Inside V-berth 
Galley cabinet face & doors 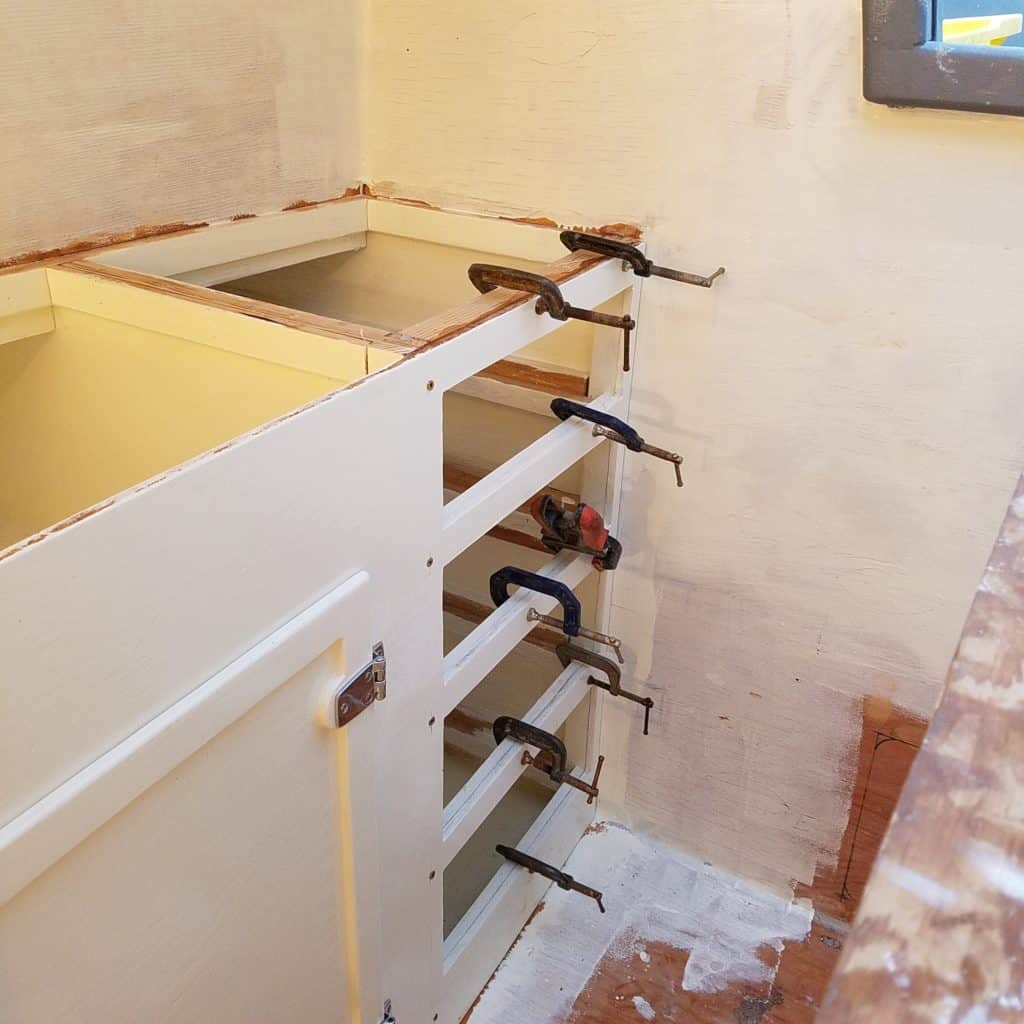
Epoxying on cabinet face 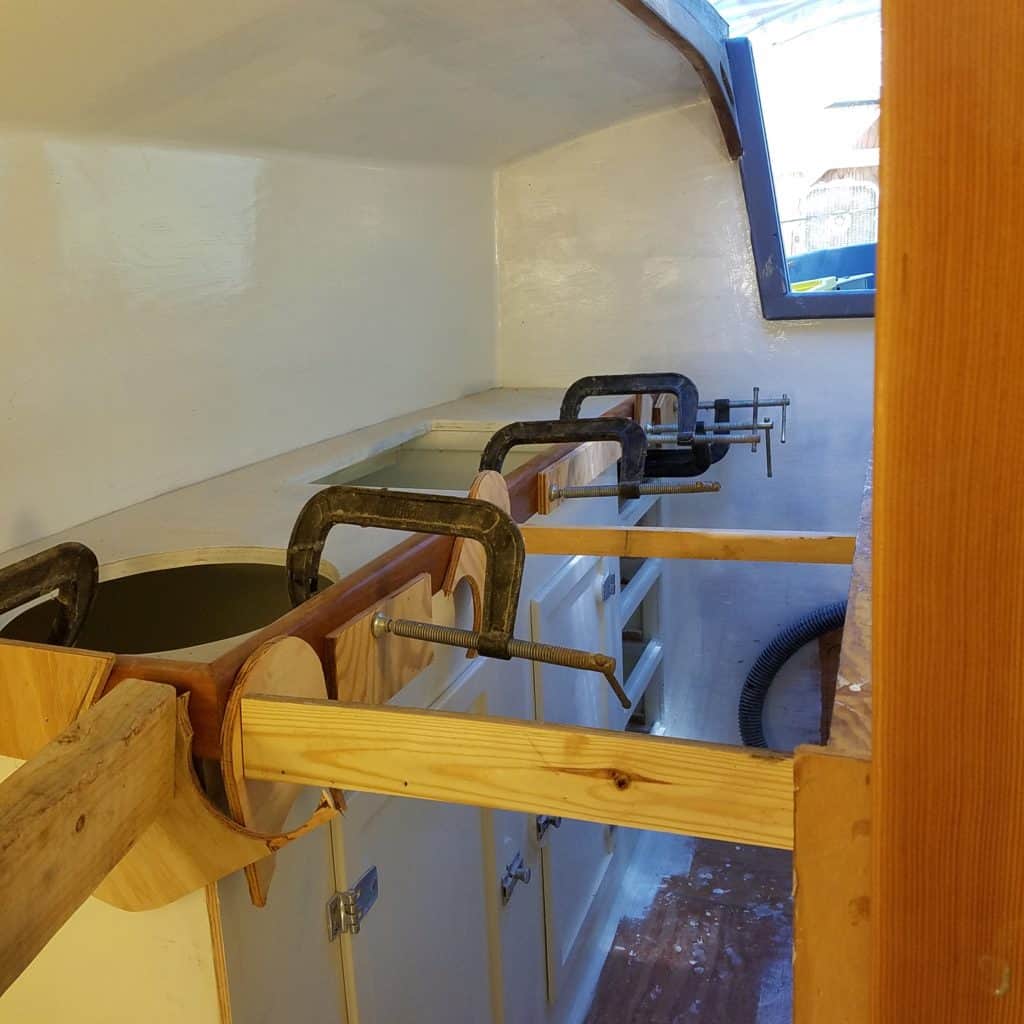
Galley fiddle 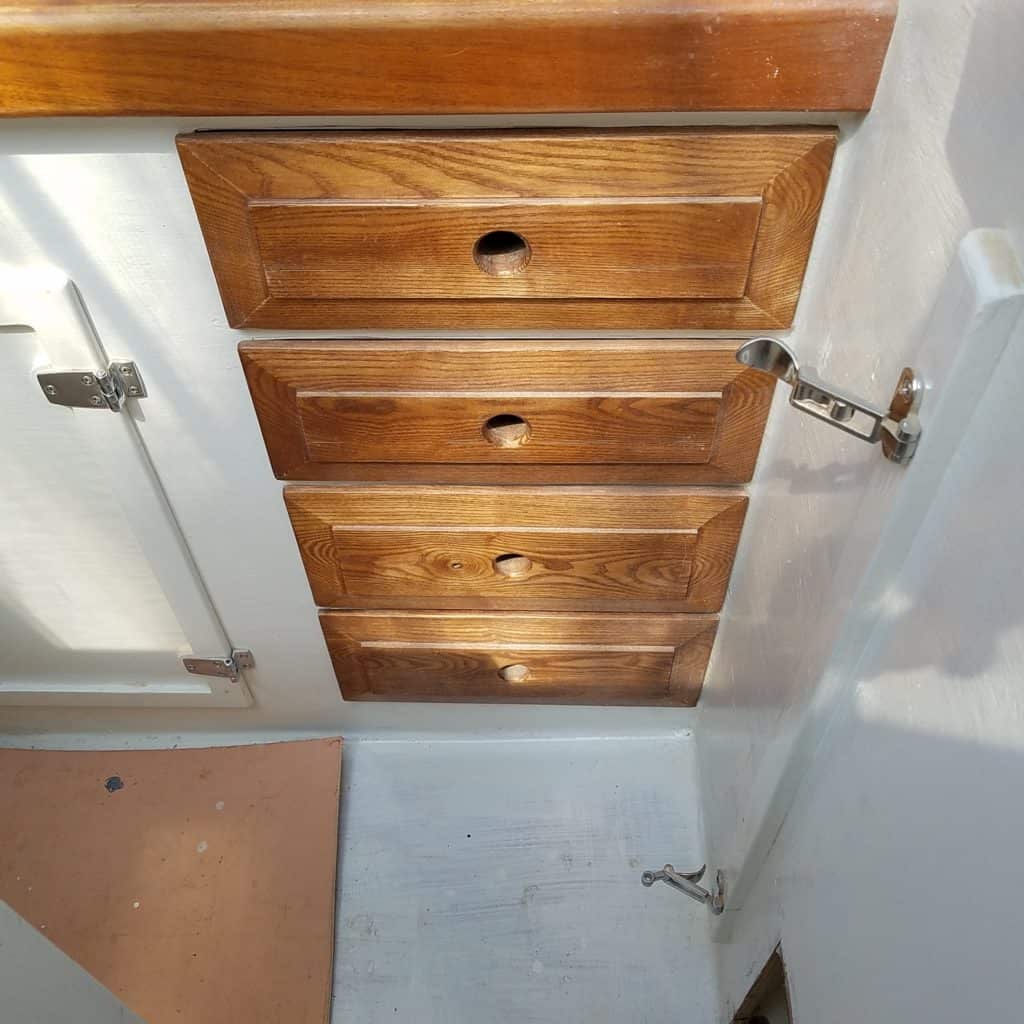
Drawers 
Ice box 
Bulkhead trim 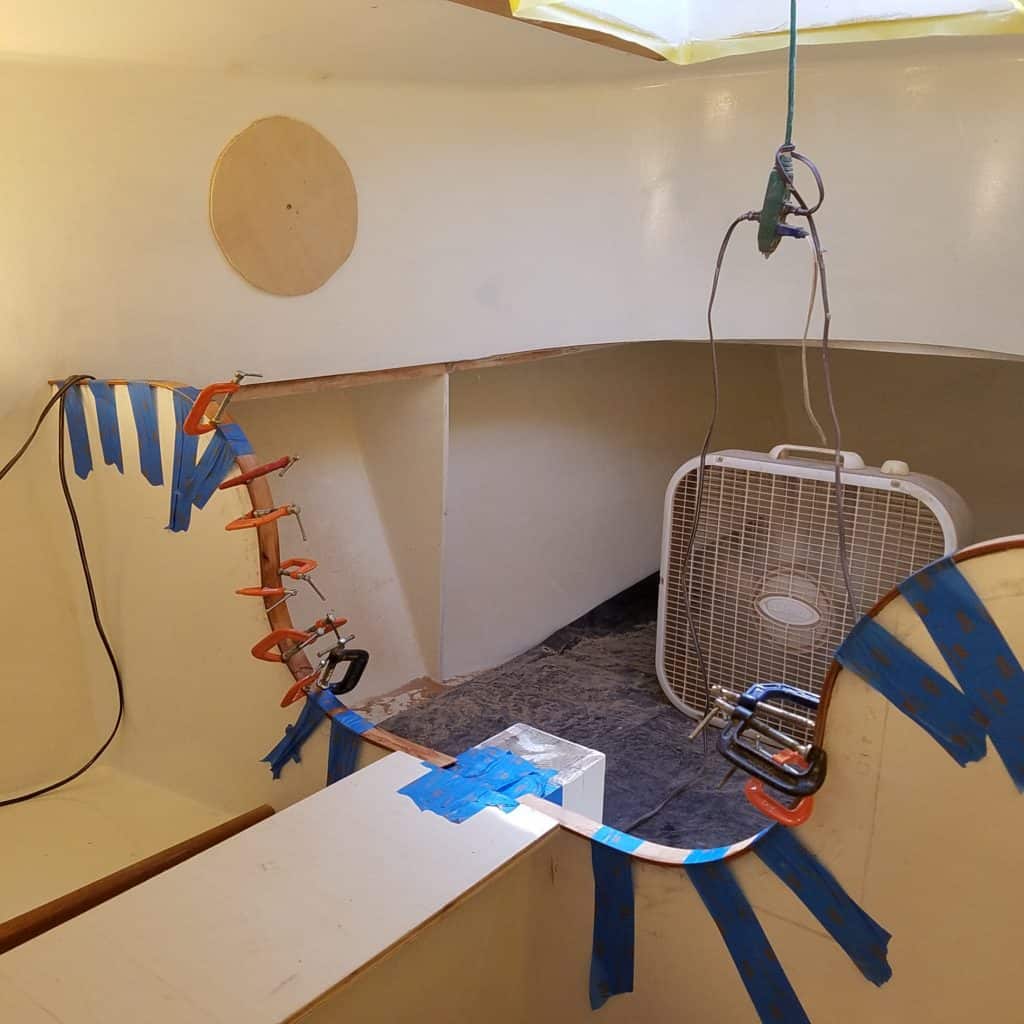
Mahogany trim 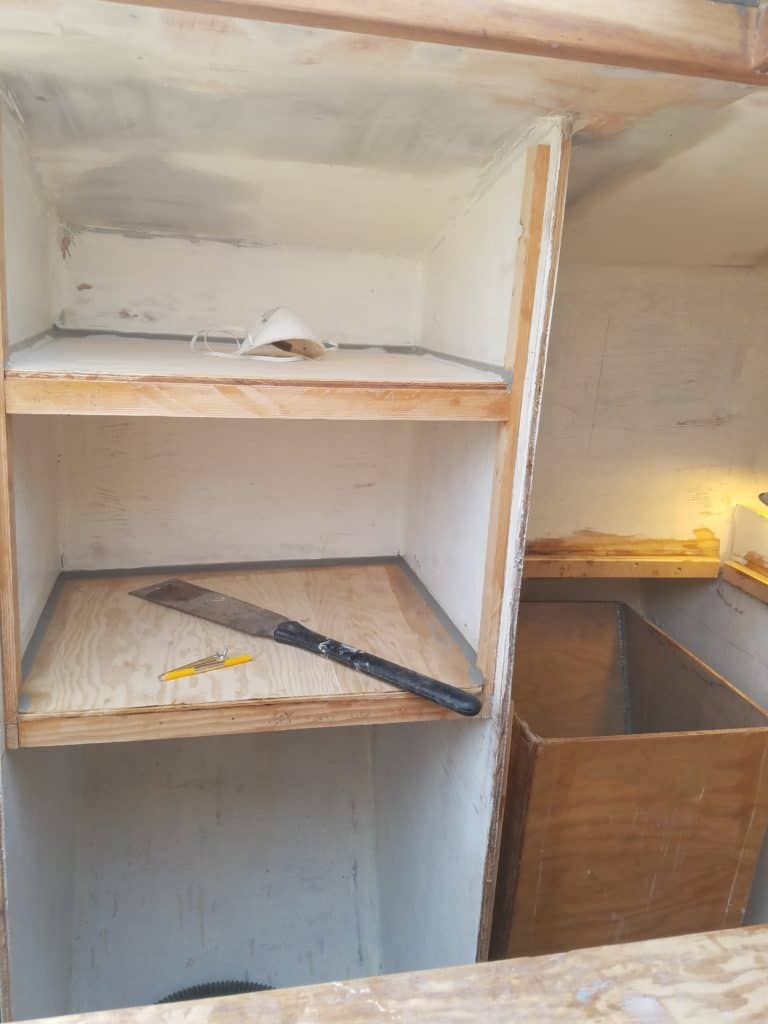
Cabinet above head 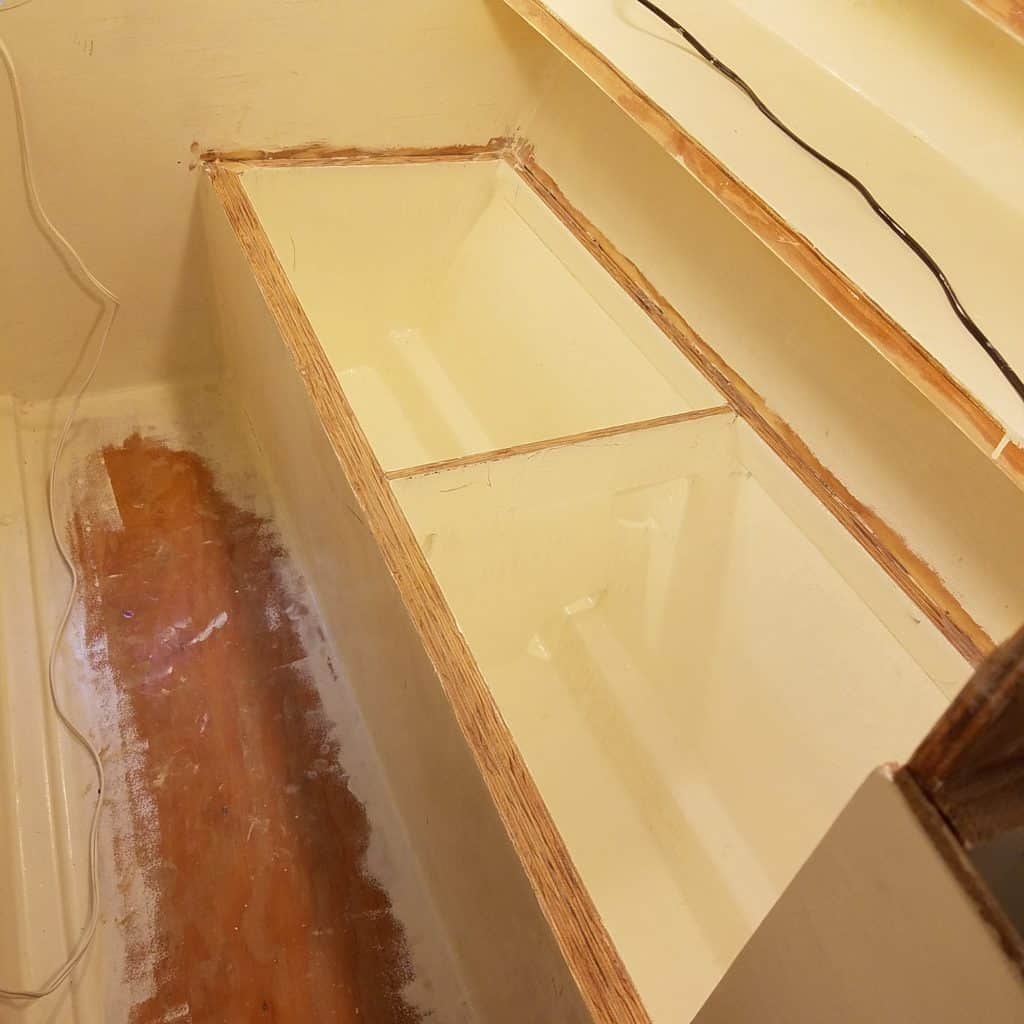
Settee – water tank -Brew Coat 
Head with cabinet above


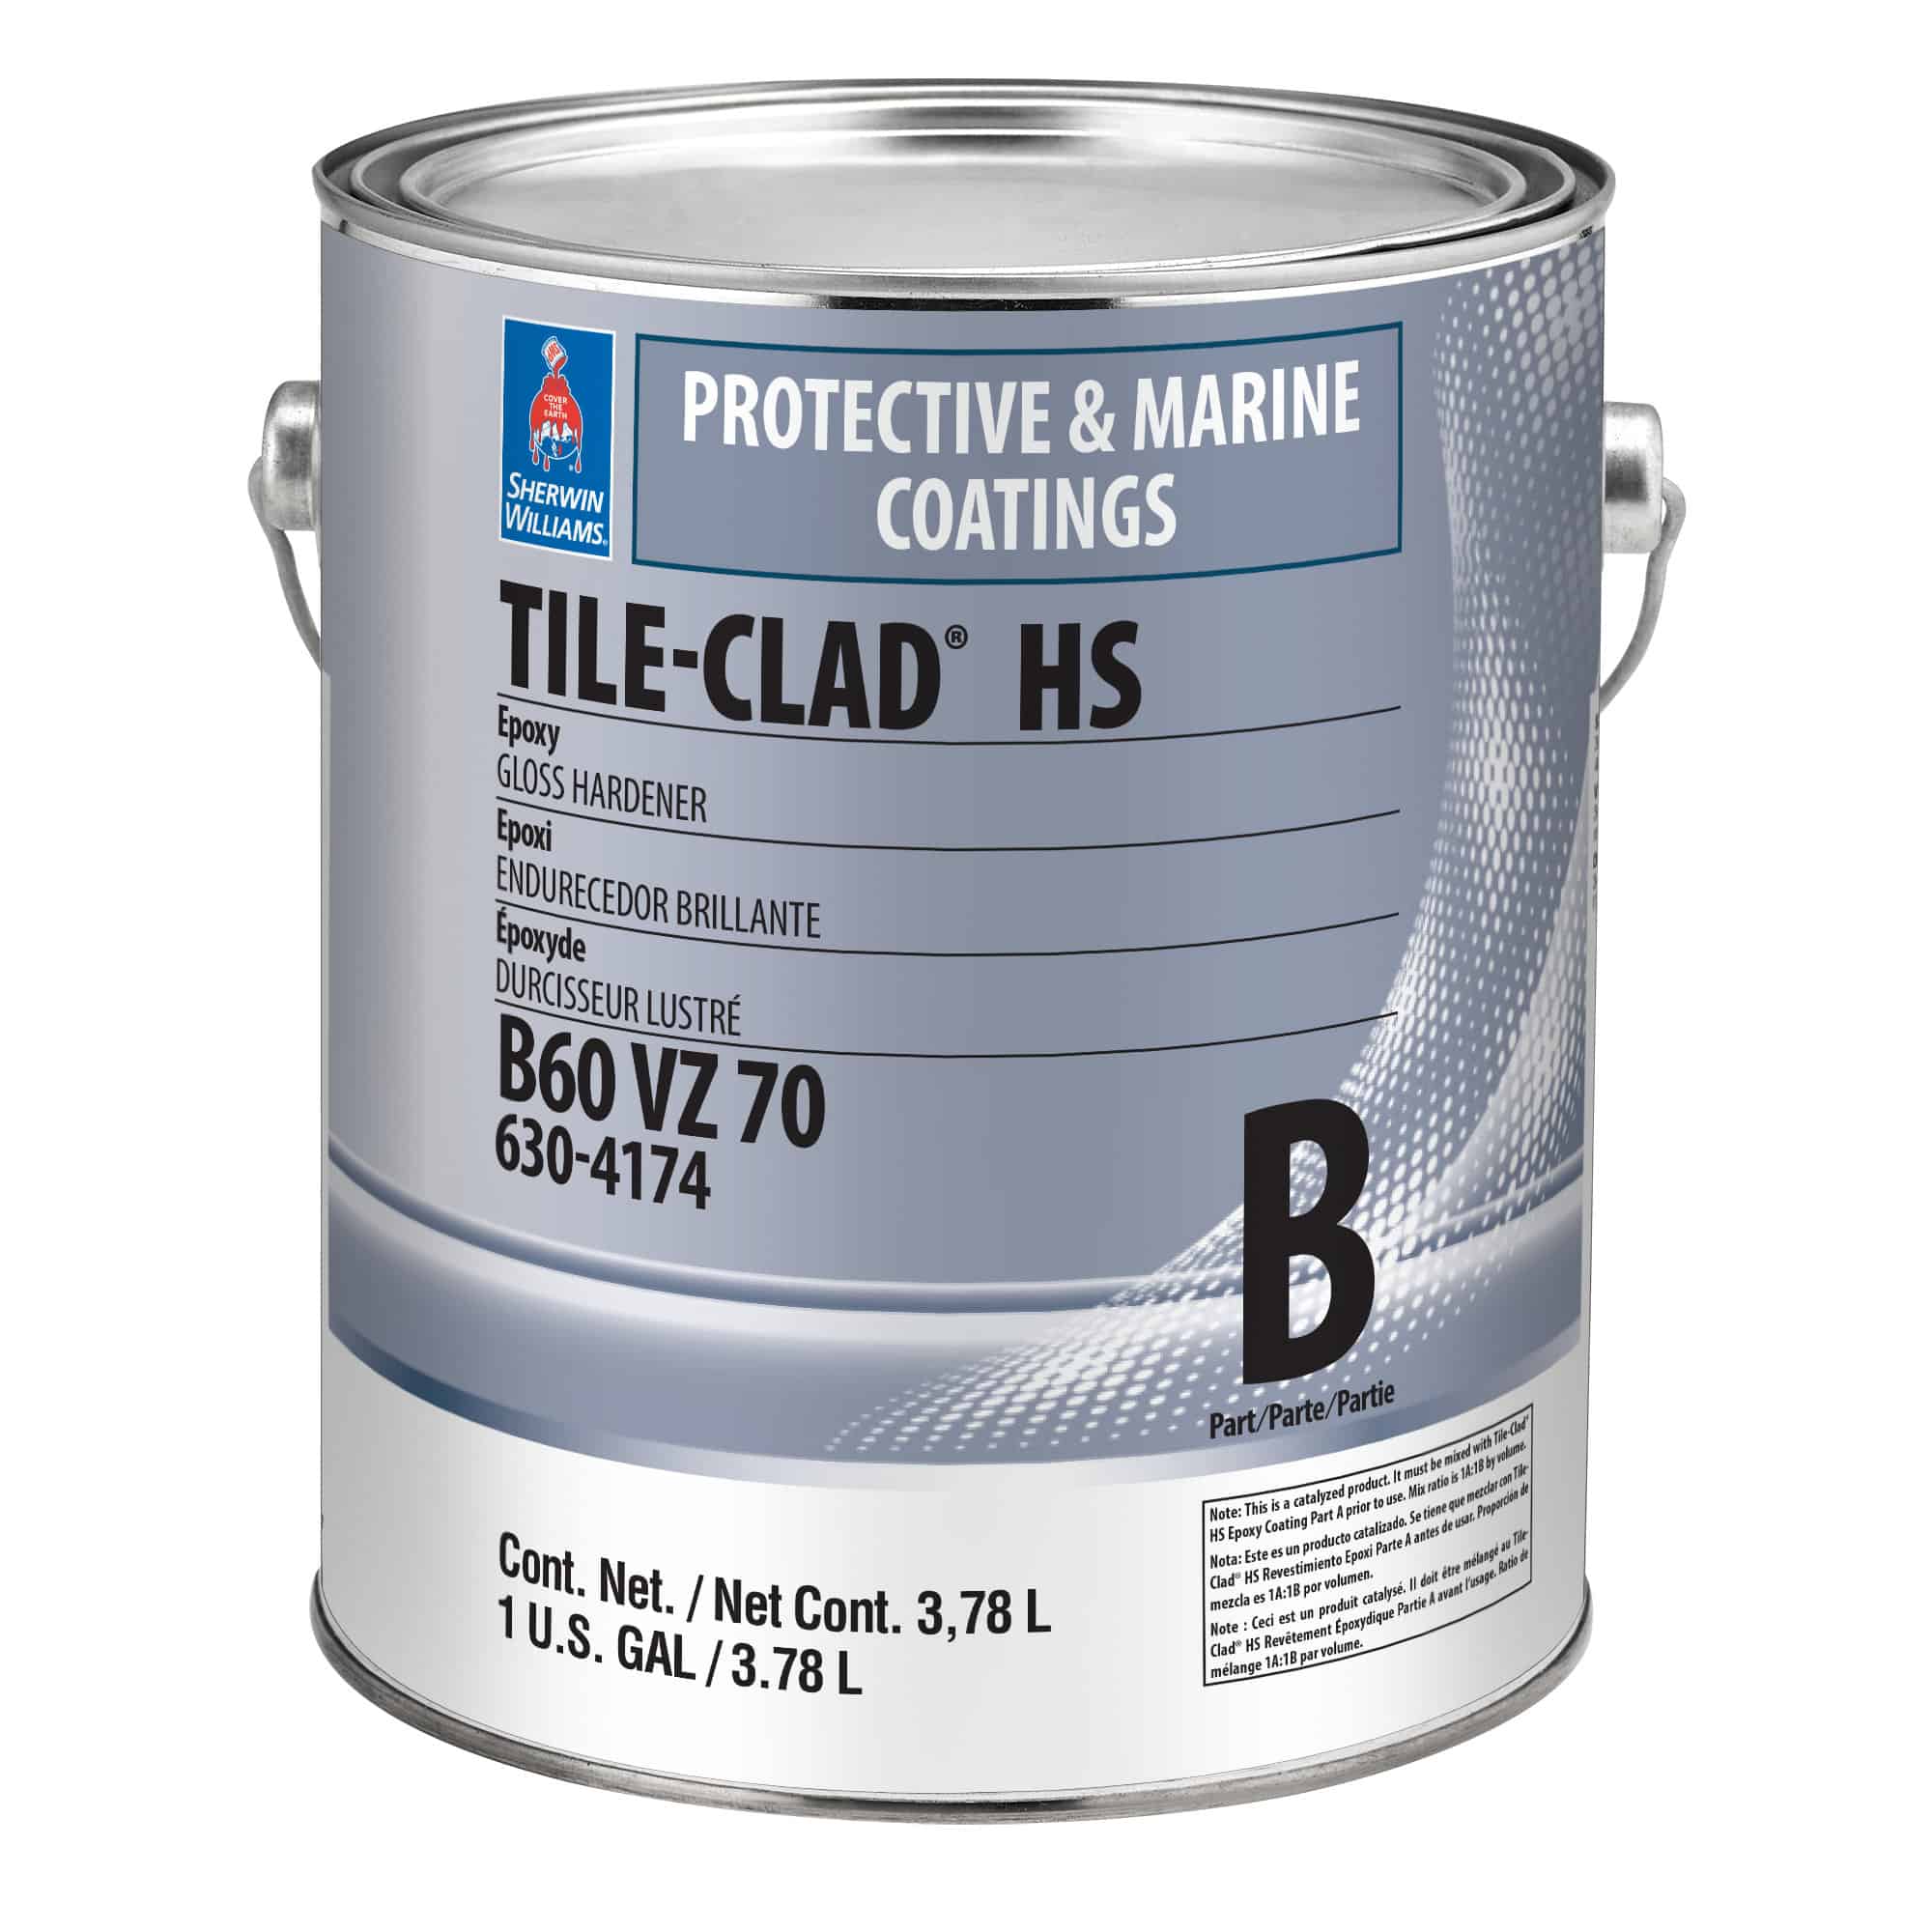
The Sherwin Williams Tile Clad two part epoxy paint leaves a very hard, smooth finish which can be wiped down easily with a damp rag.
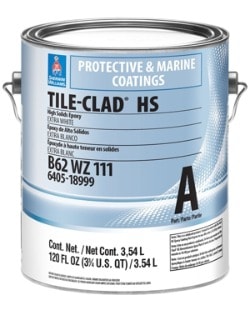
Epoxy Paint 
Hardner
The galley needs to be fitted out. The framework against the topsides has been done and now the face and countertop of the galley cabinet need to go in place. The cabinet faces and doors are painted and placed along with a strong fiddle along the top edge. The same with the port side, fiddles are placed along the top of the ice bin. Settees framed and finished, about 30 gallons each.
Lots more done, one of the more tedious tasks is finishing off the bulkhead leading into the V-berth. This took some time, but I laminated about five layers of mahogany to finish off the plywood edge of the bulkhead separating the V-berth from the main cabin.
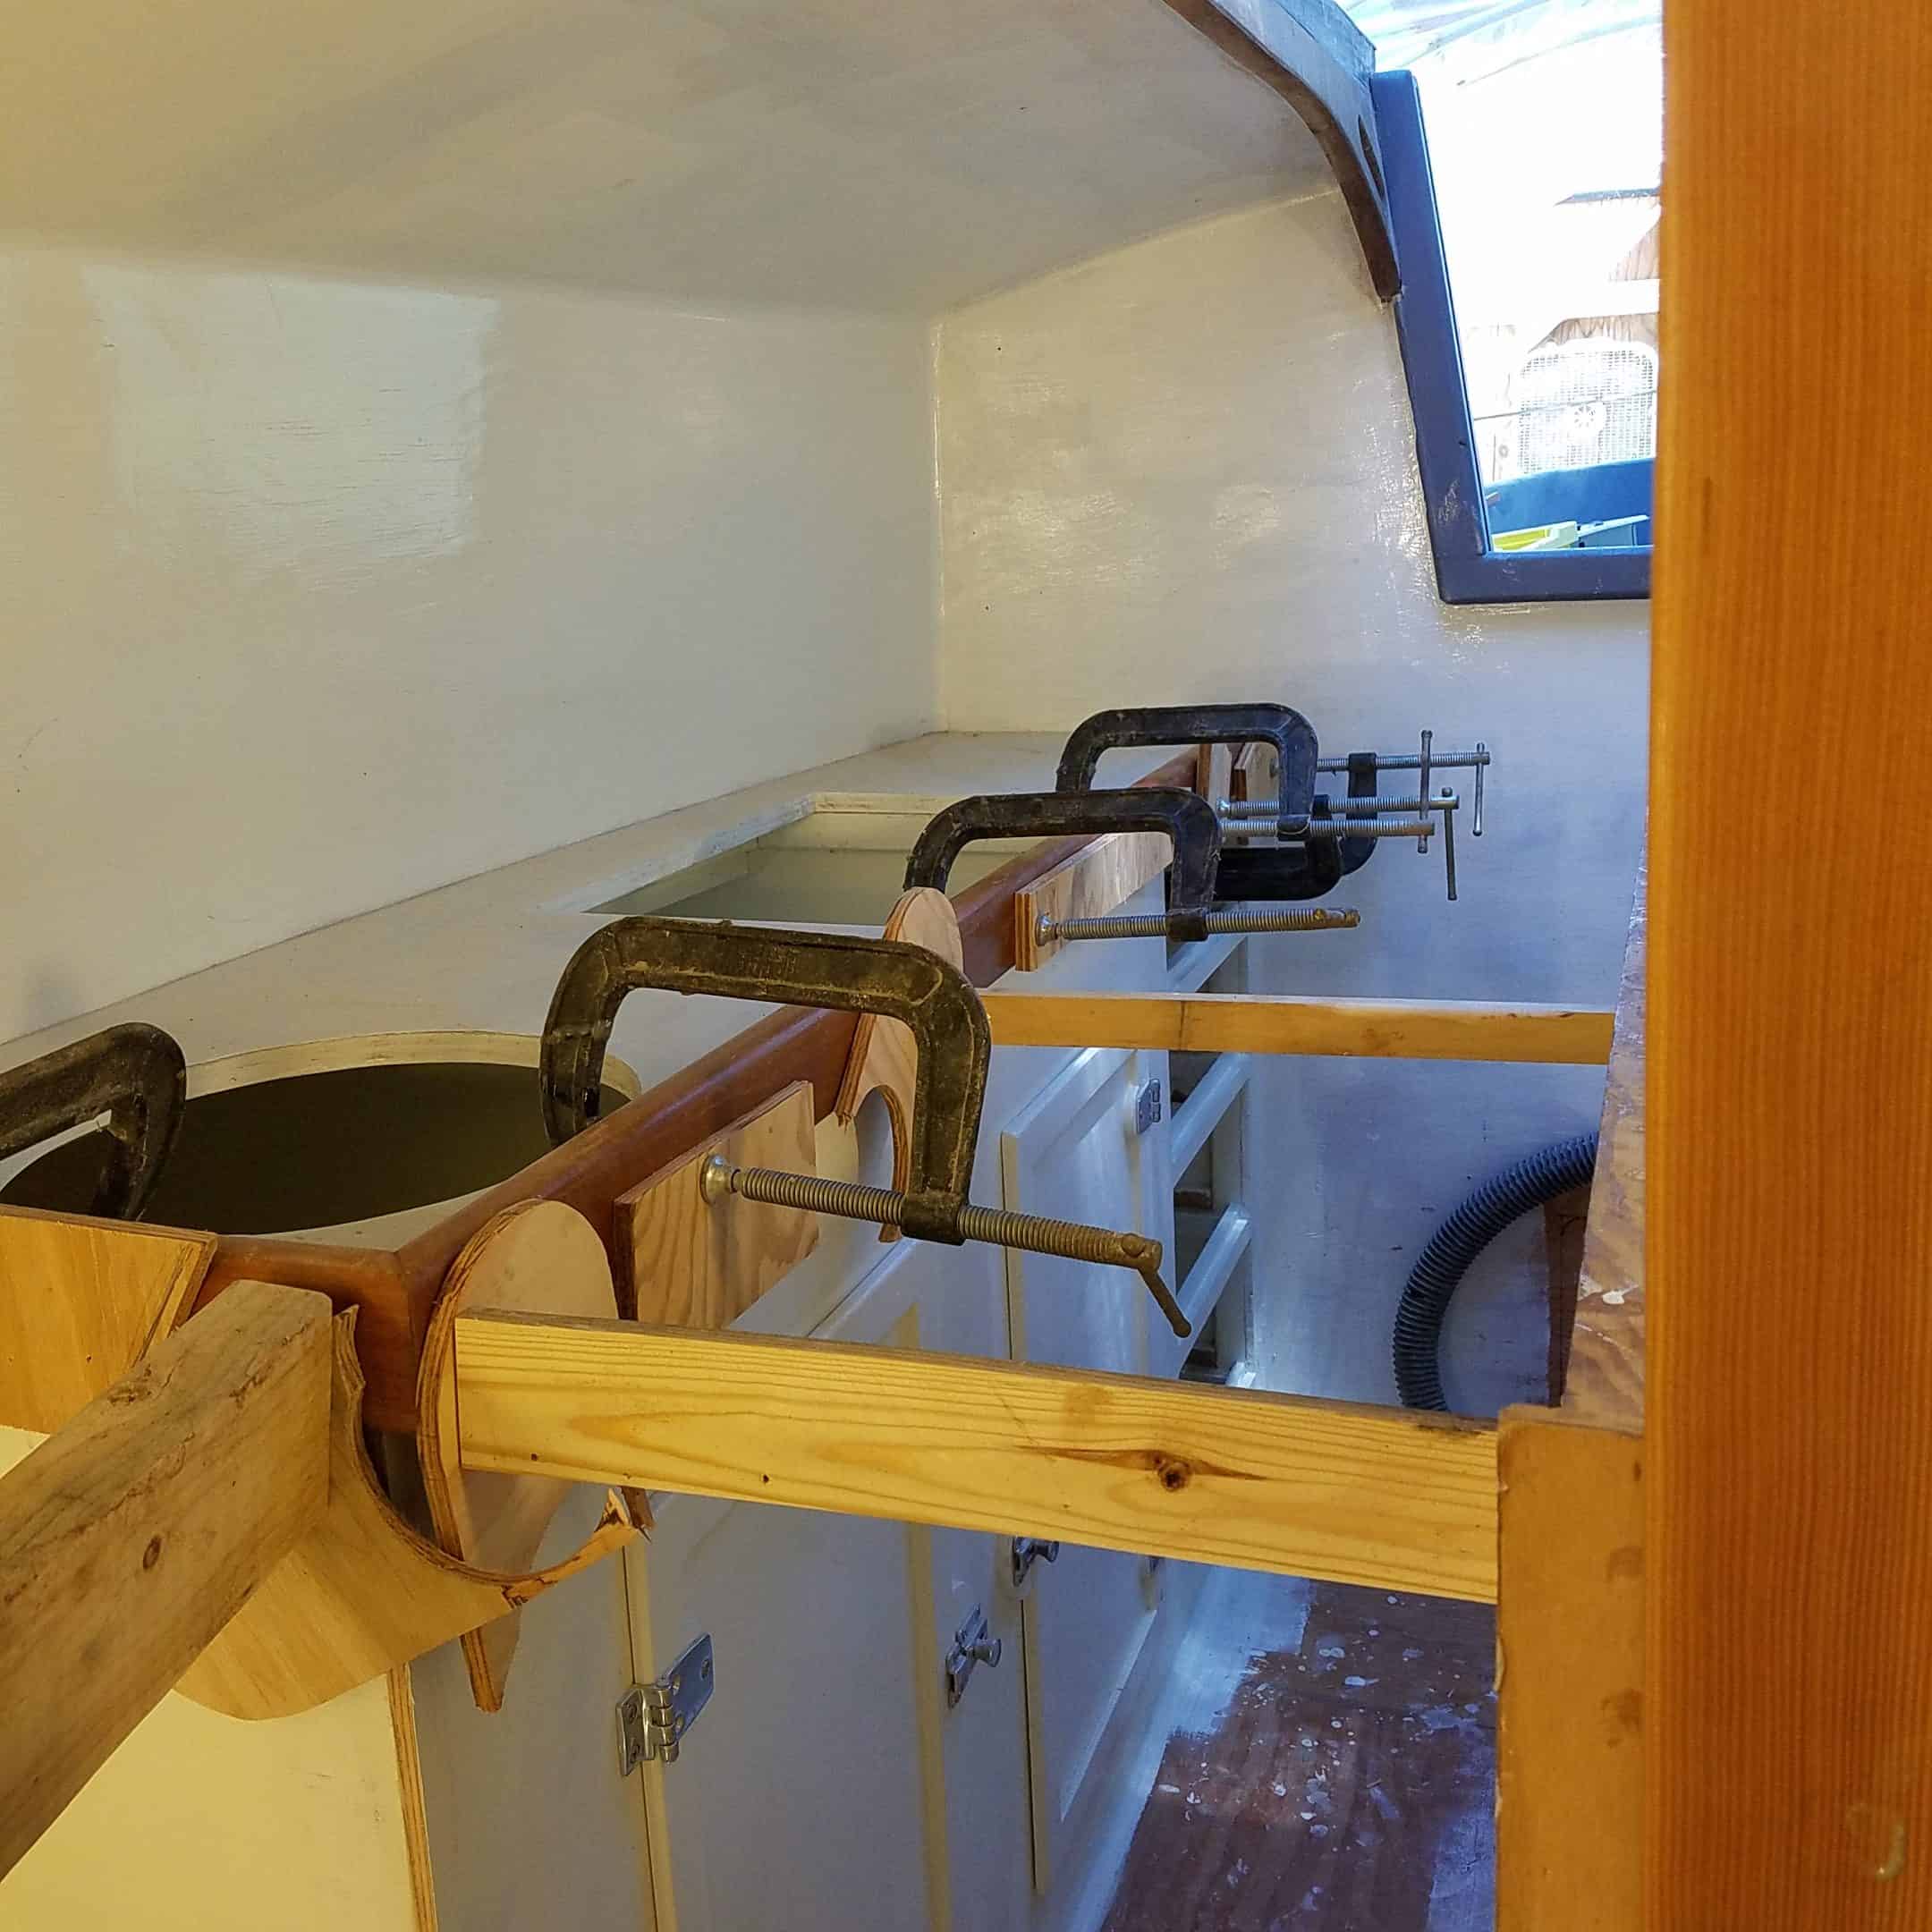
Wiley Ports
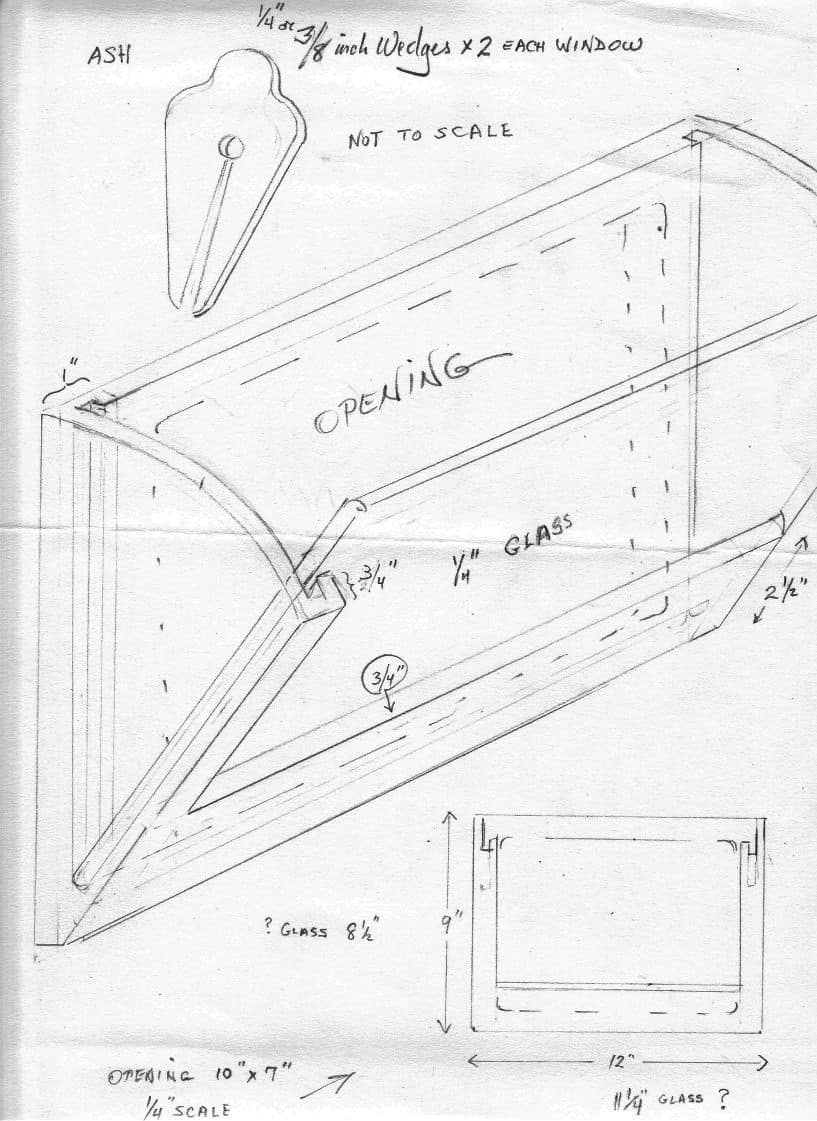
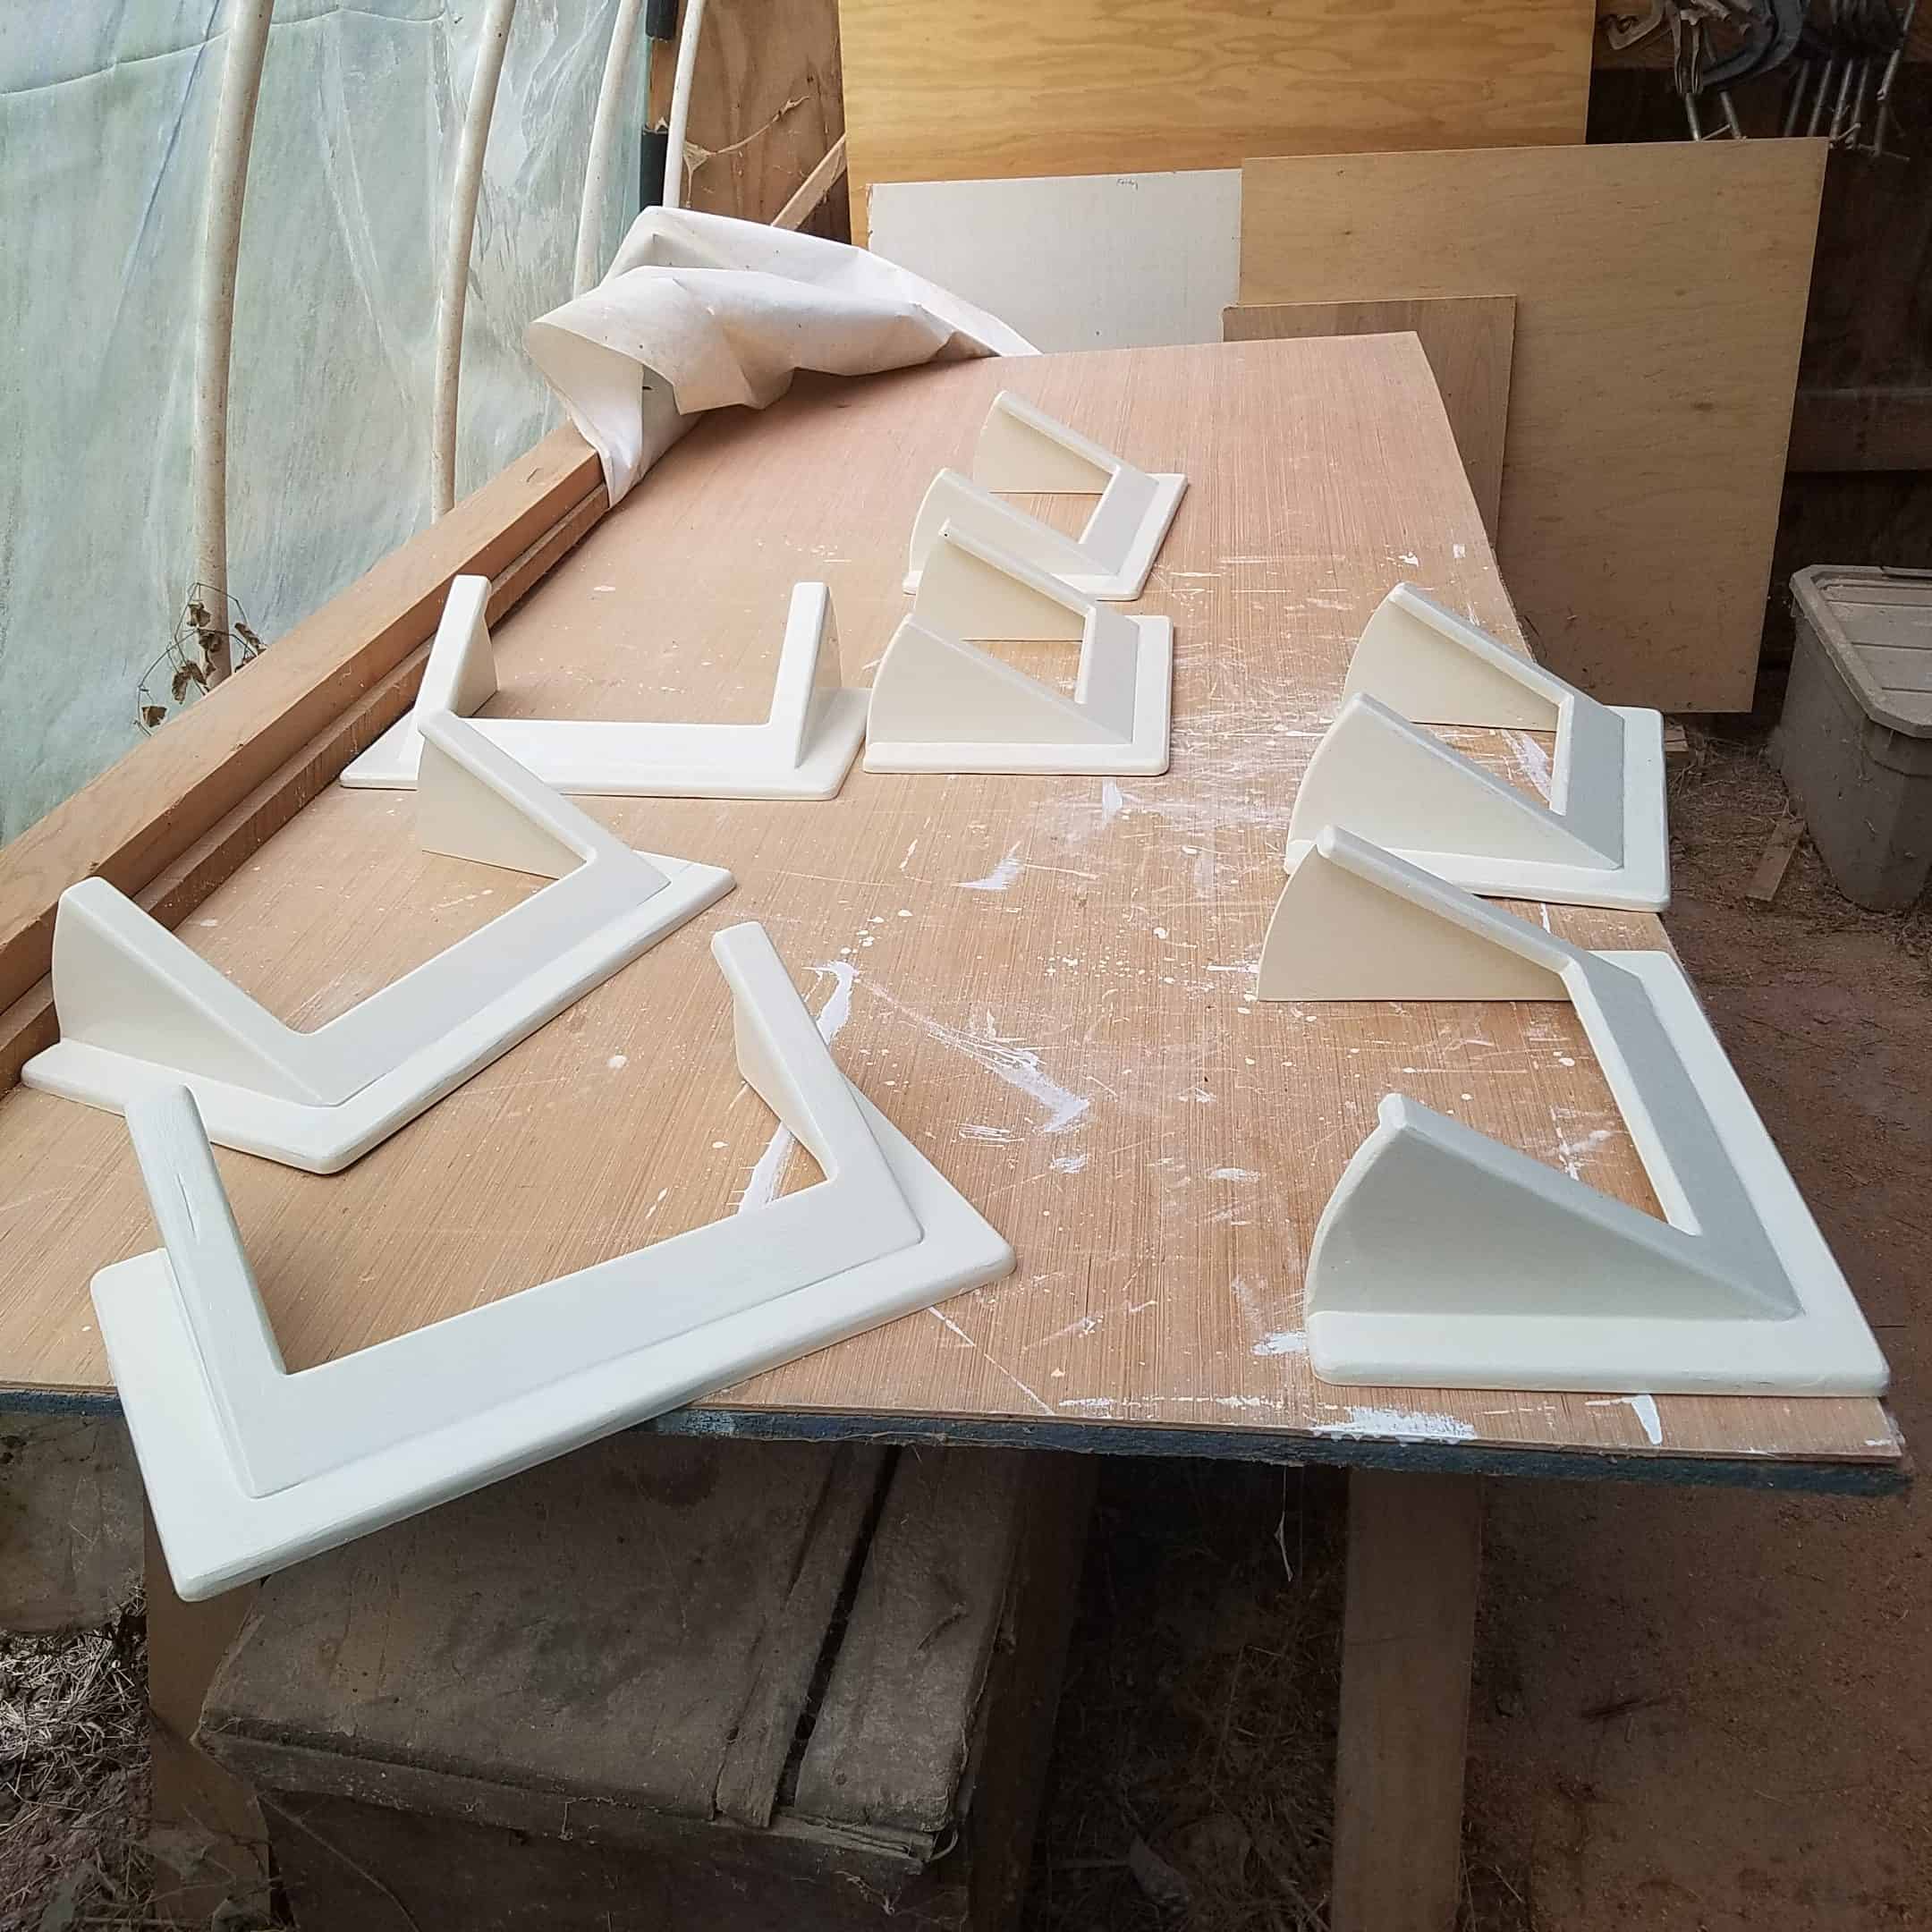
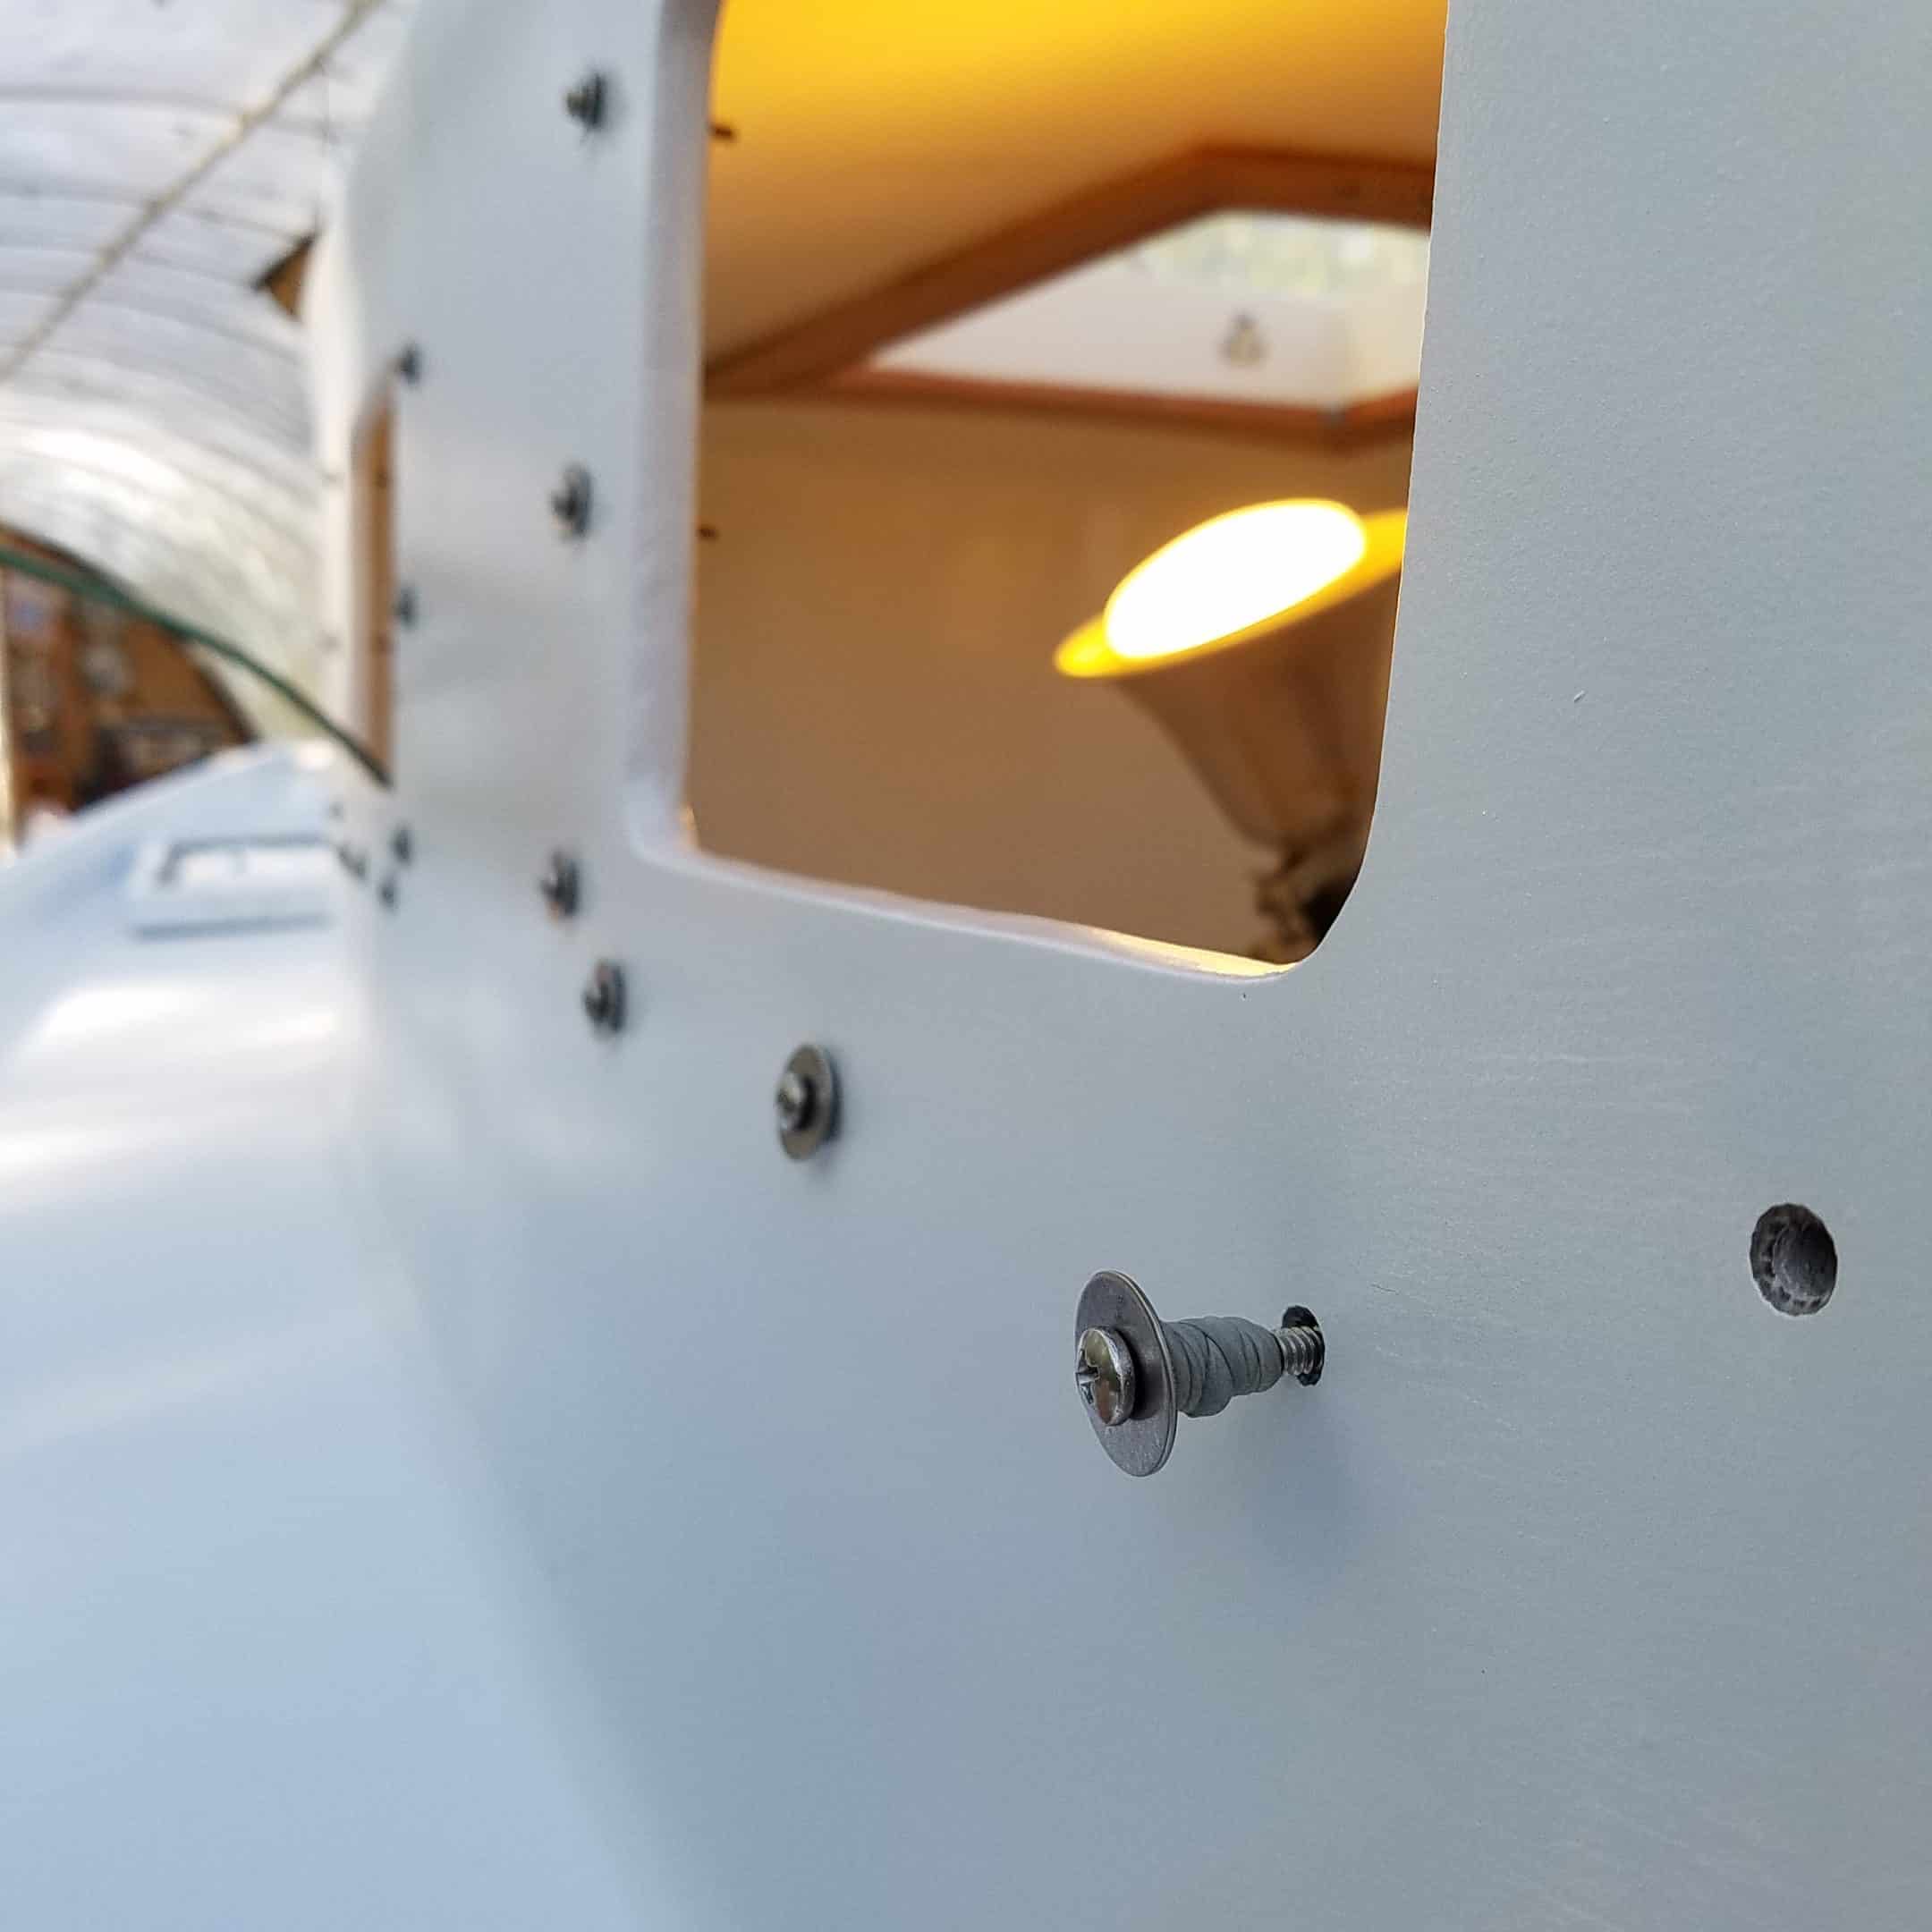
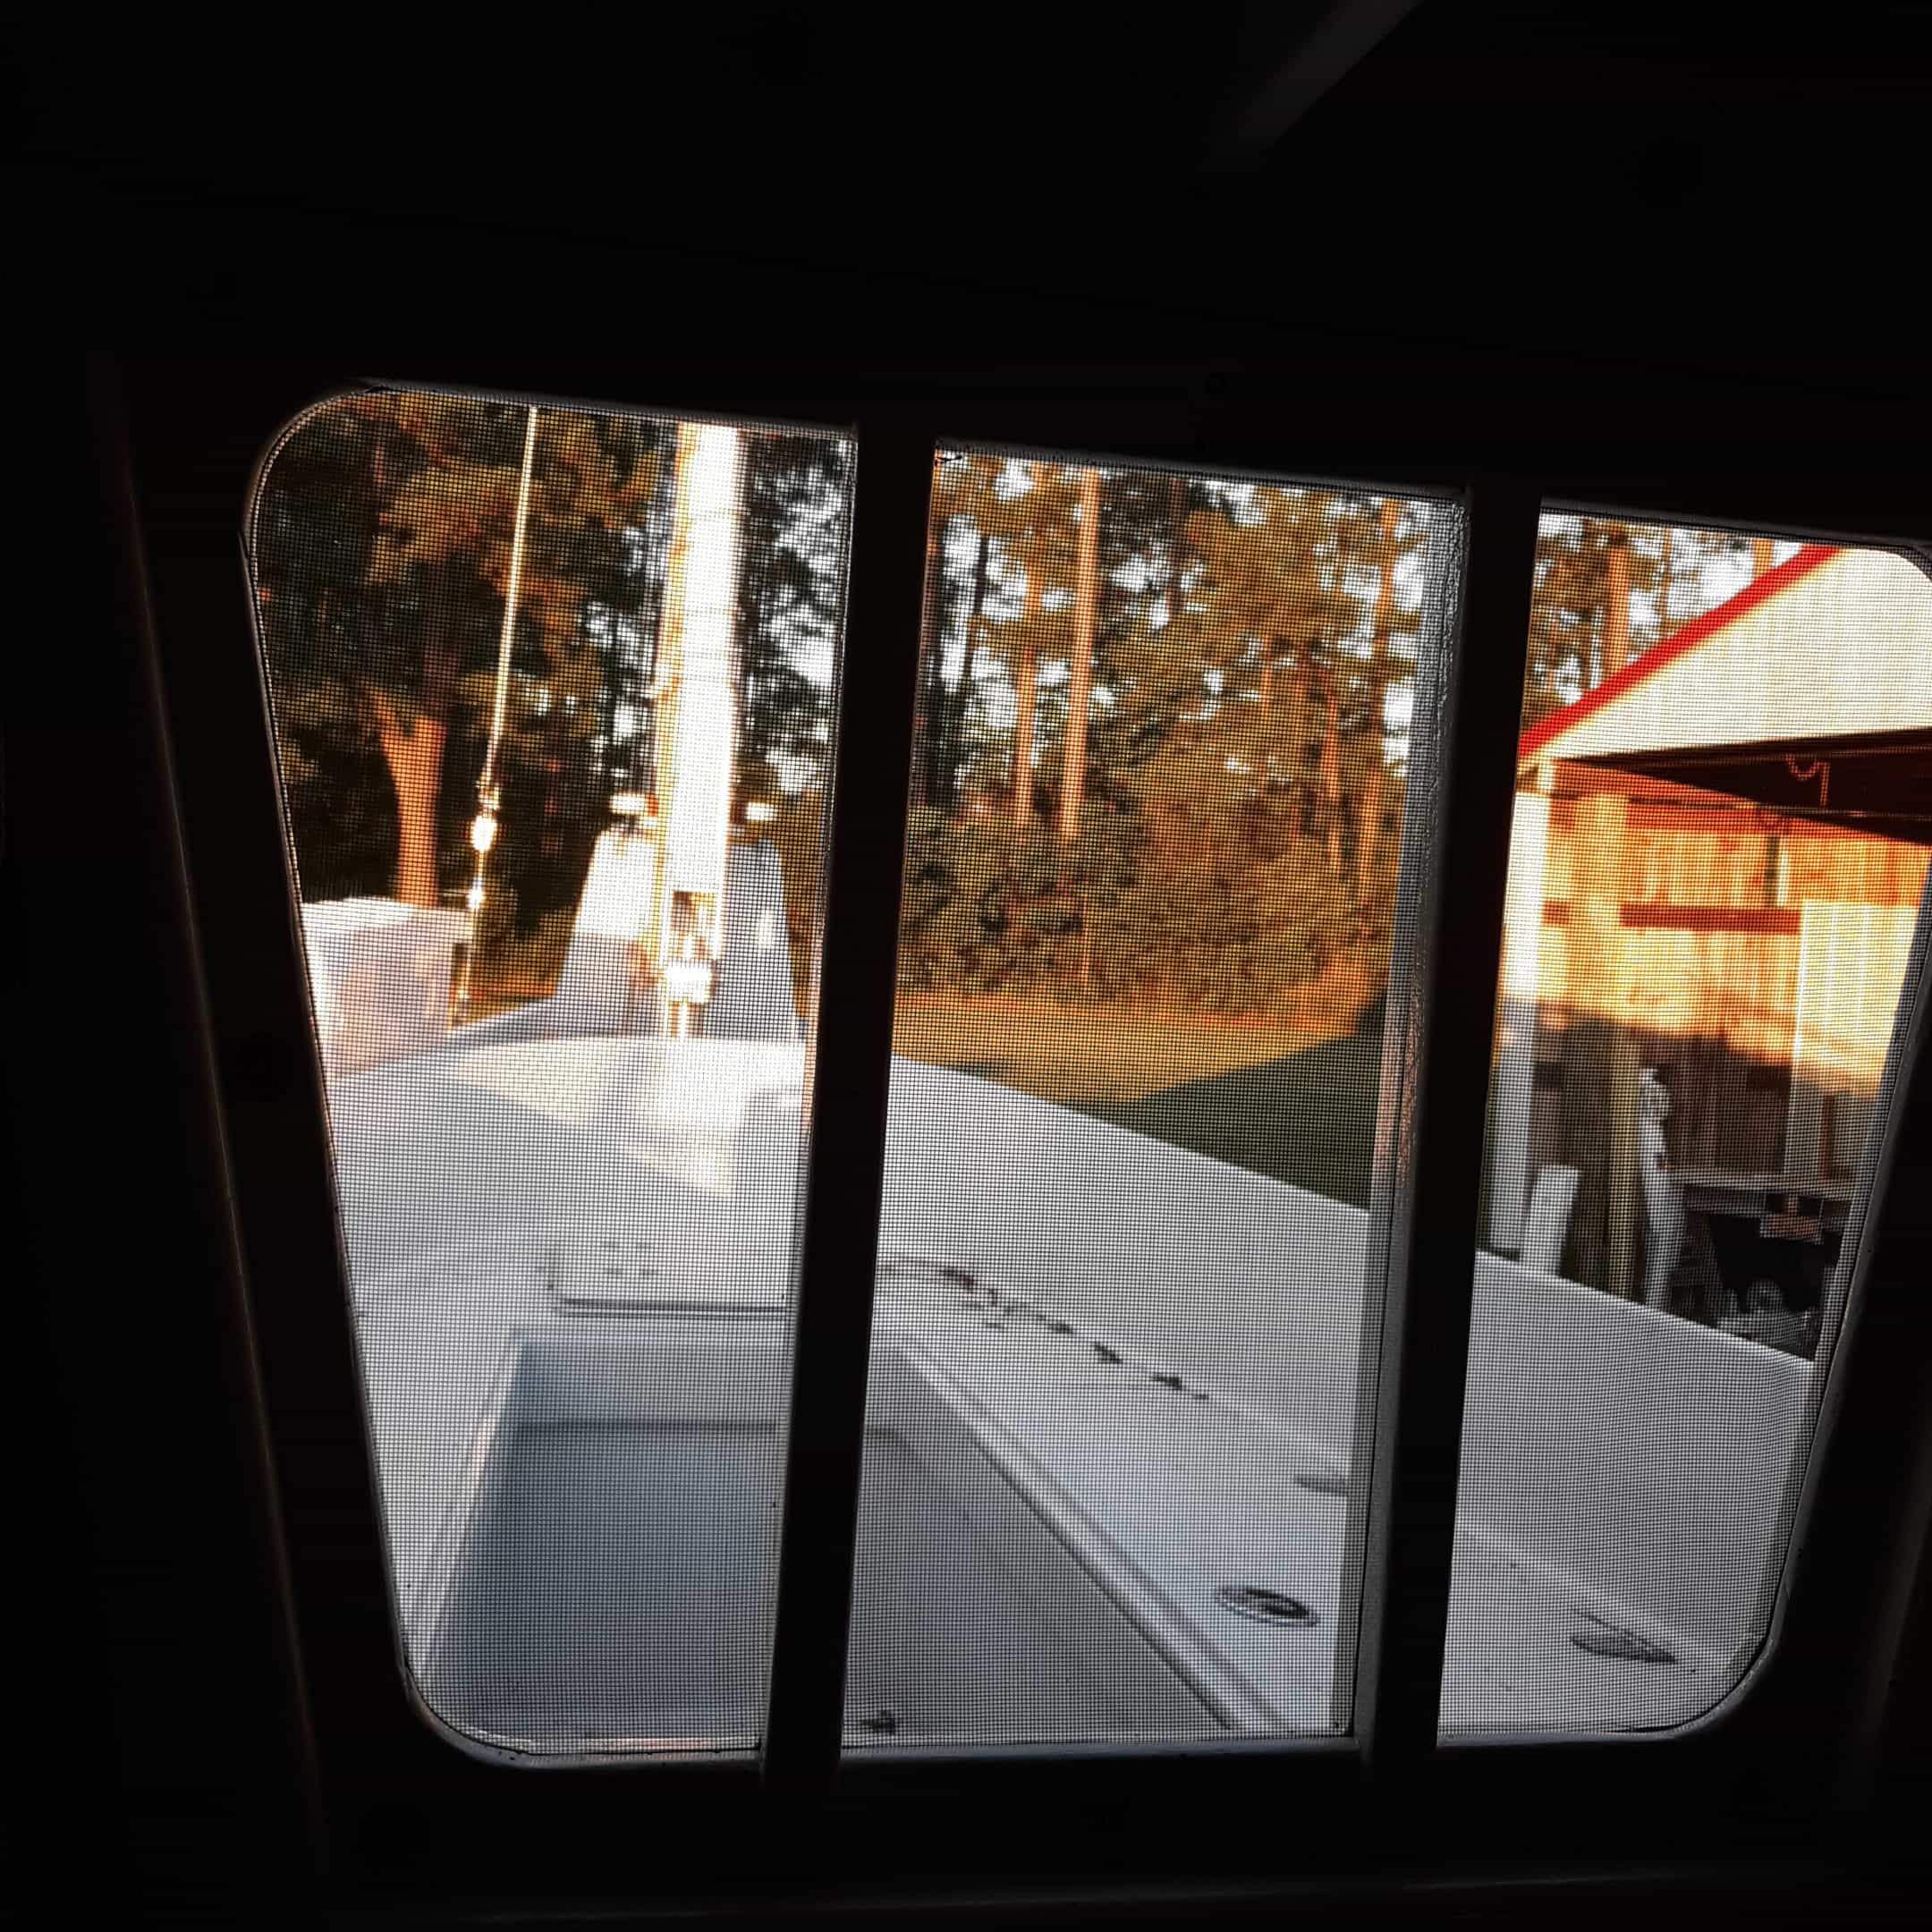
Next, I made the Wiley ports, three for each side, plus one extra in case one get broken. Stanley Woodward had drawn up a sketch of how these could be designed. I had no idea about them, but they seemed a good solution for port lights or port holes. I could make them, not purchase and adapt commercial port lights. They were aesthetically more in keeping with a nineteenth century sailboat. They could be whatever size I wanted, and most importantly, they can be left open when it is raining and no water enters the cabin, unlike standard port holes; so in hot, humid, rainy weather, there is a good deal of ventilation.

Stanley’s diagram 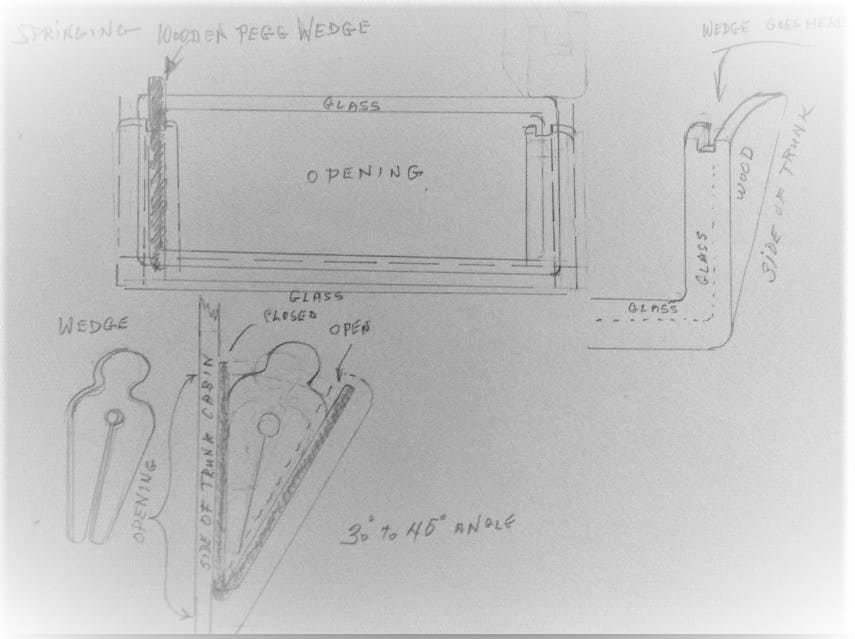
Stanley’s diagram 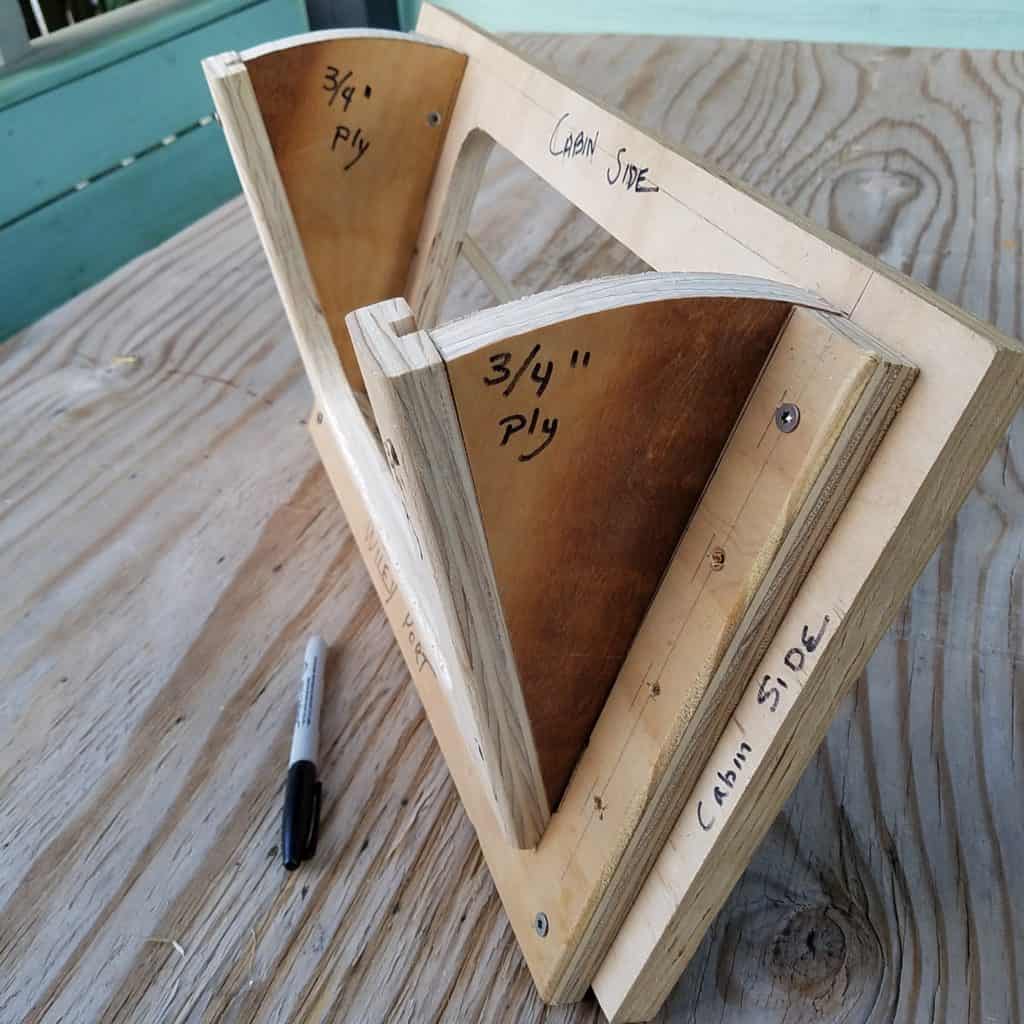
Mock up of Wiley Port 
Mock up 3/4 in ply 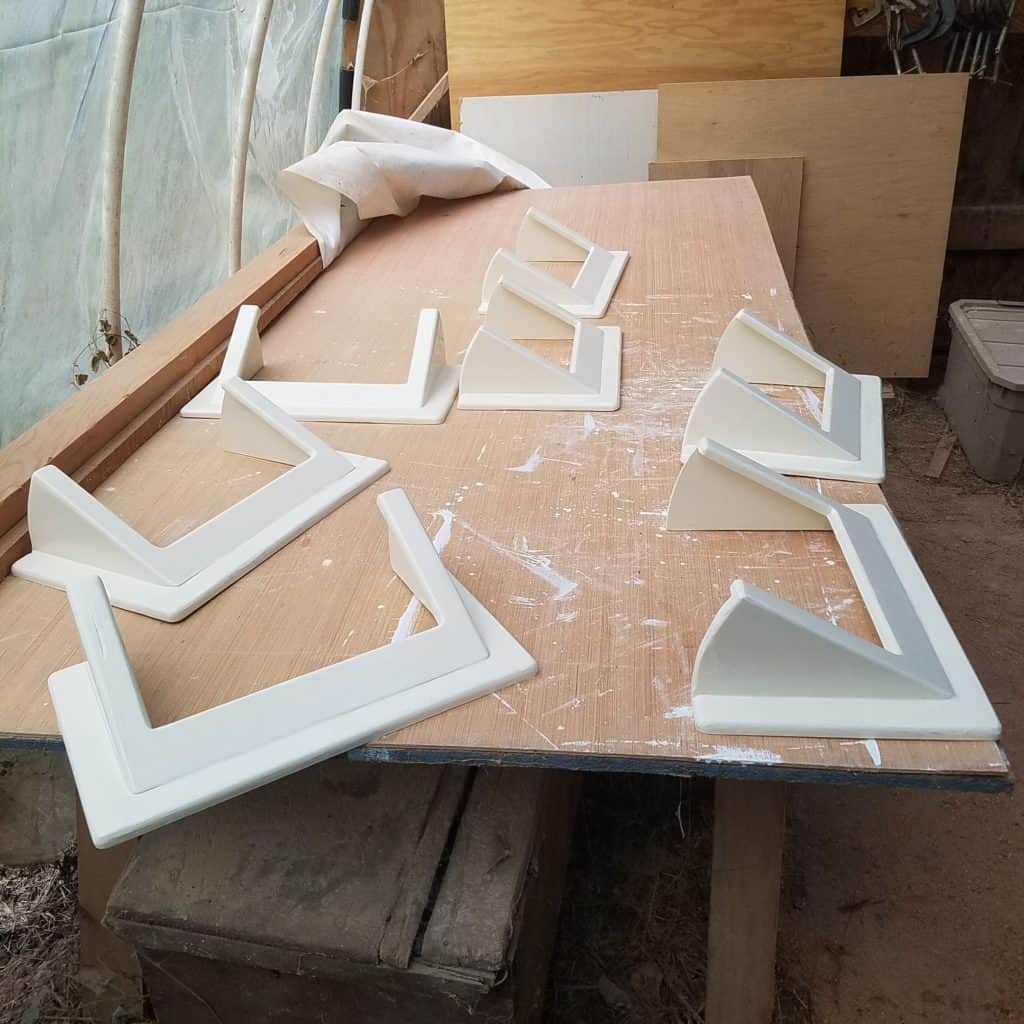
Painting 
Finishd 
Finished 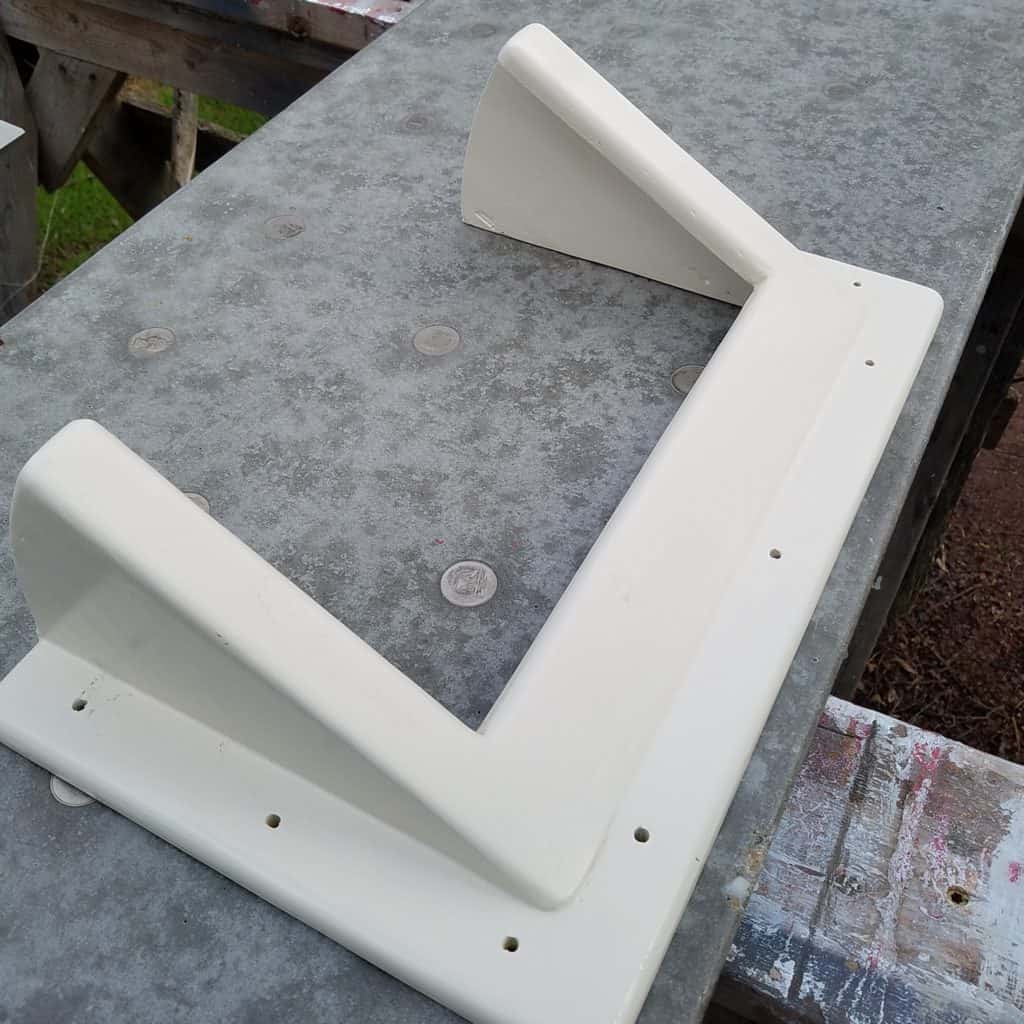
Finished 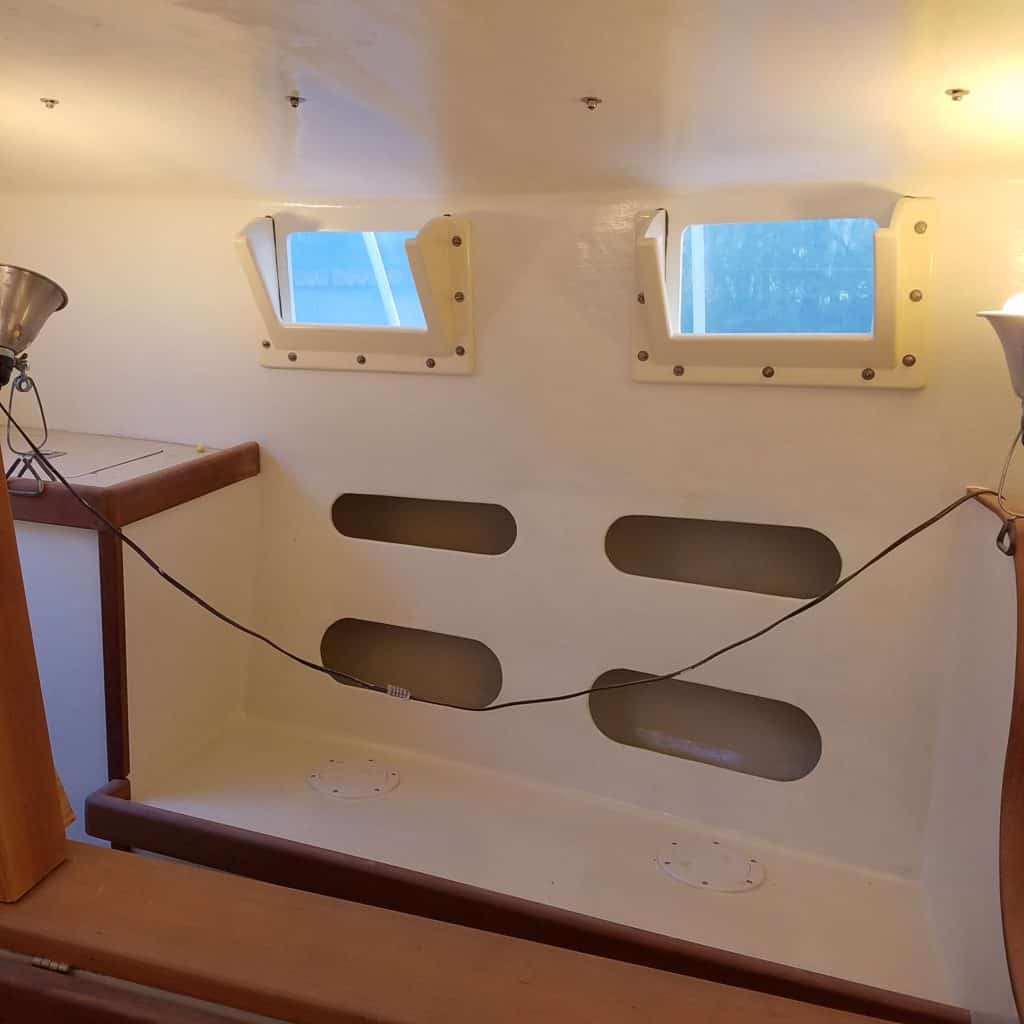
Iinstalled 
Butyl under bolts 
From outside 
Storm covers – primed

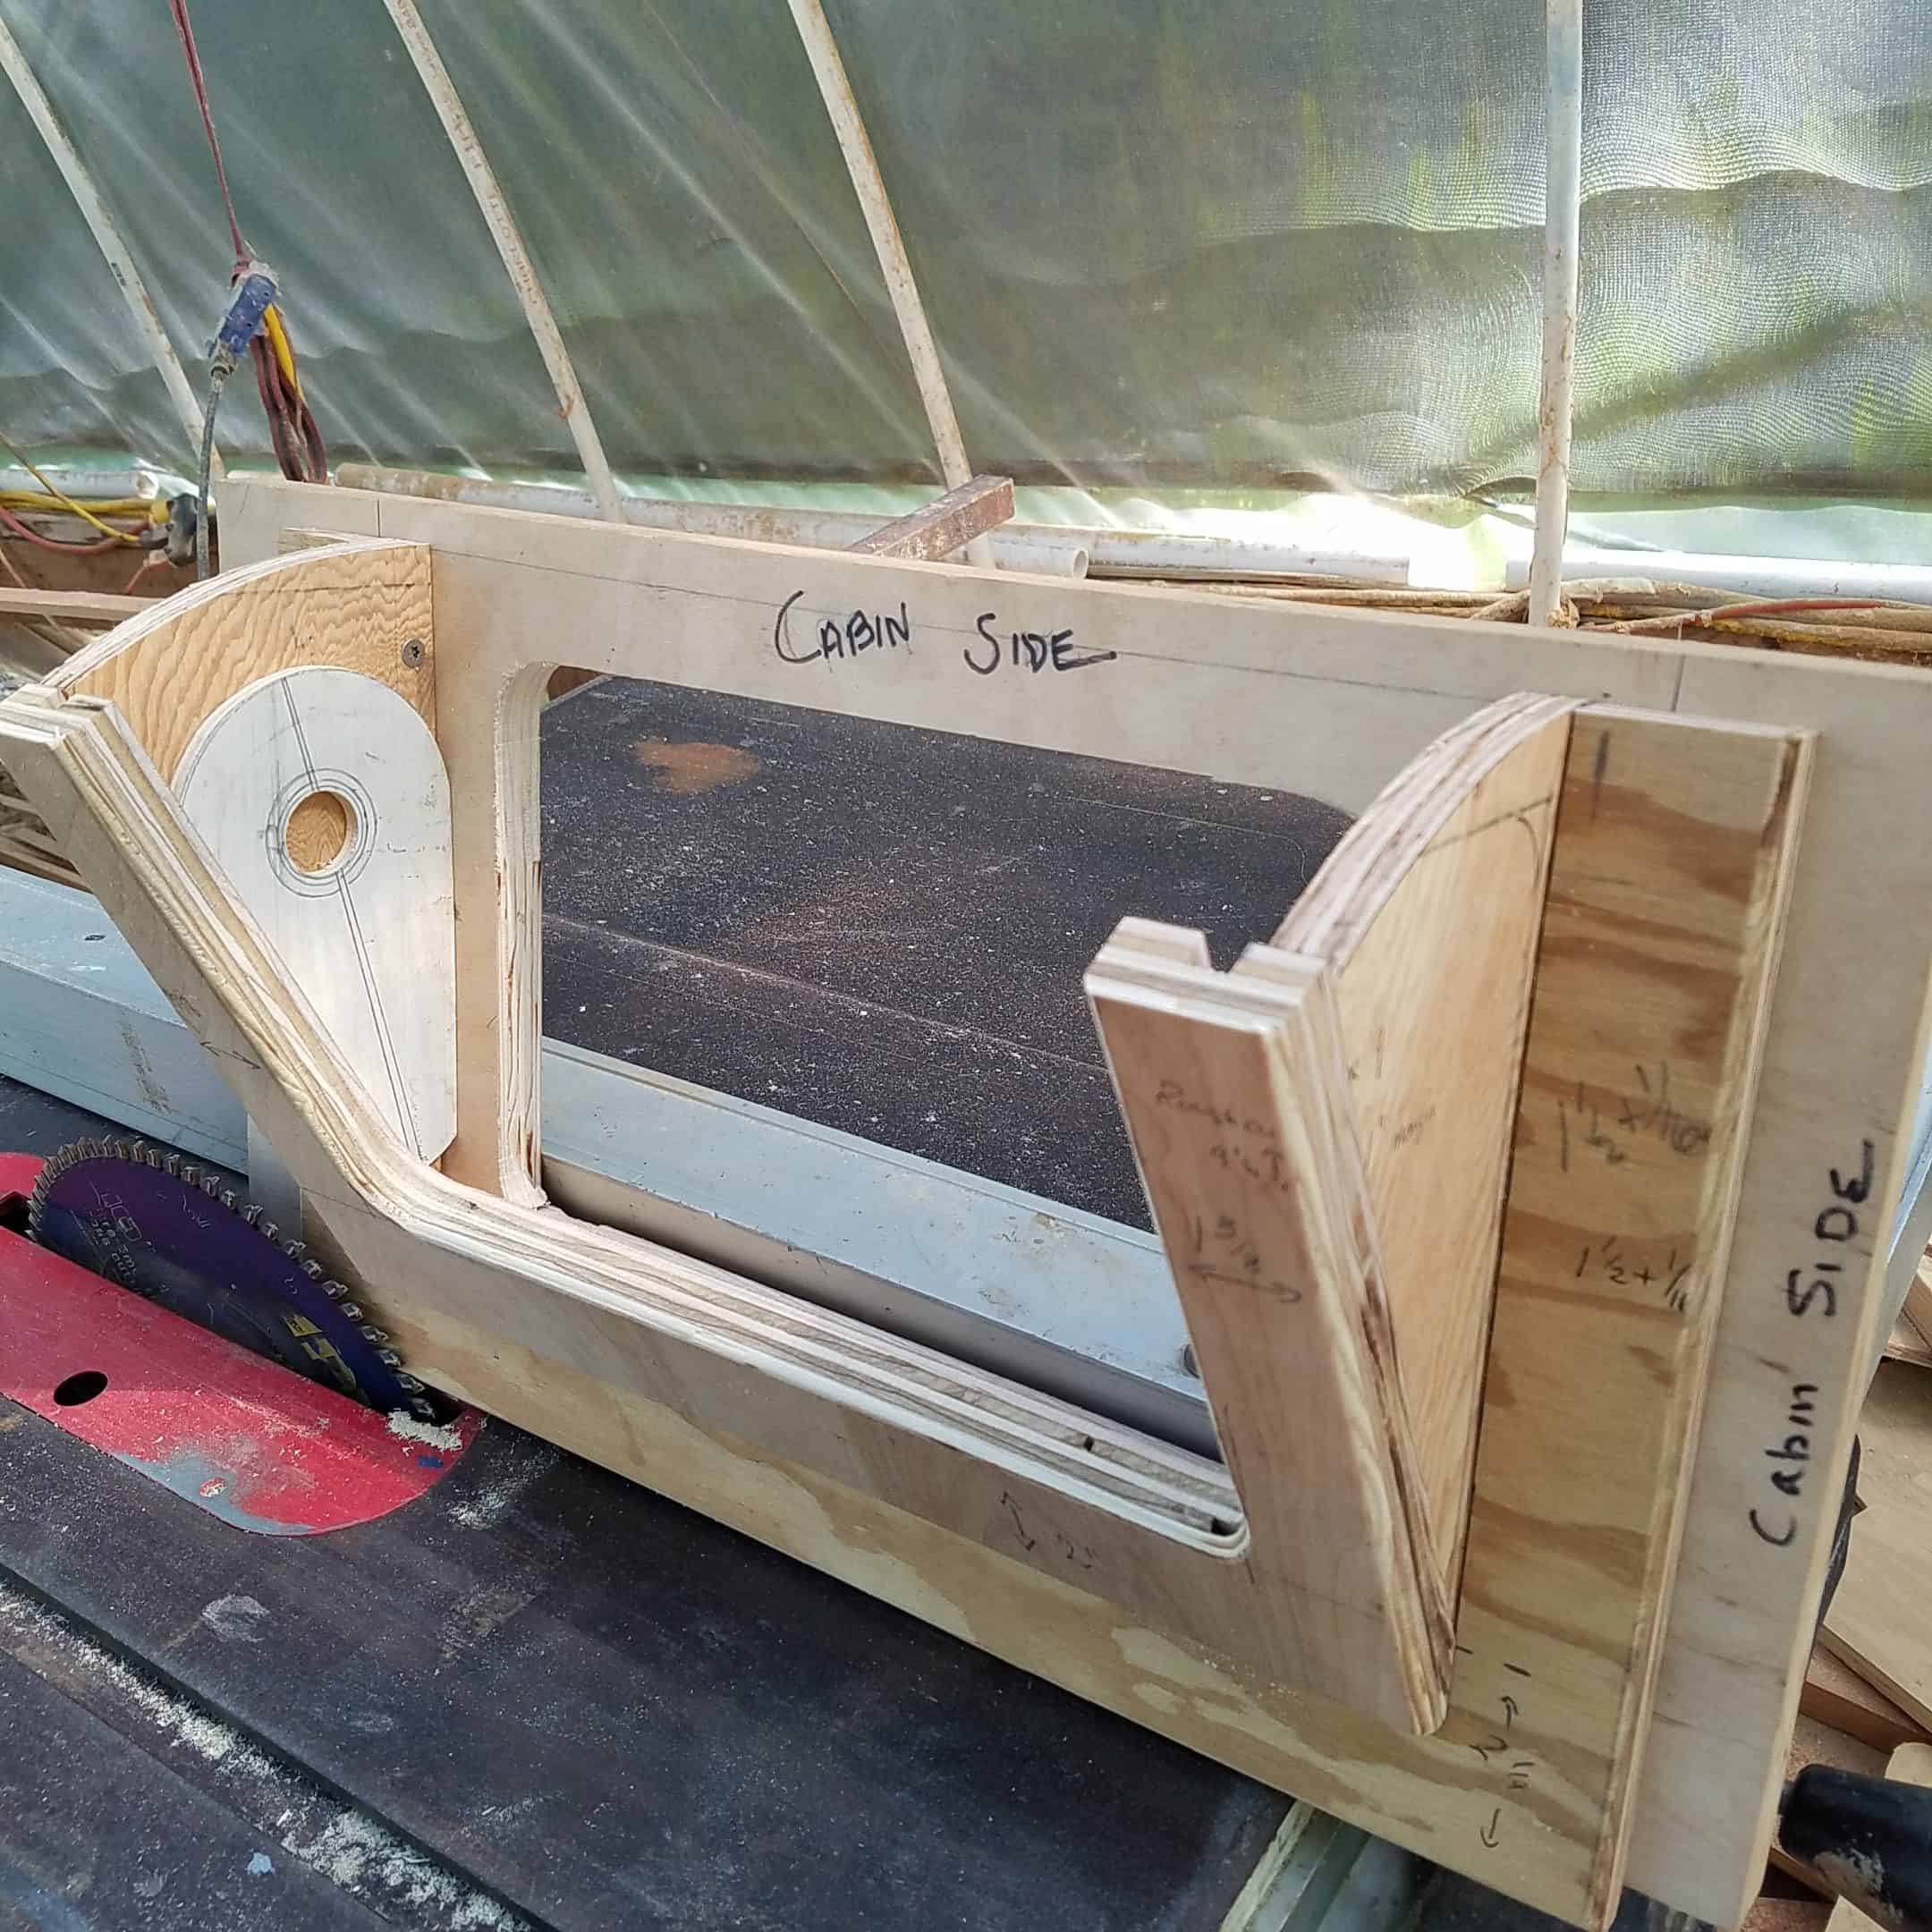
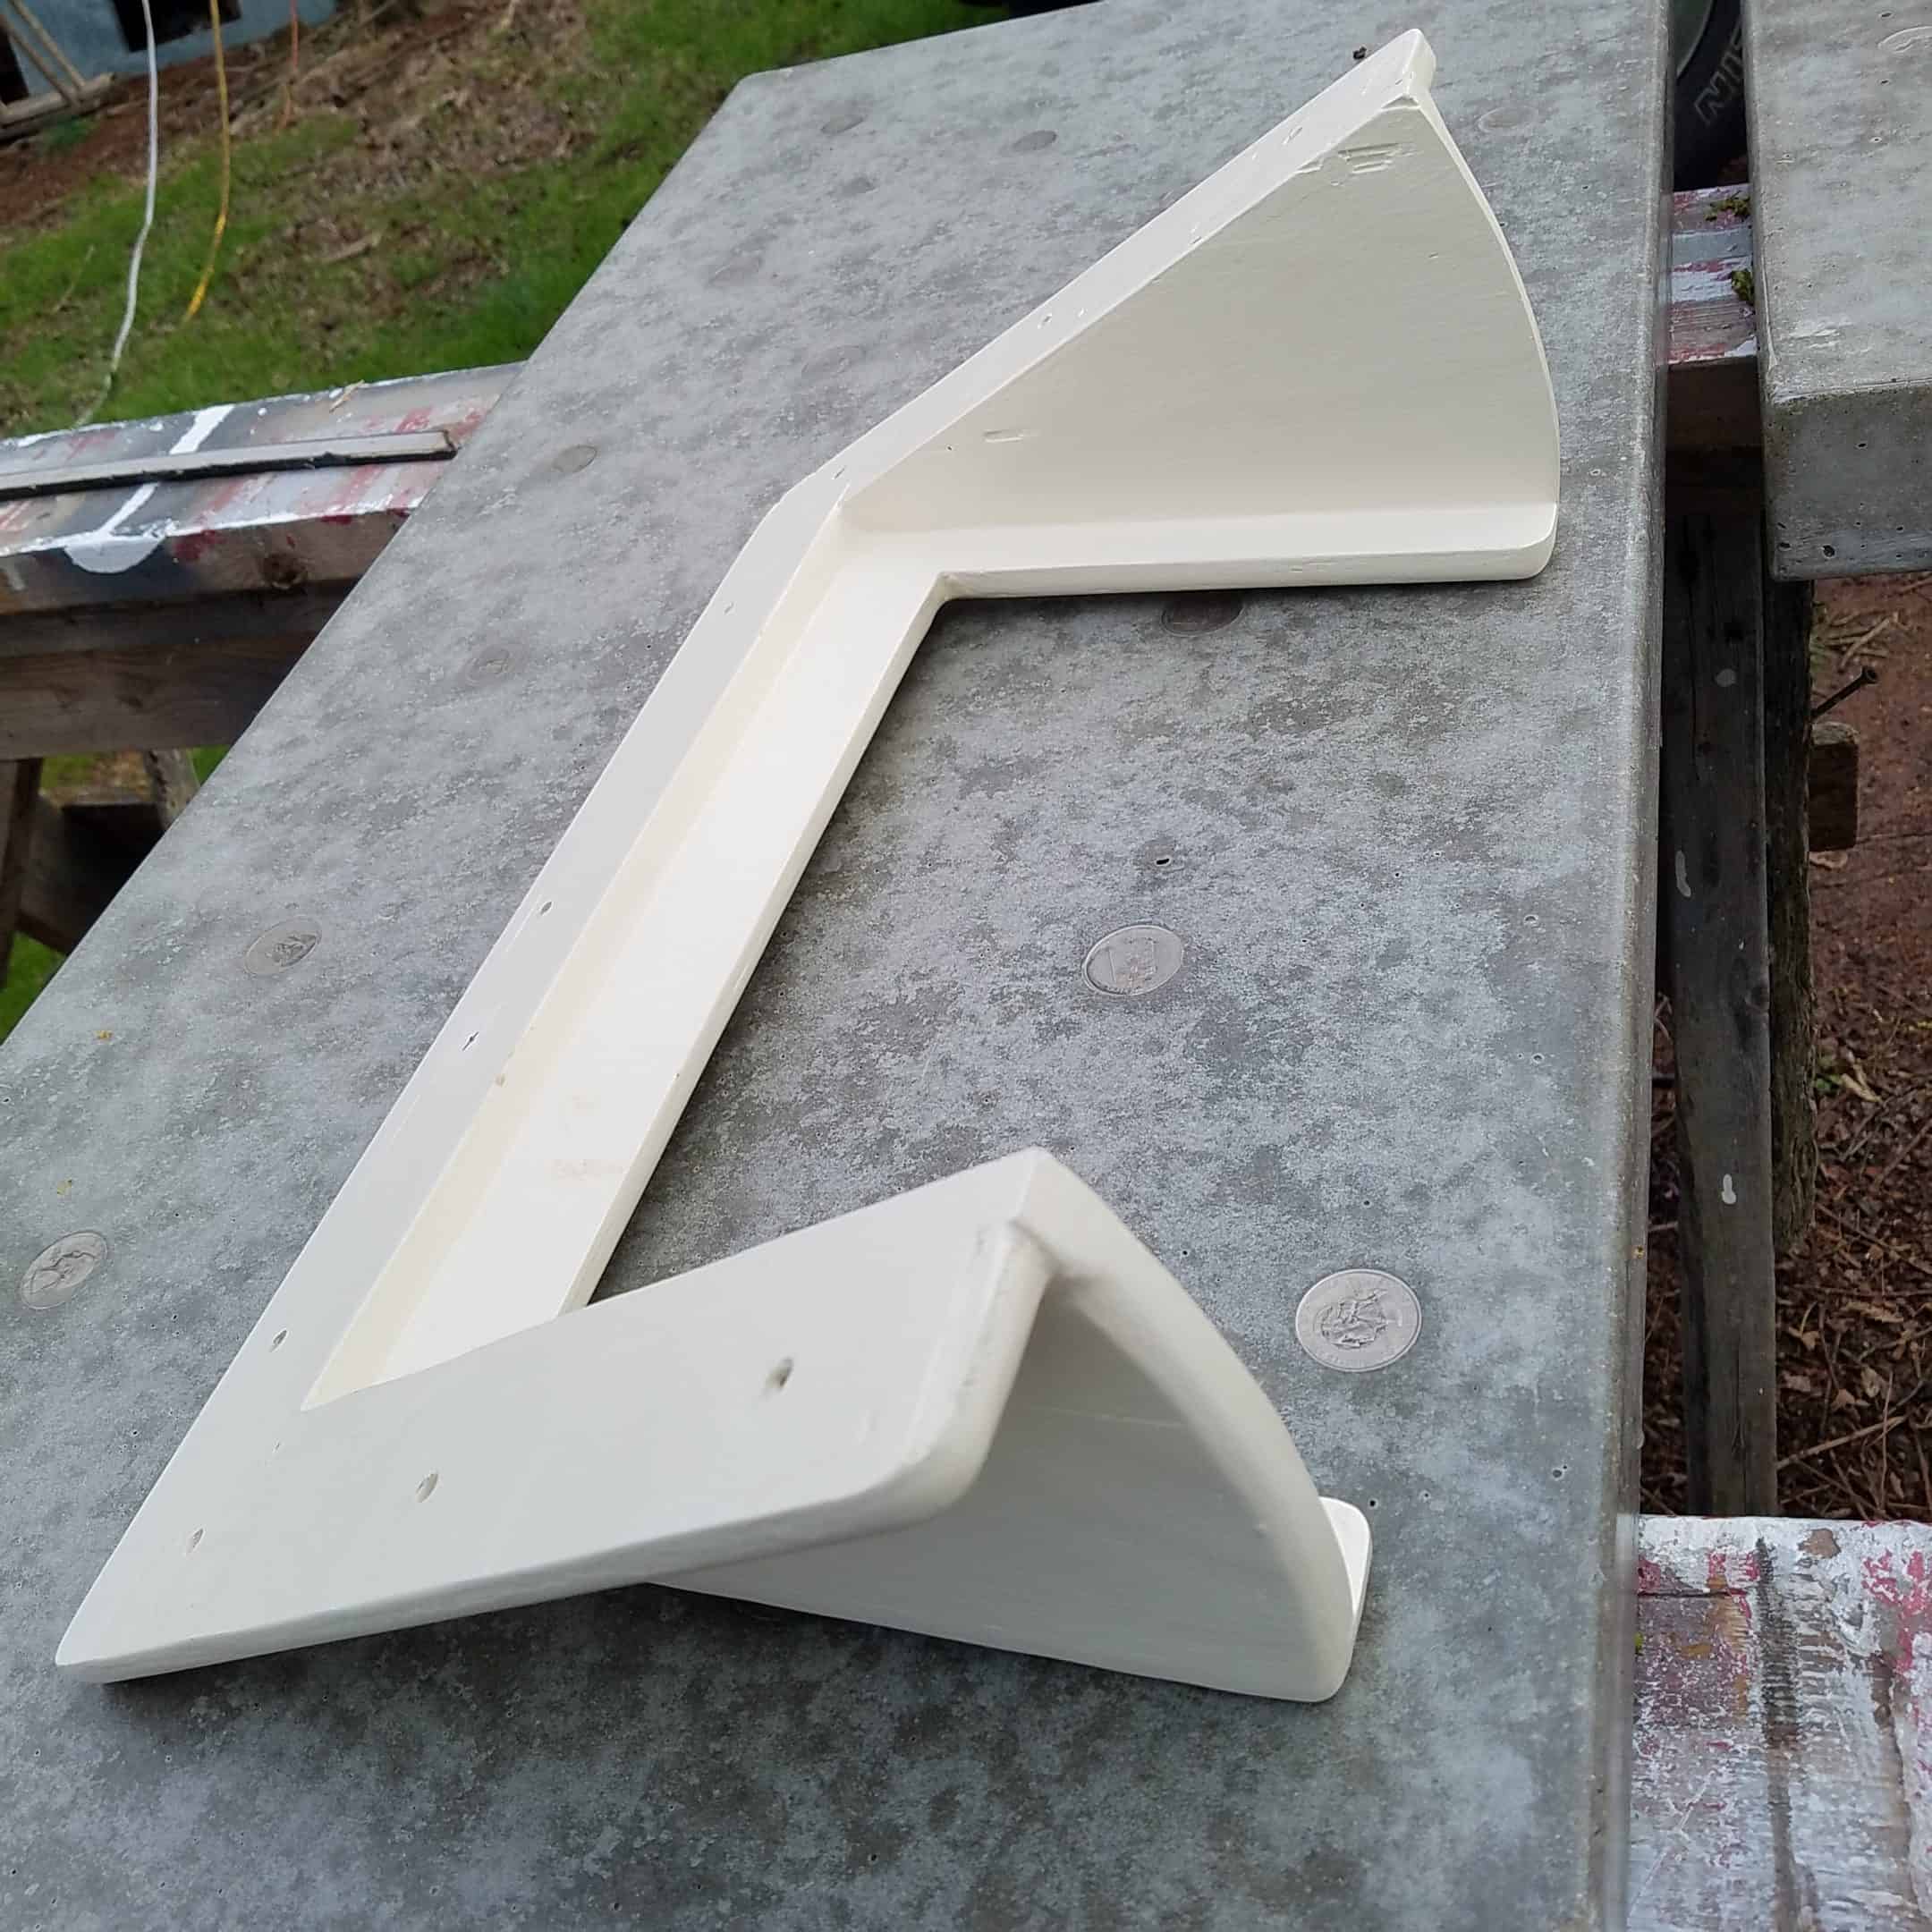
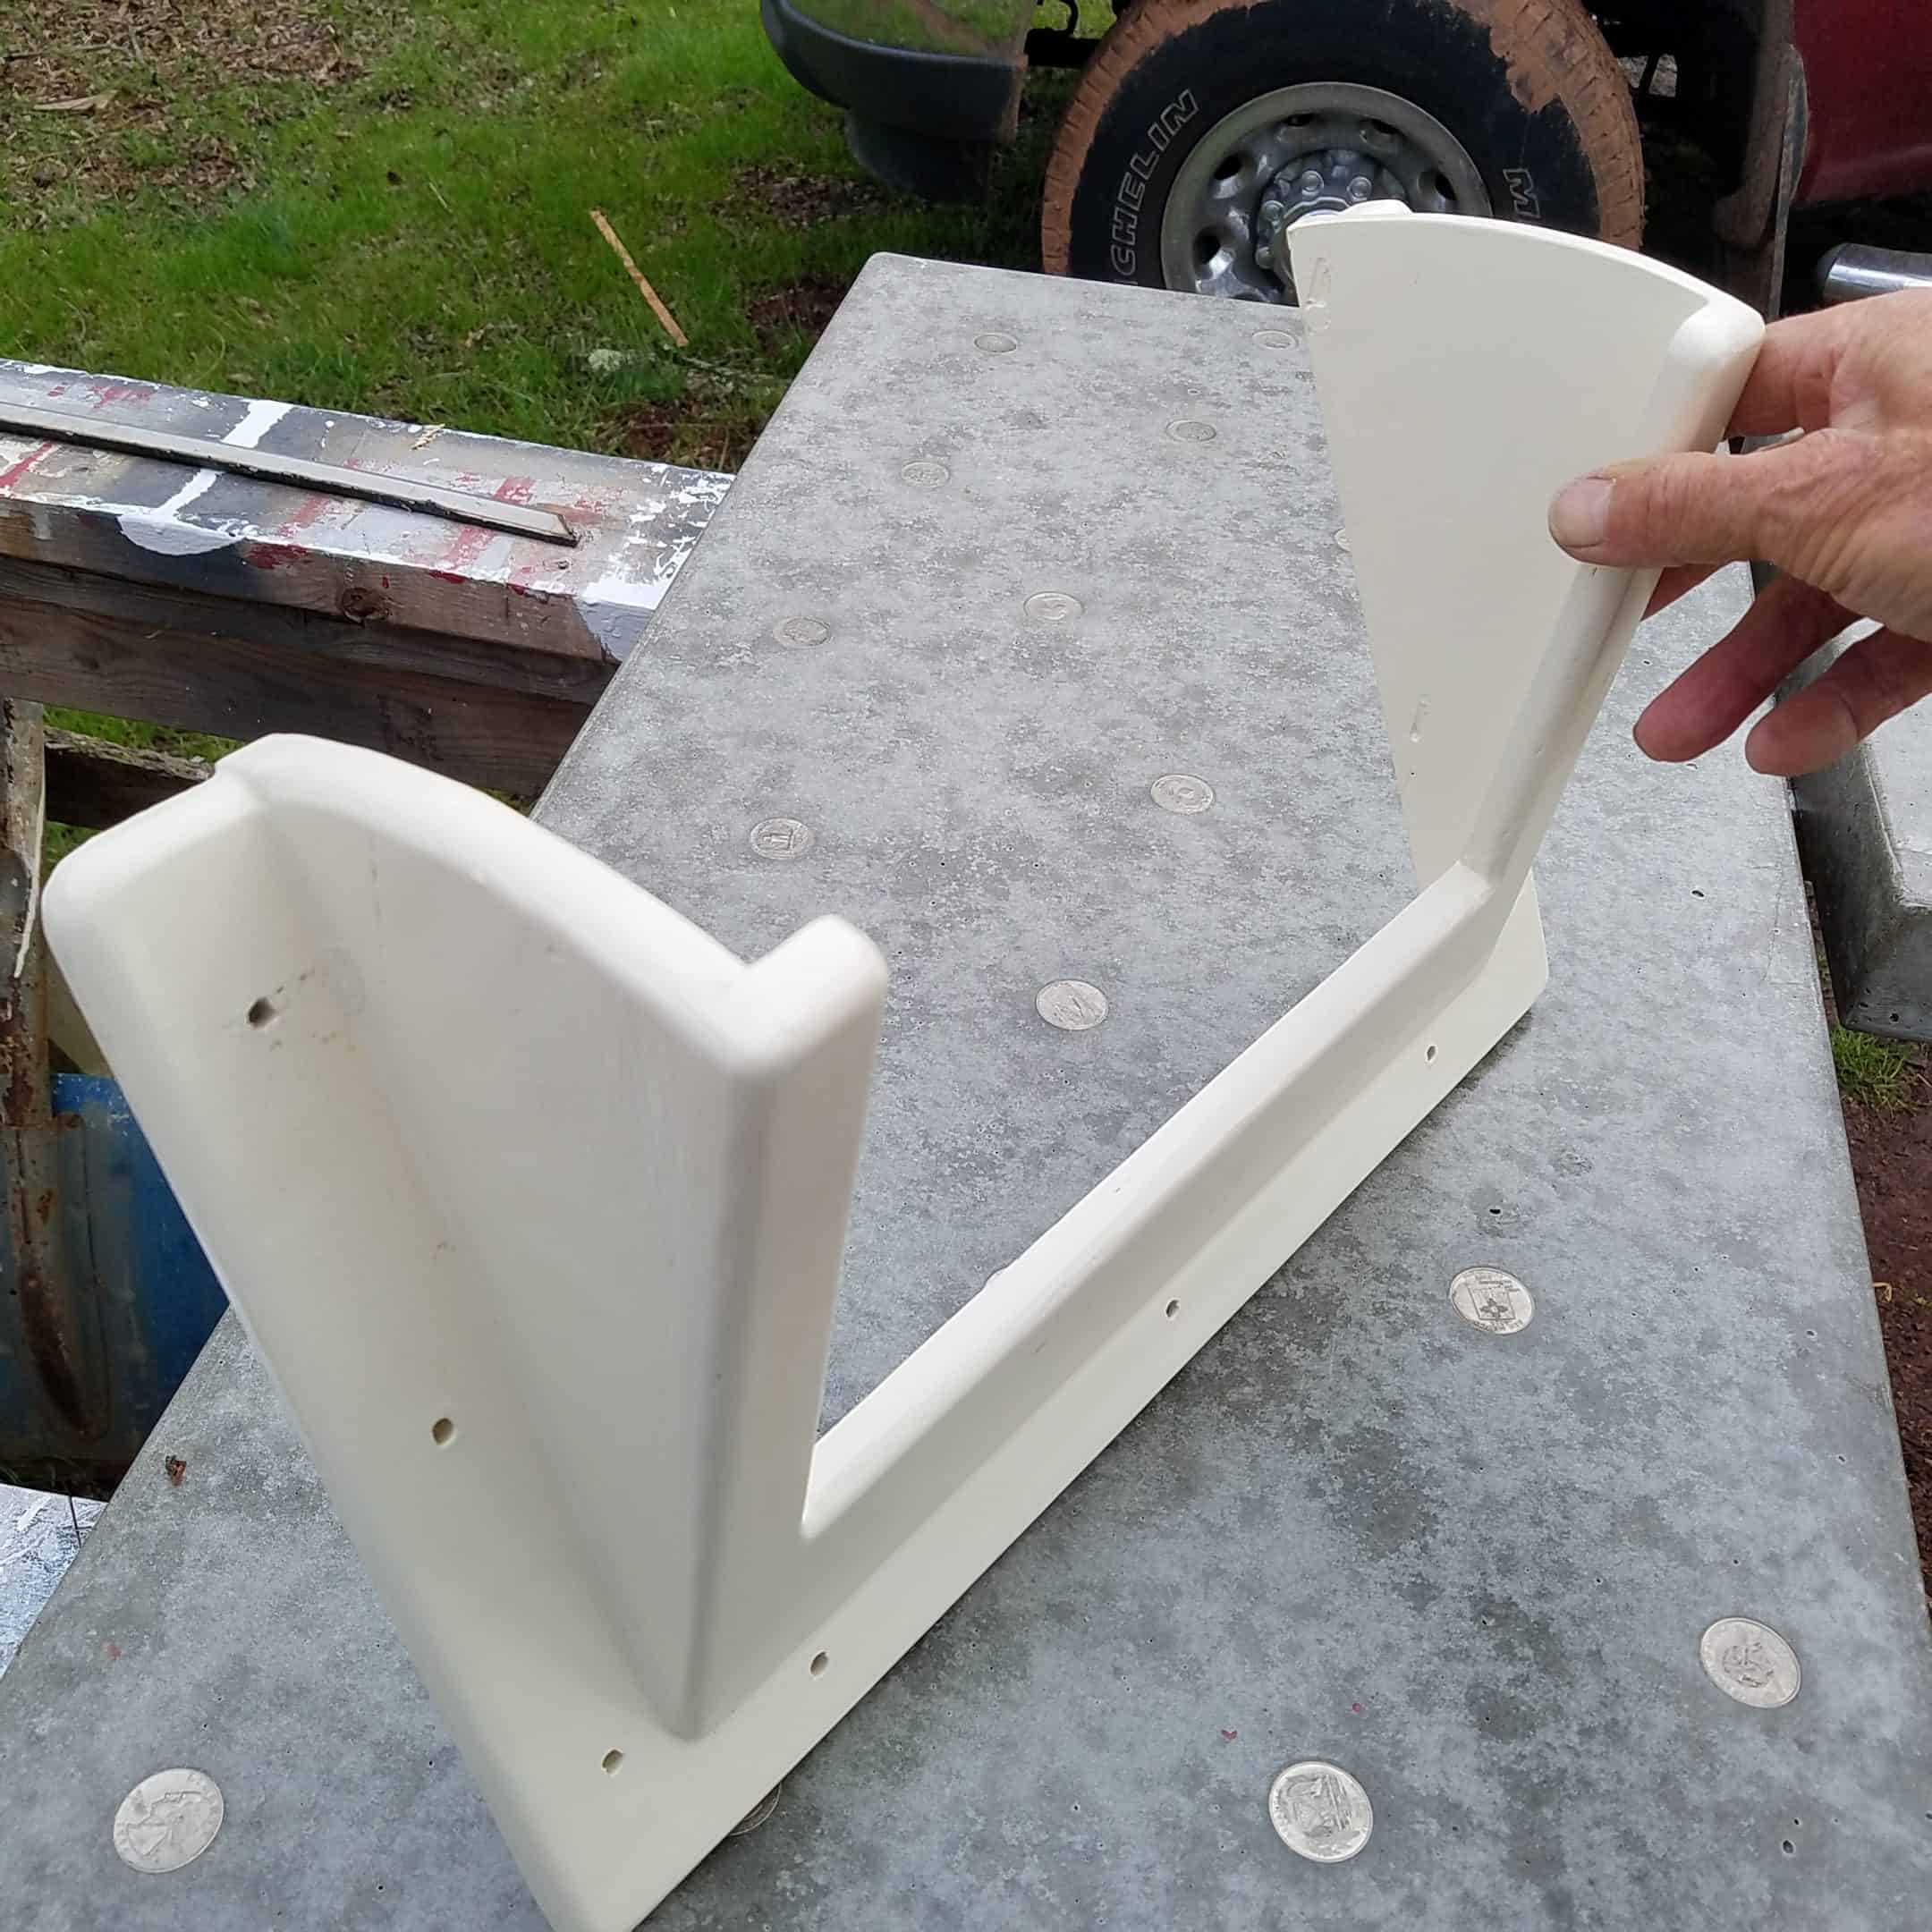
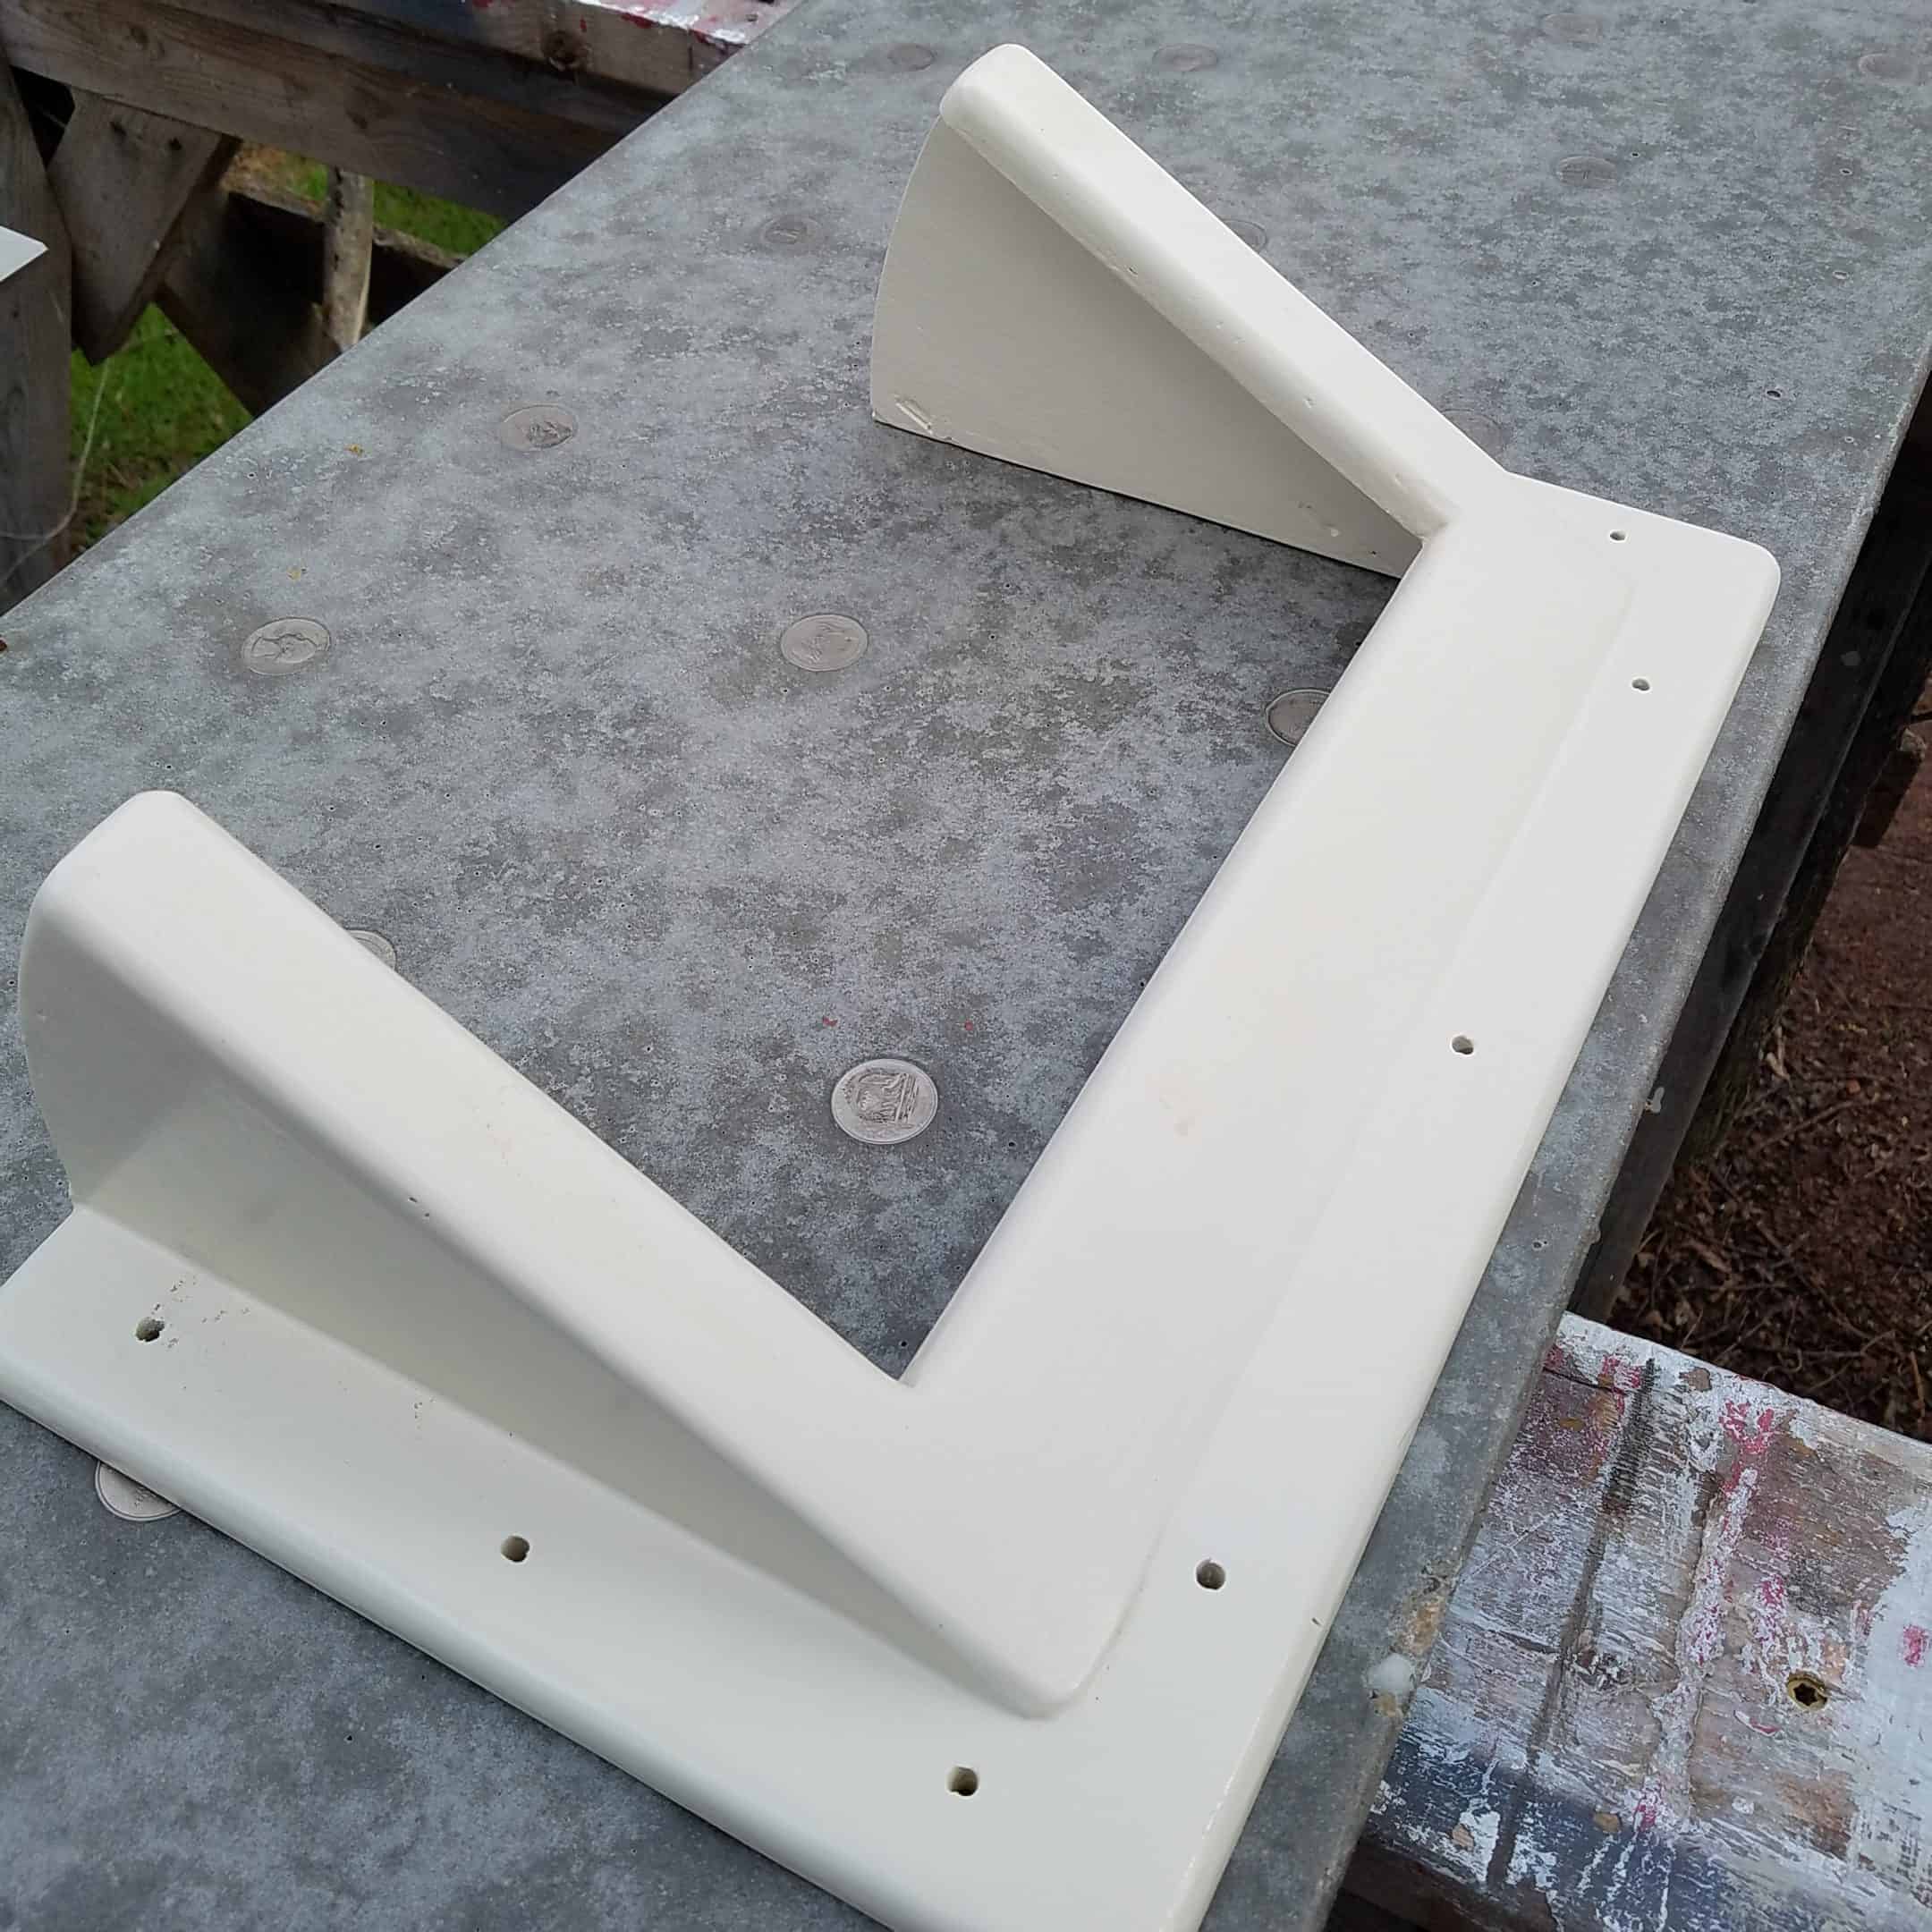


Once I figured out how I would put the Wiley ports together, it went smoothly. I used 3/8 marine plywood. The glass is slightly tinted automotive safety glass. The storm covers are for really heavy seas or safety if leaving the boat in port. The screens are for mosquitoes.
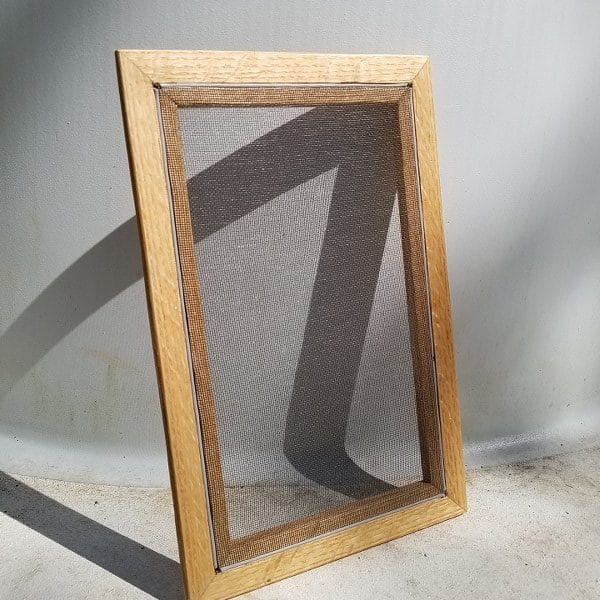
Wiley port screen 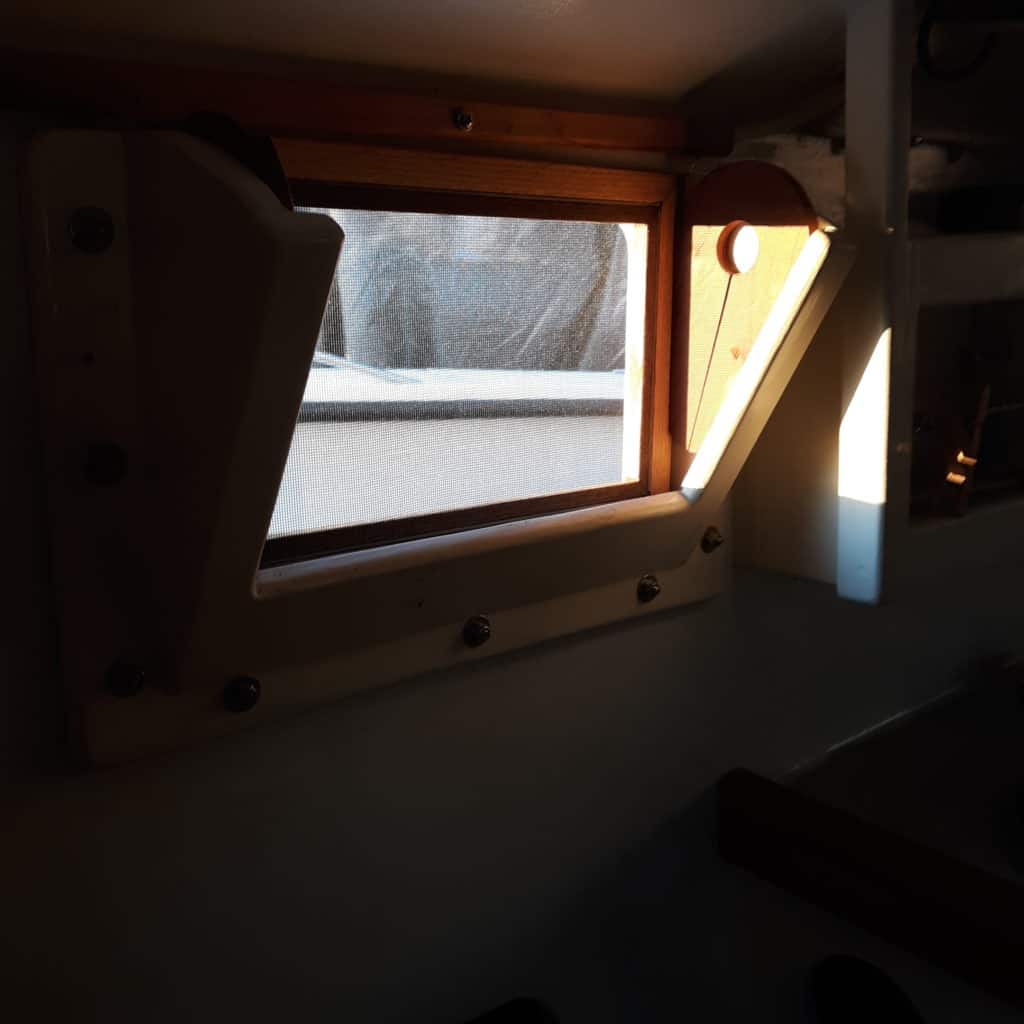
Port light screen 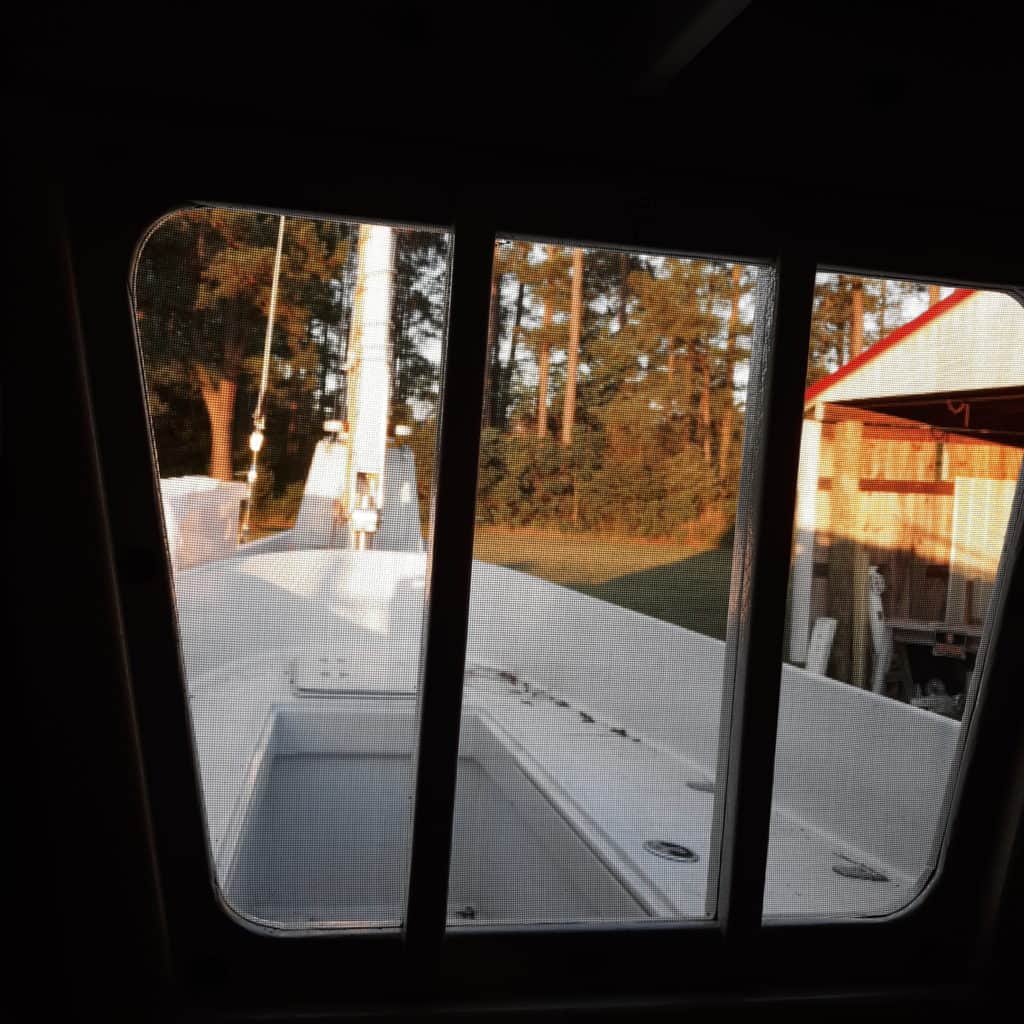
Companionway screen

V-Berth
The V-berth is pretty standard, storage below the platform. More storage will be put later, but for now, this is enough. Lots of cutting, priming, painting and filleting the corners.


SAMSUNG

At this point I need more photos of finishing up the interior of the cabin.